life on the edge | vesper via ragged edge rock climb (5.7 alpine trad)
10 mi . 4480 ft gain . 6221 ft high
This is by no means a new way for climbing Vesper, but it was the 5th time I summited this peak and the first time I tried it in a new way!
Disclaimer: Rock climbing is an inherently dangerous sport. Use your best judgement and do your due diligence research before you attempt anything.
Earlier this spring, I took a brush up class with Lani from The Climbing School to refresh anything I missed in learning trad climbing in the past. Since I had never really taken a course, I wasn’t confident in my skills and this was an incredible way for me to get that confidence to feel good about doing outdoor climbing more independently. In the past, I would always wait for friends to set up ropes for me and I would do minimal research. But now I felt better about attempting alpine climbs that were my original goal for learning trad climbing.
And by the way for those who don’t know, trad climbing is when you have to place in your own pieces of gear in cracks as you climb rock. Trad is short for traditional, the way people climbed before sport climbing took over and bolts were put into rock to clip your rope to as a leader. The prime distinction is for the leader, as opposed to the follower when you are “top roping”. It can be more challenging since as a newer climber you’ll likely spend more time at each spot figuring out what gear to use. Usually in the alpine (on mountain tops), most climbs are trad climbs since it is unlikely for a route to be extremely bolted.
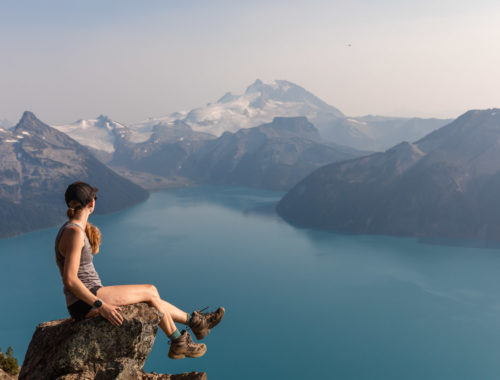
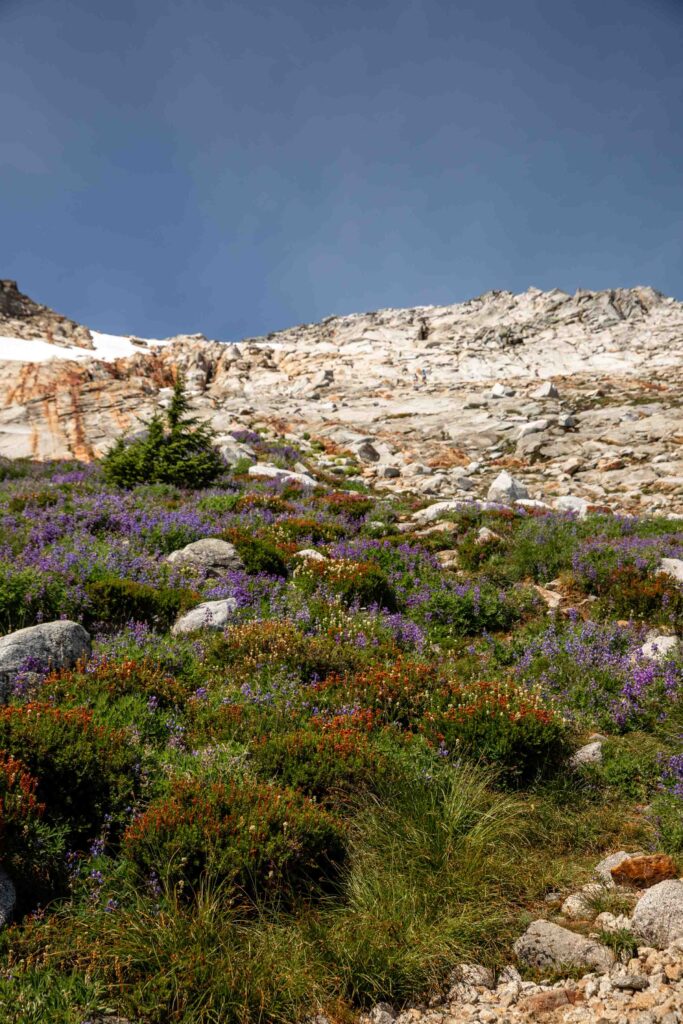
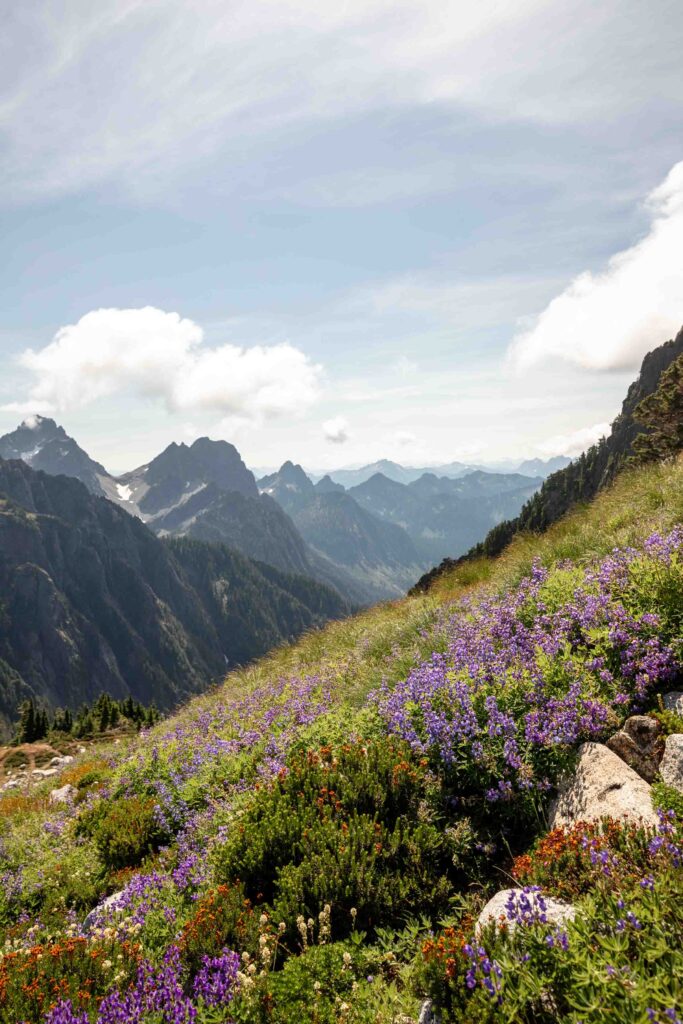
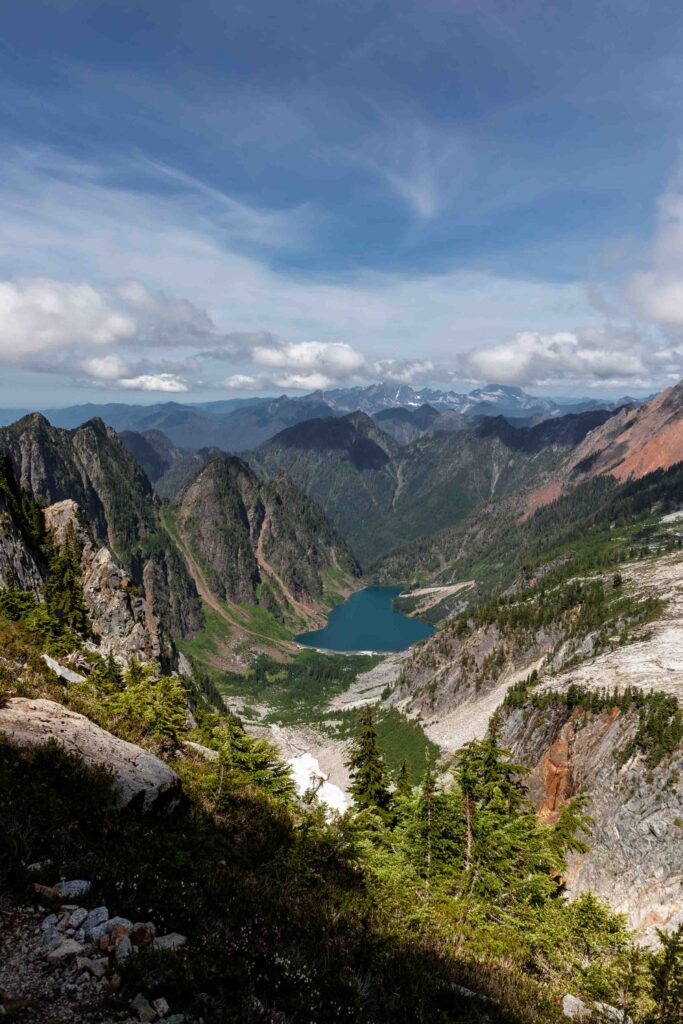
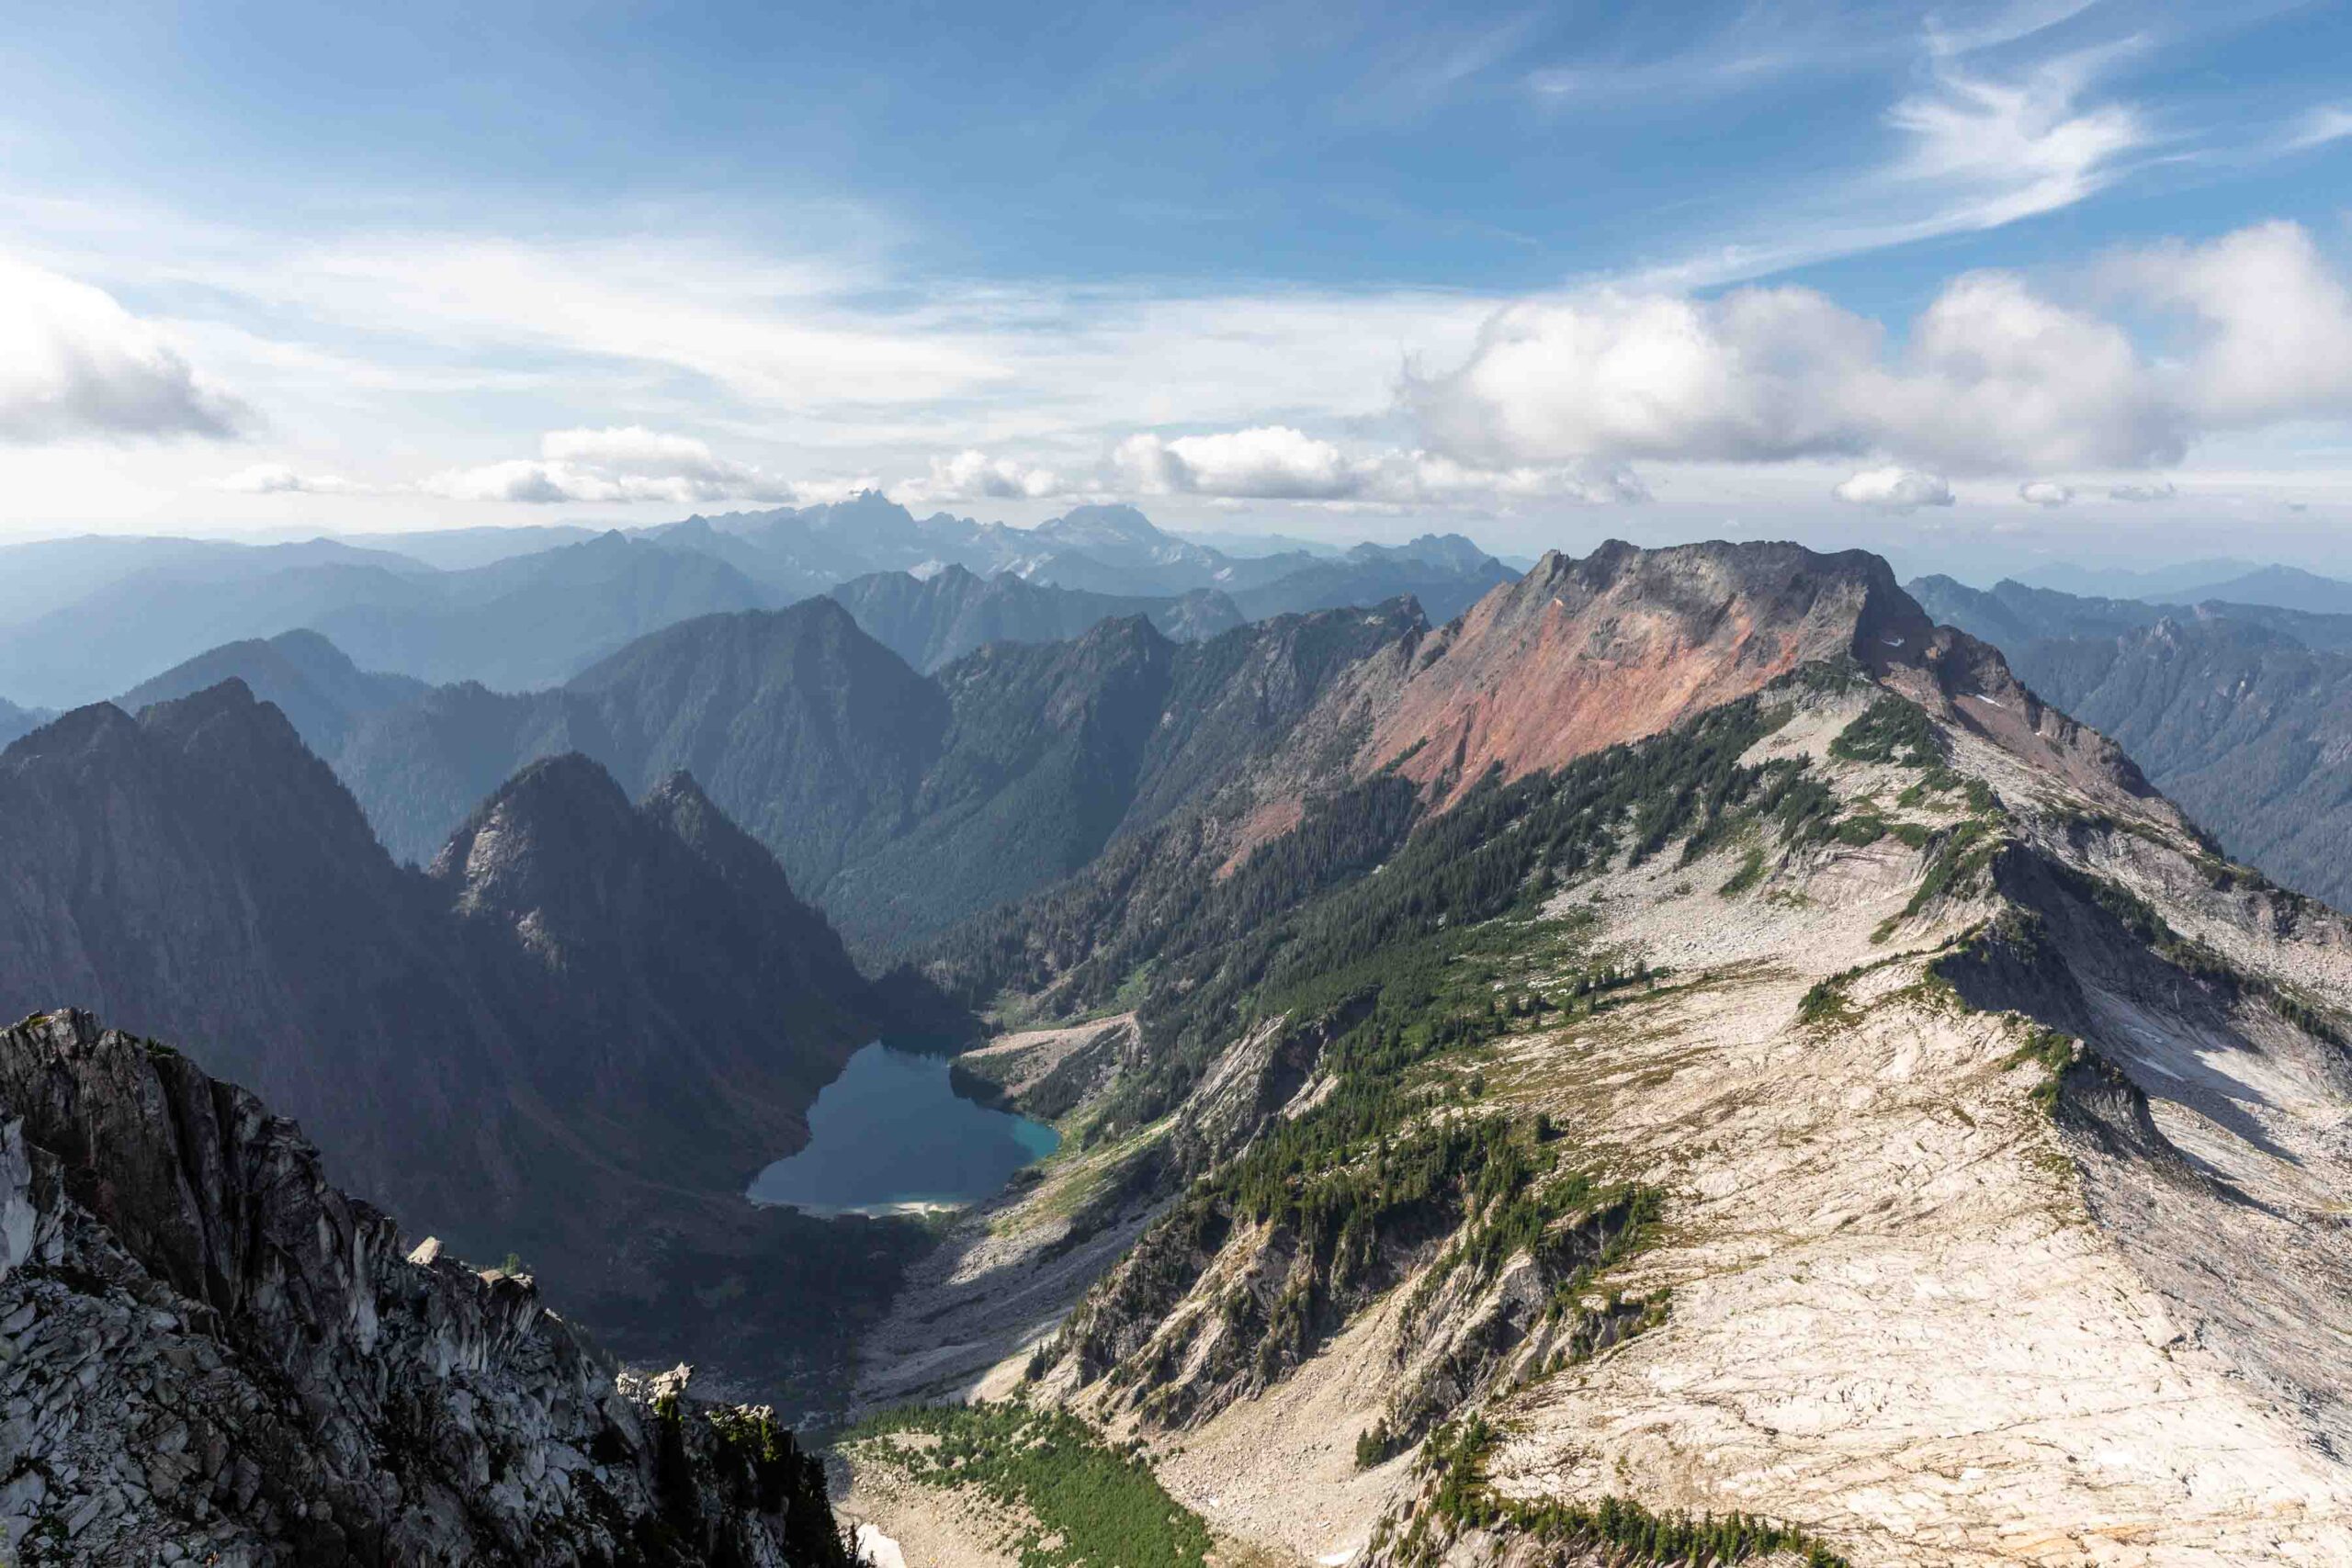
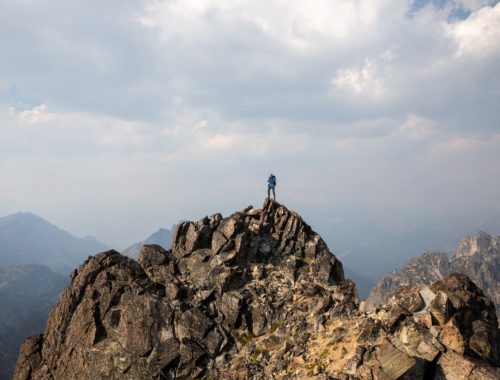
I digress. Vesper has a special place in my heart. It was the first time I ever done anything remotely close to scrambling and I was hooked immediately. The views are some of the most spectacular and the hike itself is quite substantial, though extremely varied.
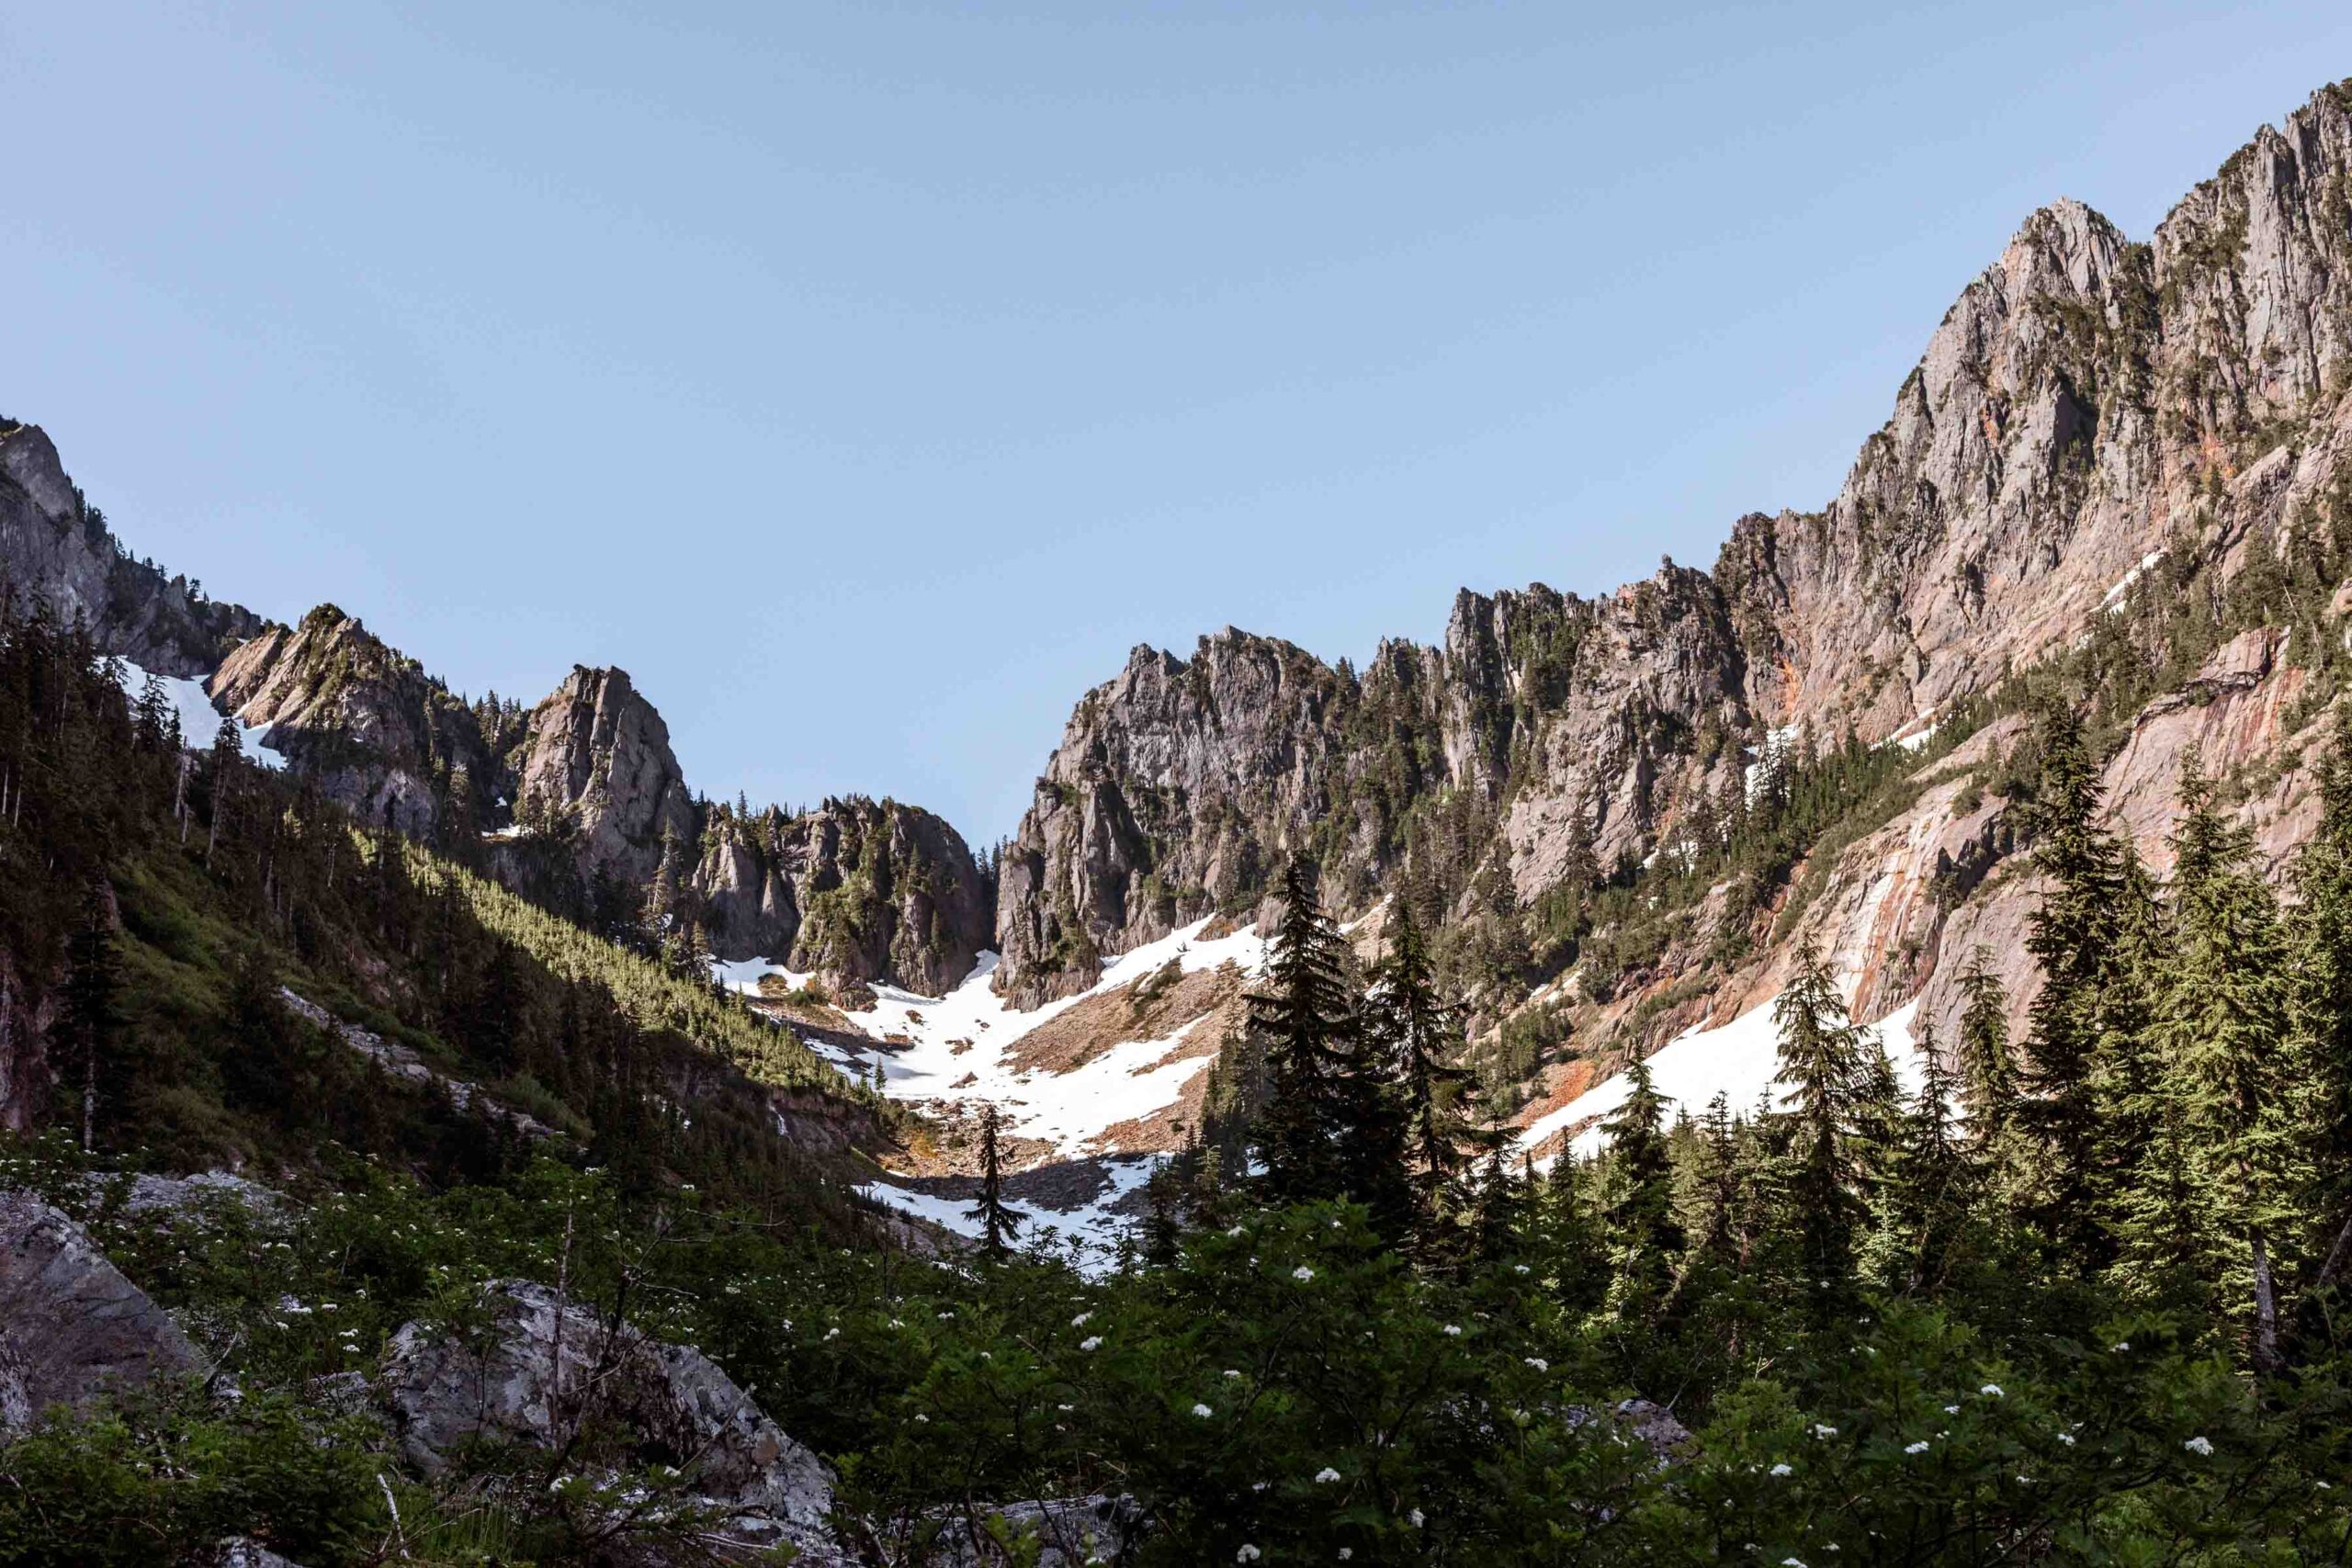
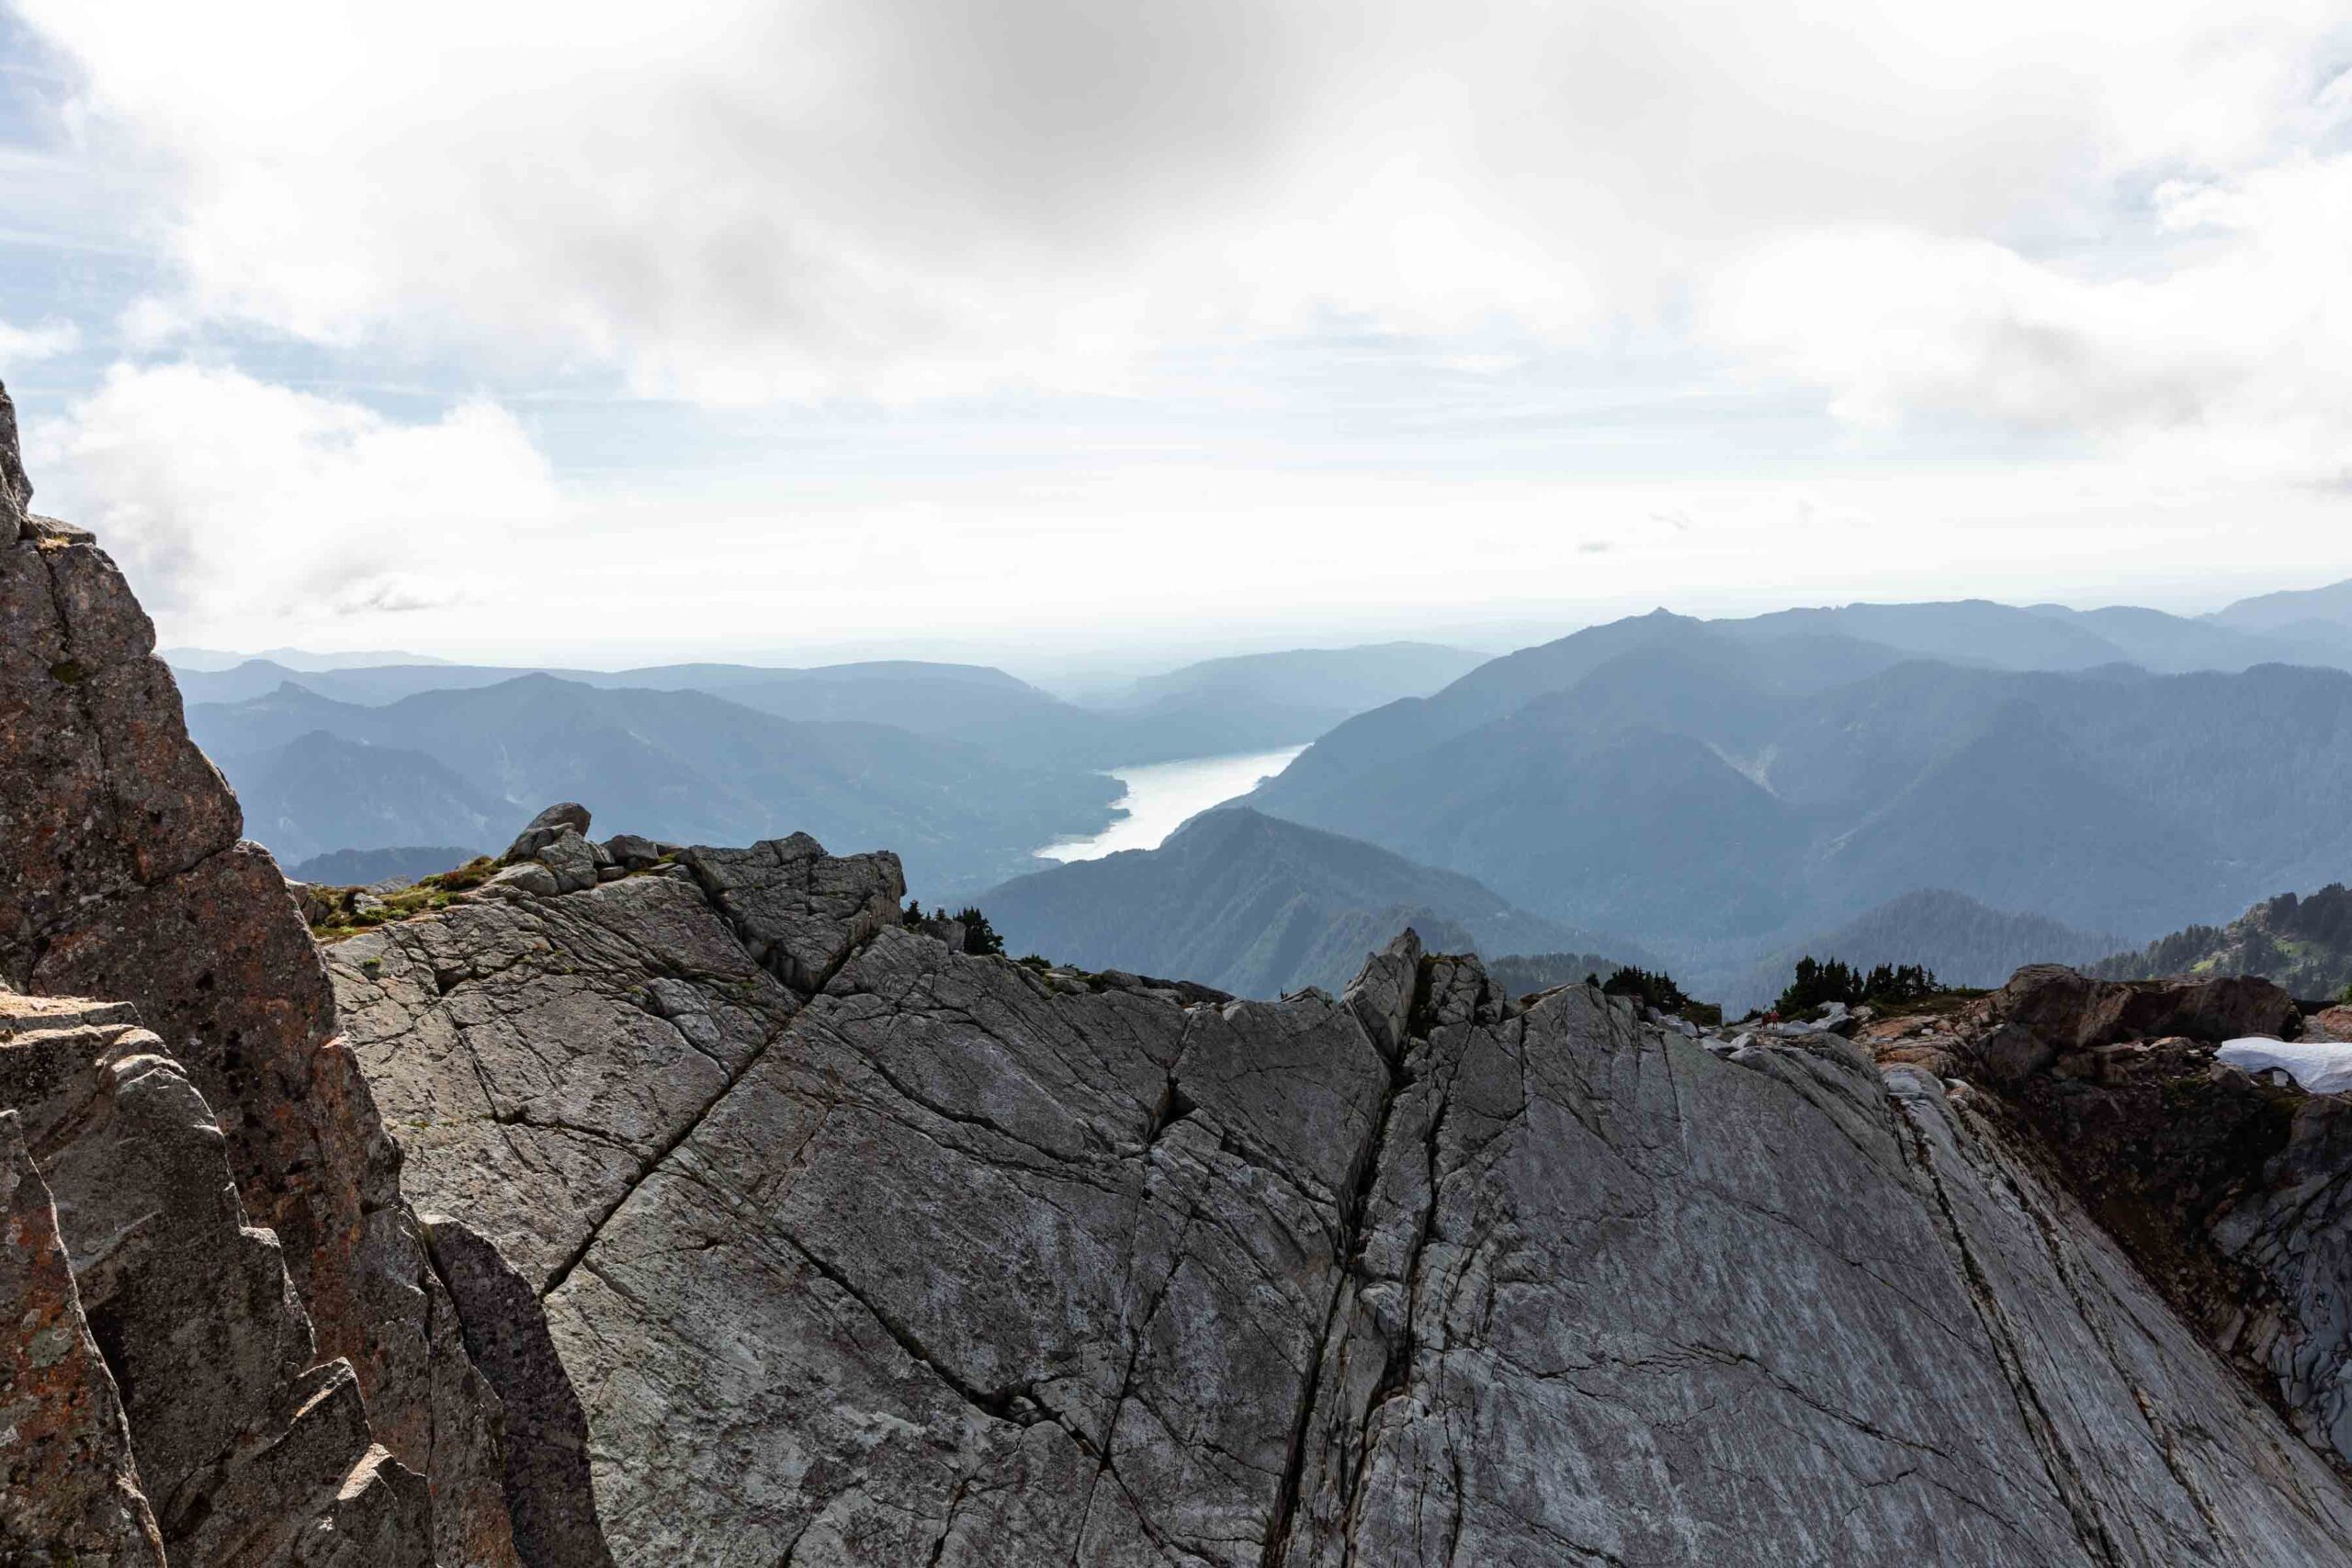
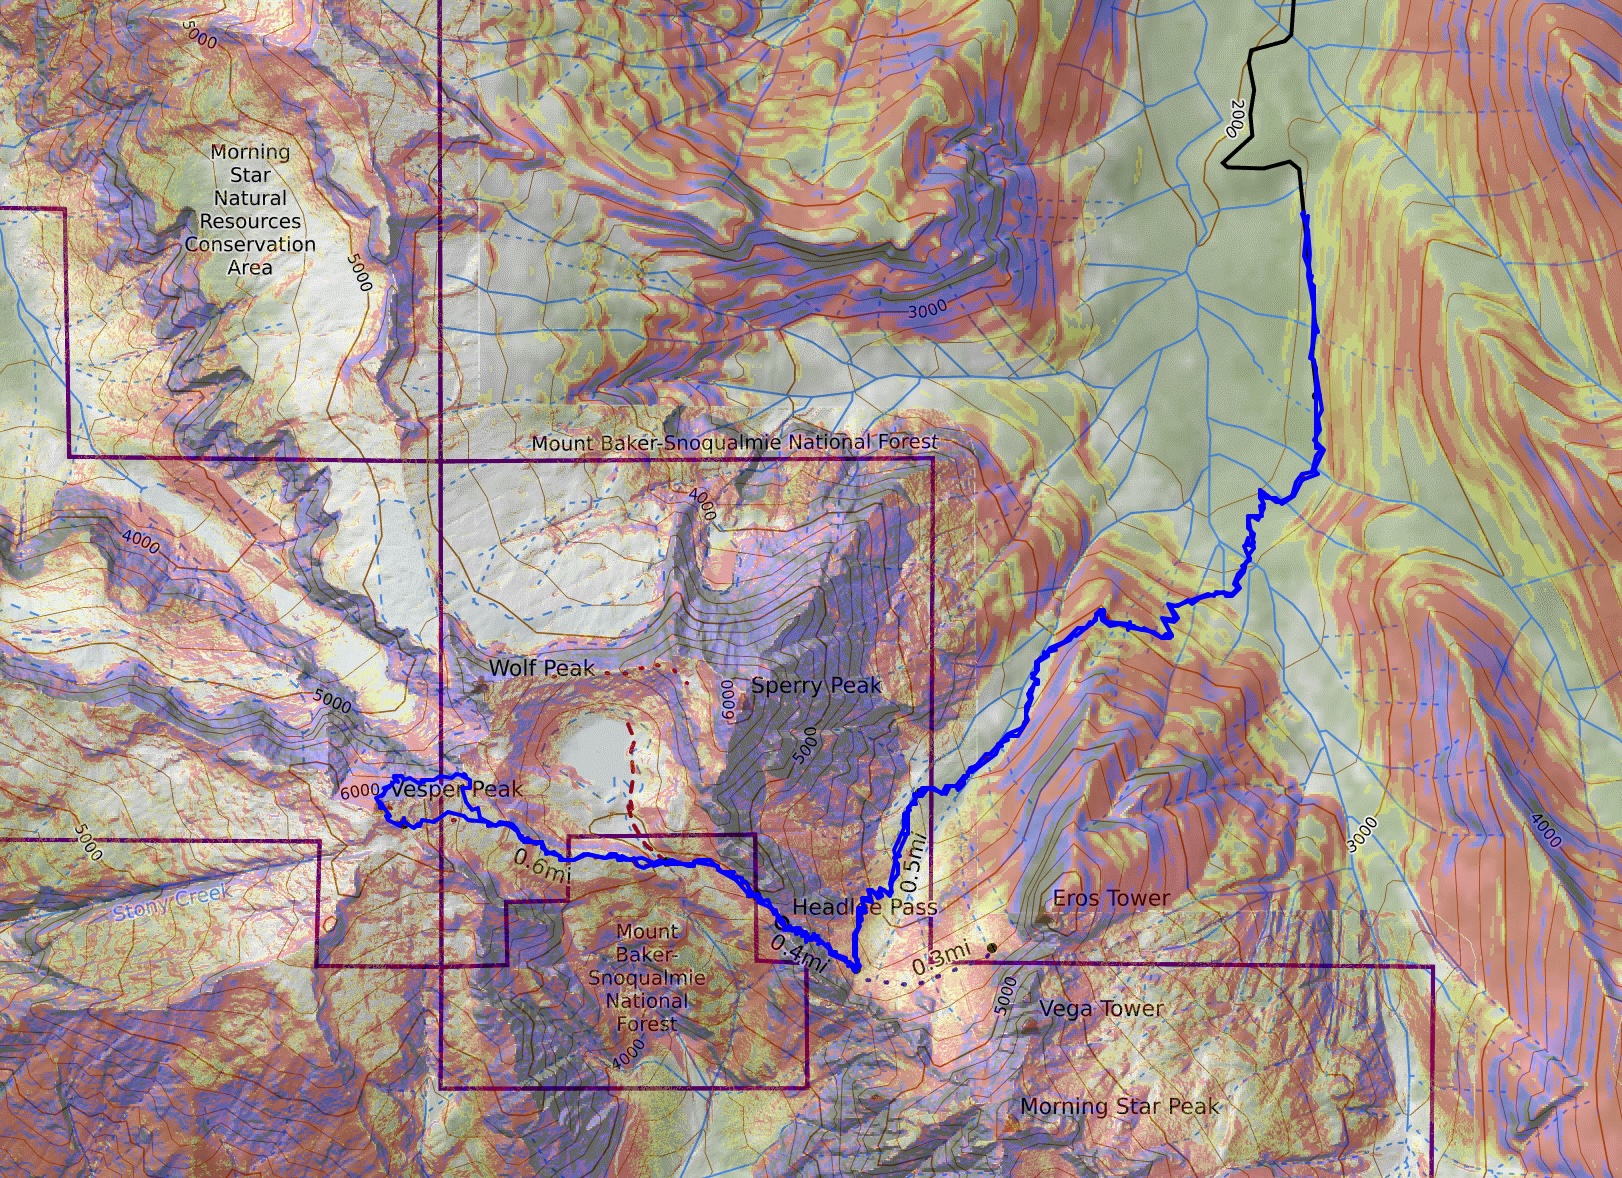
Bonus images: years of taking a photo at Headlee Pass in various conditions and times of years over the decade
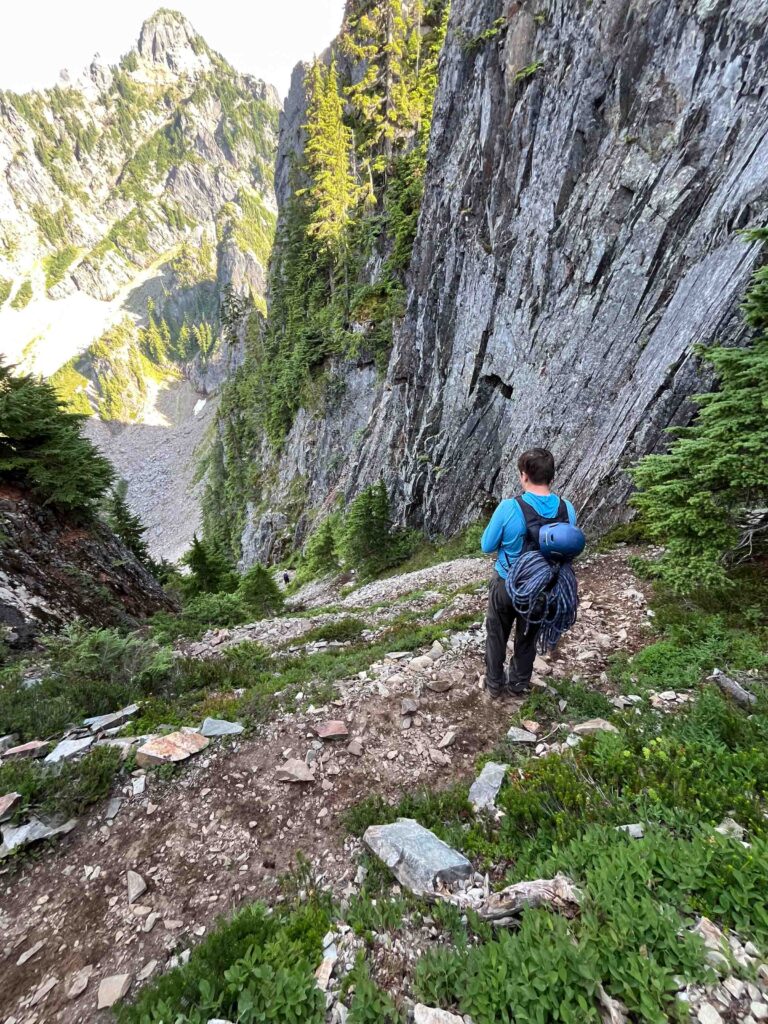
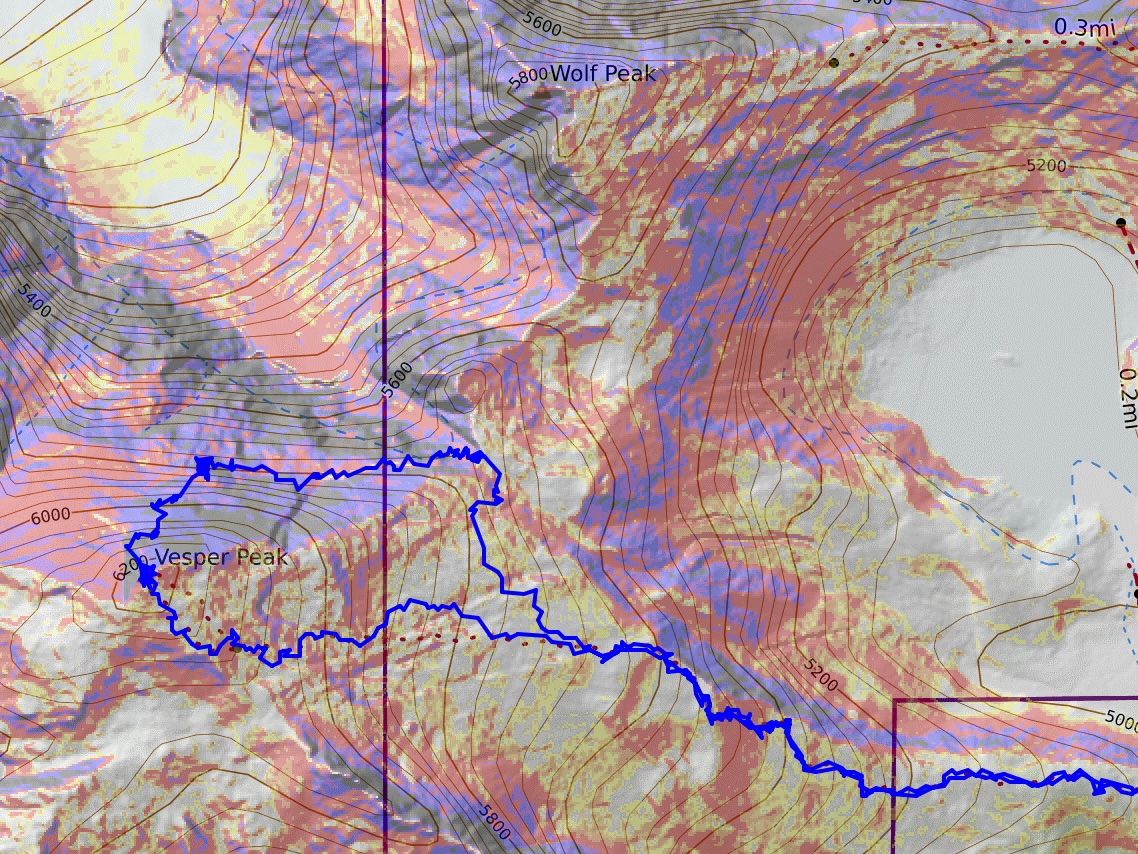
The Approach
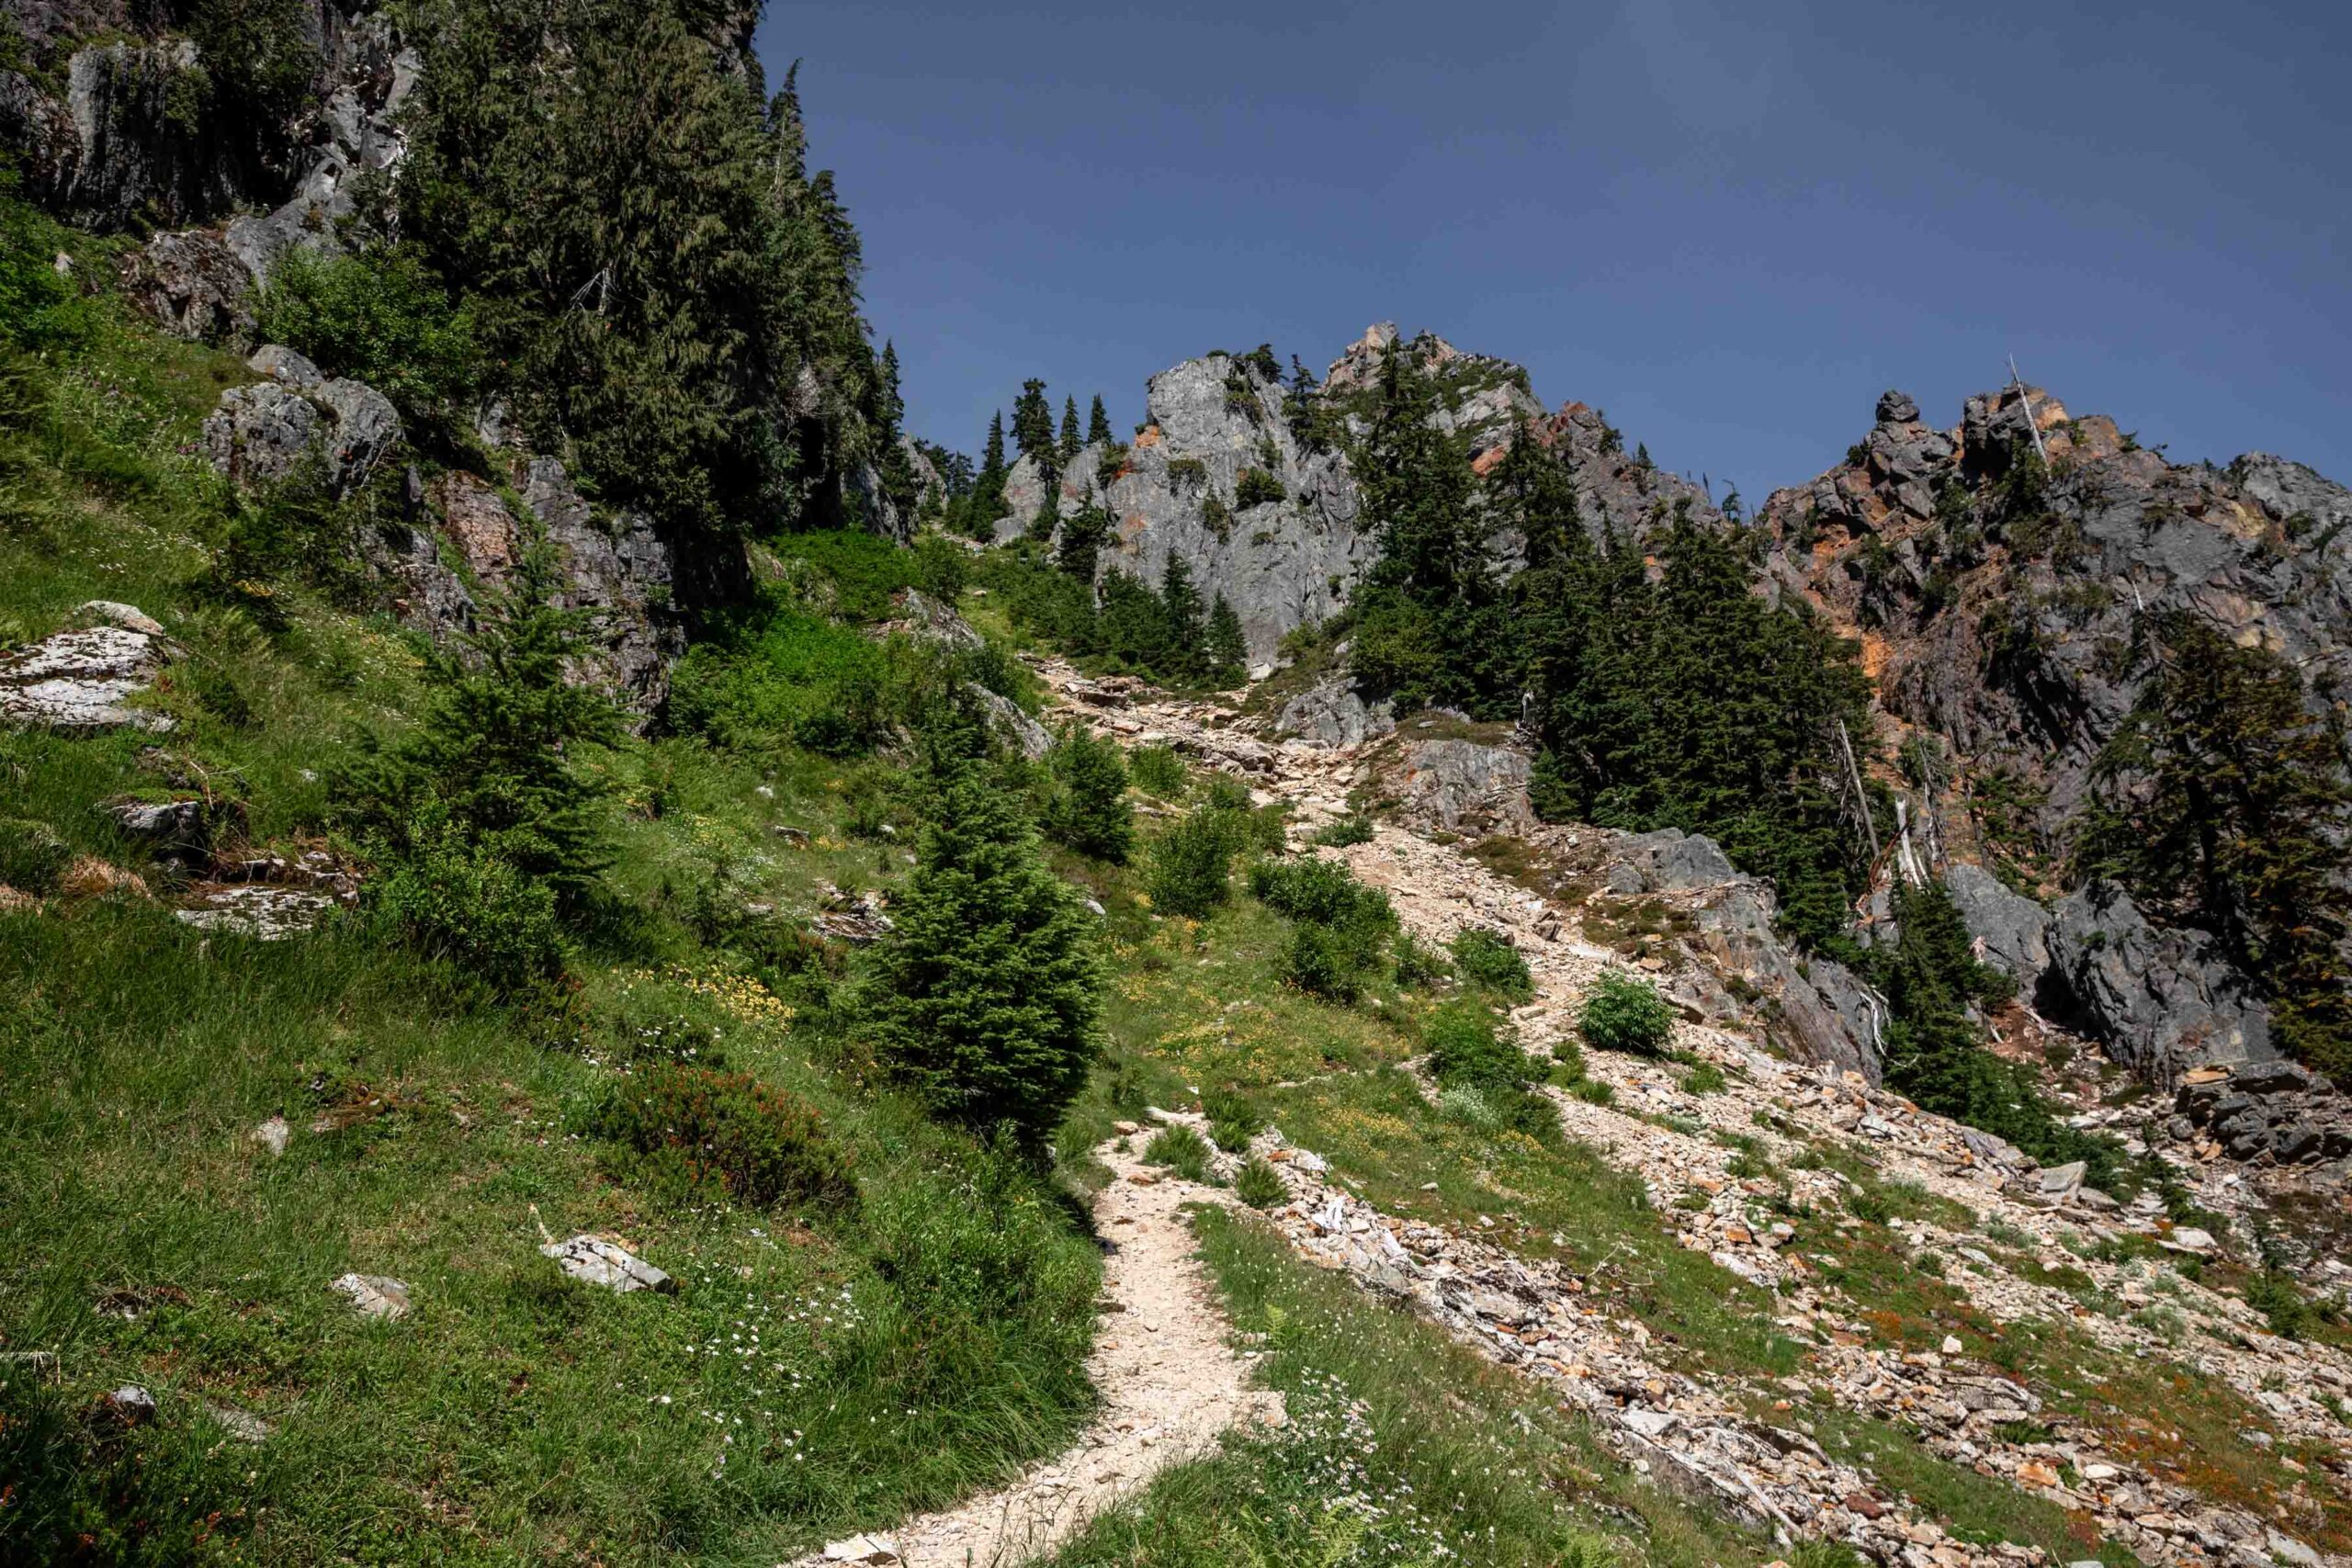
Having been up so many times, I chose not to take as many pictures of the approach or the summit, but honestly probably a little too few for a well-rounded trip report. I love that the trail starts immediately with 4 stream crossings in the woods before you enter the first basin. It’s often muggy here and hot, but it’s short lasting. A few short switchbacks later and you end up in another forest traverse before the Sunrise Mine Basin. See if you can spot the mine!
Here is when you think you might be close, but you haven’t even seen the summit. The trail is easy to lose but not too hard to track again. I think new trail work has been done here and the trail looks so well packed. You largely traverse up the right side of the basin going uphill with a couple switchbacks in trees. Eventually you’ll head toward Headlee Pass with a very obvious trail, be sure not to miss that. Staying on trail is best for minimizing knocking any rocks down.
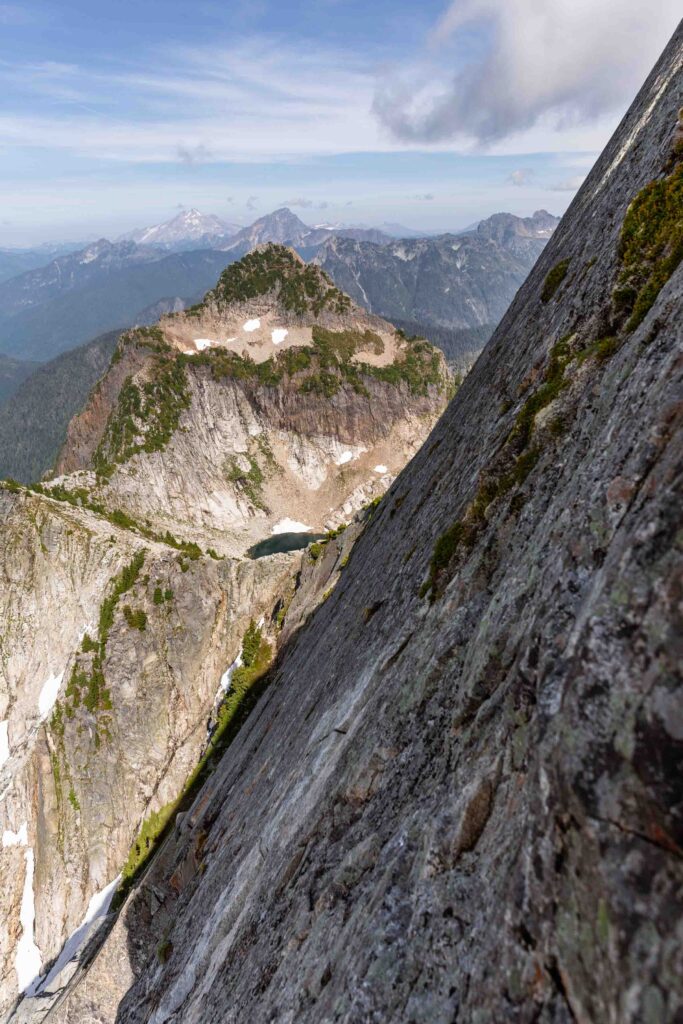
Look behind and you’ll see Morning Star Peak and Vega Tower and the well climbed Eros Tower. I love paying attention to Washington’s peak names since they’re often themed. We’ve got Vega, the brightest star in constellation Lyra, a hint at Venus as the morning star and evening star (vesper). And upon some research, I also learned that the Vega Space Program by the USSR was sent on missions to Venus. So full circle!
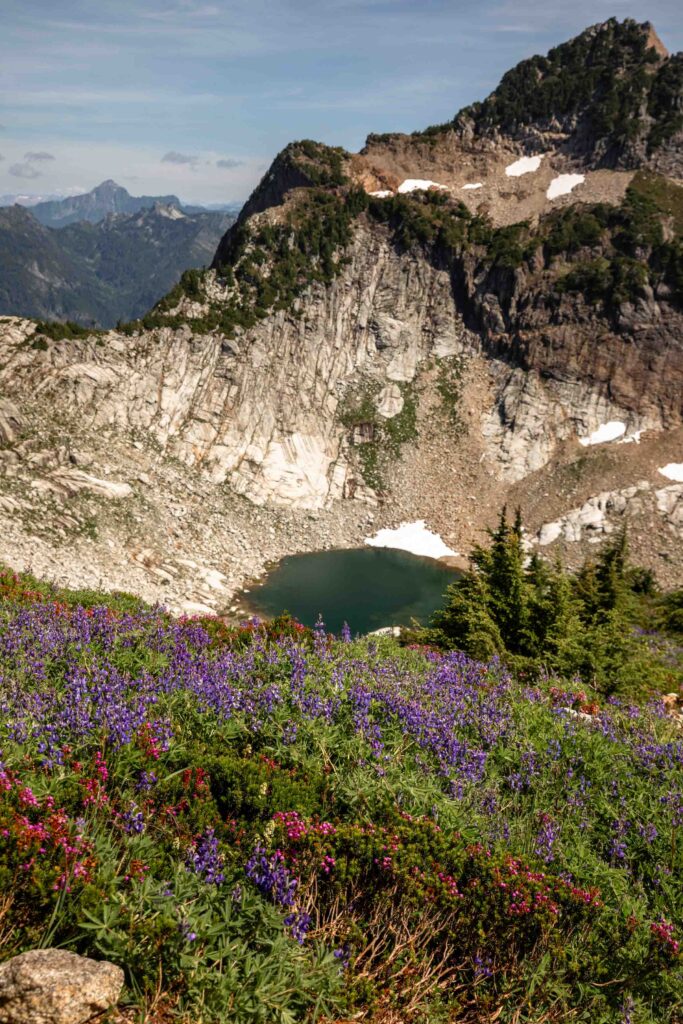
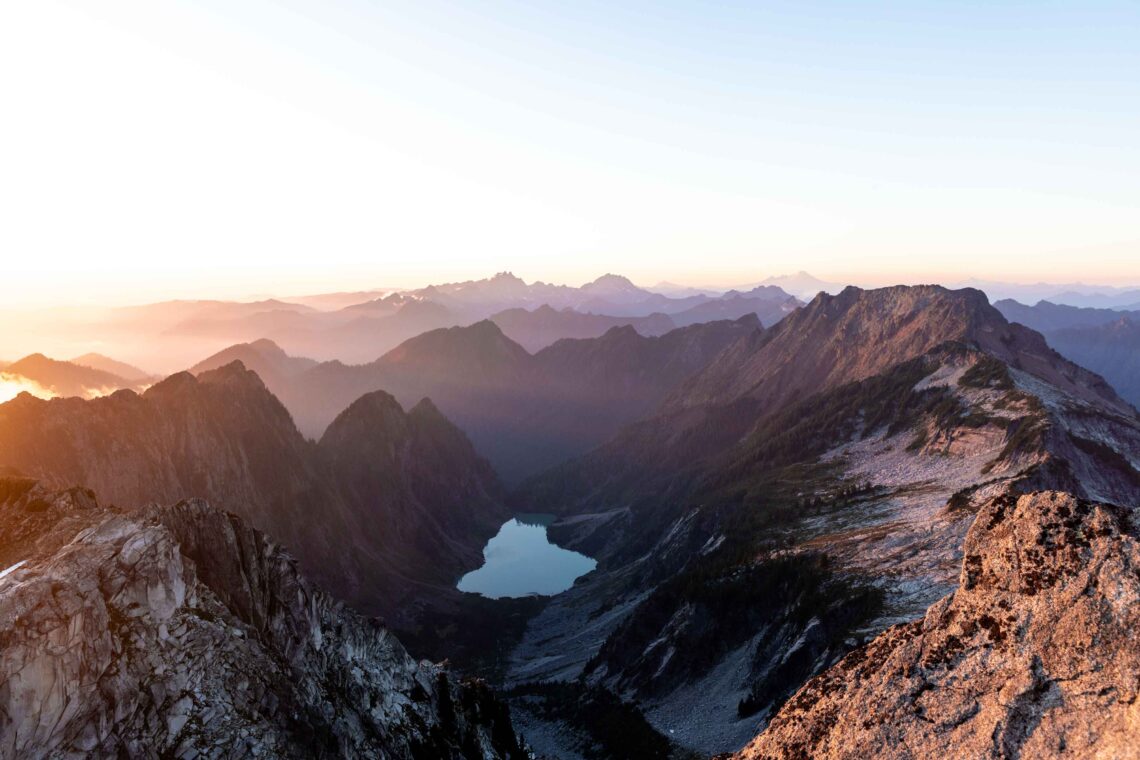
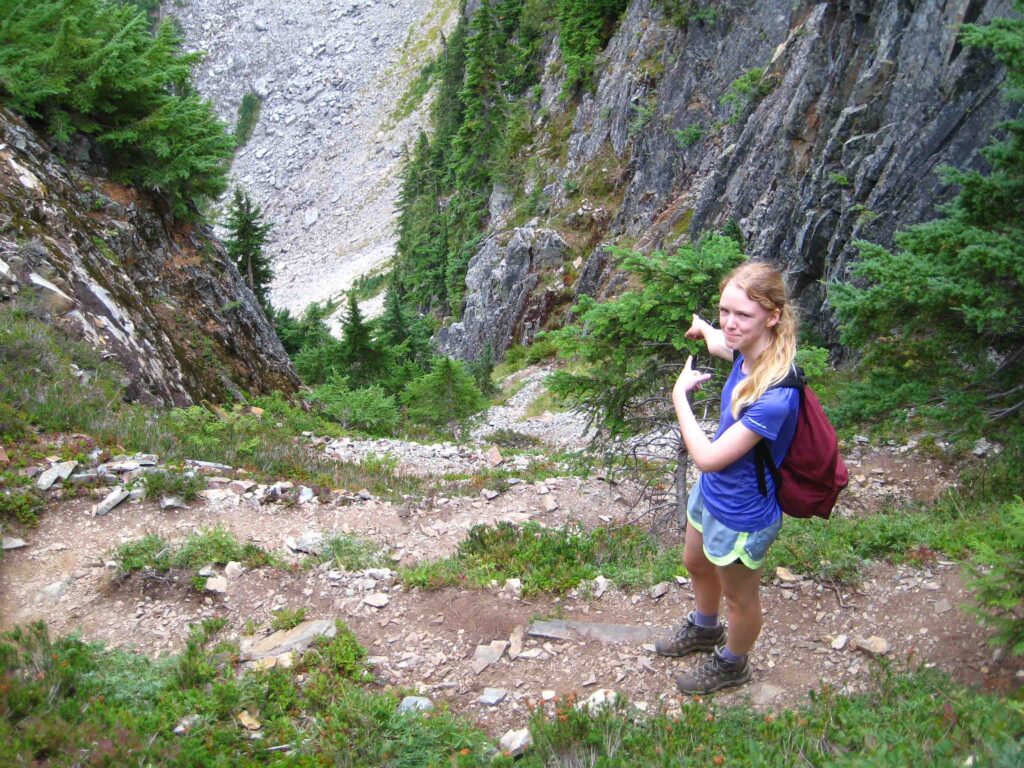
Okay so once you’ve passed Headlee Pass and everyone’s having a rough time on the tight switchbacks (it’s gotten so much better, don’t worry!), you’ll traverse over to the mouth of Vesper Lake. It’s a great spot to filter water if needed. Or camp. Or take a break if you didn’t already at Headlee.
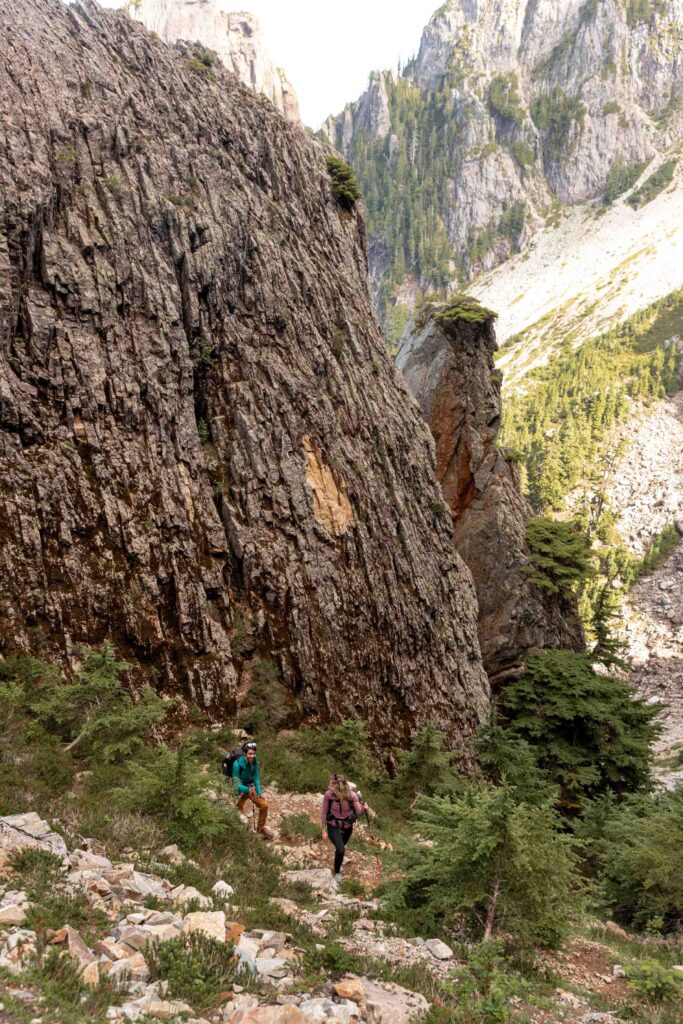
I feel like this is where approach beta gets confusing when I read it. Literally keep following the trail up to Vesper Peak because the climb itself is quite short. Don’t try to go to Sperry or Wolf. Go up Vesper and follow the trail until you’re past the trees on the ridge.
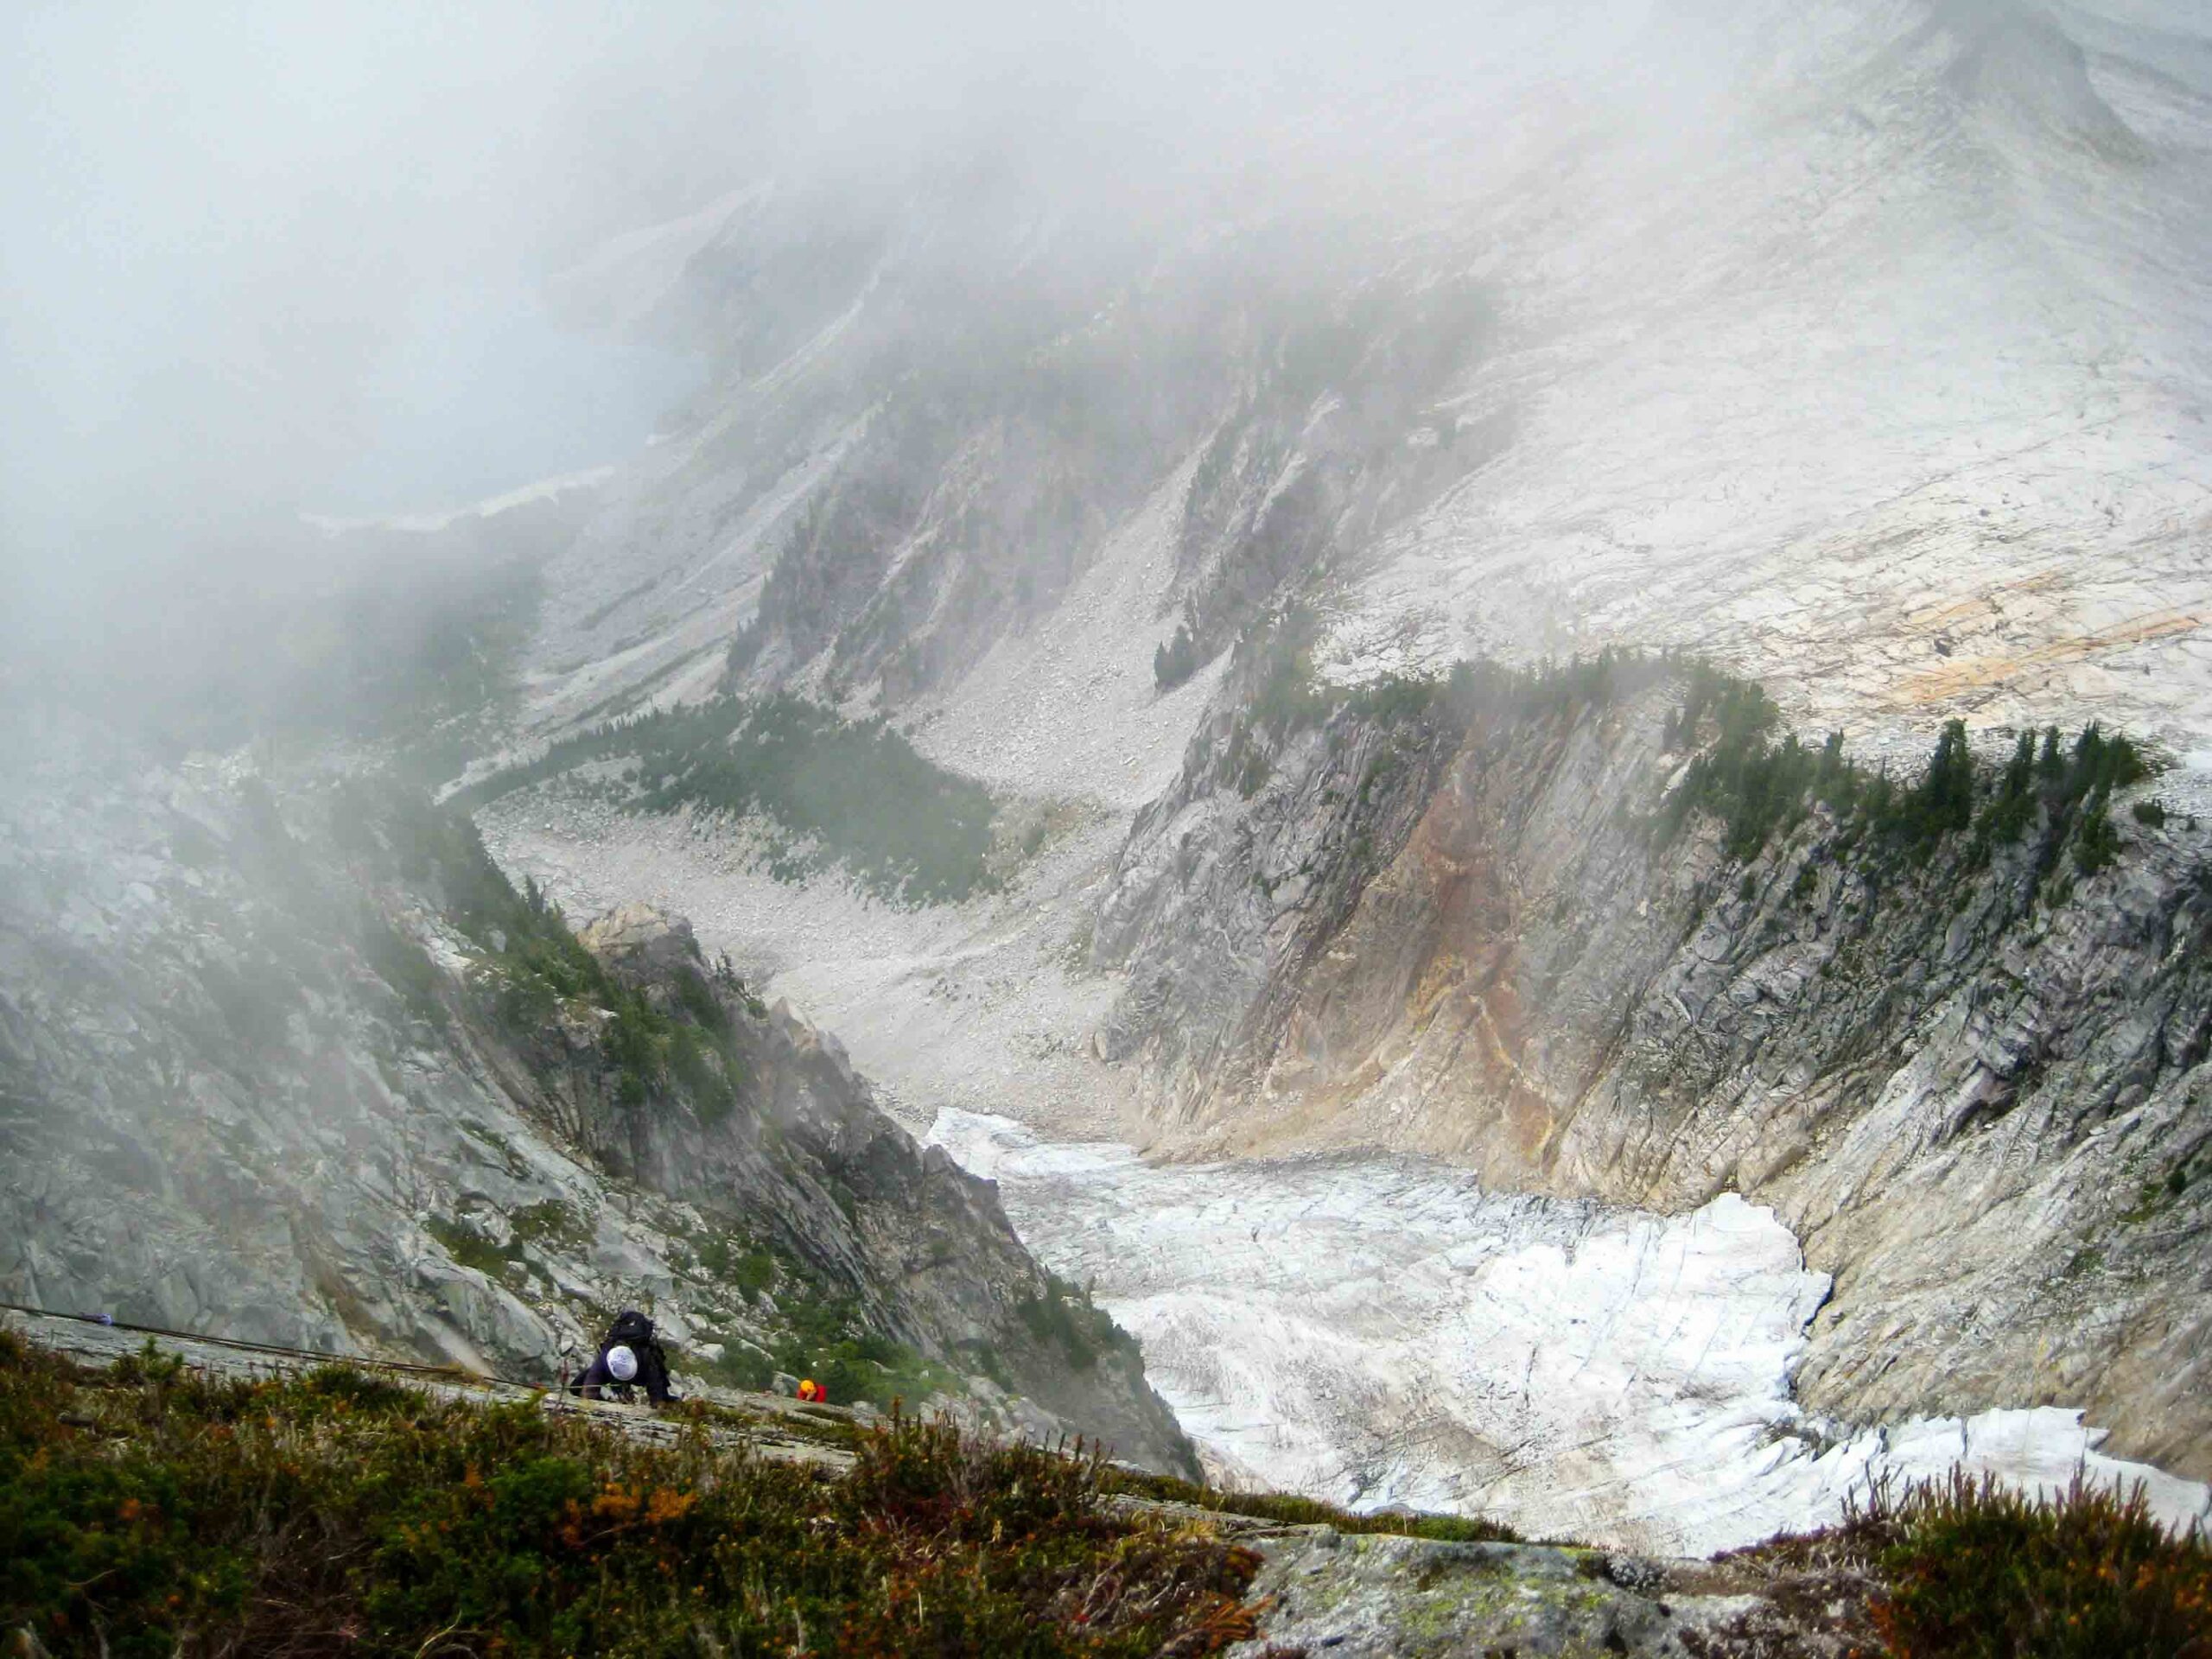
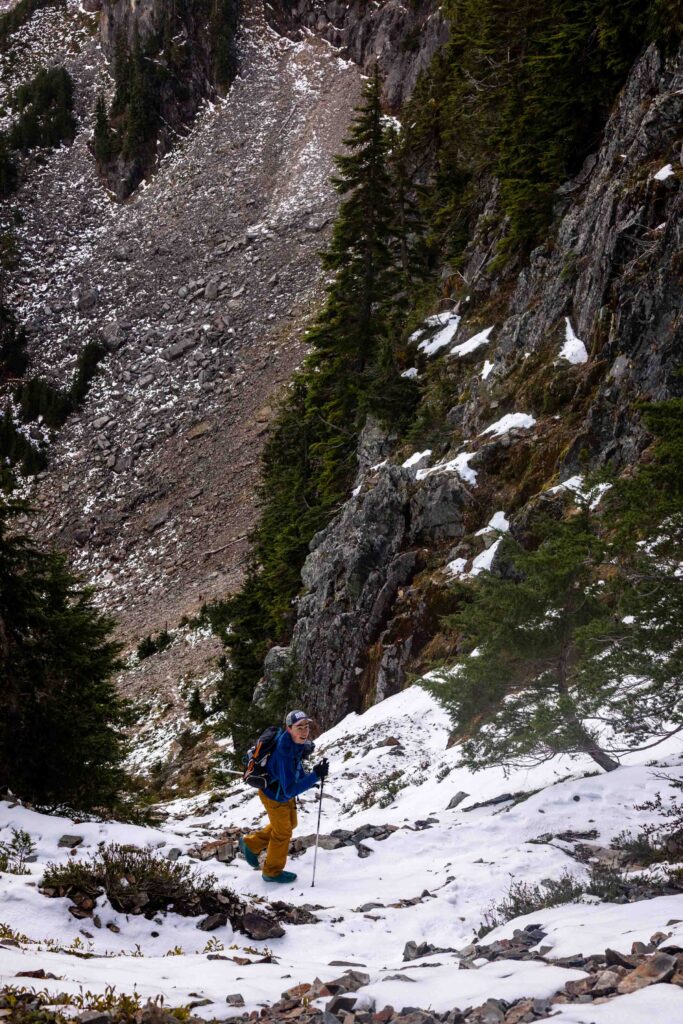
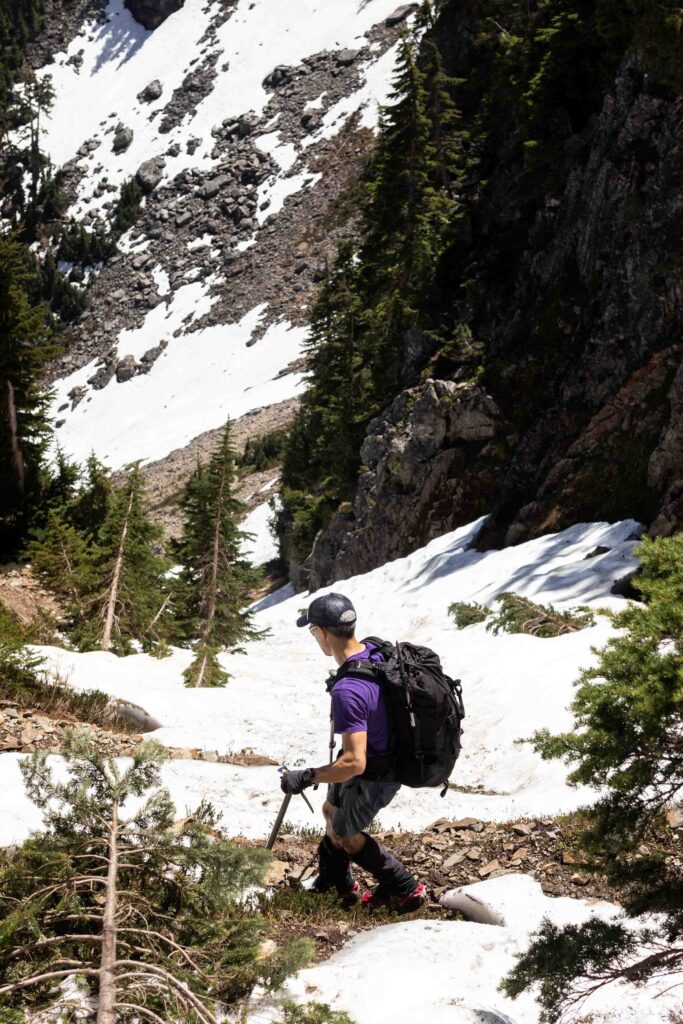
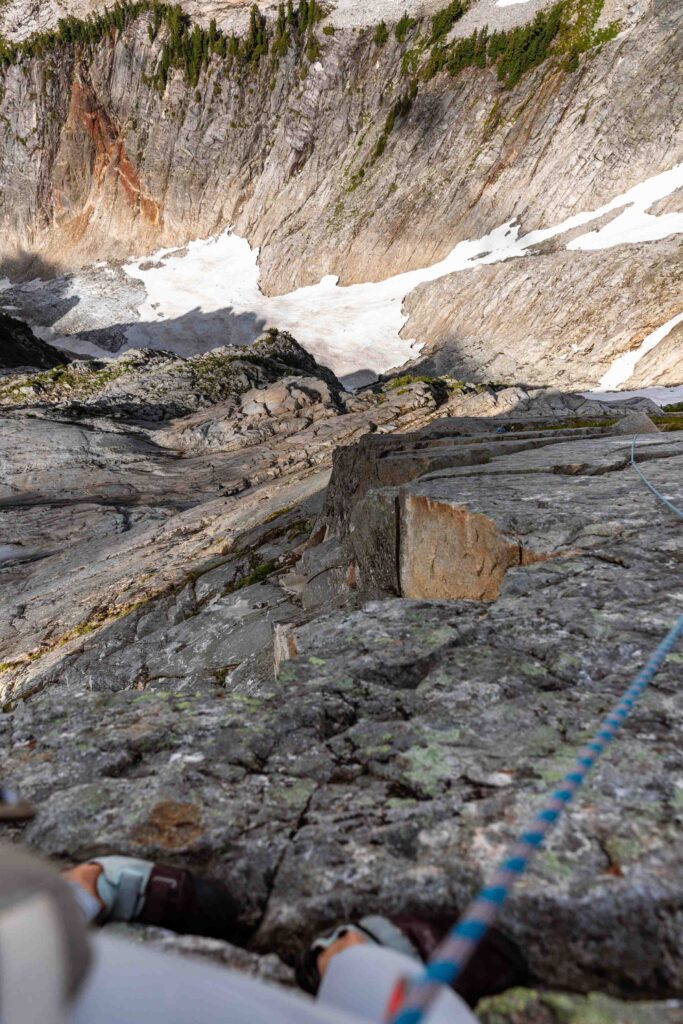
Then and only then should you start traversing north along the 5700 ft elevation band to a little notch. We ended up a little high and had to backtrack down but found cairns that were helpful. I was so amazed to see that there indeed is a little pathway to walk beneath all the granite slab. Years of hiking this peak and looking down at the route it seemed entirely impossible.
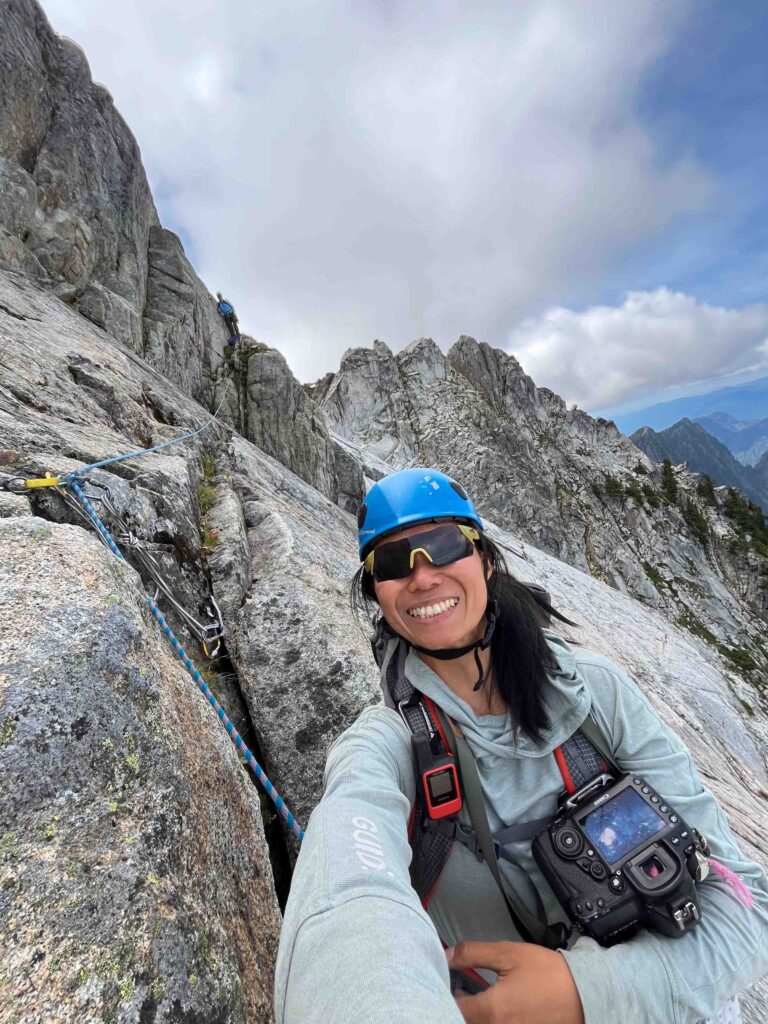
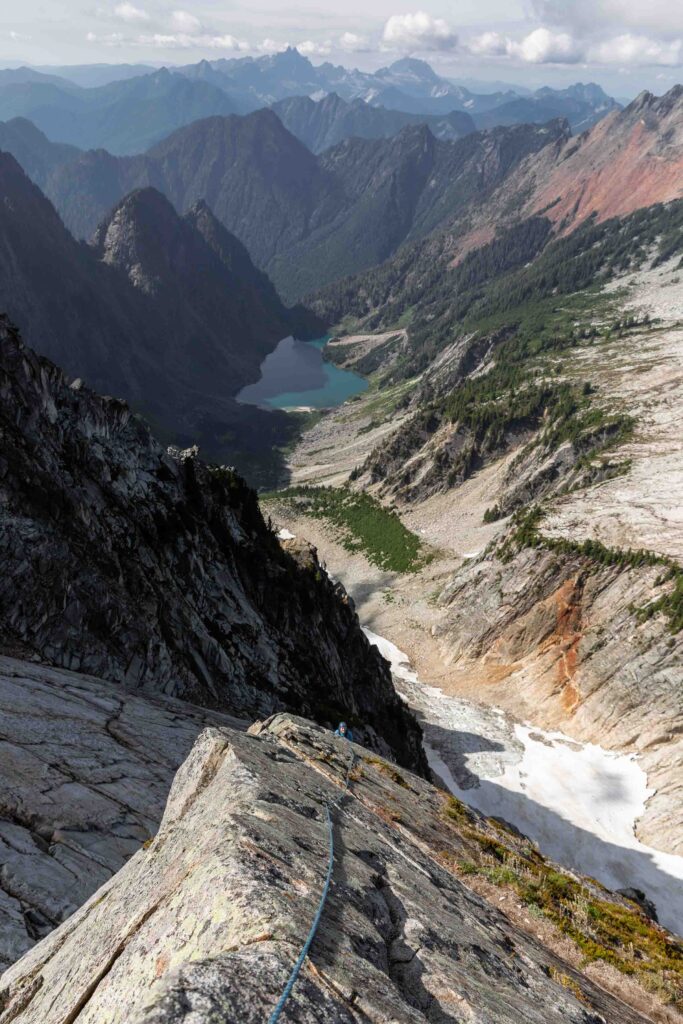
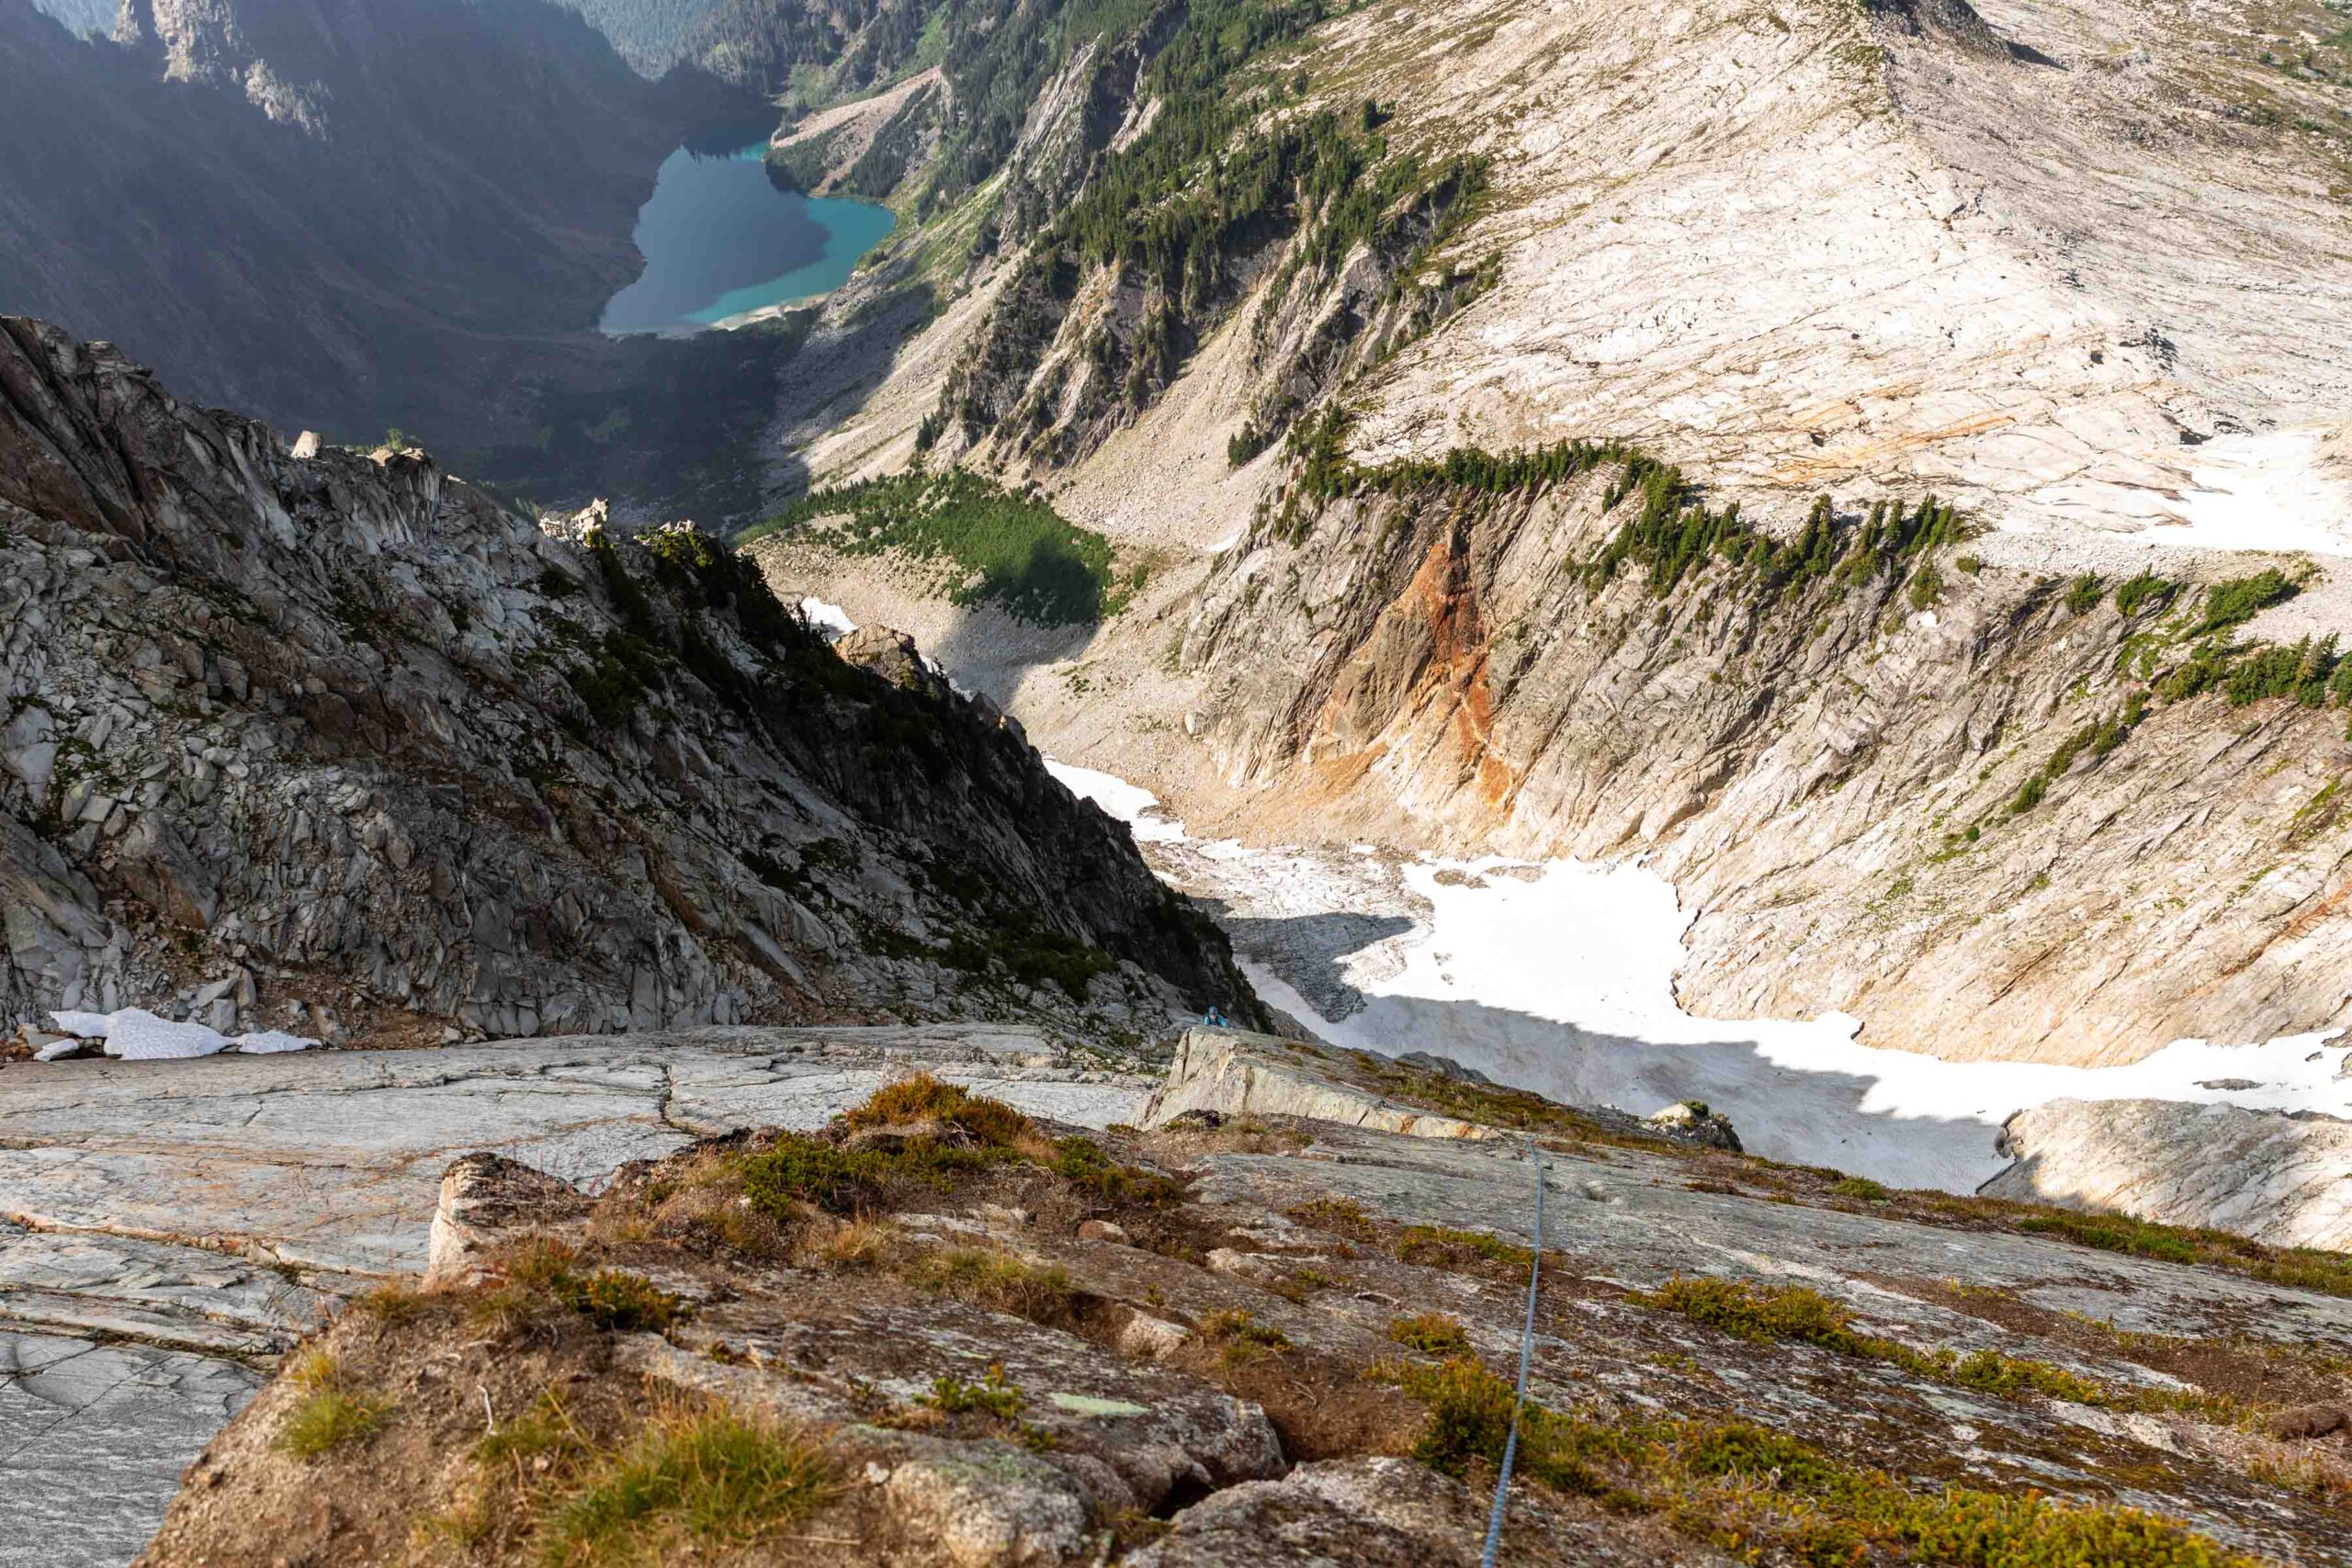
Follow the trail as far as it goes. We intended to try the alternate route but ended up on the original start, which was not a bad mistake! The exposure is real and I love exposure, so it didn’t faze me as much as I expected it would. I still had to keep myself grounded and secure on good platforms. Let’s dive into the climb!
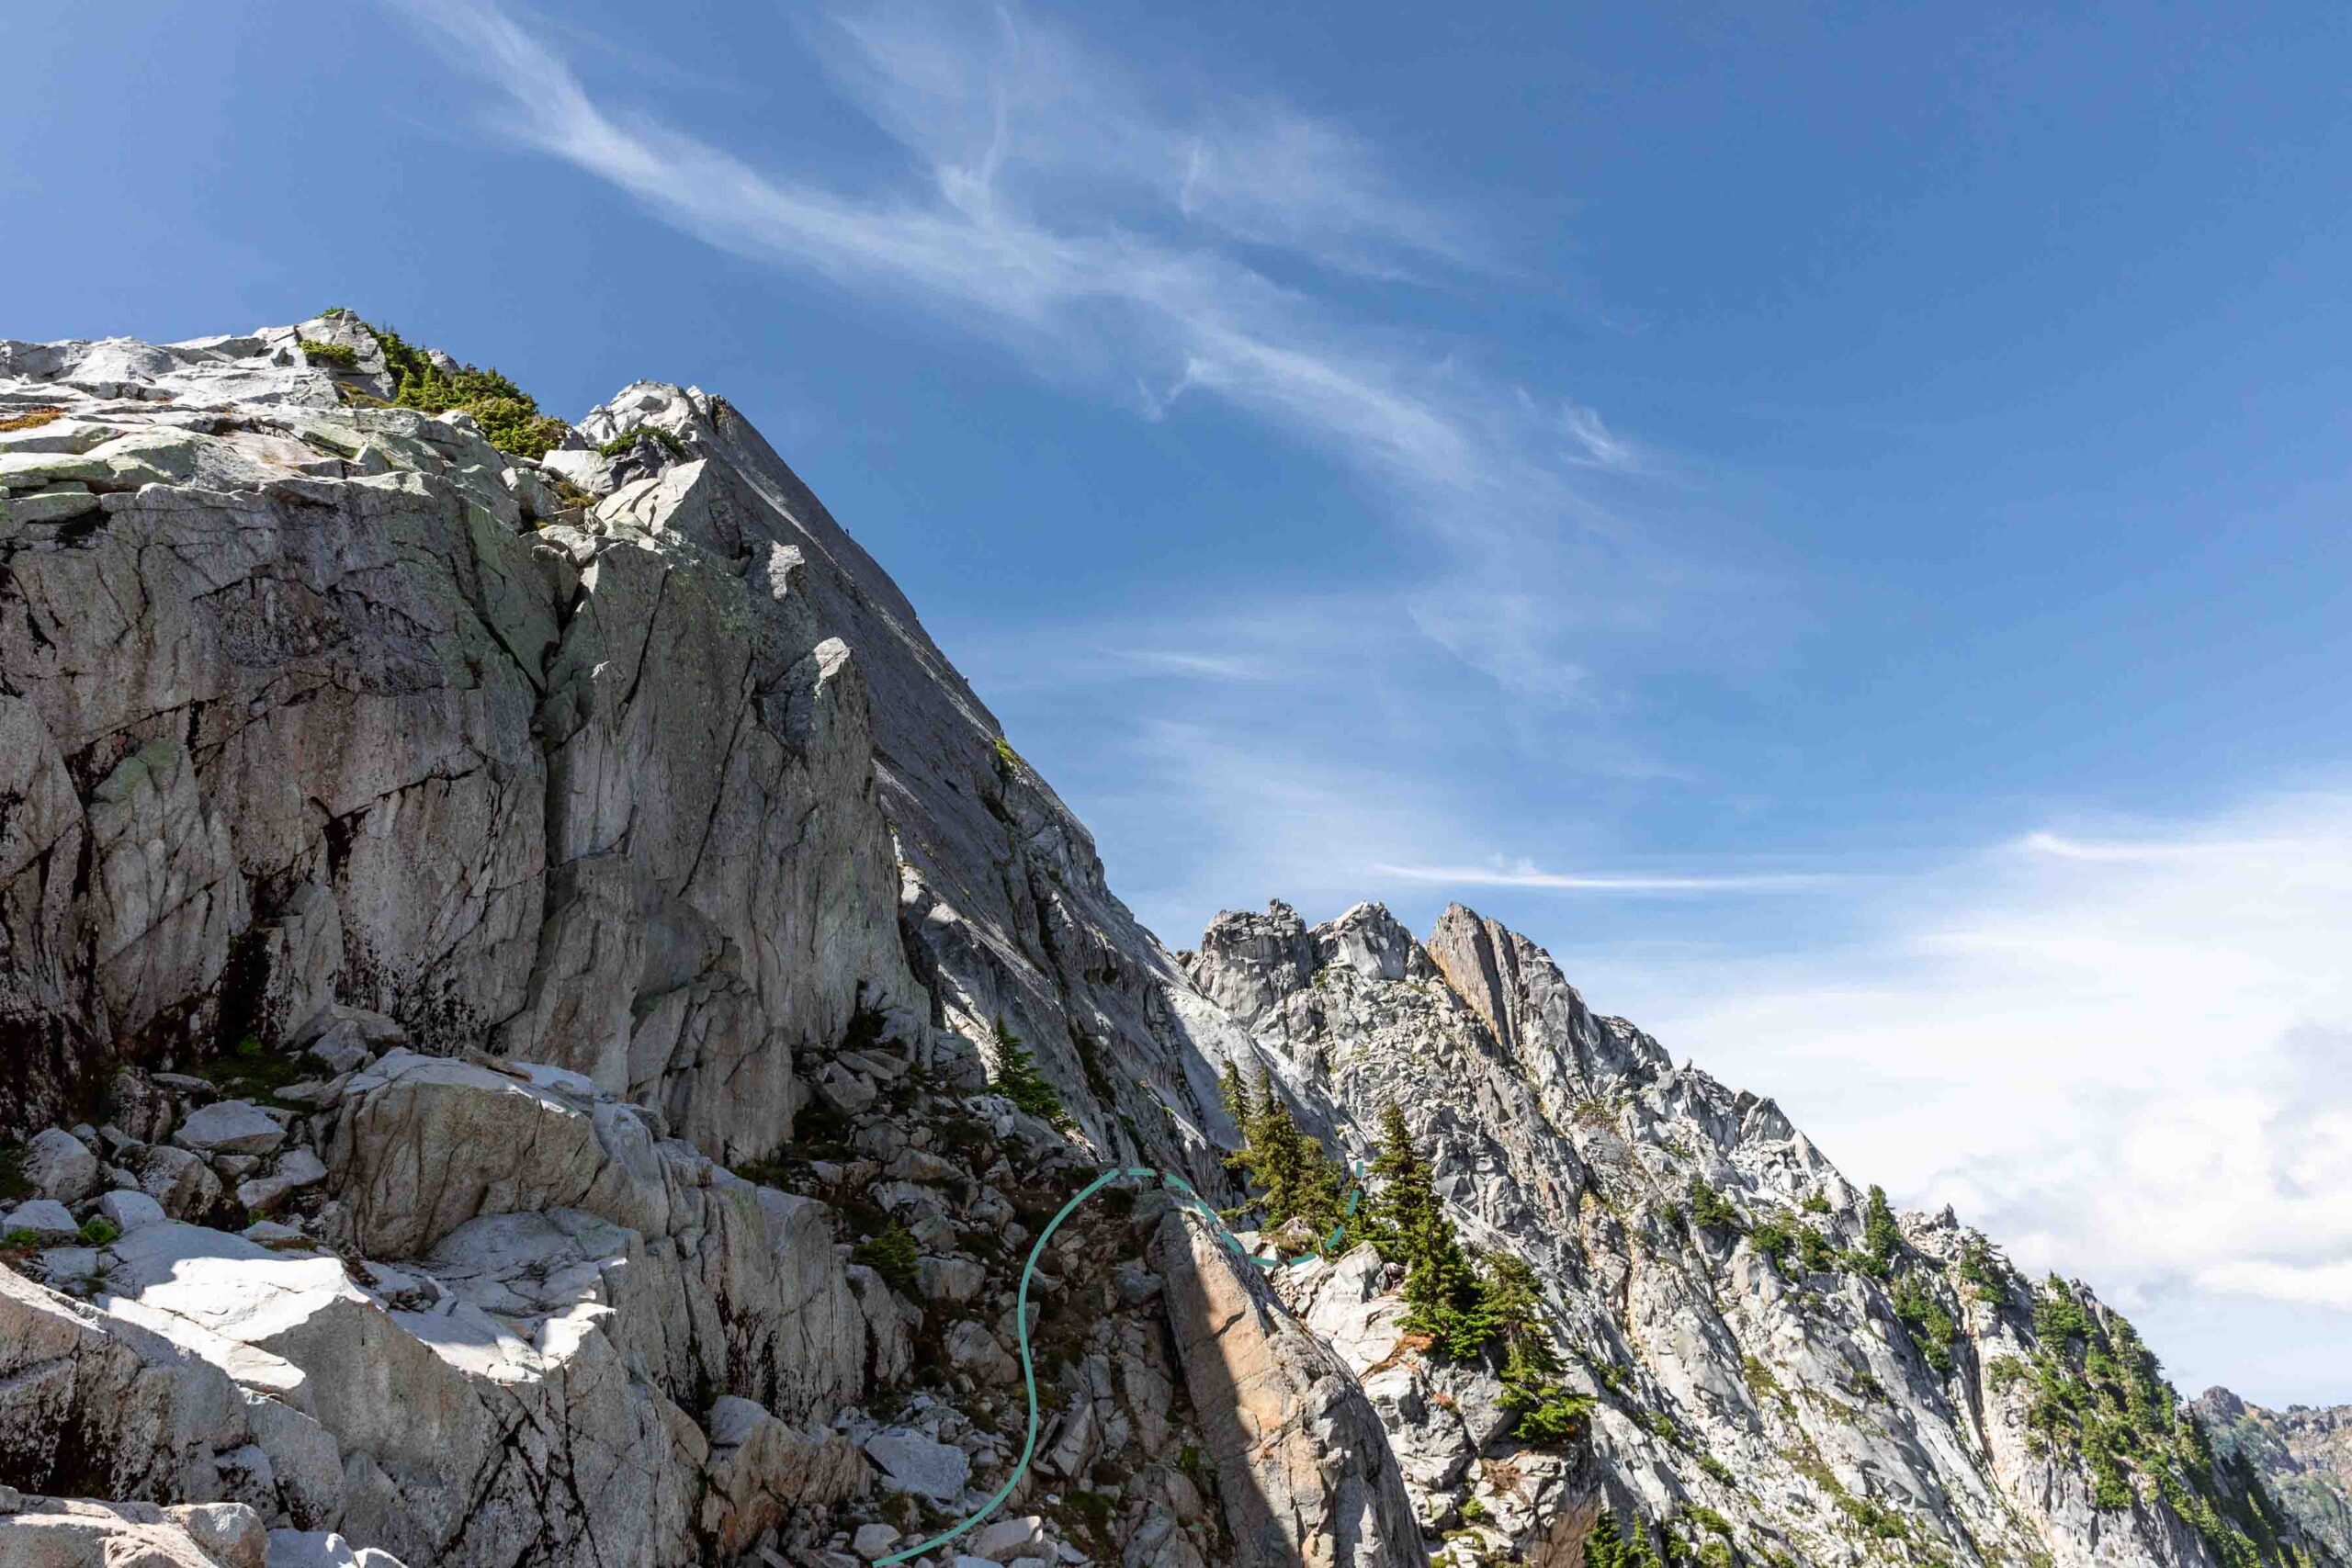
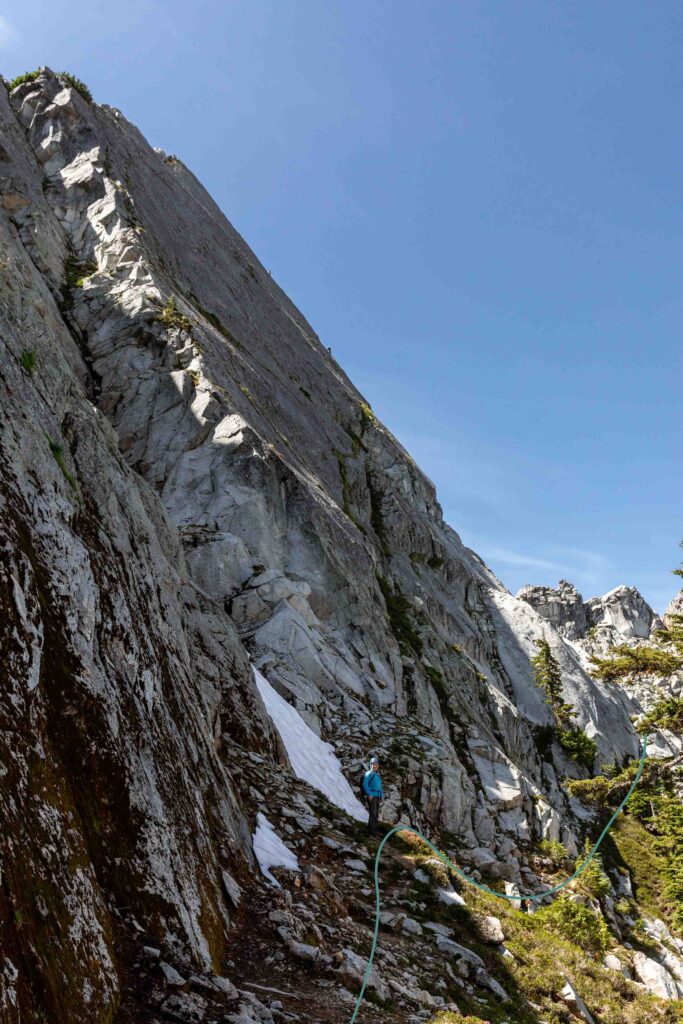
Pitch 1: Low 5th into 3rd class
This was a pretty easy start and a great way to easy into the climb. It ends up very run out as it traverse on easy slab walking. We ended up setting a trad anchor but you can definitely continue through the second pitch in one go with a 70m rope.
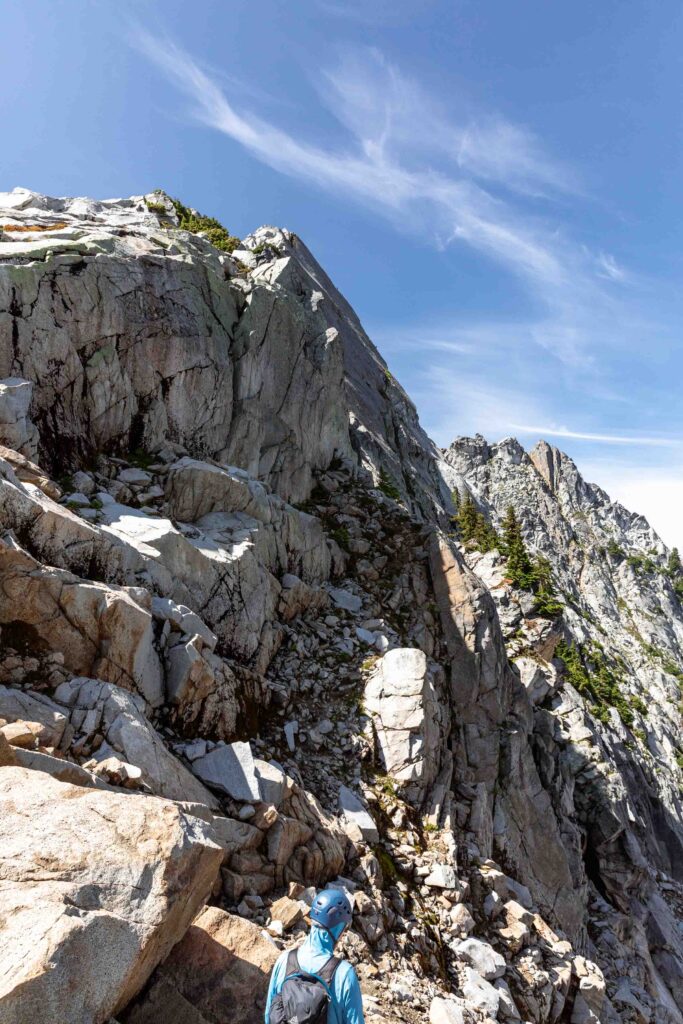
Pitch 2: 45 feet of class 4 walking a ledge
Exactly what it says. Easy but can get a little heady. It seemed like leading was easier than following due to the way the rope drags. There are bolted anchors here right above the notch you climb up.
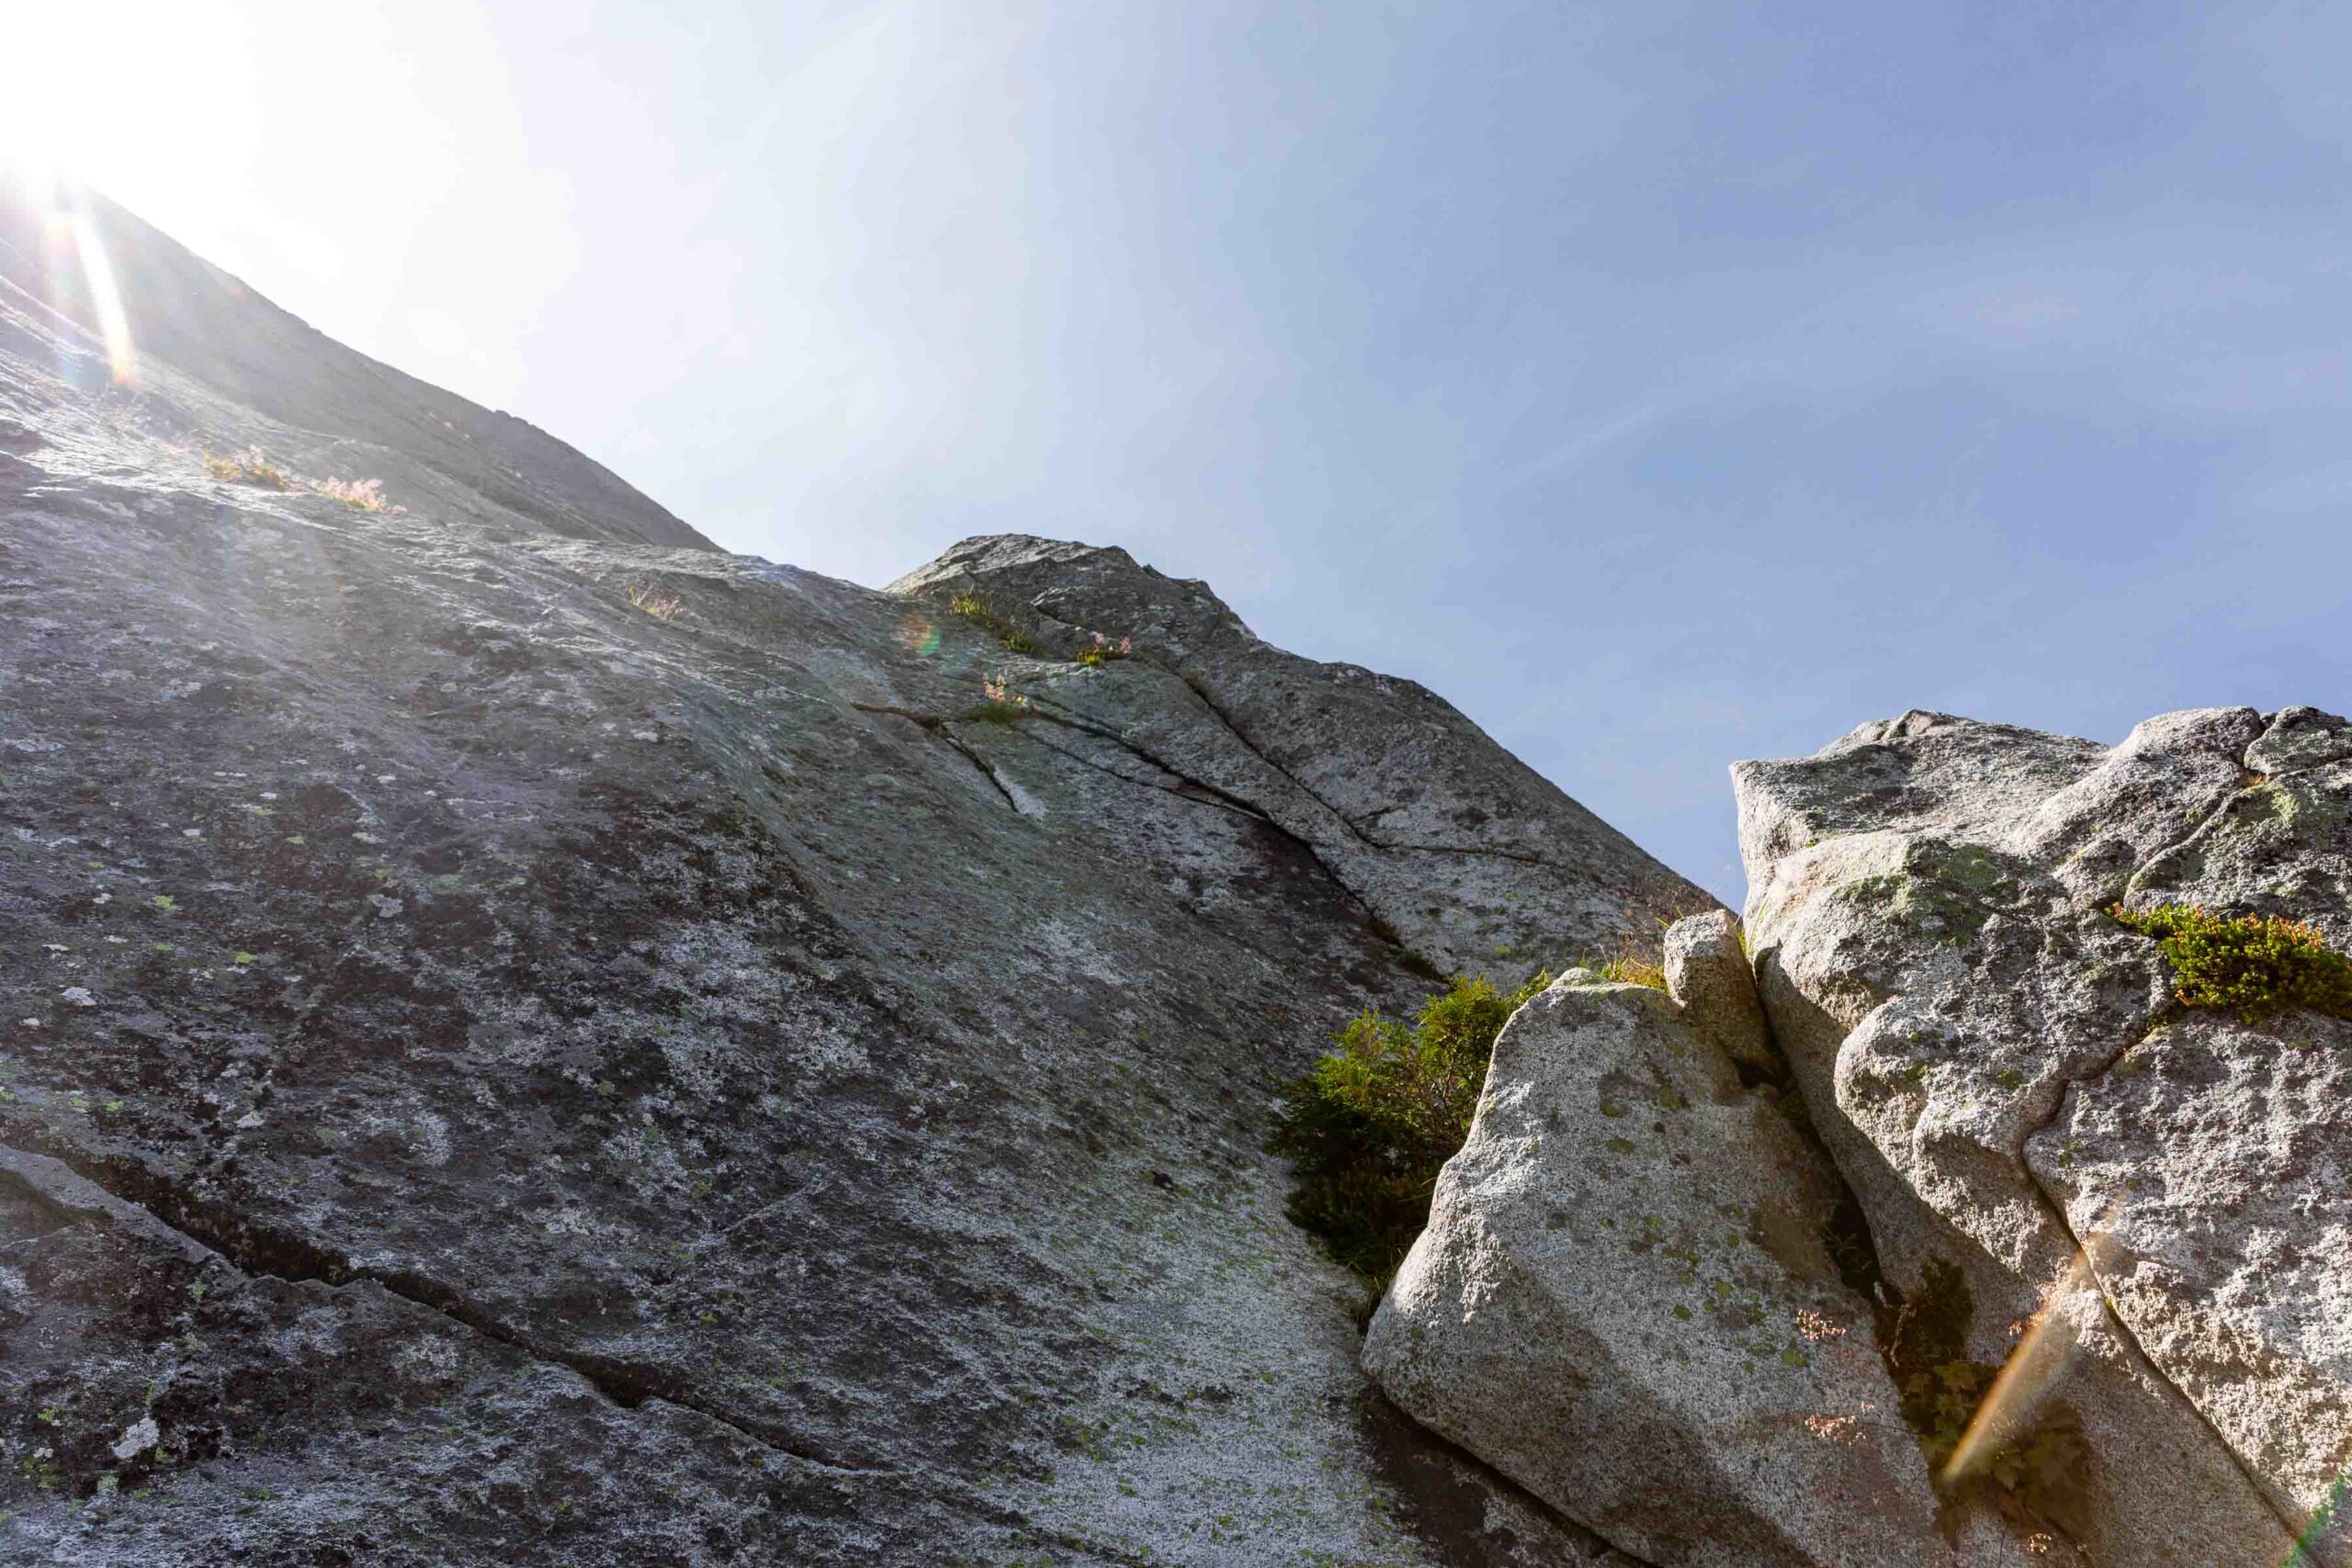
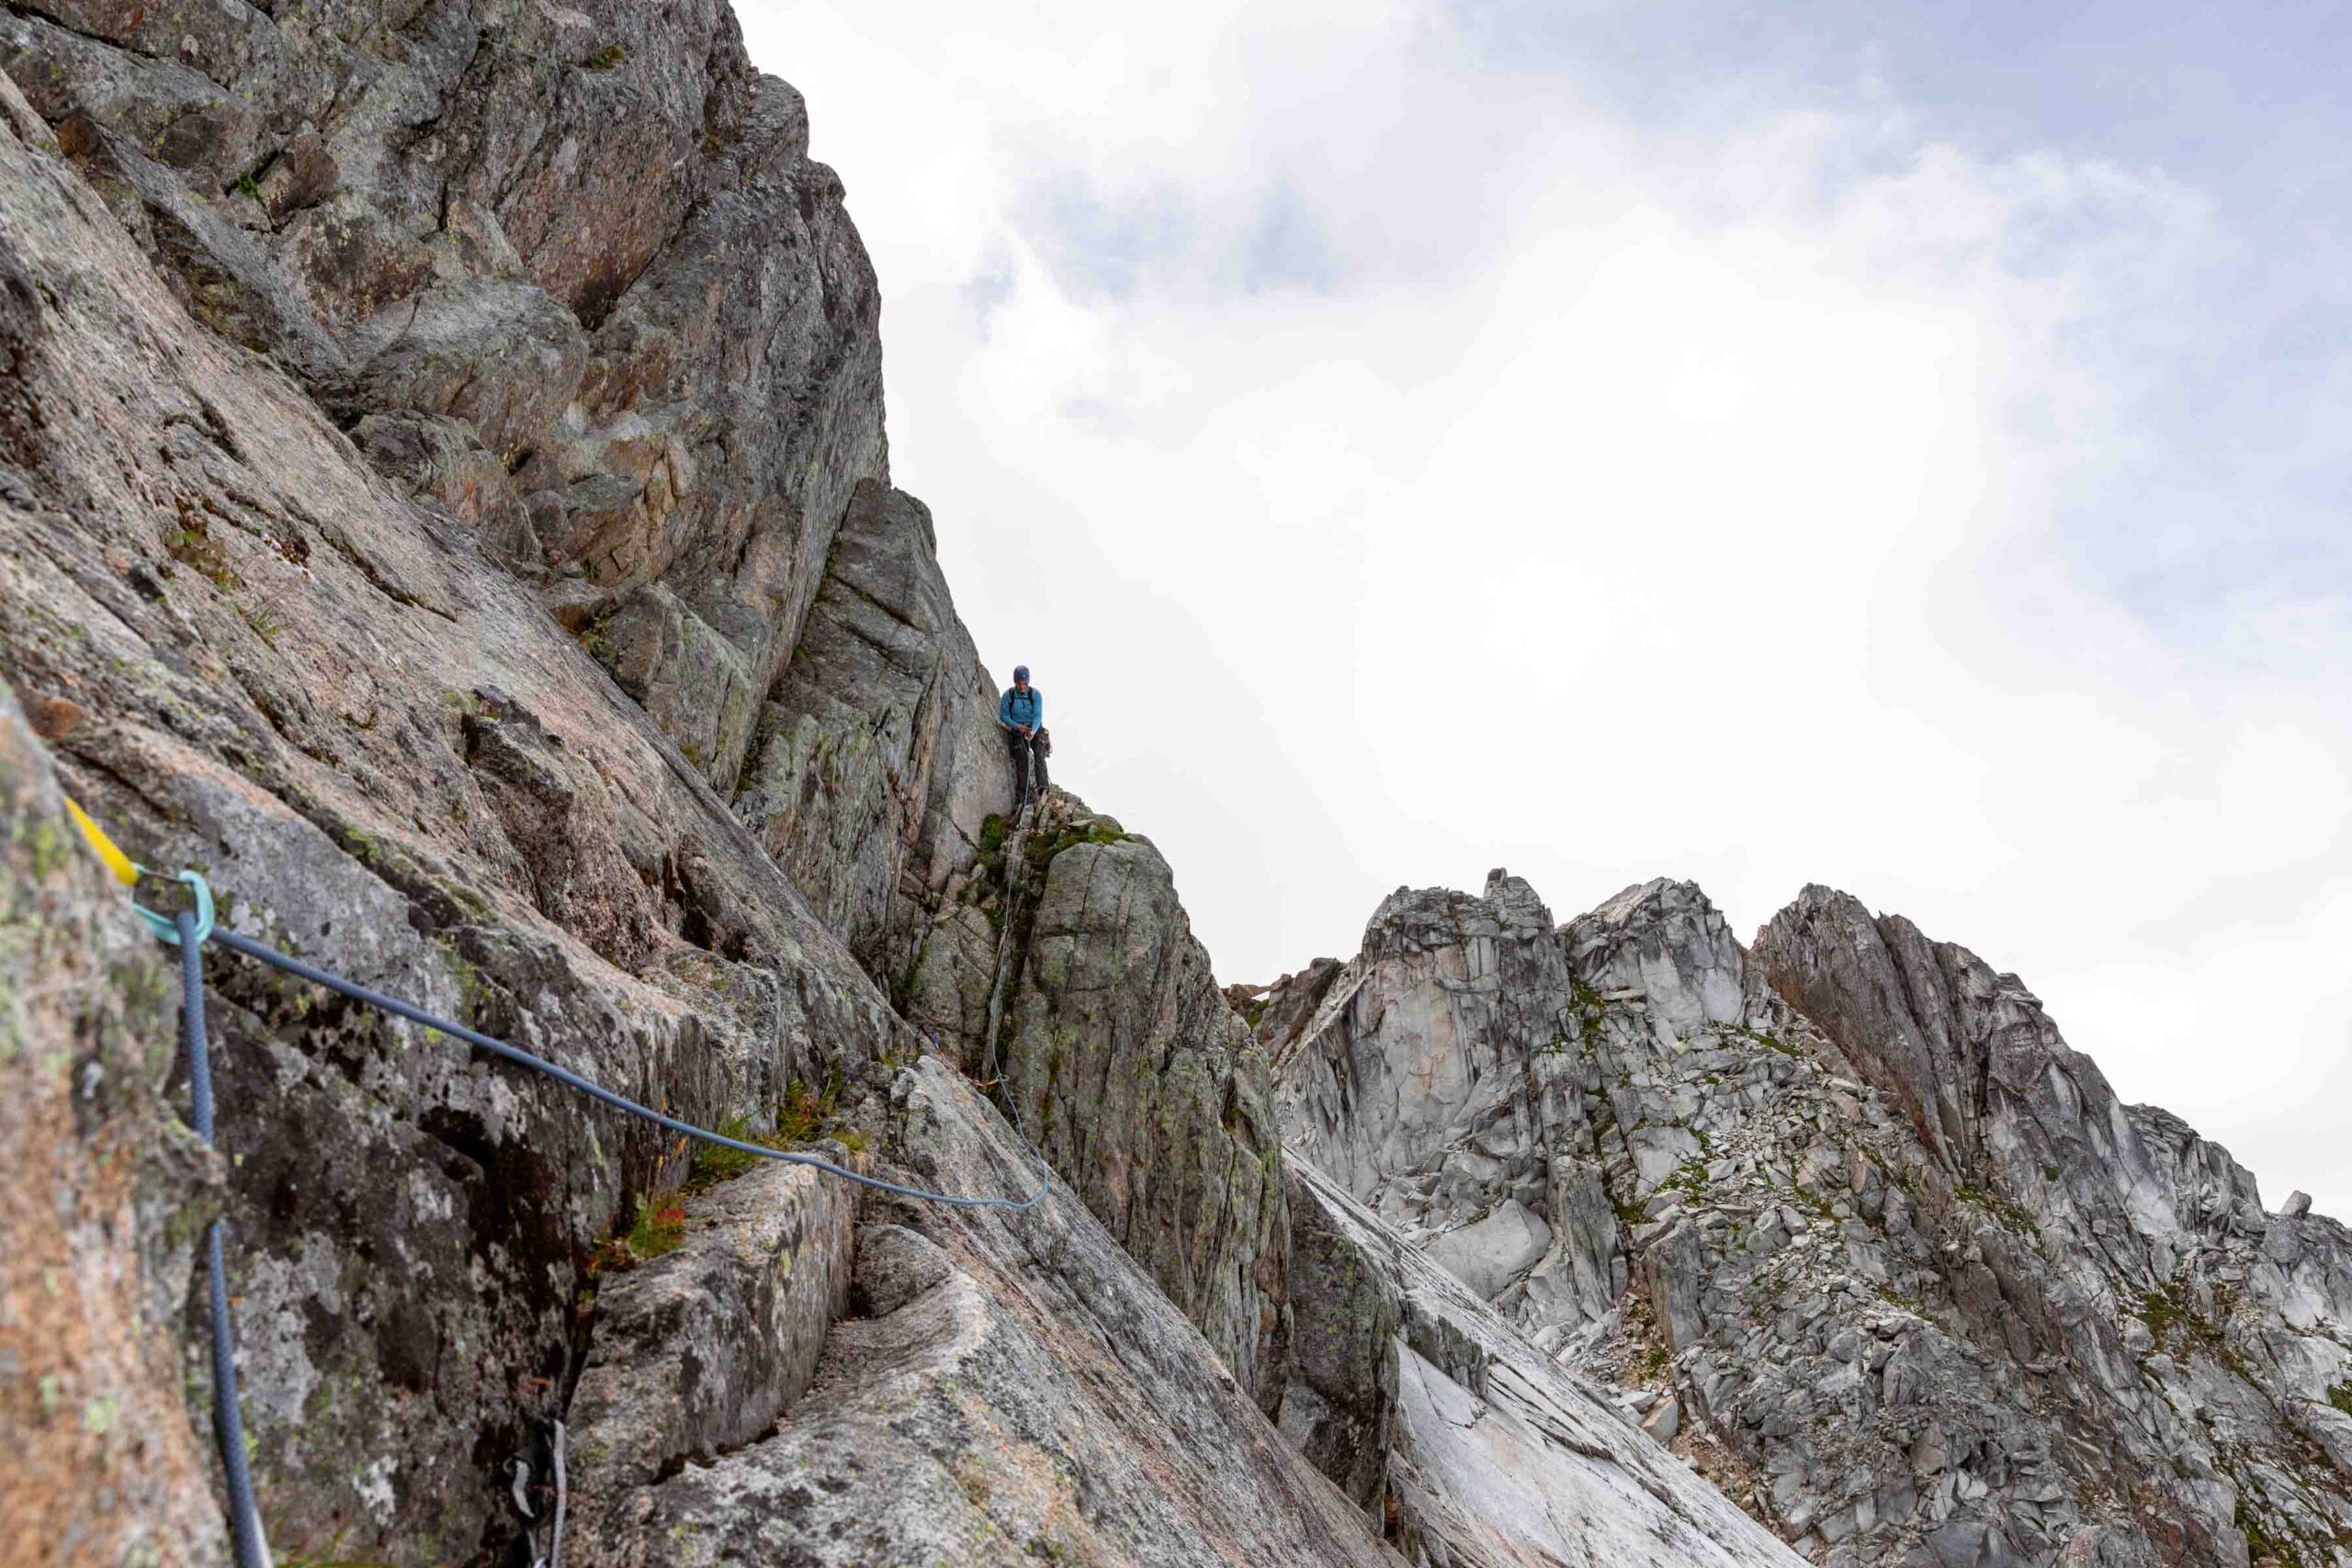
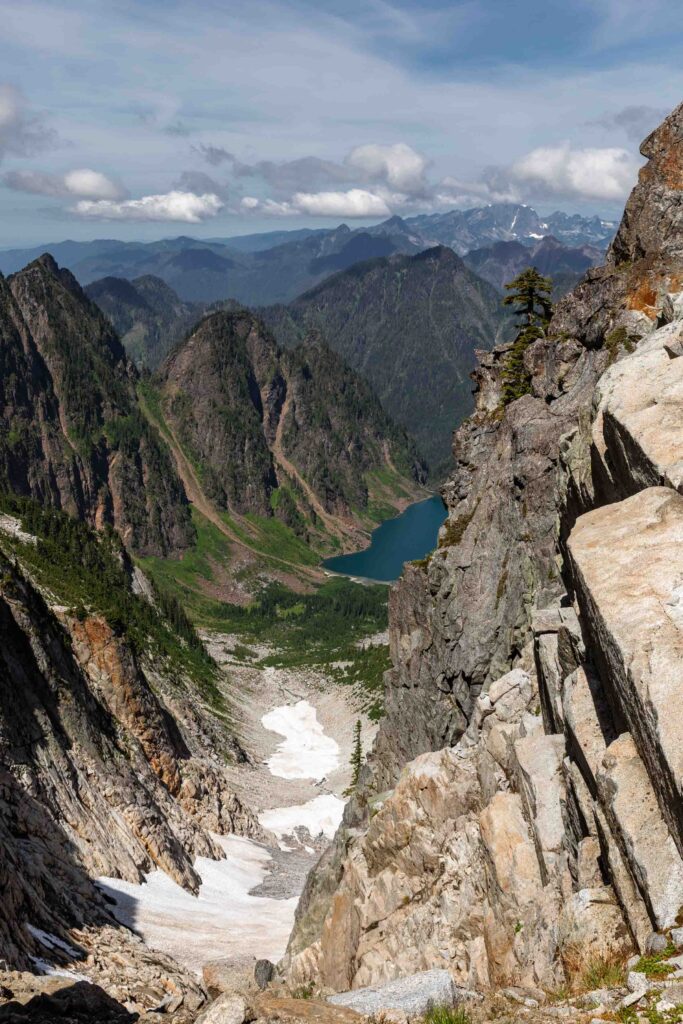
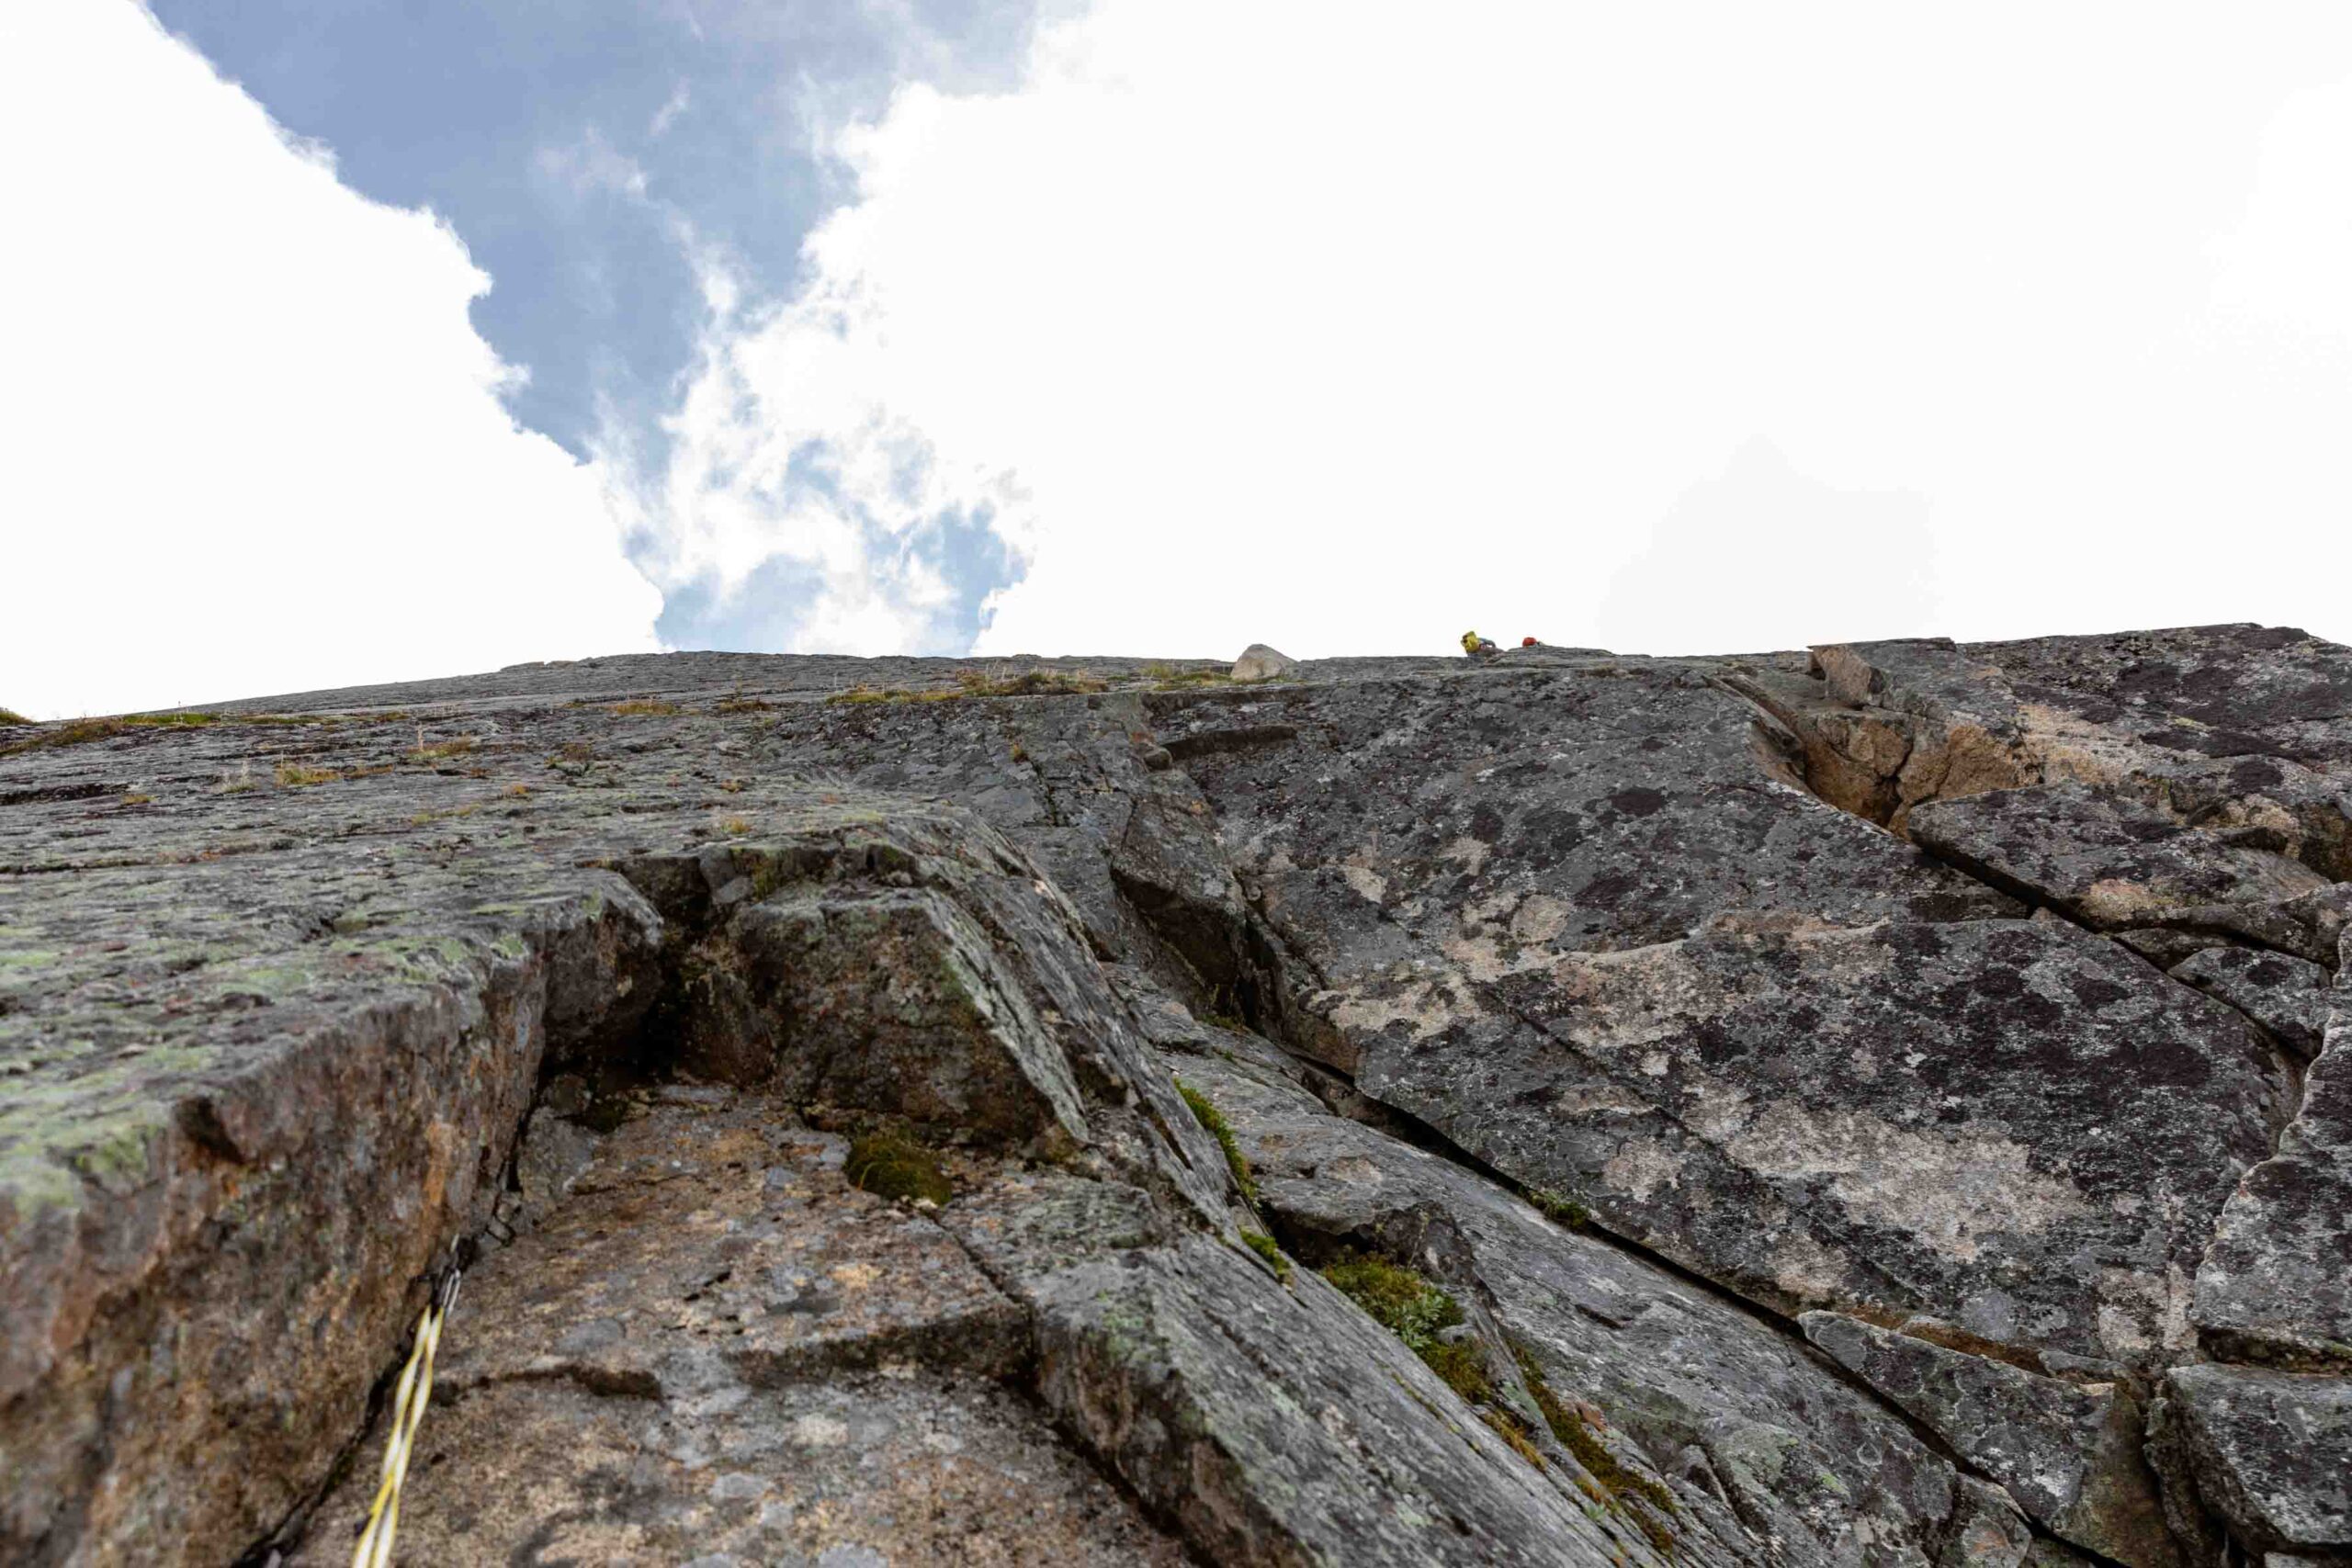
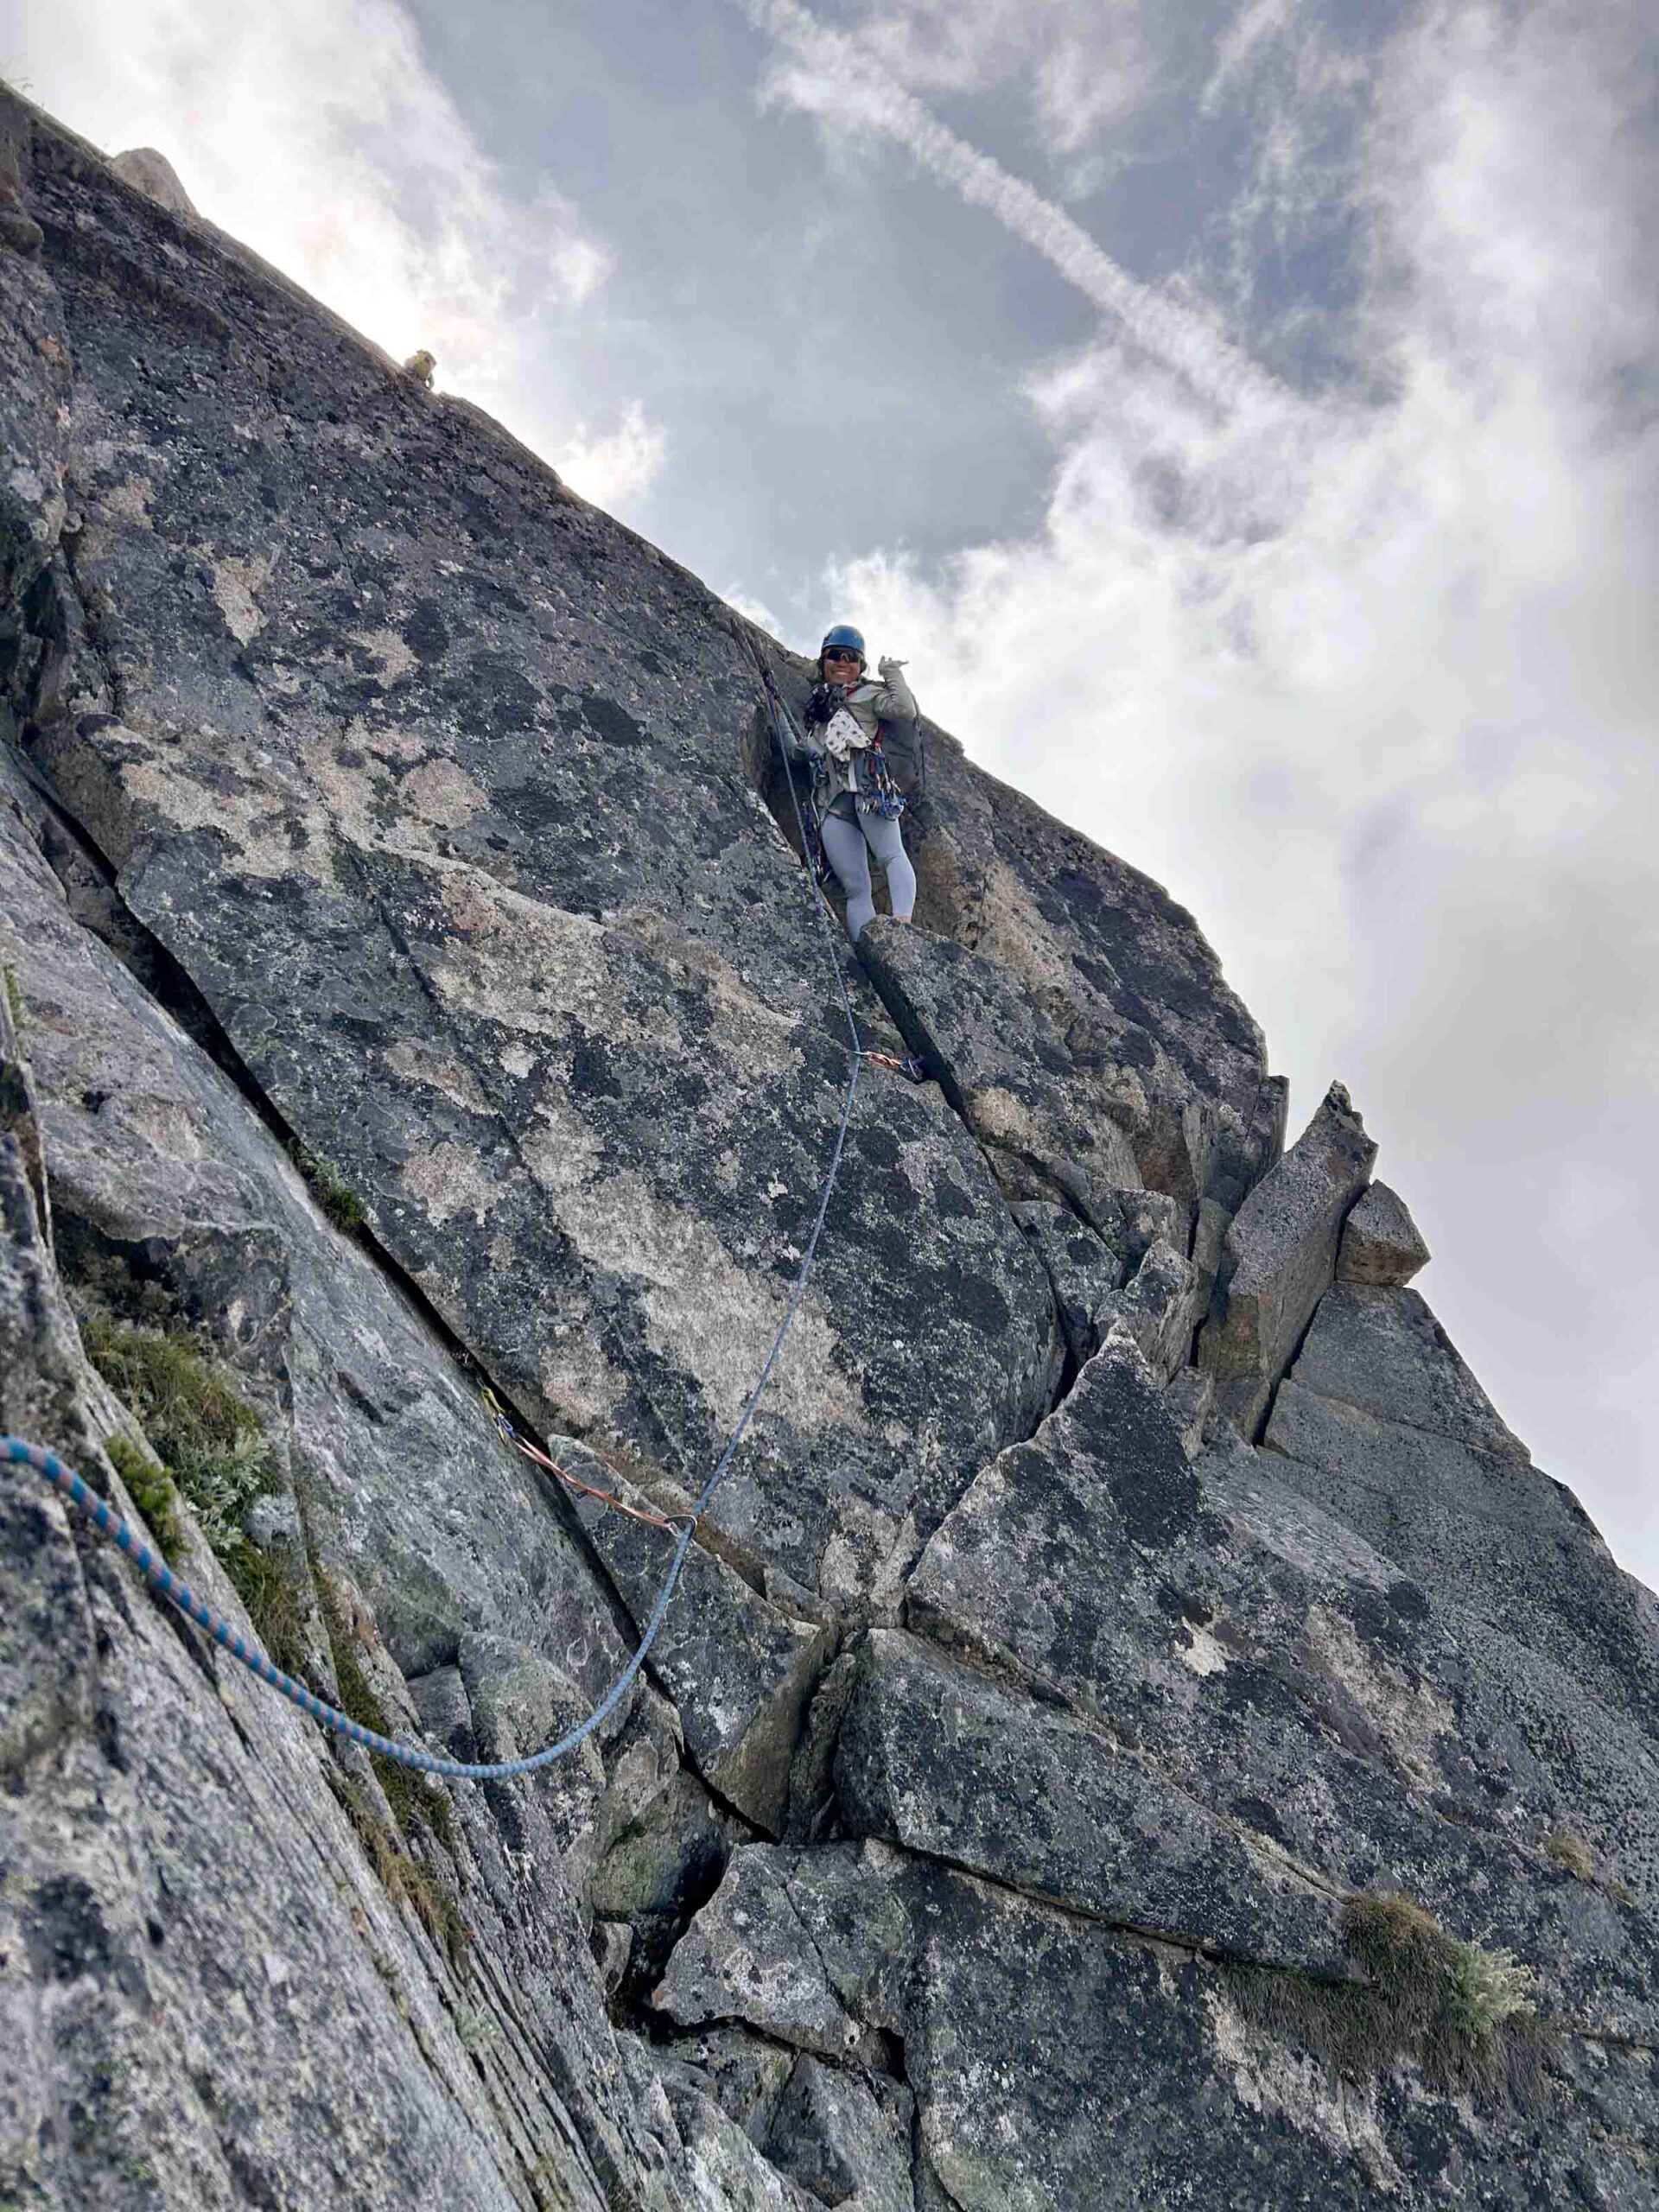
Pitch 3: 5.7 climbing
This is where the real climbing starts. I still was following but it stepped out right and continued along a crack system to the left. You can stay on the arete but I mostly followed the two cracks. There are good hand holds and I never felt like I was really crack climbing. End up on a big ledge system.
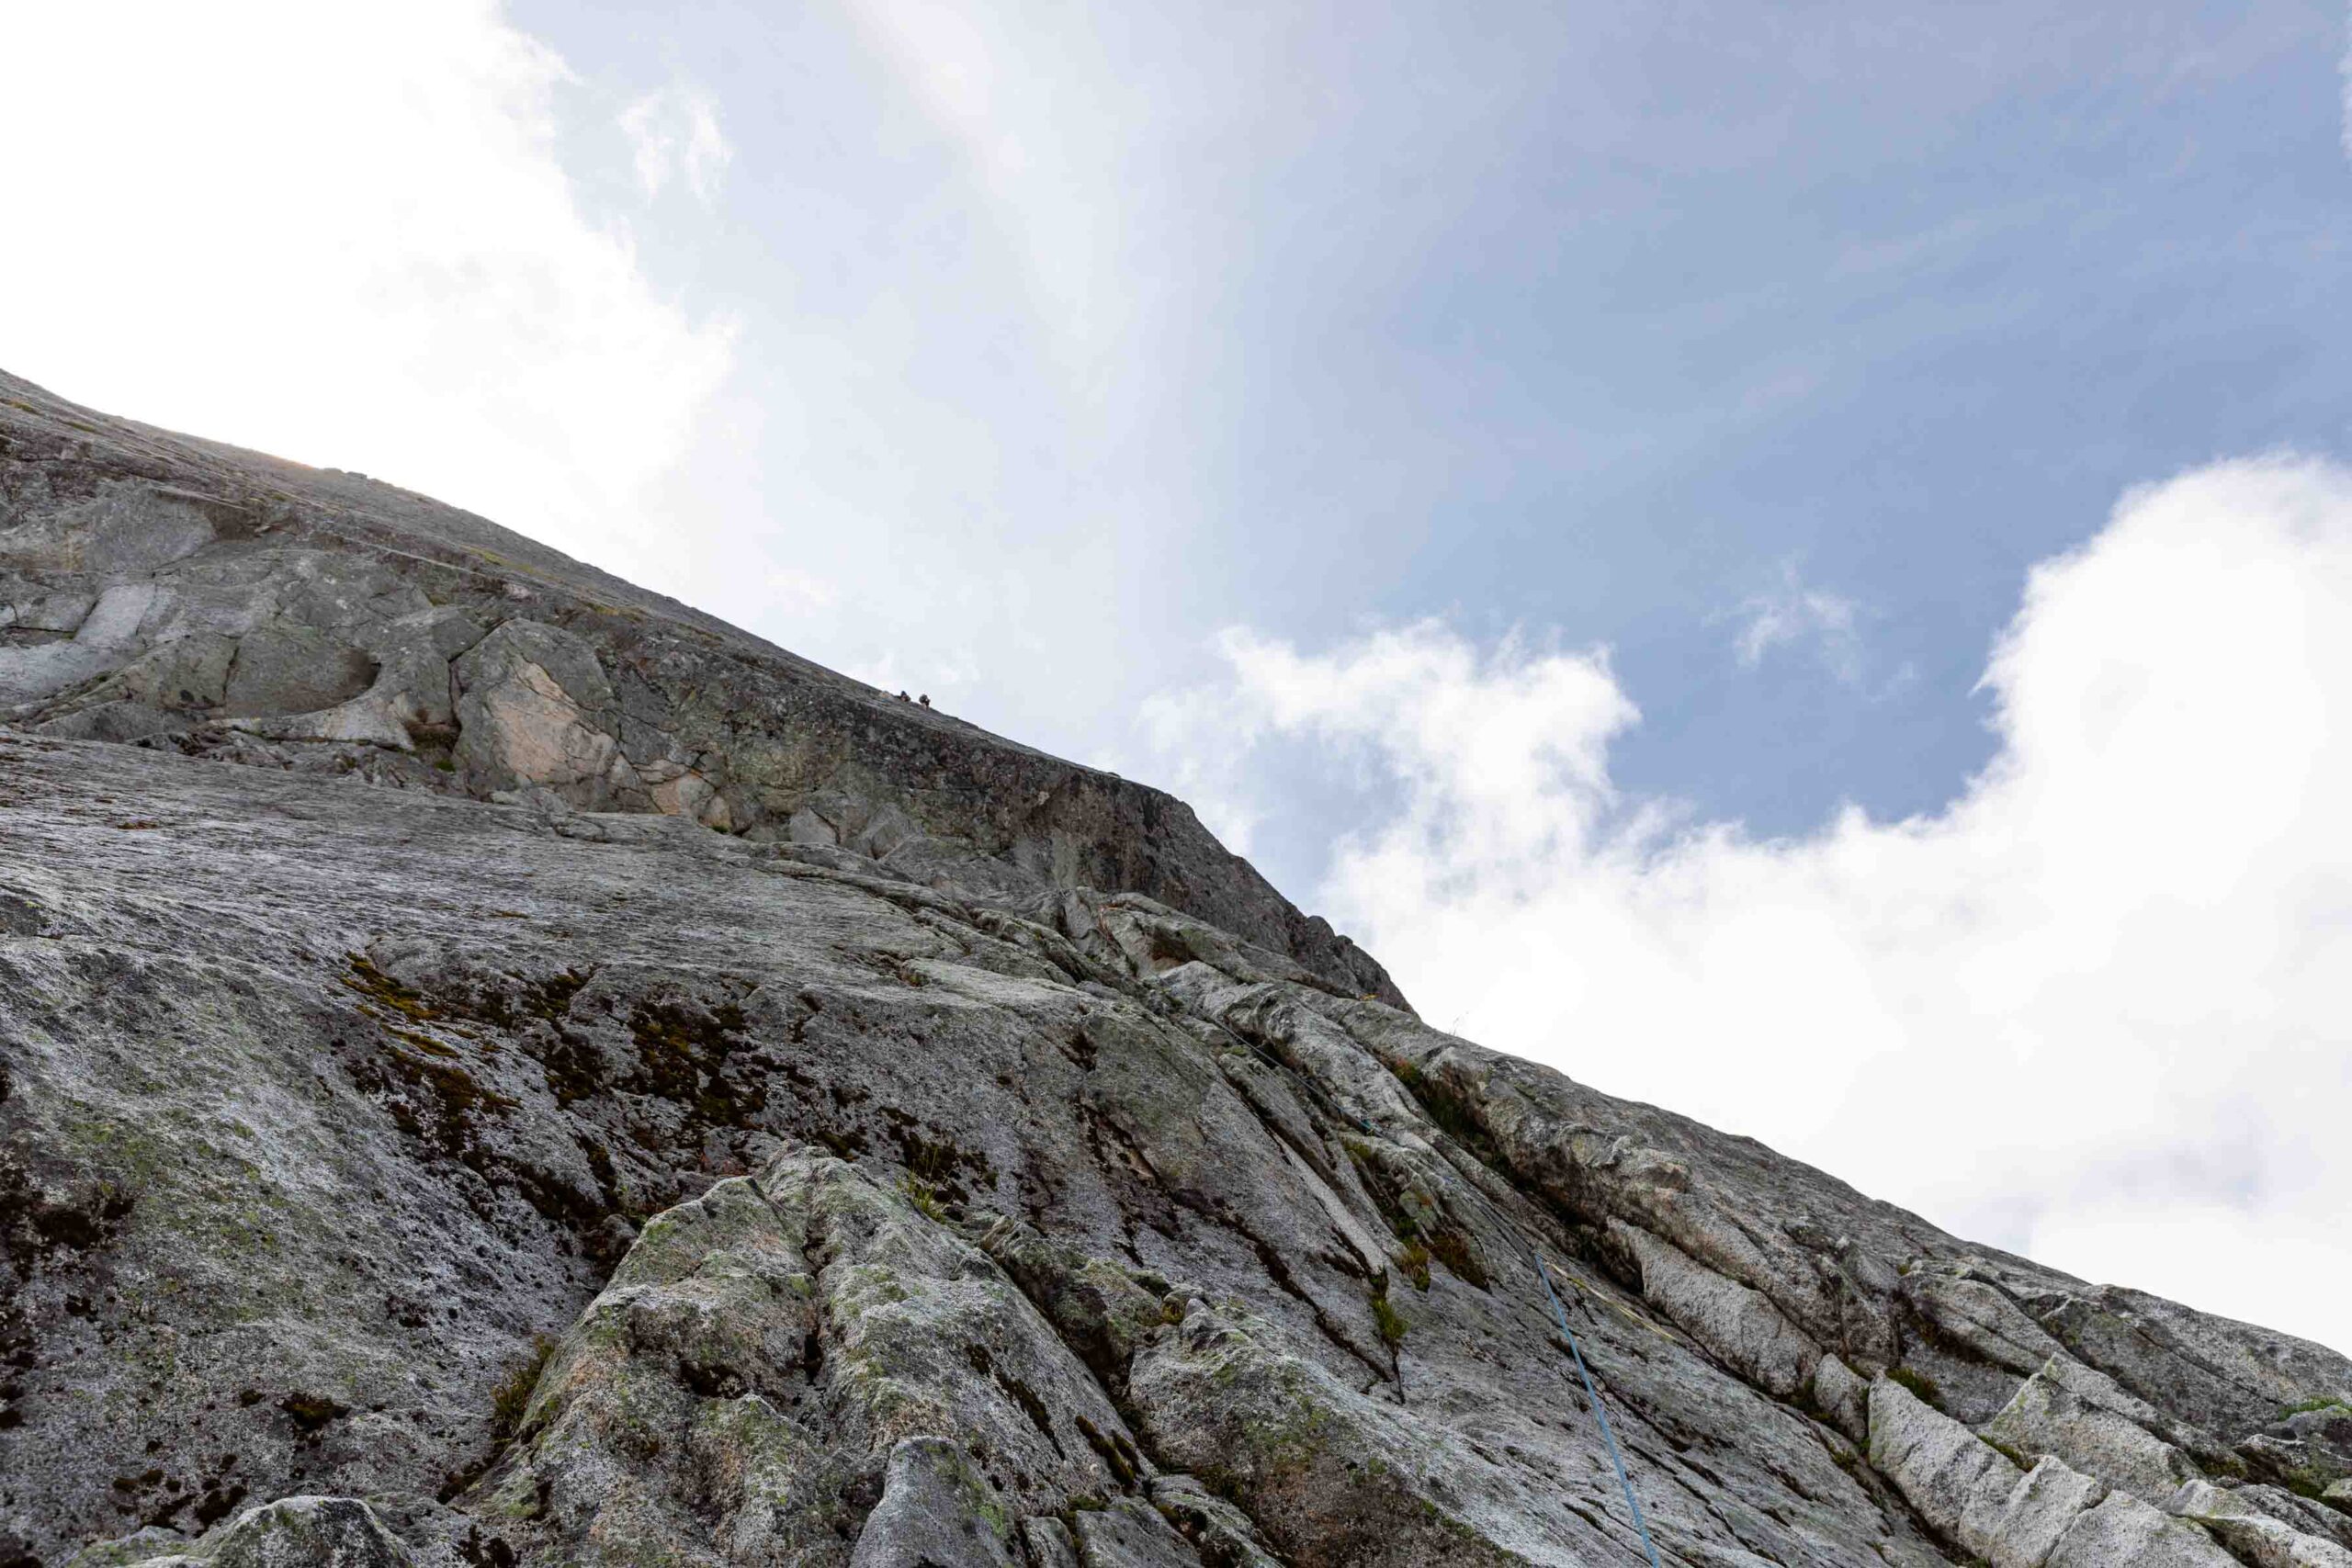
Pitch 4: 5.7 climbing
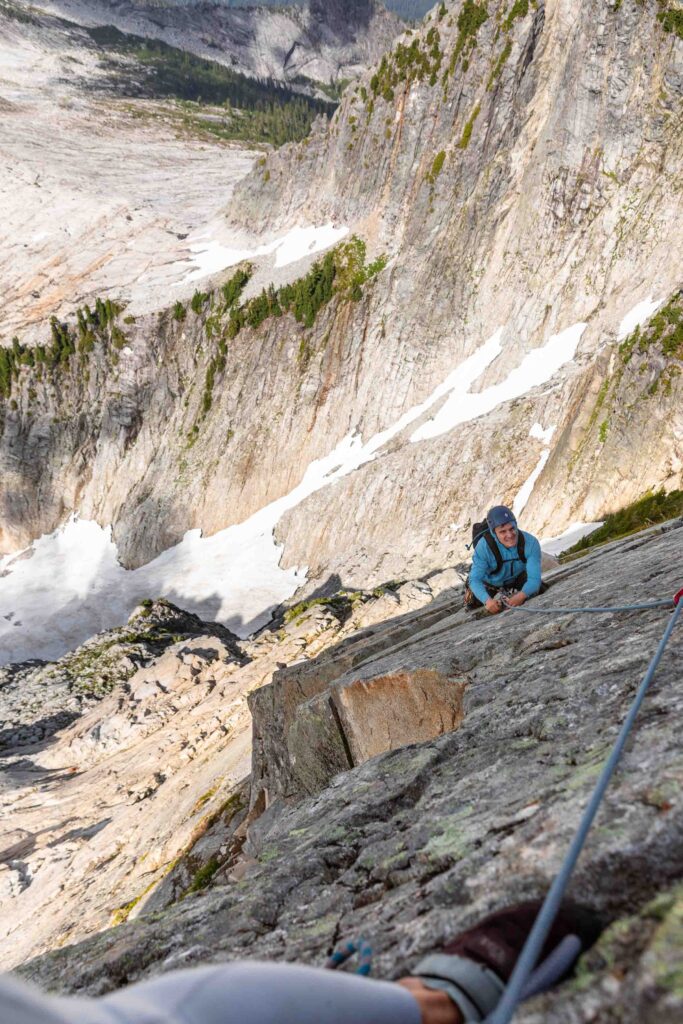
Well pitch 3 and 4 felt very different. I was happy to lead the 4th pitch, or at least the first half. It starts off block to the right of where you set a trad anchor. I took a while to figure out gear to place and got a little worked before I climbed the crack. But then the crack disappears at times and as a vertically challenged person climbing with her camera out, I had to do a bit more maneuvering and standing on my toes to reach spots. The last move was scary for me as it was very reachy and I felt very run out for my liking. Bolted anchor.
I later found out that this is due to some rock fall, making the route extra ragged. This made the last moves of pitch 4 and first moves of pitch 5 harder.
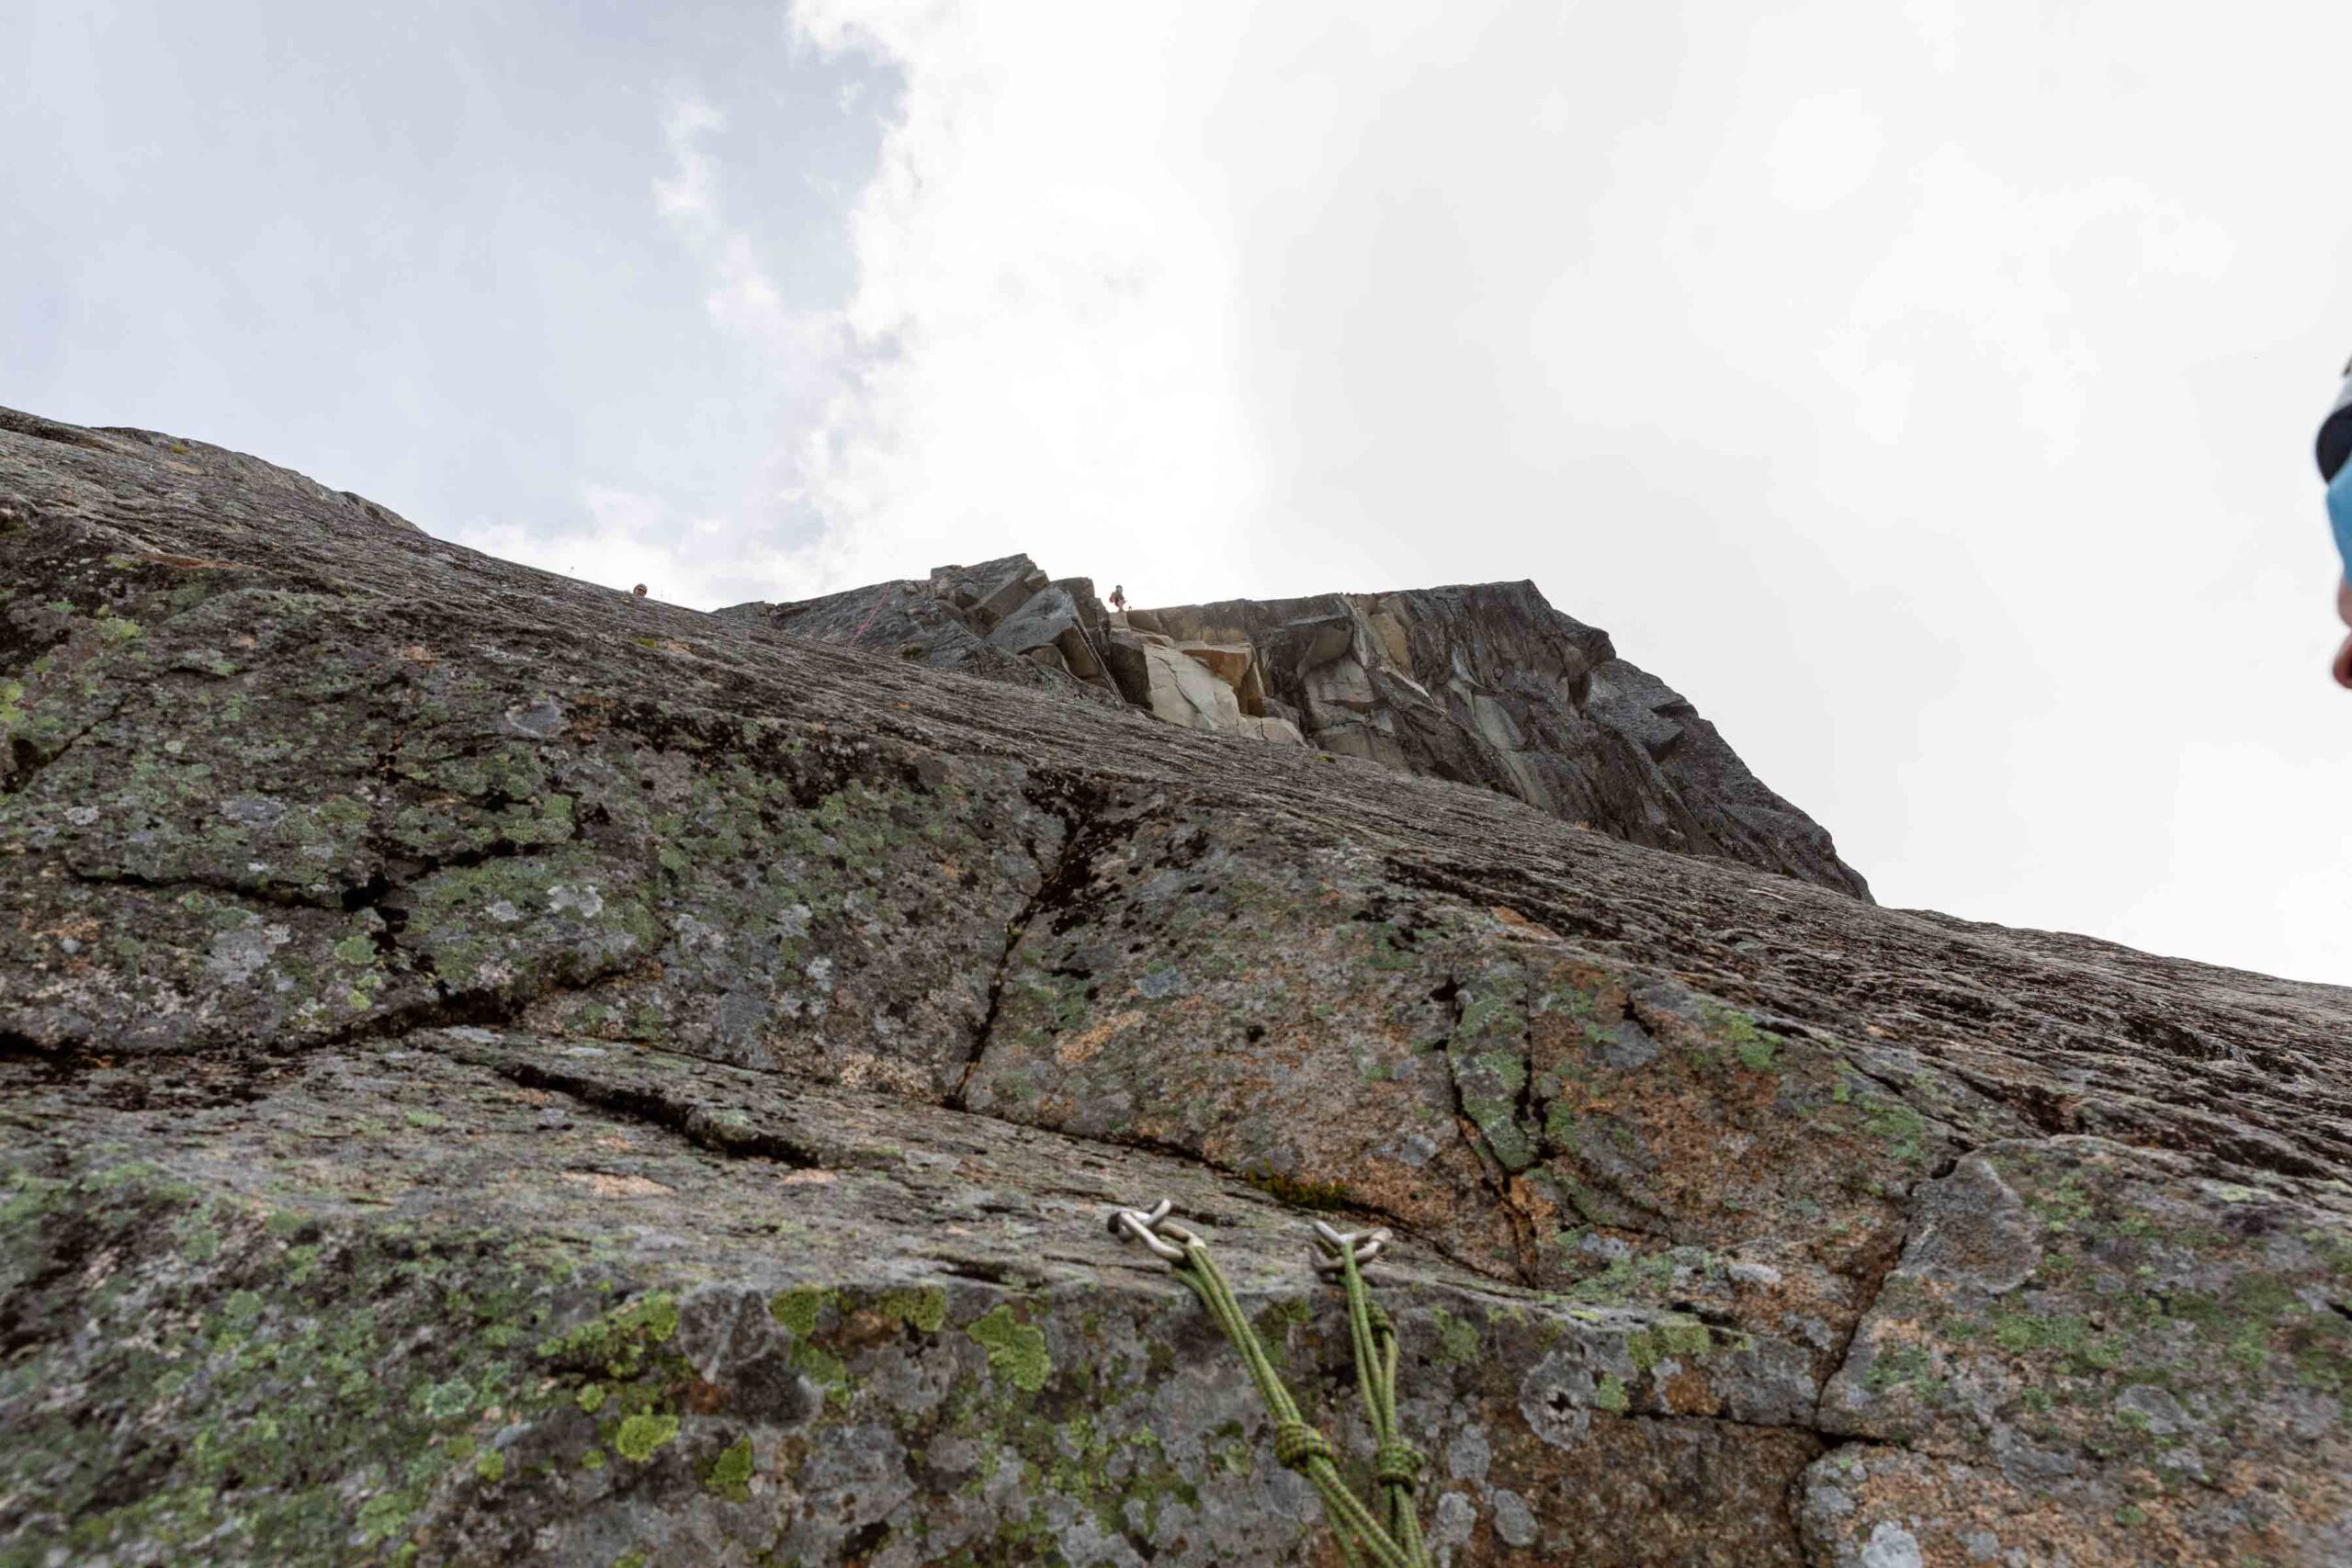
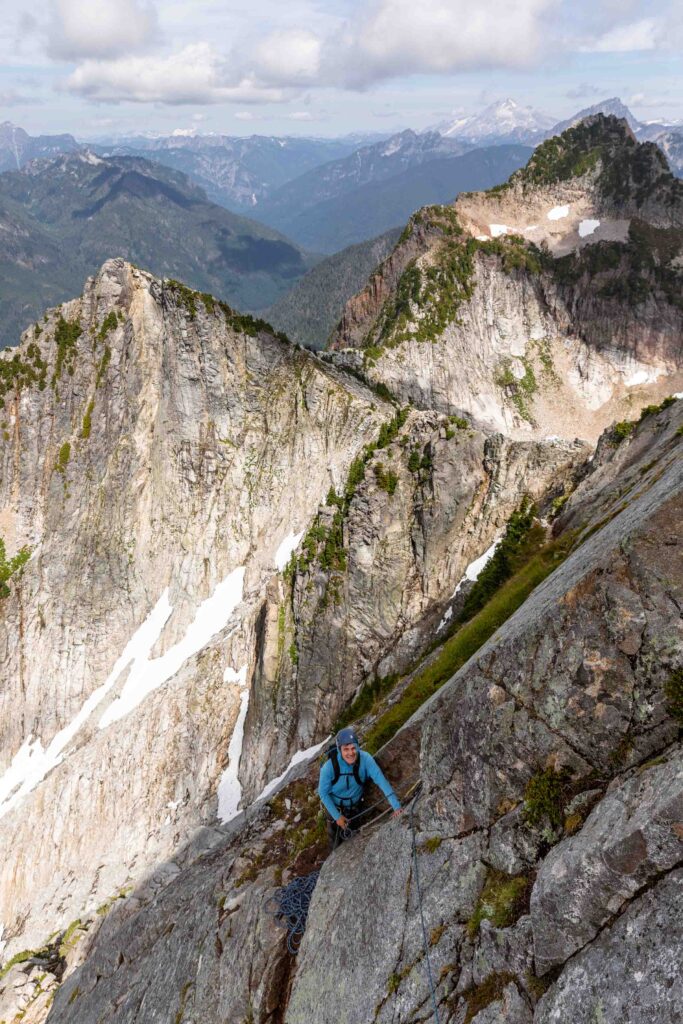
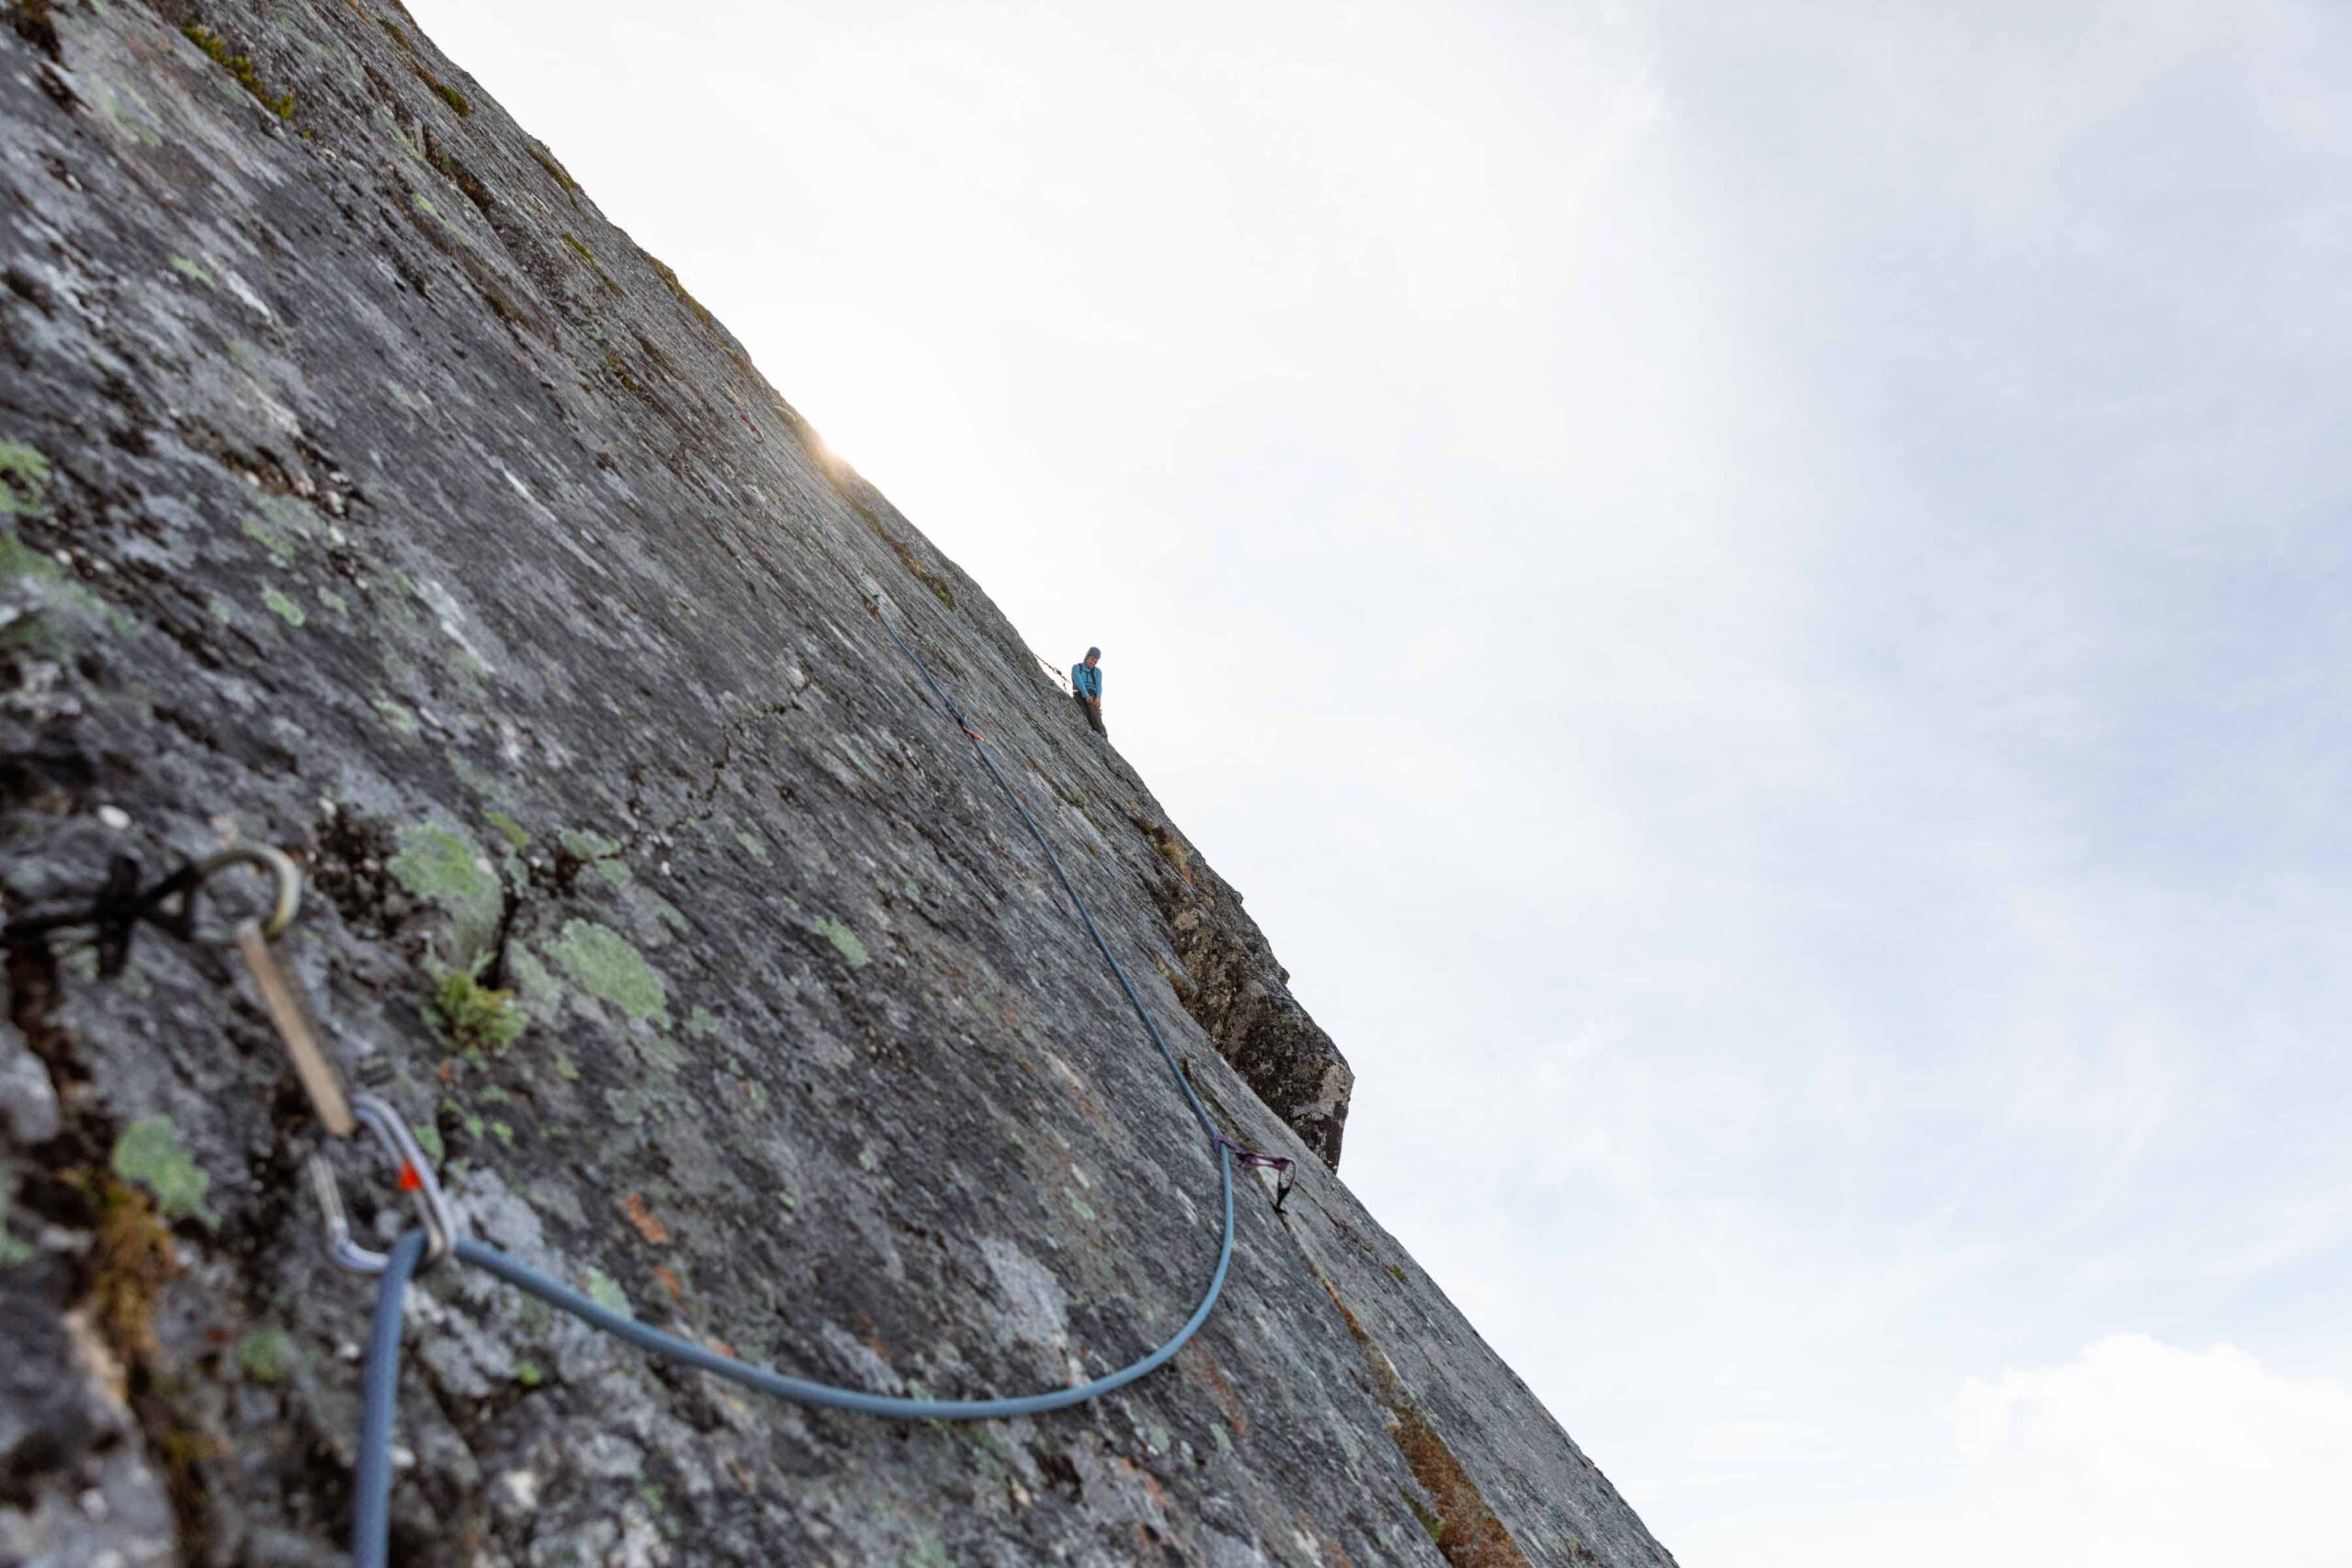
Pitch 5: 5.7 climbing (exposed)
I think that this was the hardest part of the climb and I was happy to not lead it. You step right over an exposed position, though there is a very specific spot to place each foot. Find it, trust it and all will be well as you continue up a crack system that goes up and traverses to the final ragged edge of the ridge. We later talked to 2 Canadians at the top and they also said this one step was quite rough for them too, though manageable. It’s definitely more of a mental challenge. The rest of the climbing on this pitch was rather straightforward. Bolted anchor.
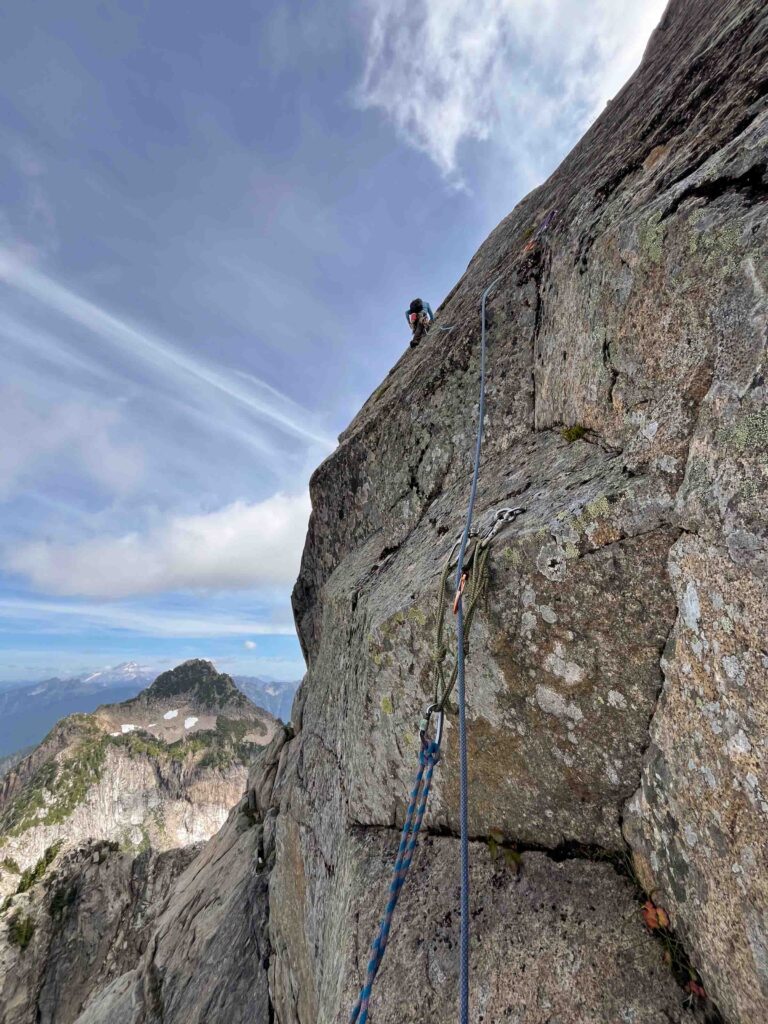
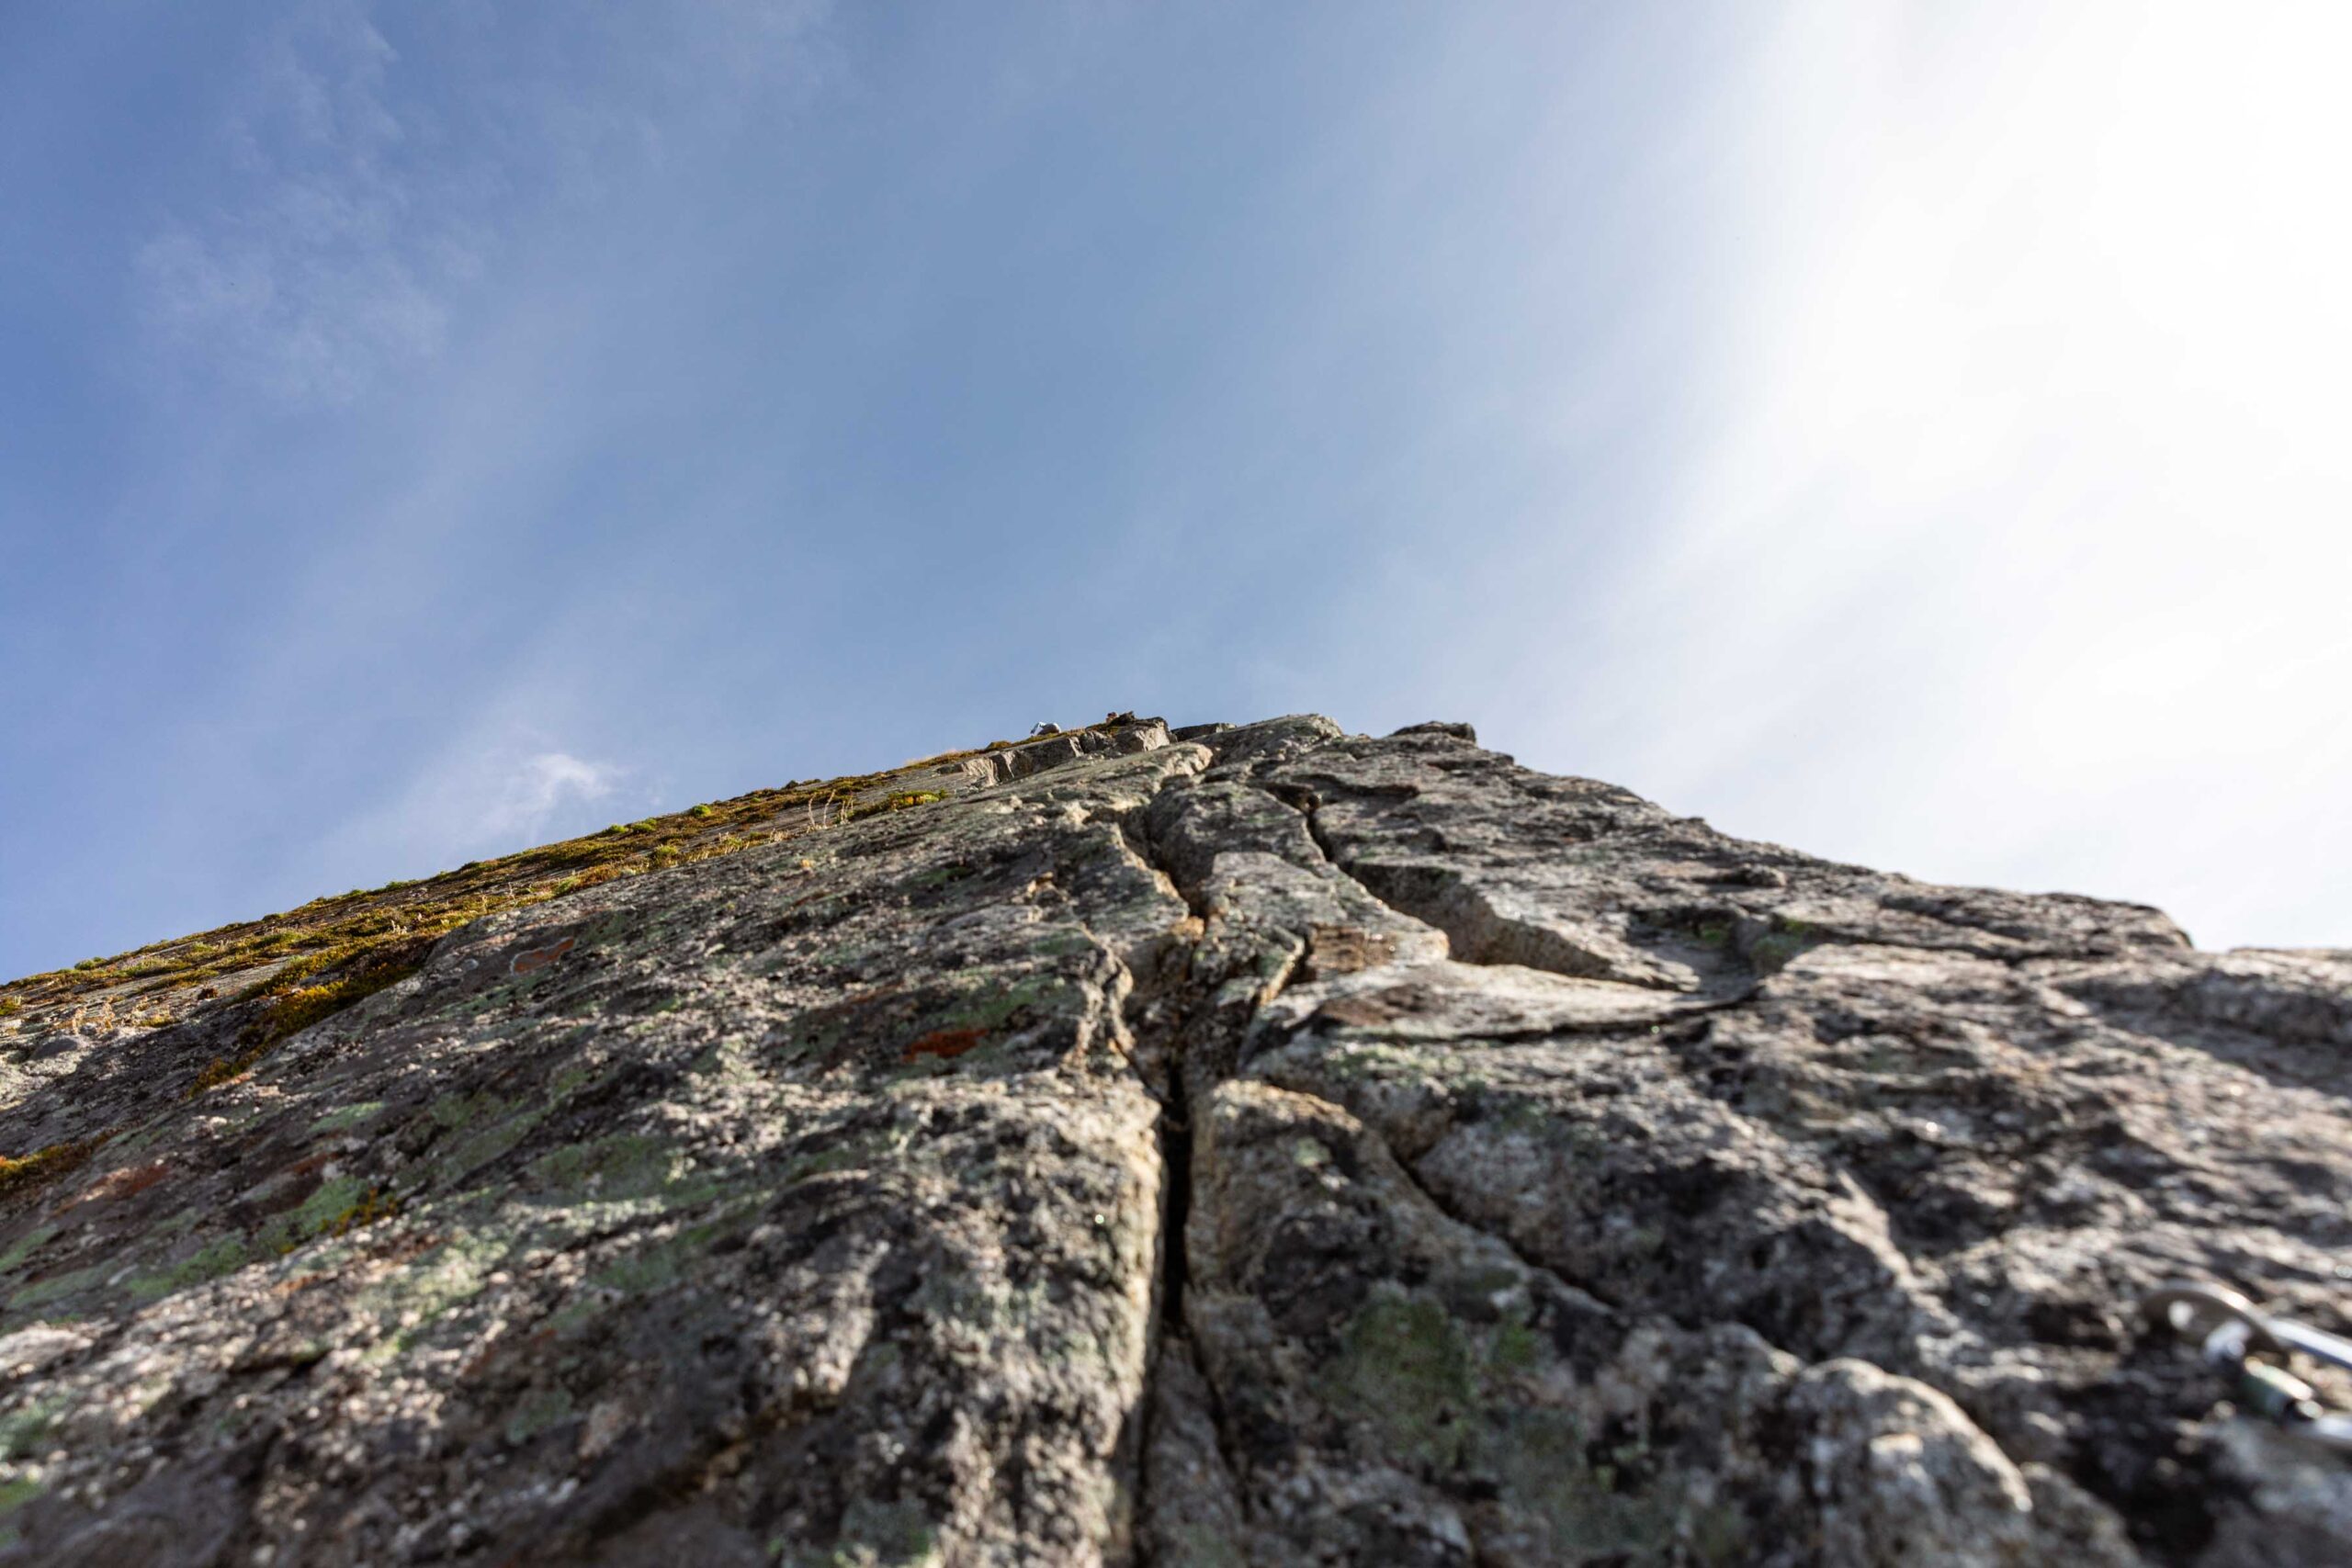
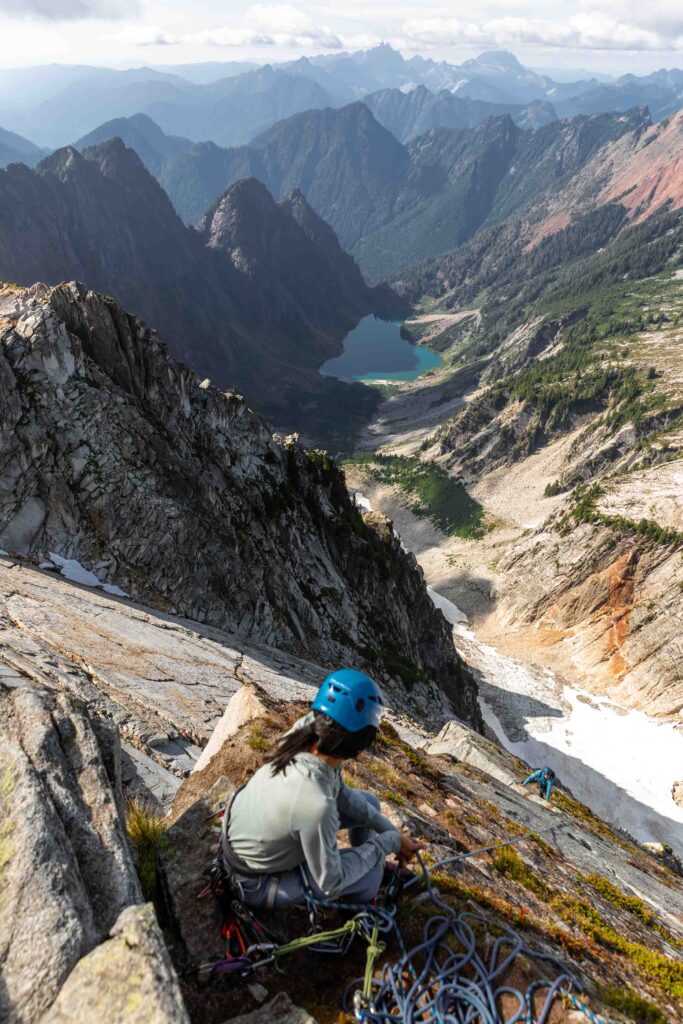
Pitch 6: 5.5 runout
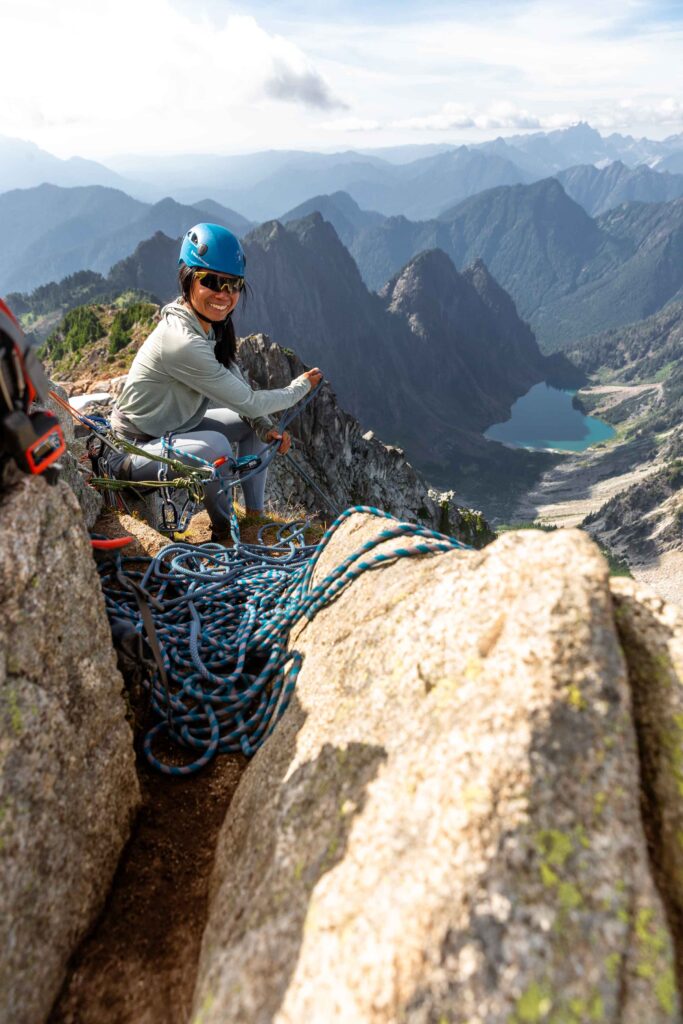
As someone who loves scrambling, this felt quite easy. I was apprehensive at first but after some encouragement and bravery, I started leading this pitch and felt the stoke come back. It starts out with easy 5th class cracks to place gear and the edge to grab on to. Soon, the cracks disappear. Trust your feet and just walk up to the top. I don’t think I placed any gear in the last 20-30 feet of this section because it’s literally all soil and no cracks. But it felt like an exposed class 3- scramble. I guess all the years of scrambling paid off. I set up a trad anchor up at the top to belay my partner and had a great summit time.
Since we were the last group coming up (I believe), it was already quite at the summit. Day hikers had largely left except a small handful and those who were camping. We made more small talk with the Canadians who were super friendly and got some snaps of us climbing. The descent was still significant and we didn’t dilly dally too long after a good snack break. The whole time up, I never took my backpack off. My camera was strapped to my bag and I was only focused on finishing the climb. But what a sweet accomplishment to finally get to climb Ragged Edge over 10 years after I first hiked this peak!
Notes
- Gear: Obviously check out Mountain Project, but we brought a 70m rope, a single rack 0.2-3, doubles of 0.5-1, and nuts.
- Low clearance car can make it to the trailhead if you’re careful about the water drainage damage about 1/3 mile away from the trailhead. I got sketched out even though I’ve made it before and turned around early, also since the trailhead was packed
- My mileage and gain are from parking my car a little further than the true trailhead. Take that with a grain of salt.
Photos taken on Canon 5D Mark IV, iPhone 14, iPhone 13 mini


You May Also Like

sunny side slopes | chiwaukum ski tour
bike, hike, scramble, camp | chelan slam (emerald, saska, pinnacle)