beginner’s guide to snowshoeing | resources for 20+ washington hikes
Updated: December 7, 2022
Every year, I’ve noticed the same snowshoe questions being asked. Sometimes in variations, but they generally fall under these categories:
- What hikes within x time driving from x city should I do? (i.e hikes <1-2 hr drive from Seattle)
- What footwear should I use for x hike? (i.e. snowshoes or boots?)
- Does x hike have avalanche danger?
In an attempt to help y’all, I’ve consolidated and gathered information so you can be more informed and aware, and thus hopefully make the best decision for yourself so you have a good time outdoors! This is by no means an all comprehensive guide, but I do hope you can use it a resource or a launch point to keep exploring the outdoors safely.
Before we dive into the 20 potential snowshoe hikes, let’s briefly talk about general resources you can use. Winter travel is quite different than summer, primarily due to shorter daylight, colder temperatures, and the issue of snow and avalanche danger. Being prepared prior to your hike will give you the best experience possible! In the first part of this blog, I’ll talk about these common questions and general resources you can use. And for more details on each, check my other post on Winter Hiking.
Research and planning for hikes can happen in multiple ways, such as asking directly on facebook groups. But for the day-to-day weather and conditions, asking a local facebook group or checking recent trip reports are great ways to get a better understanding of the situation before heading out. And the more you explore, I’m sure the more you’ll get a feel about different conditions even without asking!
Since I’m in primarily PNW/Seattle groups, I will focus primarily on those hikes closest to Seattle, plus a few extra for those who want to drive a bit further. I hope you enjoy this post and that it’ll be a resource for you as you begin your journey snowshoeing around Washington. Happy trails!
Weather
I usually start with NOAA (or use your favorite weather app) for a general ballpark of weekend weather. Since the PNW has a unique topography and weather pattern, it’s hard to predict weather too far in advance. If you see heavy snowfall, that can mean high avalanche danger for the few days in avalanche terrain. However, it could all just be fun if you avoid areas like that! Another great weather forecast source is Windy. It’s an hourly map that shows weather patterns like temperature, cloud cover/height, wind, etc… I won’t link specific weather locations below, but be sure to check it before heading out!
Avalanche
Avalanche danger is a serious risk any time you have snow on a slope. I highly recommend taking an AIARE 1 class if you want to significantly venture into snowshoeing, especially if you might go off-trail. Though regardless, I believe everyone should at least be avalanche aware – many PNW hikes have fairly low avalanche risk throughout the season with a few exceptions now and then. And you want to be aware of those exceptions because getting caught in an avalanche can be fatal! The local PNW forecast is through NWAC. Generally, if they forecast green (low avalanche risk), it’s fairly safe to go; but always recommend paying attention to conditions because they can change. Low risk does not mean no risk. And often the risk is lower under tree line, which a good number of hikes fall under. To find out if it’s in the trees, use satellite imagery on a map. I like using Caltopo, toggling for global imagery (under base layers) and then also checking the slope angle shading. Safer, avalanche-free slopes are generally < 30 degrees, but you also need to watch for the slopes above the trails too! For trails below, I’ve mapped out examples of avalanche terrain and which hikes you have to pay attention to at the end of this post.
Footwear
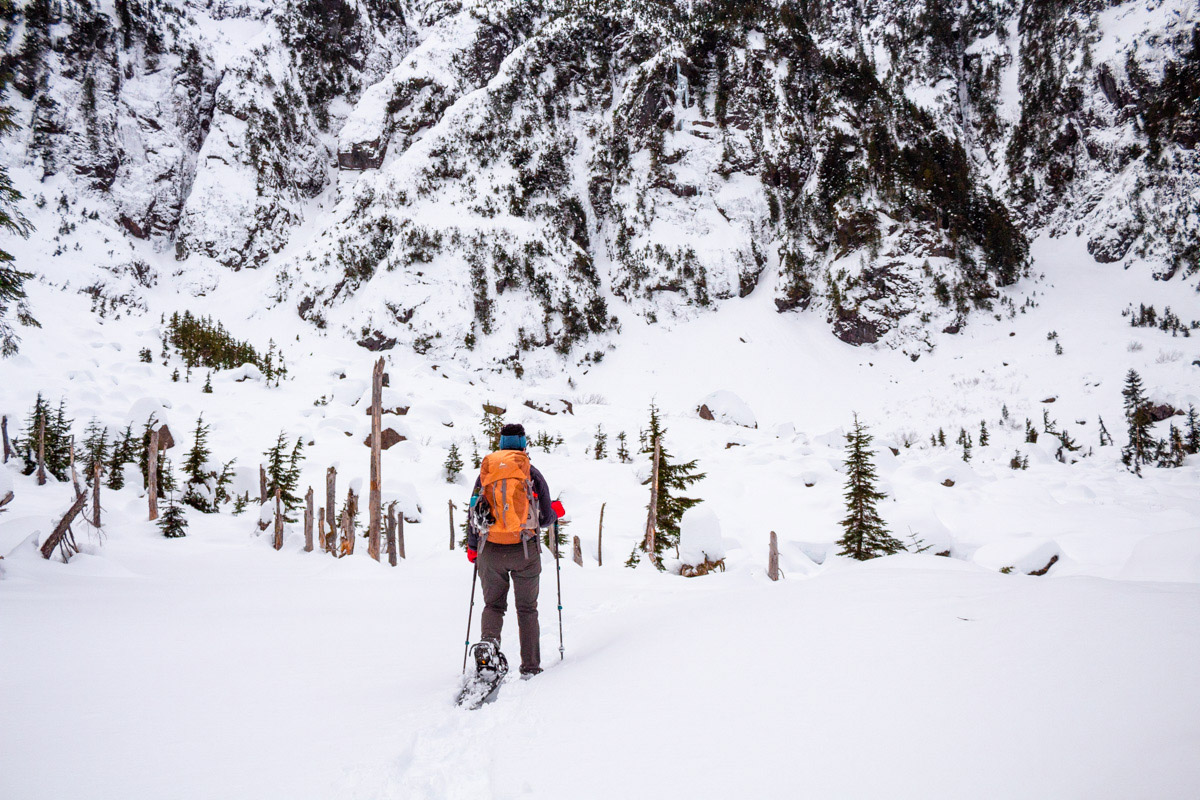
I find that footwear is a highly subjective topic. Some may say you must use snowshoes, but I find that microspikes are fine for many popular trails. Even if trails are called snowshoe trails, microspikes often work just because the trail’s been packed down well. But for some trails, especially less traveled, snowshoes are very helpful to keep you afloat on snow. To be most prepared, the best way is bring all your options to the trailhead and then decide from there!
You may have noticed there are many kinds of snowshoes out there but for beginners, any snowshoe would work. The more technical the hike (usually steepness and iciness), the more aggressive a snowshoe you’d want. Places to rent: Ascent Outdoors, Pro Ski Seattle, REI, Alpine Ascents (and there’s plenty more too), Wonderland Gear Exchange (for second-hand buys). And for how to use snowshoes: this REI guide is great, though as a beginner, you probably will be following a more well-traveled path that is easier to walk on.
However, whatever you choose, be mindful of which tracks to follow. Sometimes there are specific paths for skis or snowshoes and other times it’s a wide lane thru traffic for all. But unless you’re on skis, don’t step on the ski tracks! The hikes listed here are primarily foot path, but Hex Mountain and Artist Point sees a number of skiers too.
Also, if you’re looking to keep snow out of your boots, consider getting gaiters (alpine ones are best for deep snow), or use pants that cover the top of your shoes to keep your feet dry. I love using gaiters whether I’m using snowshoes or microspikes! See the snow travel section of my Winter Hiking post for more examples of what footwear is best for what conditions. Below, I’ll list generally what footwear will suffice for each, but please check conditions as they can change throughout the winter season.
Driving
If the trailhead is fairly close to a major highway, generally any car will make it! Just check WSDOT for highway and pass conditions and whether chains are required even if you have AWD/4WD. It’s also good to check if forest roads are open and know when highways like SR-20 (North Cascades) and SR-530 (Mountain Loop Highway) are closed for the season. The Mt Baker-Snoqualmie National Forest has an great interactive map to check road and trail conditions. Another thing is Sno-Park Permits are used instead of Discovery Passes for designated Sno-Park parking areas. It’s only $50 for a season vs $25 for a day! To make it easy, I’ve linked the relevant sites for road conditions/permits for hikes below.
Trip Reports
Like I mentioned before, it’s wise to look at trip reports before you go on any trip. It’ll give you a feel for what you might experience. If it’s not particularly recently, take the report and tack on whatever weather information you know the area’s had recently. If you’re hiking mid-week, the snow will probably be less packed (snowshoes could be nicer), vs weekends where many people have packed down the trail already. To find new trails, a great resource is searching for “snowshoe” in the trail map filter on WTA or selecting the snowshoe filter on AllTrails! I find that WTA has better descriptions than AllTrails, but use what works for you. Also, for beginner snowshoers, I recommend filtering for < 2000 ft gain and < 8 miles on your first couple outings till you get a good feel for it.
For more in-depth information about snowshoeing and trails, The Mountaineers has a great resource here. Or use their list of snowshoe hikes by selecting snowshoe under find routes & places. I find that this is less intuitive to use, but a resource nonetheless.
And for recent conditions, Facebook groups can also be great to get quick responses from people, such as Washington Hikers and Climbers or Women Who Hike Washington and plenty more groups out there!
Trip Planning
Once you have an idea what the weather is like and where you want to go, it’s always a good idea to have a rough plan for your hike especially in the winter. Days are short and temperatures drop drastically after sunset. Most people will (and should) attempt snowshoe hikes that have less gain and distance than their summer objectives. This is because snow travel is significantly slower than hiking your normal summer trails. Added weight on your feet is actually more effort. A common saying is that for every pound on your feet, it’ll feel like 5 pounds on your back.
If you’re attempting a summit or large uphill, know that it’ll be a serious climb and you might even need to plan 2x the speed you would go without snow. I like to work backwards from when I want to be home or if I want to be back at the car before dark and get a good over estimate of how long the hike might take including long stops. Then you can count backwards and see what time you should start and when your half way turn around point will be.
You might consider bringing a larger pack for winter snow travel than a summer day hike. Extra layers are absolutely necessary in case you have to stop for any period of time. I like to bring one extra warm layer than I think I’ll need. My luxury item that borderlines a must-have is a thermos of hot tea or water. It’s easier than carry a stove to stop and make a warm drink, and you can drink it as you hike! If you know you’ll stay at the destination for a while, bring a foam pad to sit on. And always bring an extra pair of gloves in case your first set gets cold.
The highly awaited section: the most frequently asked snowshoe hikes and destinations
Disclaimer: Even though some of these are listed as almost always low avalanche risk, it’s smart to check NWAC before you go, just to double check! Traveling on snowy terrain has inherent risks and this is by no means 100% safe, but as a general guide for your own risk assessment.
Each trail will list drive time from Seattle, difficulty, typical snow conditions, and a couple links to where you might find trip reports for them. For footwear, I list what’s usually needed, though after heavy snowfall, snowshoes are a great idea too. Again, this is a list of most commonly asked about trails near Seattle that I’ve seen, and there are definitely some (which I’ve marked) to avoid if you are unprepared for avalanche rescues.
Mt Baker
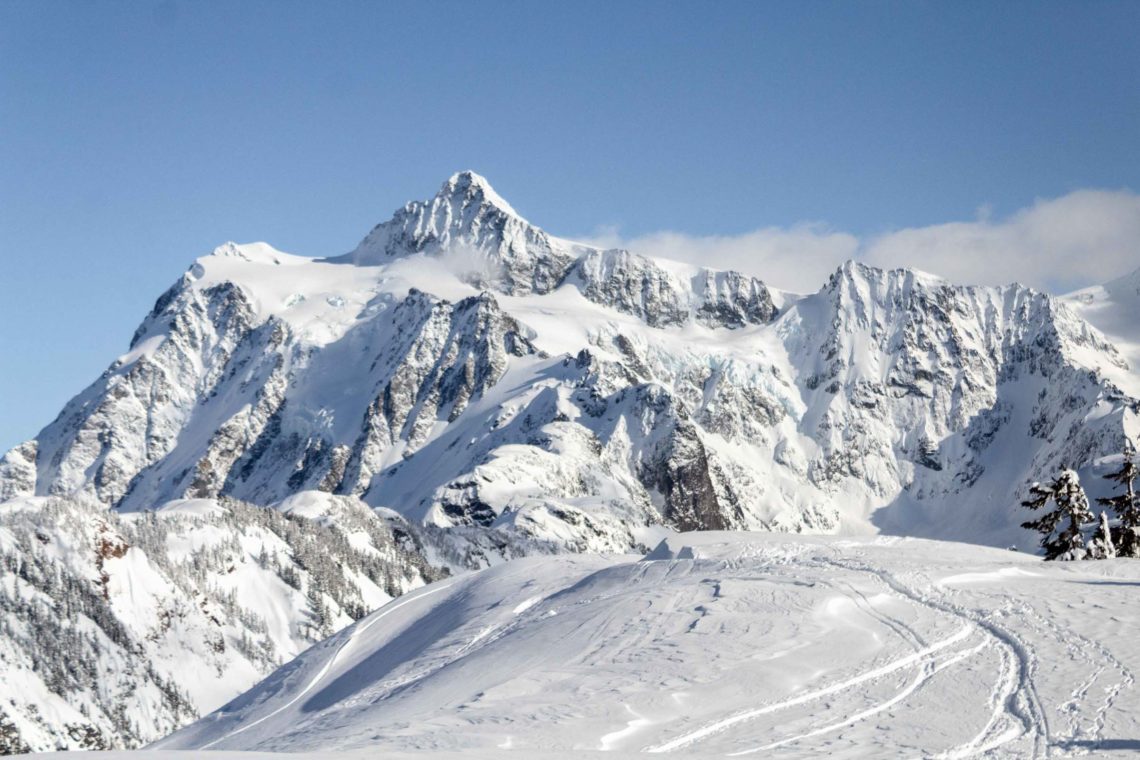
Artist Point-Huntoon Point – Caution
- Description: 4 miles round trip, 1000 ft gain, above tree line, open slopes
- Avalanche Risk: NWAC, risk increases due to open slopes and passes near a lot of avalanche terrain, minimized if you stay along the ridge and don’t venture under steep slopes
- Footwear: Almost always snowshoes or skis, snow is deep here
- Drive: 2.5-3 hr from Seattle to Bagley Lakes Loop Parking, Highway SR 542 conditions, paved road
- Trip Reports: WTA, AllTrails
Mountain Loop Highway
Heather Lake
- Description: 4 miles round trip, 1200 ft gain, below tree line
- Avalanche Risk: NWAC, minimal if any – stay on trail and don’t loop around lake if risk is higher
- Footwear: Microspikes, usually pretty packed down but can get icy
- Drive: <1.5 hr from Seattle to Heather Lake Trail, Pilchuck Road #42, dirt road and potholes to trailhead
- Trip Reports: WTA, AllTrails
Lake 22 – Caution
- Description: 5 miles round trip, 1350 ft gain, below tree line
- Avalanche Risk: NWAC, trail runs under avalanche terrain as it gains elevation, exercise caution, especially looping around lake
- Footwear: Microspikes, usually pretty packed down but can get icy
- Drive: 1 hr from Seattle to Lake Twenty-Two Trailhead, small parking lot next to paved road that can be snowy
- Trip Reports: WTA, AllTrails
Big Four Ice Caves
- Description: 6 miles round trip, 600 ft gain, below tree line
- Avalanche Risk: NWAC, low risk until near the ice caves, which is below avalanche terrain (keep a distance!)
- Footwear: Microspikes, low elevation and less snow on road walk, but snow shoes could be helpful on the actual trail
- Drive: 1.5 hr from Seattle to Deer Creek Campground, paved road to the gated closure
- Trip Reports: WTA and here, AllTrails
Hwy 2/Stevens Pass
Serene Lake
- Description: 7 miles round trip, 2500 ft gain, below tree line
- Avalanche Risk: NWAC, often low risk, but does travel on avalanche terrain if much snow exists
- Footwear: Microspikes, usually pretty packed down but can get icy
- Drive: 1 hr from Seattle to Lake Serene & Bridal Veil Falls Trailhead, Highway SR 2 conditions, short dirt or snow drive to trailhead from highway
- Trip Reports: WTA, AllTrails
Skyline Lake
- Description: 2 miles round trip, 2500 ft gain, below/near tree line
- Avalanche Risk: NWAC, minimal if any – stay on trail and on ridge
- Footwear: Microspikes/snowshoes, usually pretty packed down, but watch for skiers (heavy ski traffic)
- Drive: 1.5 hr from Seattle to Skyline Lake Trail, Highway SR 2 conditions, snow in parking lot
- Trip Reports: WTA or here, AllTrails
Nason Ridge
- Description: 5.5 miles round trip (or as far as you want), 1300 ft gain, below/near tree line
- Avalanche Risk: NWAC, minimal if any – stay on trail and on ridge
- Footwear: snowshoes for off trail and play in deeper snow
- Drive: 2.5 hr from Seattle to Lake Wenatchee State Park, Highway SR 2 conditions; Sno-Park Permit
- Trip Reports: WTA, AllTrails, WA State Park
Snoqualmie/North Bend
Talapus and Ollalie Lakes
- Description: 6 miles round trip, 1400 ft gain, below tree line
- Avalanche Risk: NWAC, minimal if any
- Footwear: Microspikes, usually pretty packed down to Talapus, snowshoes could be helpful to Ollalie
- Drive: 1 hr from Seattle to Talapus Lake Trailhead, Highway I-90 conditions, Road FS #9030, drive until snow blockade, which can add a couple miles to hike
- Trip Reports: WTA or here, AllTrails
Granite Mountain – unadvised, caution
- Description: 8 miles round trip, 3800 ft gain, near/above tree line
- Avalanche Risk: NWAC, notorious for avalanches and travels through avalanche terrain, exercise extreme caution and be prepared; avoid if unsure
- Footwear: Snowshoes, not well traveled (avalanche gear necessary)
- Drive: < 1 hr from Seattle to Granite Mountain Trailhead, Highway I-90 conditions, trailhead is just off the highway via short dirt road
- Trip Reports: WTA, AllTrails
Annette Lake – Caution
- Description: 8 miles round trip, 2000 ft gain, below/near tree line
- Avalanche Risk: NWAC, travels under avalanche terrain in second half of trail, exercise caution
- Footwear: Microspikes, usually pretty packed down
- Drive: < 1 hr from Seattle to Annette Lake Trailhead, Highway I-90 conditions, trailhead is just off the highway via short dirt road
- Trip Reports: WTA, AllTrails
Franklin Falls – caution
- Description: 7 miles round trip, < 1000 ft gain, below tree line
- Avalanche Risk: NWAC, minimal on trail, exercise caution approaching the falls, which is under avalanche terrain
- Footwear: Microspikes, usually pretty packed down and icy
- Drive: < 1 hr from Seattle to start of NF 5800, Highway I-90 conditions, parking at the road closure, which is just off the highway via paved/snowy road
- Trip Reports: WTA, AllTrails
Snow Lake – unadvised, caution
- Description: 6 miles round trip, 2000 ft gain, below/near tree line
- Avalanche Risk: NWAC, travels under frequently avalanched terrain, exercise extreme caution and be prepared; avoid if unsure
- Footwear: Snowshoes, not well traveled (avalanche gear necessary)
- Drive: < 1 hr from Seattle to Snow Lake Trailhead, Highway I-90 conditions, trailhead is just off the highway via short dirt road
- Trip Reports: WTA, AllTrails
Gold Creek Pond
- Description: 2 miles round trip, <100 ft gain, below tree line
- Avalanche Risk: NWAC, minimal if any
- Footwear: Microspikes, usually pretty packed down; snowshoes for off trail and play in deeper snow
- Drive: < 1 hr from Seattle to Gold Creek Snowshoe Trail, Highway I-90 conditions, trailhead is just off the highway via short paved/snowy road; Sno-Park Permit if parking at Gold Creek Sno-Park
- Trip Reports: WTA, AllTrails
Kendall Peak Lakes
- Description: 8 miles round trip, 2000 ft gain, below tree line
- Avalanche Risk: NWAC, minimal if any
- Footwear: Microspikes, usually pretty packed down
- Drive: < 1 hr from Seattle to Gold Creek Sno-Park, Highway I-90 conditions, parking is just off the highway; Sno-Park Permit
- Trip Reports: WTA or here, AllTrails
Keechelus – caution
- Description: 4 miles round trip, 100 ft gain (depending how far you go), below tree line
- Avalanche Risk: NWAC, minimal on first 2 miles, exercise caution if continuing further, which travels under avalanche terrain
- Footwear: Snowshoes, usually packed but snow can be deep
- Drive: < 1 hr from Seattle to Hyak Sno-Park, Highway I-90 conditions, parking short distance from highway; Sno-Park Permit
- Trip Reports: WTA, AllTrails
Cle Elum
Hex Mountain
- Description: 7 miles round trip, 2600 ft gain, near/above tree line
- Avalanche Risk: NWAC, minimal if any, stay on ridge
- Footwear: Microspikes, usually pretty packed down unless recent snowfall
- Drive: 1.5 hr from Seattle to base of FS 116 (near Wish Poosh Campground), Highway I-90 conditions; some gravel/snow road
- Trip Reports: WTA or here, AllTrails
Blewett Pass
- Description: 6 miles round trip, 400 ft gain (depending how far you go), near/above tree line
- Avalanche Risk: NWAC, minimal if any
- Footwear: Microspikes, usually pretty packed down unless recent snowfall
- Drive: < 2 hr from Seattle to Wenatchee Crest Trailhead (Blewett Son-Park), Highway I-90 conditions and US-97 conditions; Sno-Park Permit
- Trip Reports: WTA, AllTrails
Mt Rainier
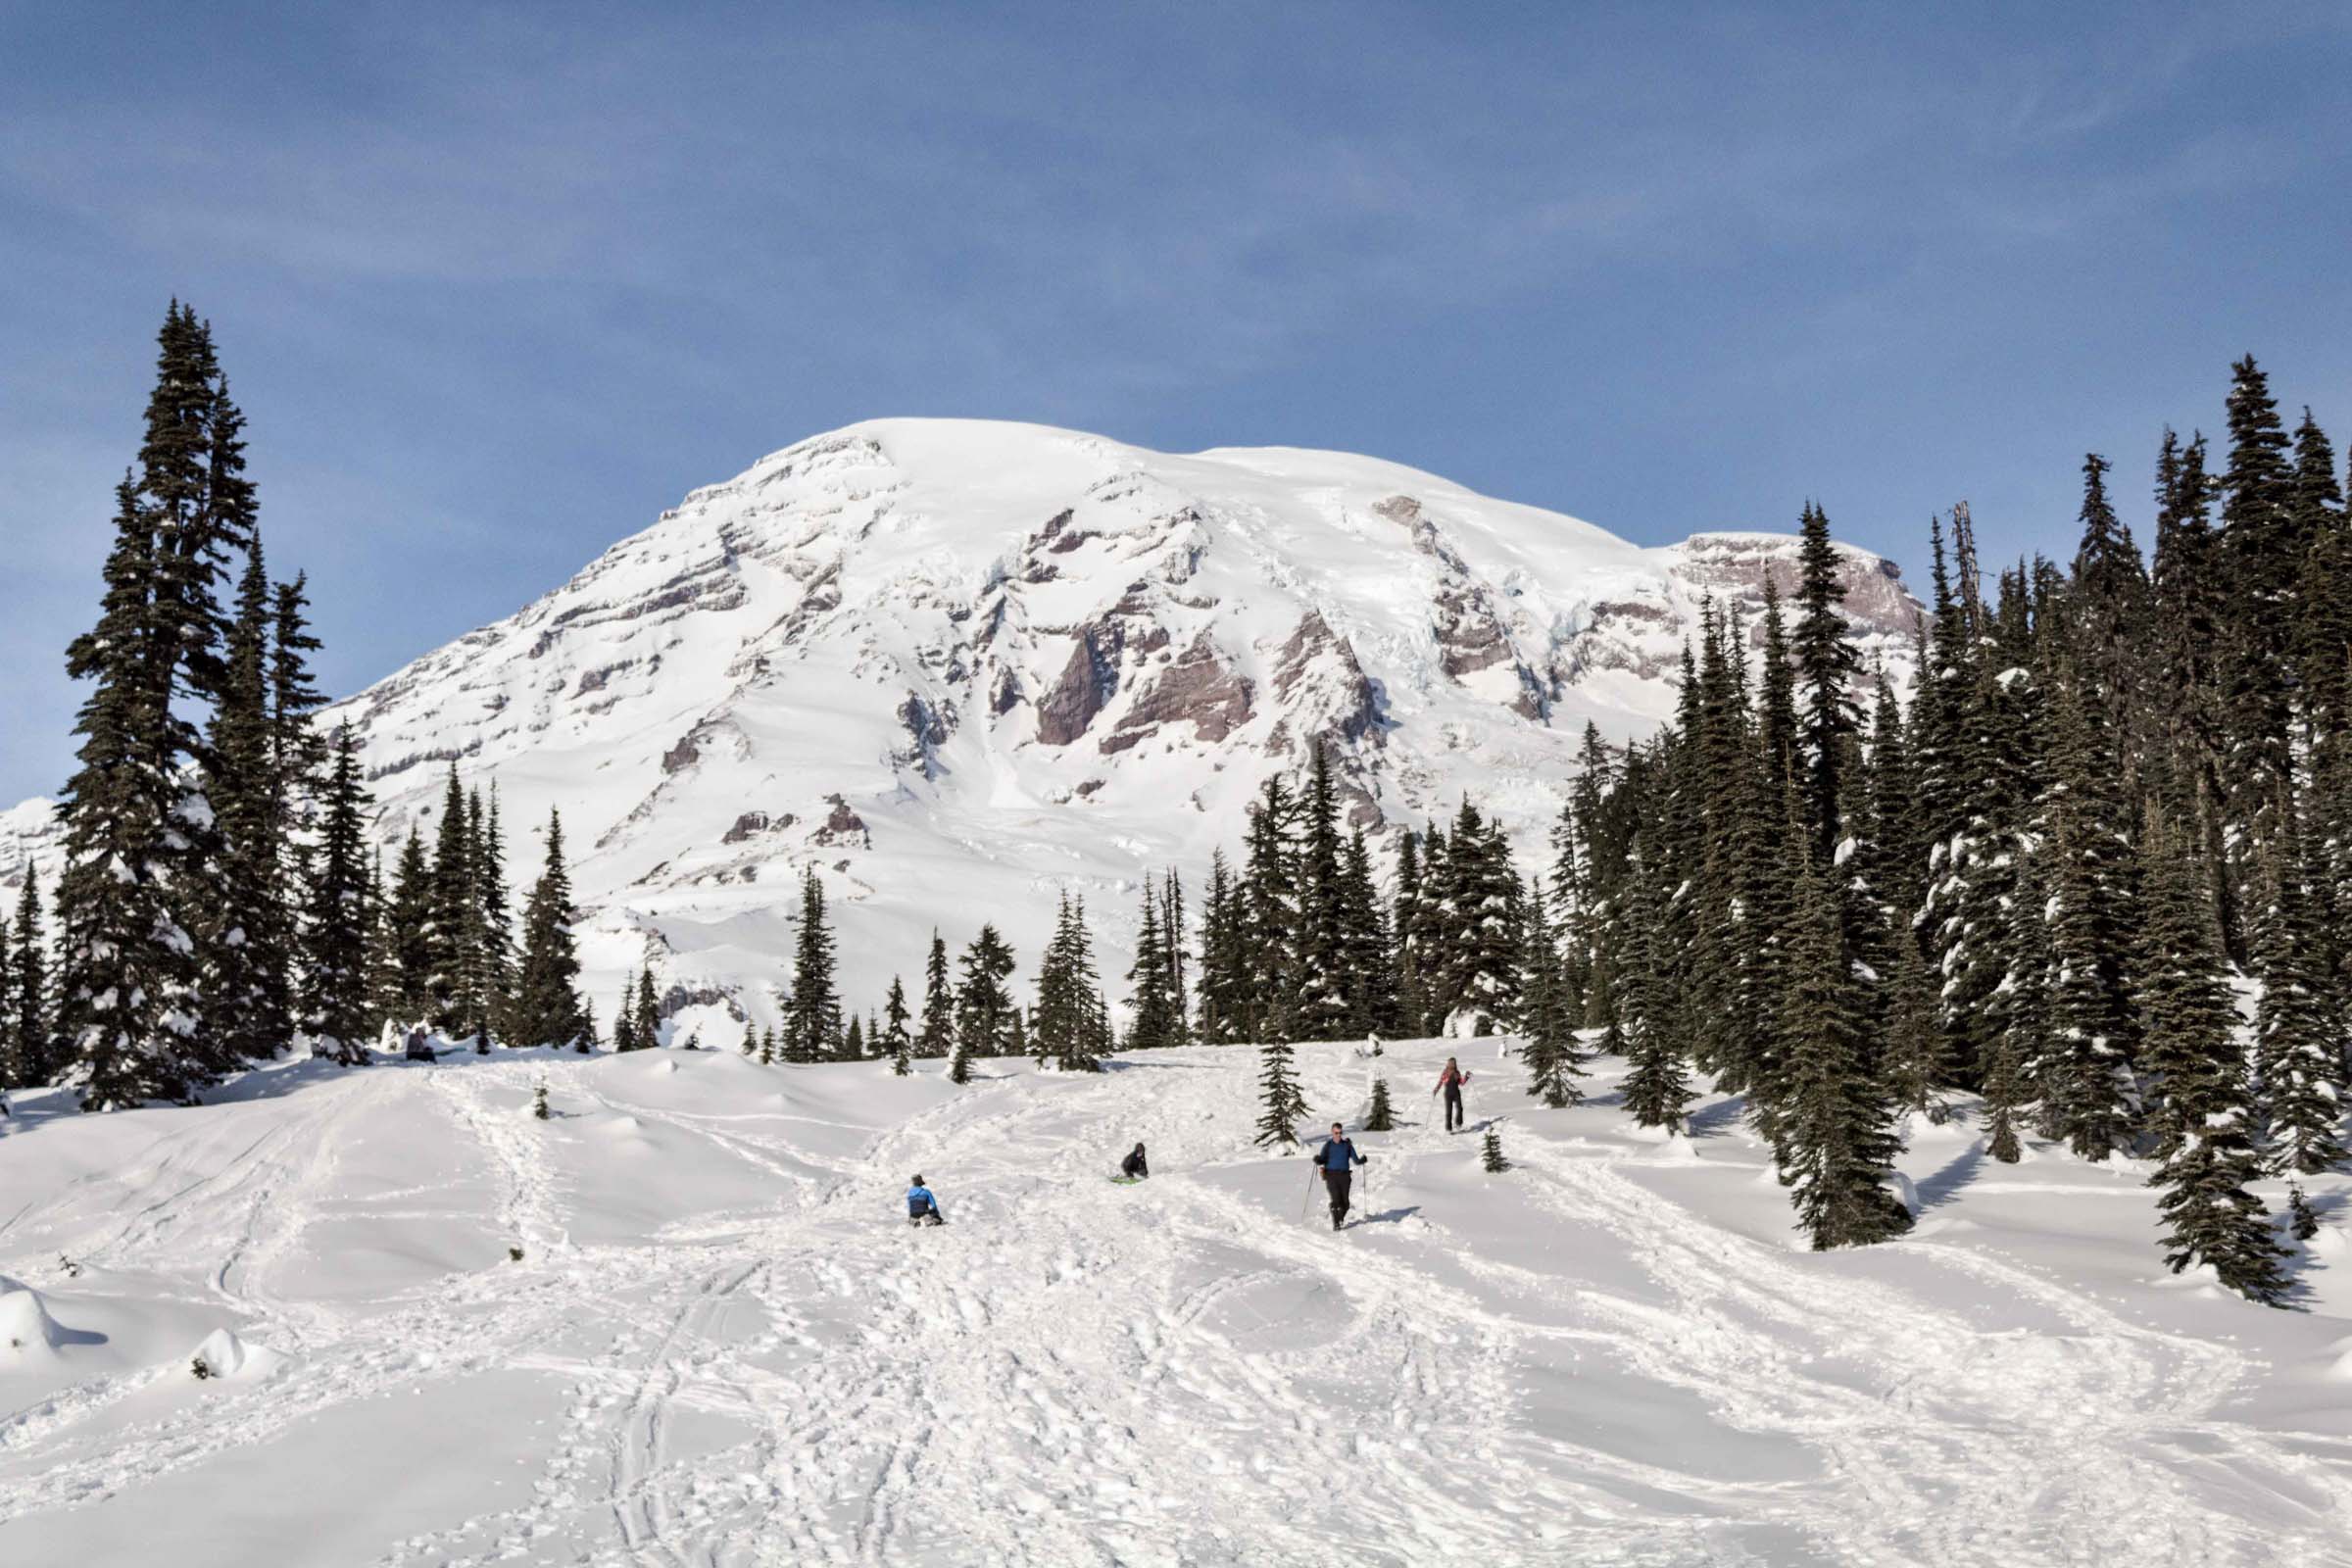
Paradise/Panorama Point/Myrtle Falls/Glacier Vista
- Description: 4 miles round trip, 1500 ft gain (depending how far you go), above tree line
- Avalanche Risk: NWAC, minimal if any, stay on trails and ridge (know where you’re going if low visibility); Paradise Winter Guide by NPS
- Footwear: Microspikes, usually pretty packed down near parking lot; snowshoes for venturing further
- Drive: 2 hr from Seattle to Paradise; NPS road conditions; National Park Pass
- Trip Reports: WTA, AllTrails; many more if you search
Reflection Lakes/Narada Falls
- Description: 3 miles round trip, 1000 ft gain, near tree line
- Avalanche Risk: NWAC, minimal if any – use the higher trail instead of Wonderland Trail; Paradise Winter Guide by NPS
- Footwear: Microspikes, usually pretty packed down unless recent snowfall
- Drive: 2 hr from Seattle to Narada Falls; NPS road conditions; National Park Pass
- Trip Reports: WTA, AllTrails
Crystal Mountain/Bullion Basin
- Description: 5 miles, 800 ft gain (depending how far you go), near tree line
- Avalanche Risk: NWAC, generally minimal, but upper trails are below avalanche terrain (issue on higher risk days)
- Footwear: Microspikes or snowshoes (usually more snow than ice)
- Drive: 1.5 hr from Seattle to Crystal Mountain; Crystal Mountain Parking
- Trip Reports: WTA, Crystal Mountain Resort
Mt St Helens
June Lake
- Description: 4.5 miles round trip, 500 ft gain , above tree line
- Avalanche Risk: NWAC, minimal if any, stay on trails and ridge (know where you’re going if low visibility); Paradise Winter Guide by NPS
- Footwear: Snowshoes, often deeper snow; but if packed firm snow, microspikes work
- Drive: 3.5 hr from Seattle to Marble Mountain Sno Park; Conditions; Sno-Park Pass
- Trip Reports: WTA, AllTrails; WA State Park; many more hikes around the Sno Park
Olympic Peninsula
Hurricane Ridge-Hurricane Hill
- Description: 6 miles round trip, 1000 ft gain, near/above tree line
- Avalanche Risk: NWAC, minimal if any – stay on trail
- Footwear: Snowshoes, often deeper snow; but if packed firm snow, microspikes work
- Drive: 3 hr from Seattle to Hurricane Ridge Visitor Center; National Park Pass
- Trip Reports: WTA, AllTrails
Mt Ellinor – unadvised, caution
- Description: 6 miles round trip, 3500 ft gain, near/above tree line
- Avalanche Risk: NWAC, travels through avalanche terrain, exercise extreme caution and be prepared; avoid if unsure
- Footwear: Depends – snowshoes/crampons (avalanche gear necessary)
- Drive: 3 hr from Seattle to Mt Ellinor Lower Trailhead; some cars may reach upper lot
- Trip Reports: WTA, AllTrails
Map of Snowshoe Hikes
This shows each of the hikes described above. Blue is very minimal avalanche risk, orange should be hiked with caution, red should be avoided if you have little knowledge in avalanche safety. Avalanche terrain/risk are also generally marked.