bachelorette, climbing, gourmet food, and shenanigans | tenaya peak to cathedral lakes
15 miles . 4435 ft gain . 10300 ft high
Yosemite National Park, Yosemite Wilderness
When your friend is a climbing guide (The Climbing School) and requests a surprise bachelorette party the year she gets married, you make it epic and include all the climbing you could. As one of the non-climbing focused friends, I knew very little about potential options. But when Yosemite was suggested, specifically for Tuolumne Meadows, I was so down. After all, I had a great time in the Valley participating in another friend’s surprise proposal in Yosemite and didn’t get a chance to explore Tuolumne. In short, the whole thing was planned by two other friends and I contributed with my expertise in the food department. We had some vague idea of hiking along the John Muir Trail between Sunrise Lakes and Cathedral Lakes. We also had some grand notion of climbing a lot of easy, classics, as in the Tuolumne Triple Crown. It includes Tenaya Peak, Cathedral Peak and Matthes Crest. Here’s what actually went down (permitting and logistics scroll below):
Day 0: Base Camp in Tuolumne
The key to a secret bachelorette is making sure that the bachelorette doesn’t know the event or at least the details. You need a separate group text with all attendees and clearly label it as “secret”. Then you need to gather everybody and create a perfect coverup to get her there. For us, it meant convincing her that she should meet a friend in the Bay Area and have a fun climbing trip with some truth sprinkled in.
We all arrived at the Tuolumne Meadows Campground and it was the first time I saw the Tuolumne Meadows with my own eyes in broad daylight. Last time it was dark when I hiked out from Clouds Rest. We even got the bachelorette to arrive that evening (though everyone went to bed before she arrived). The first thing that ticked her off that it wasn’t a random campground they pulled into after driving with the Bay Area friend: a friend’s vehicle she recognized. “Wait, I know that car. Wait, why is she here?? Wait, what is happening???” And ensue a course of giggles and laughter and excitement. But what she didn’t know was the rest of the plan.
Step 1: Get the bachelorette to the party. Check.
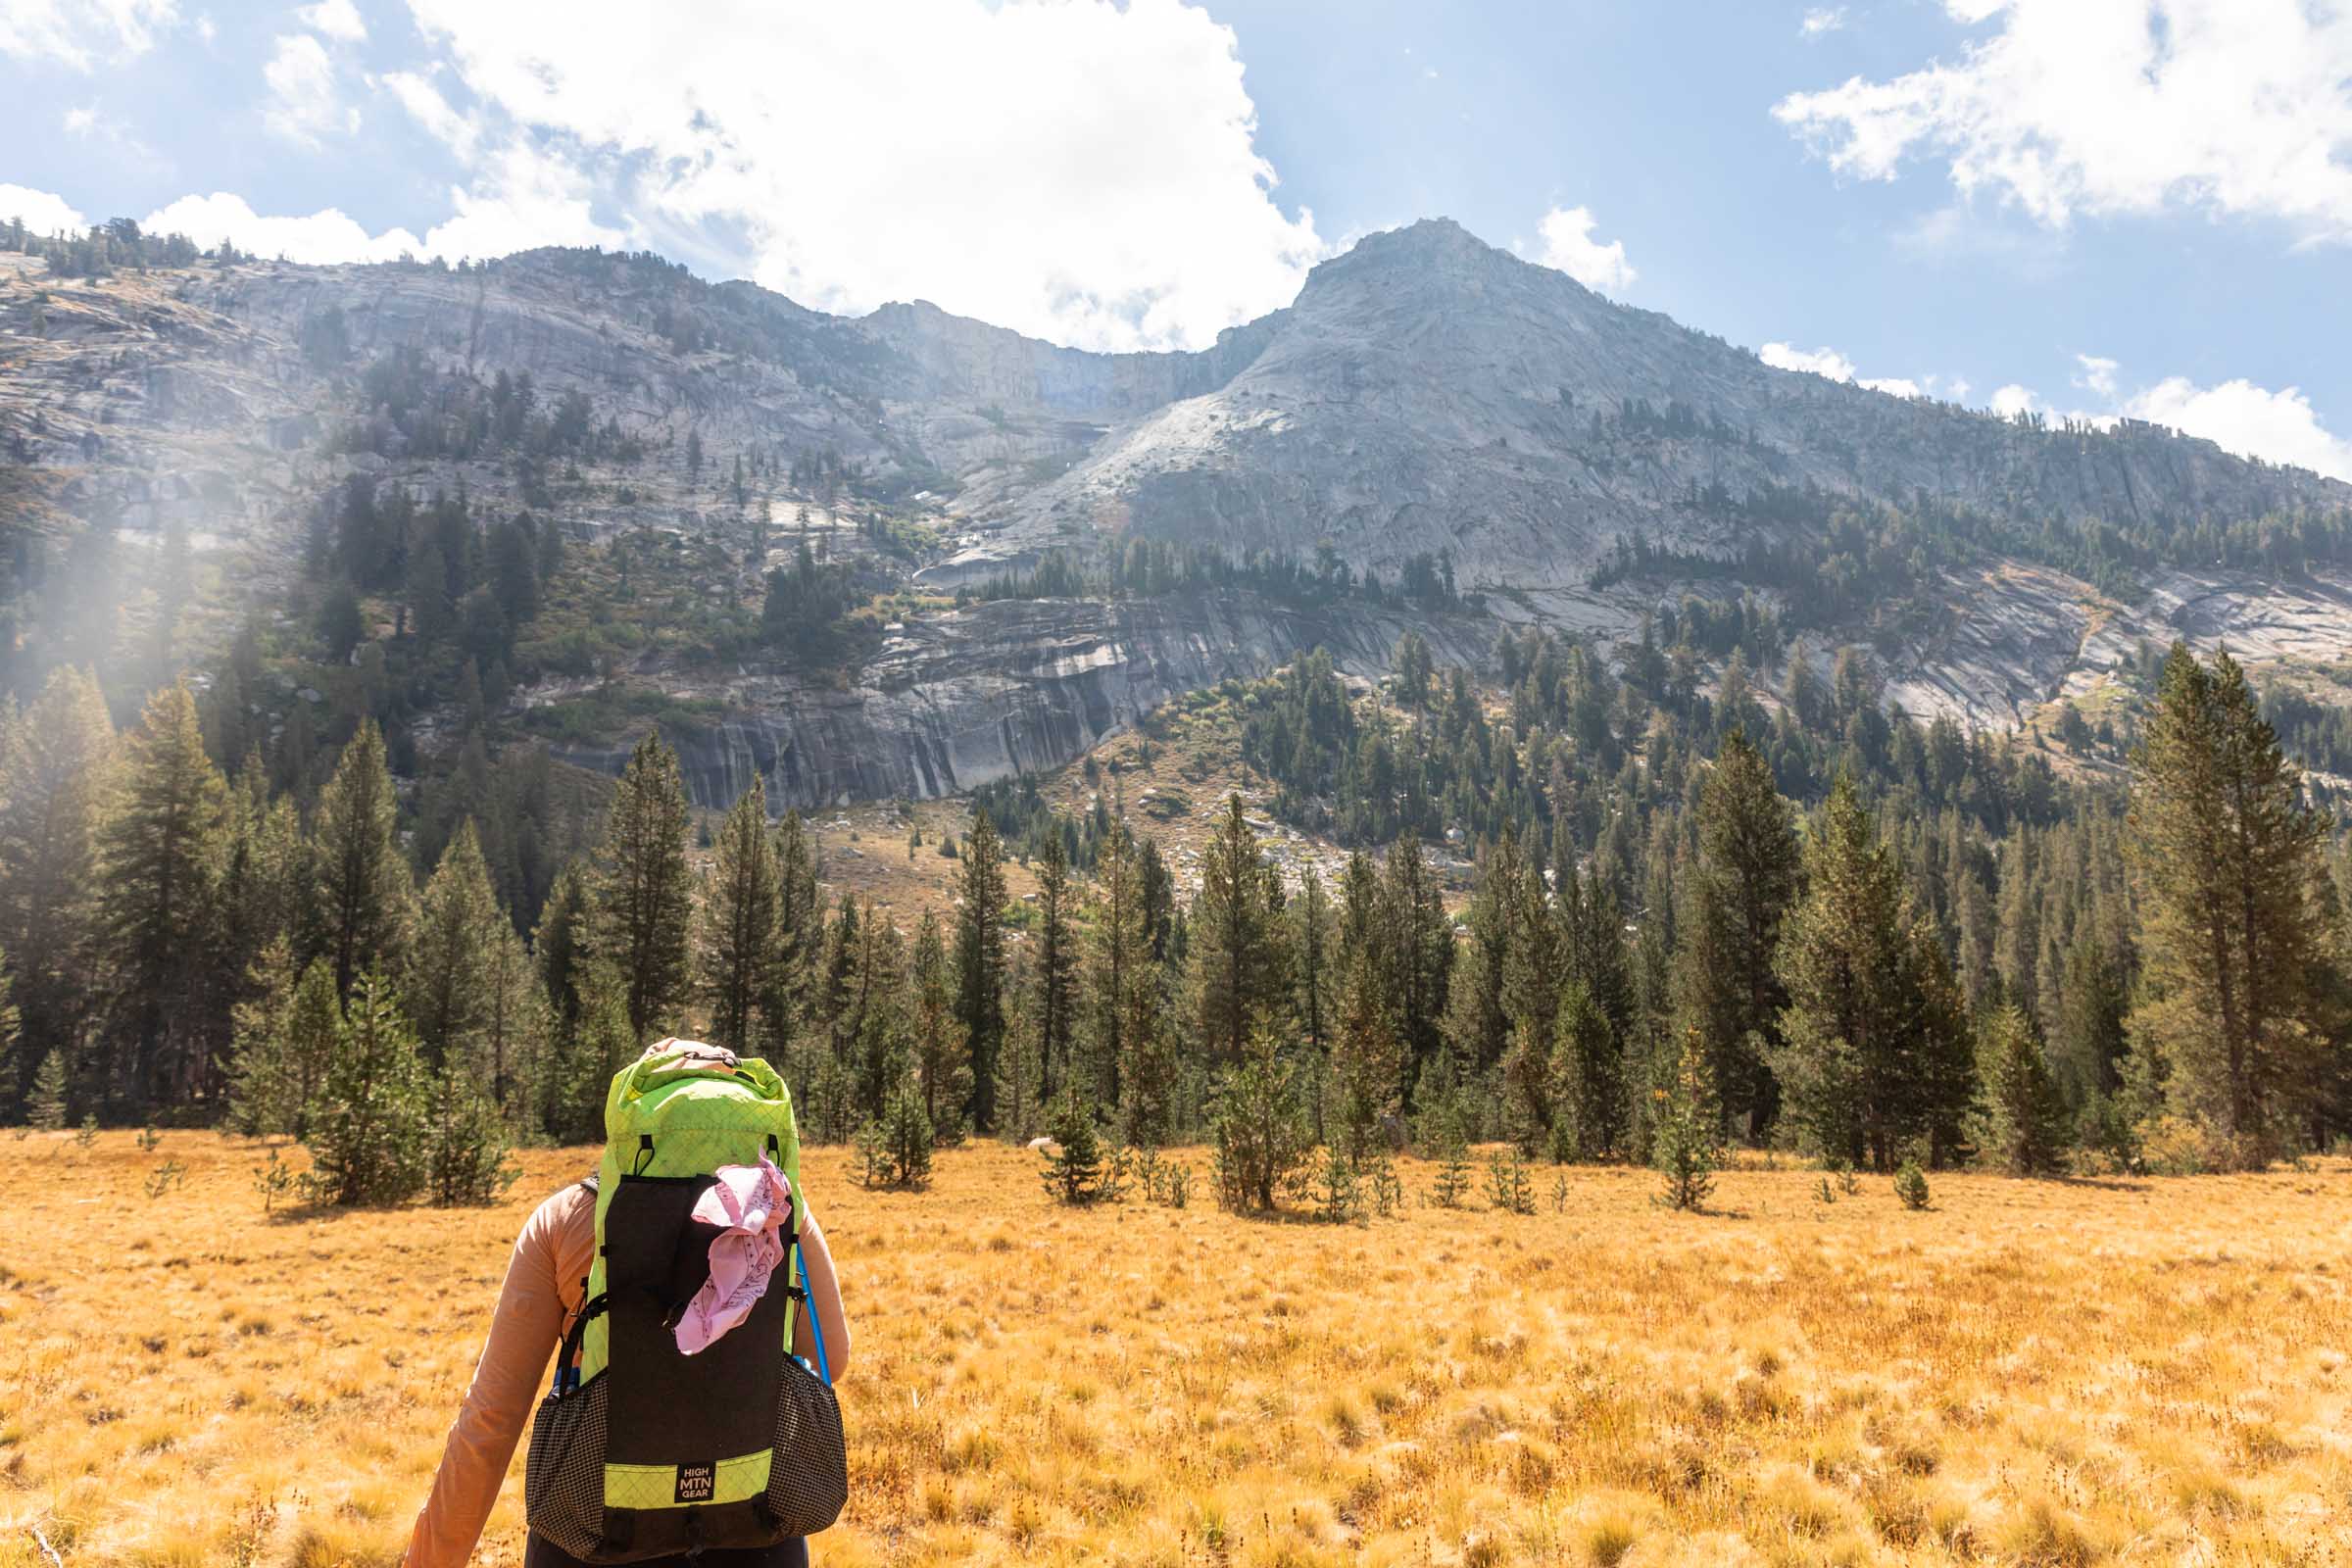
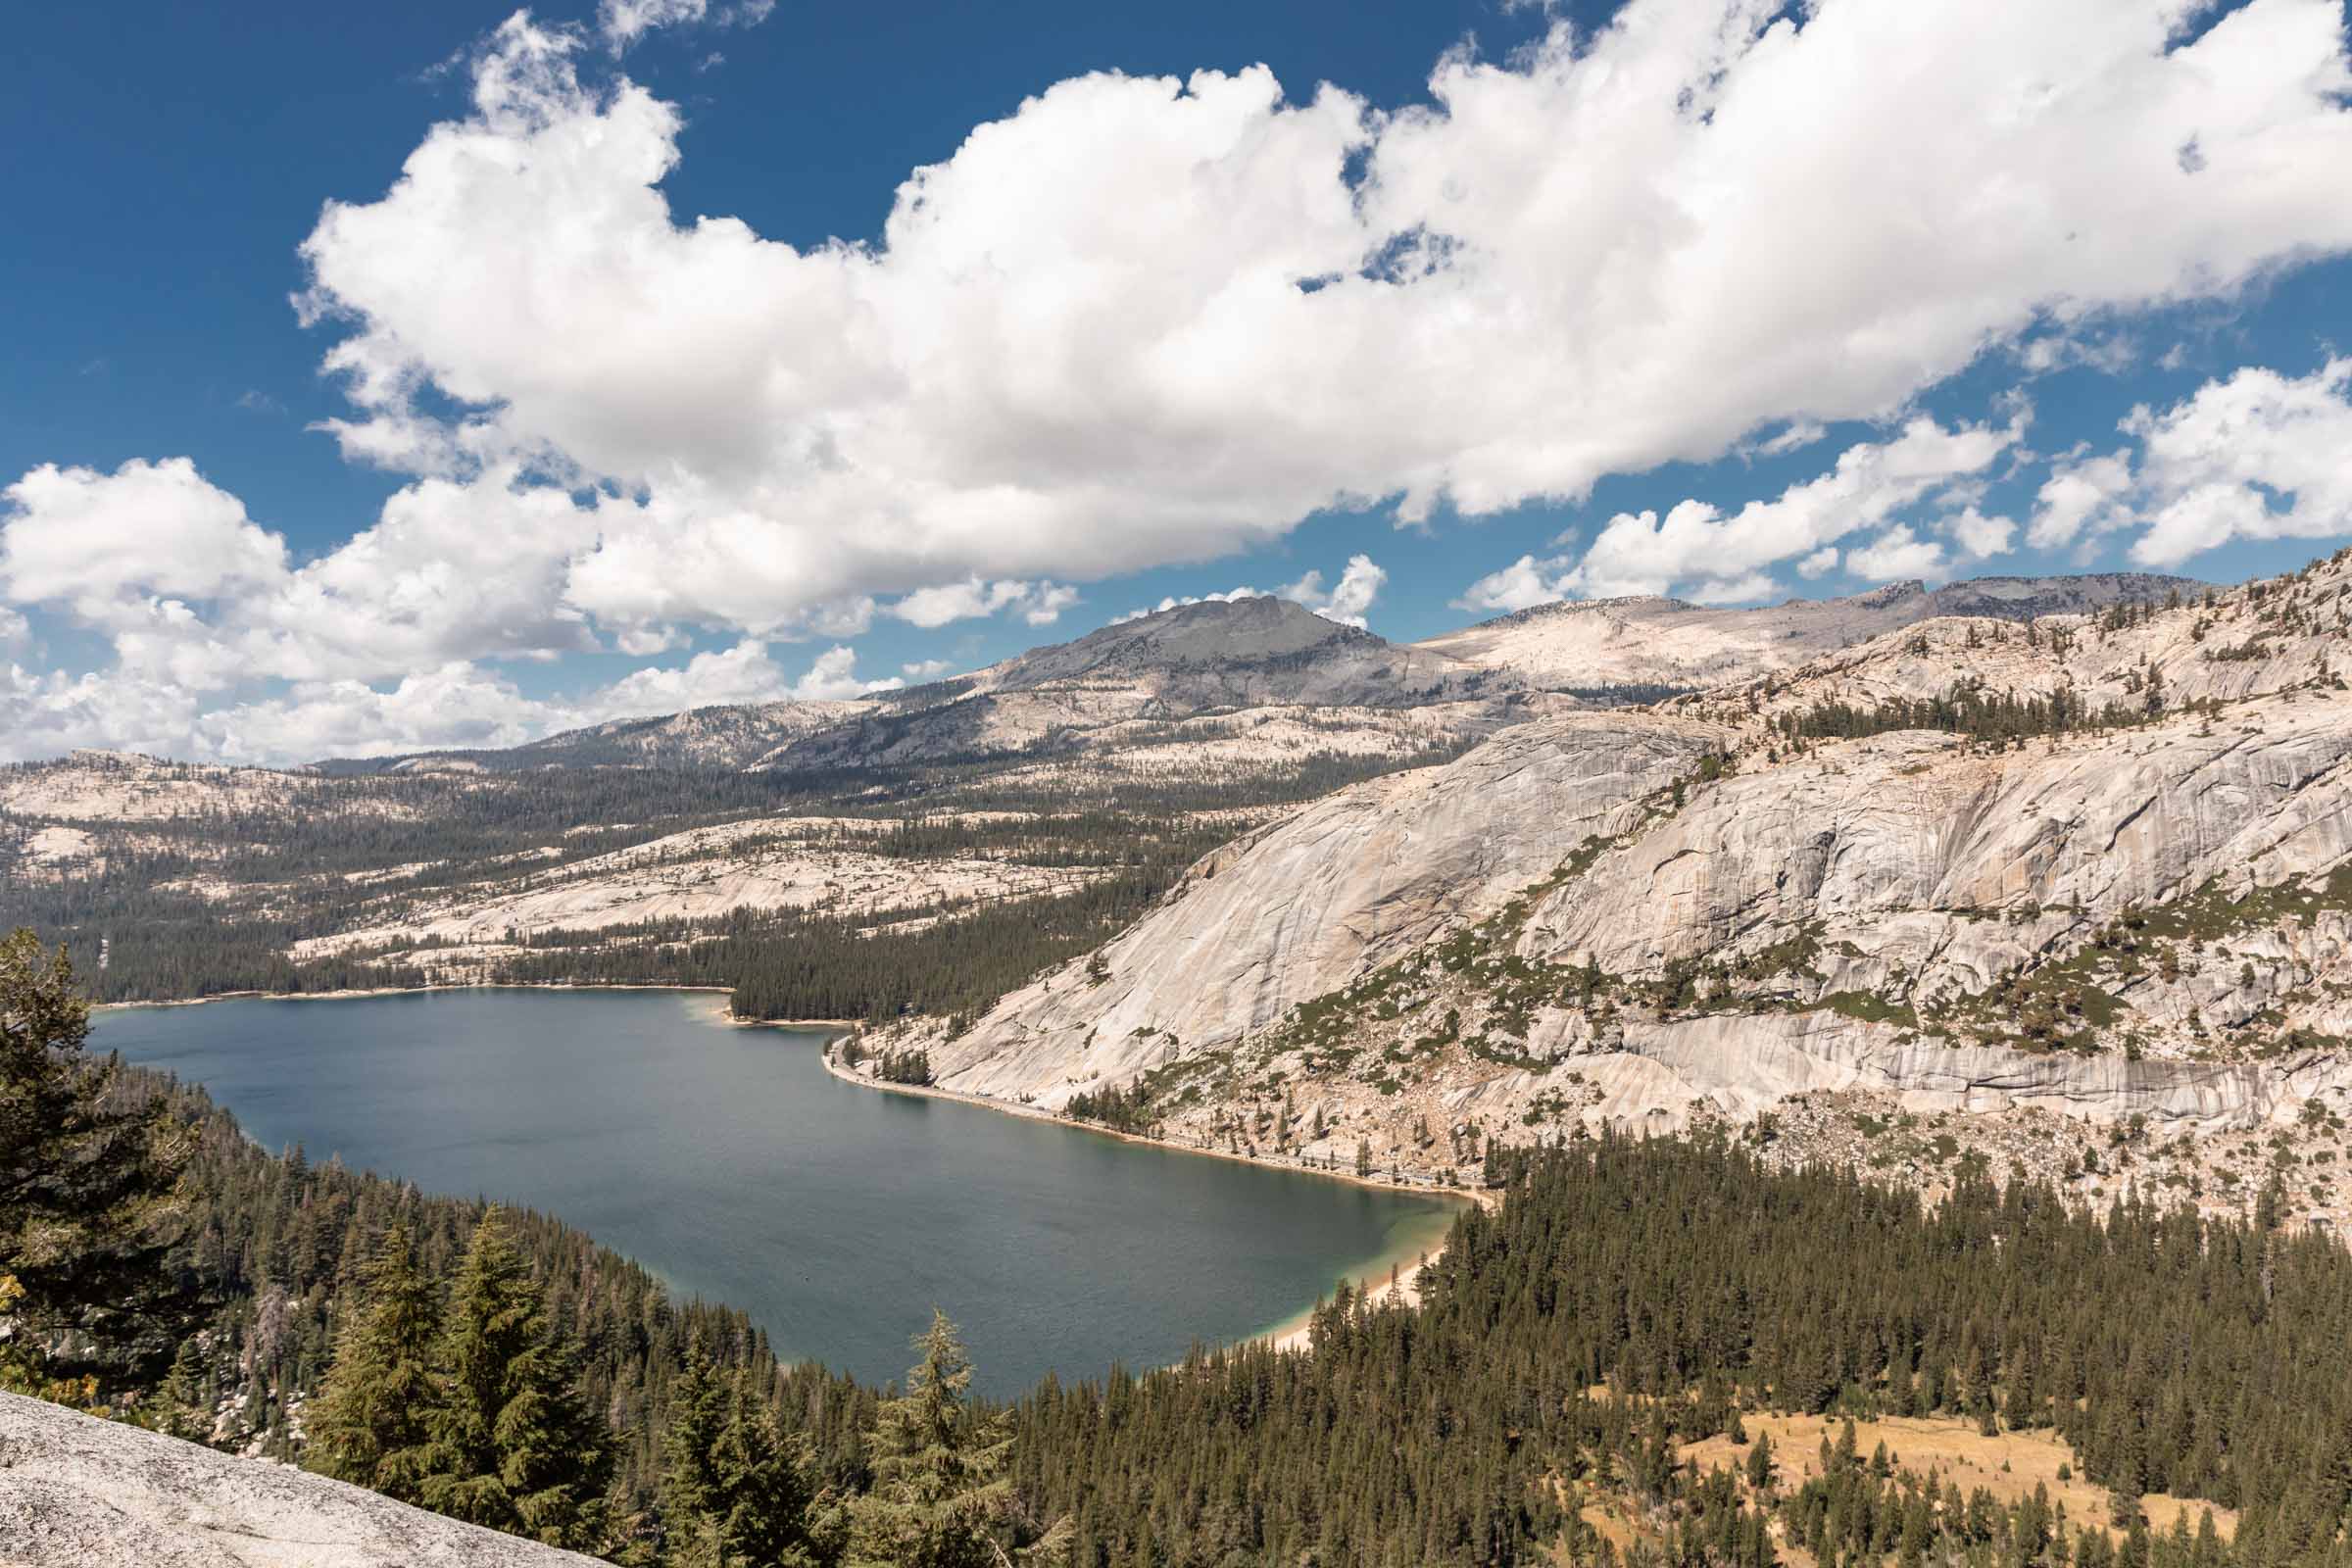
Day 1: Climb Tenaya Peak and Hike to Camp
Original Day 1 Plan
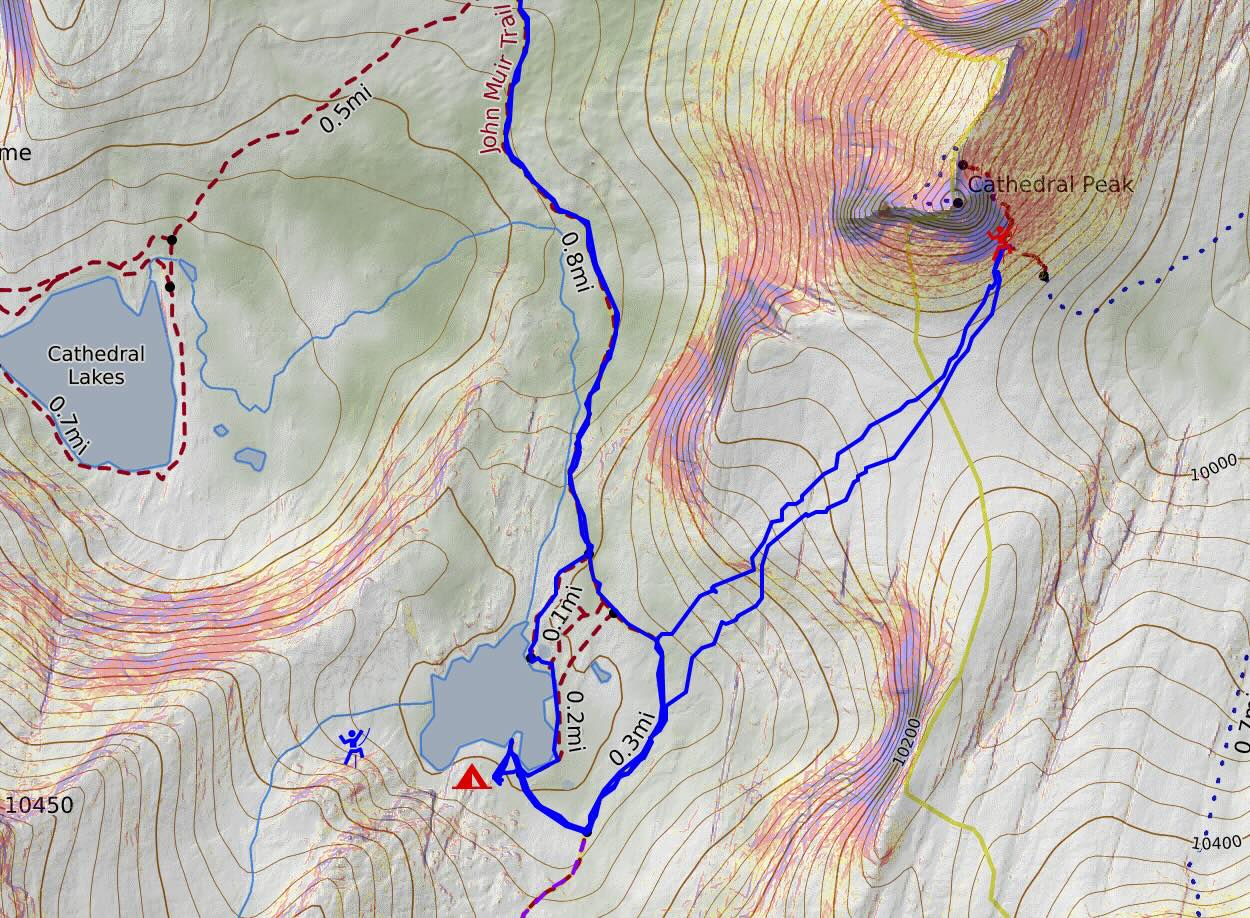
Climb Tenaya Peak with overnight gear and hike “off-trail” (this is okay through the rocks and side trails where trails don’t exist for climbing routes) base camp at Sunrise Lakes. We have a sort of weird approach from our permit trailhead, but the rangers said it was close enough.
Actual Events
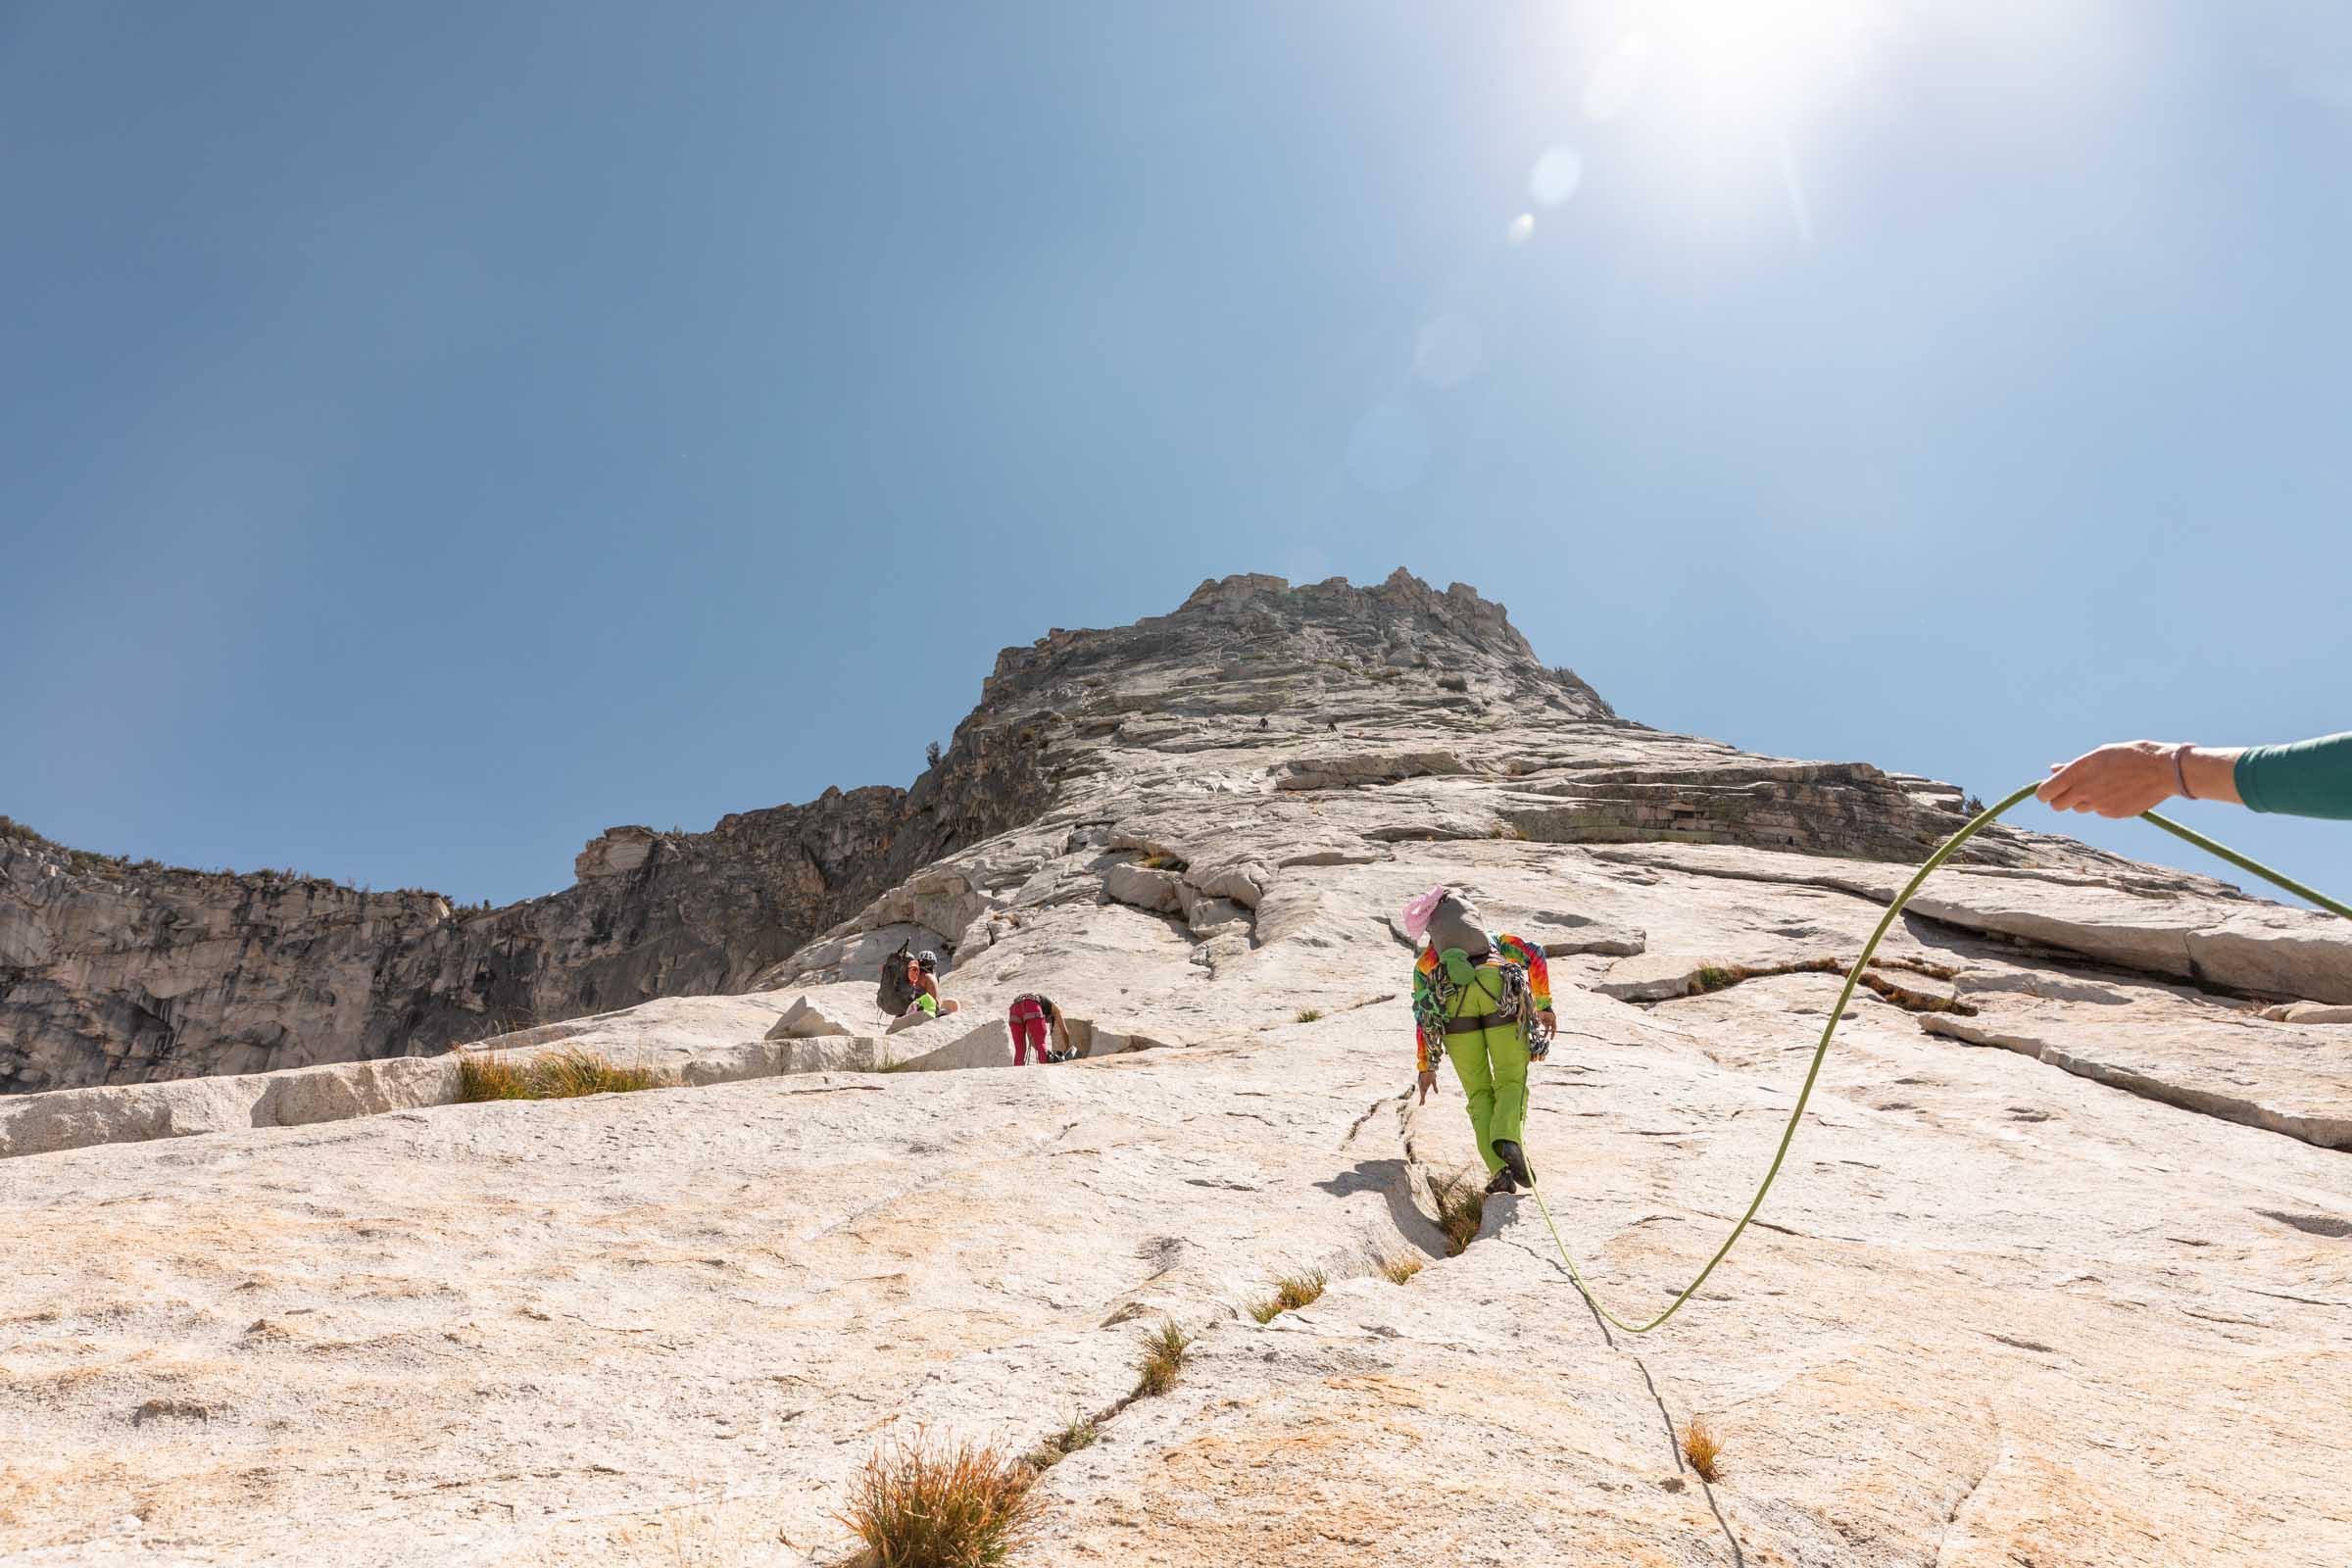
Tenaya Peak (Northwest Buttress 5.5)
Considering Lani, our bachelorette, was a climbing guide, we sort of pawned off the real planning to her. Oops! Well, all in good fun because we thought it would be a fantastic idea to sandbag her for her elopement. (Sandbagging means understating what someone is really in for)
Since we had no real plan because we all arrived at camp at various times and Sarah (lead planner) had a late night hike to pre-stash some gear (this might be controversial if actually allowed but it was left <24 hrs unattended), we made our plan rather lazily. We all woke up at 7am, in protest to our original 6am meet up to avoid the potential afternoon thunderstorms. But then through all the excitement of Lani finding out who was there, what the plan was, and making breakfast, packing bags, we didn’t leave camp until 10:15am!
Upon packing my bag with the few personal items and lots of veggies and then picking up my bag, I decided nope! No I will not climb with my overnight bag, likely over 40 lbs. Instead, I would climb with a light day pack, hike down and around to the car and then pick up my overnight bag to hike to camp. Two of us, in fact, decided this would be a grand idea.
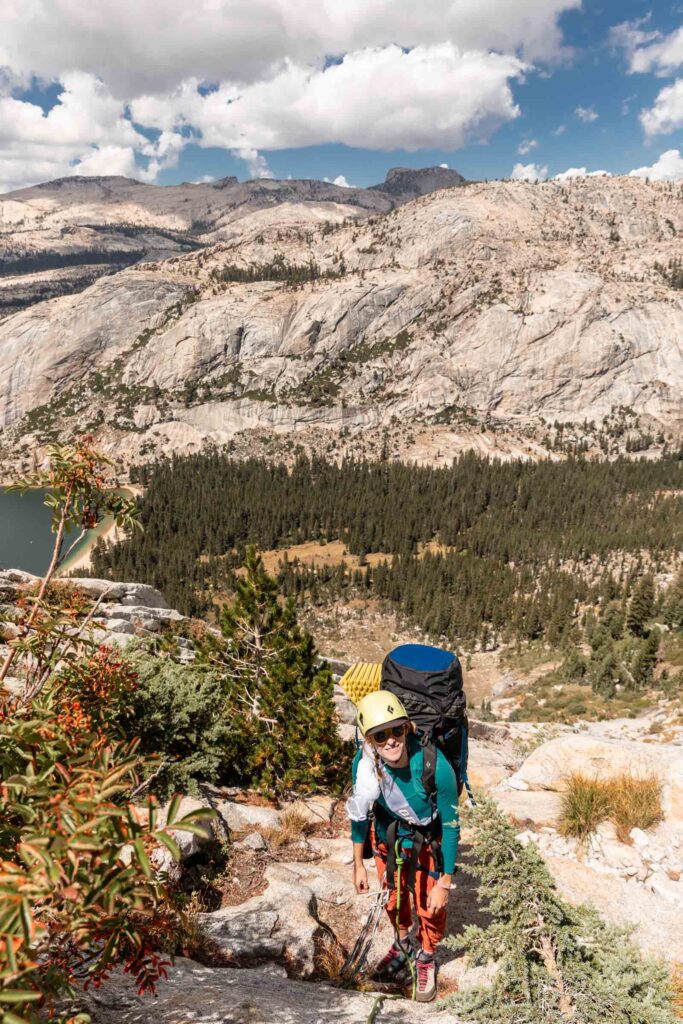
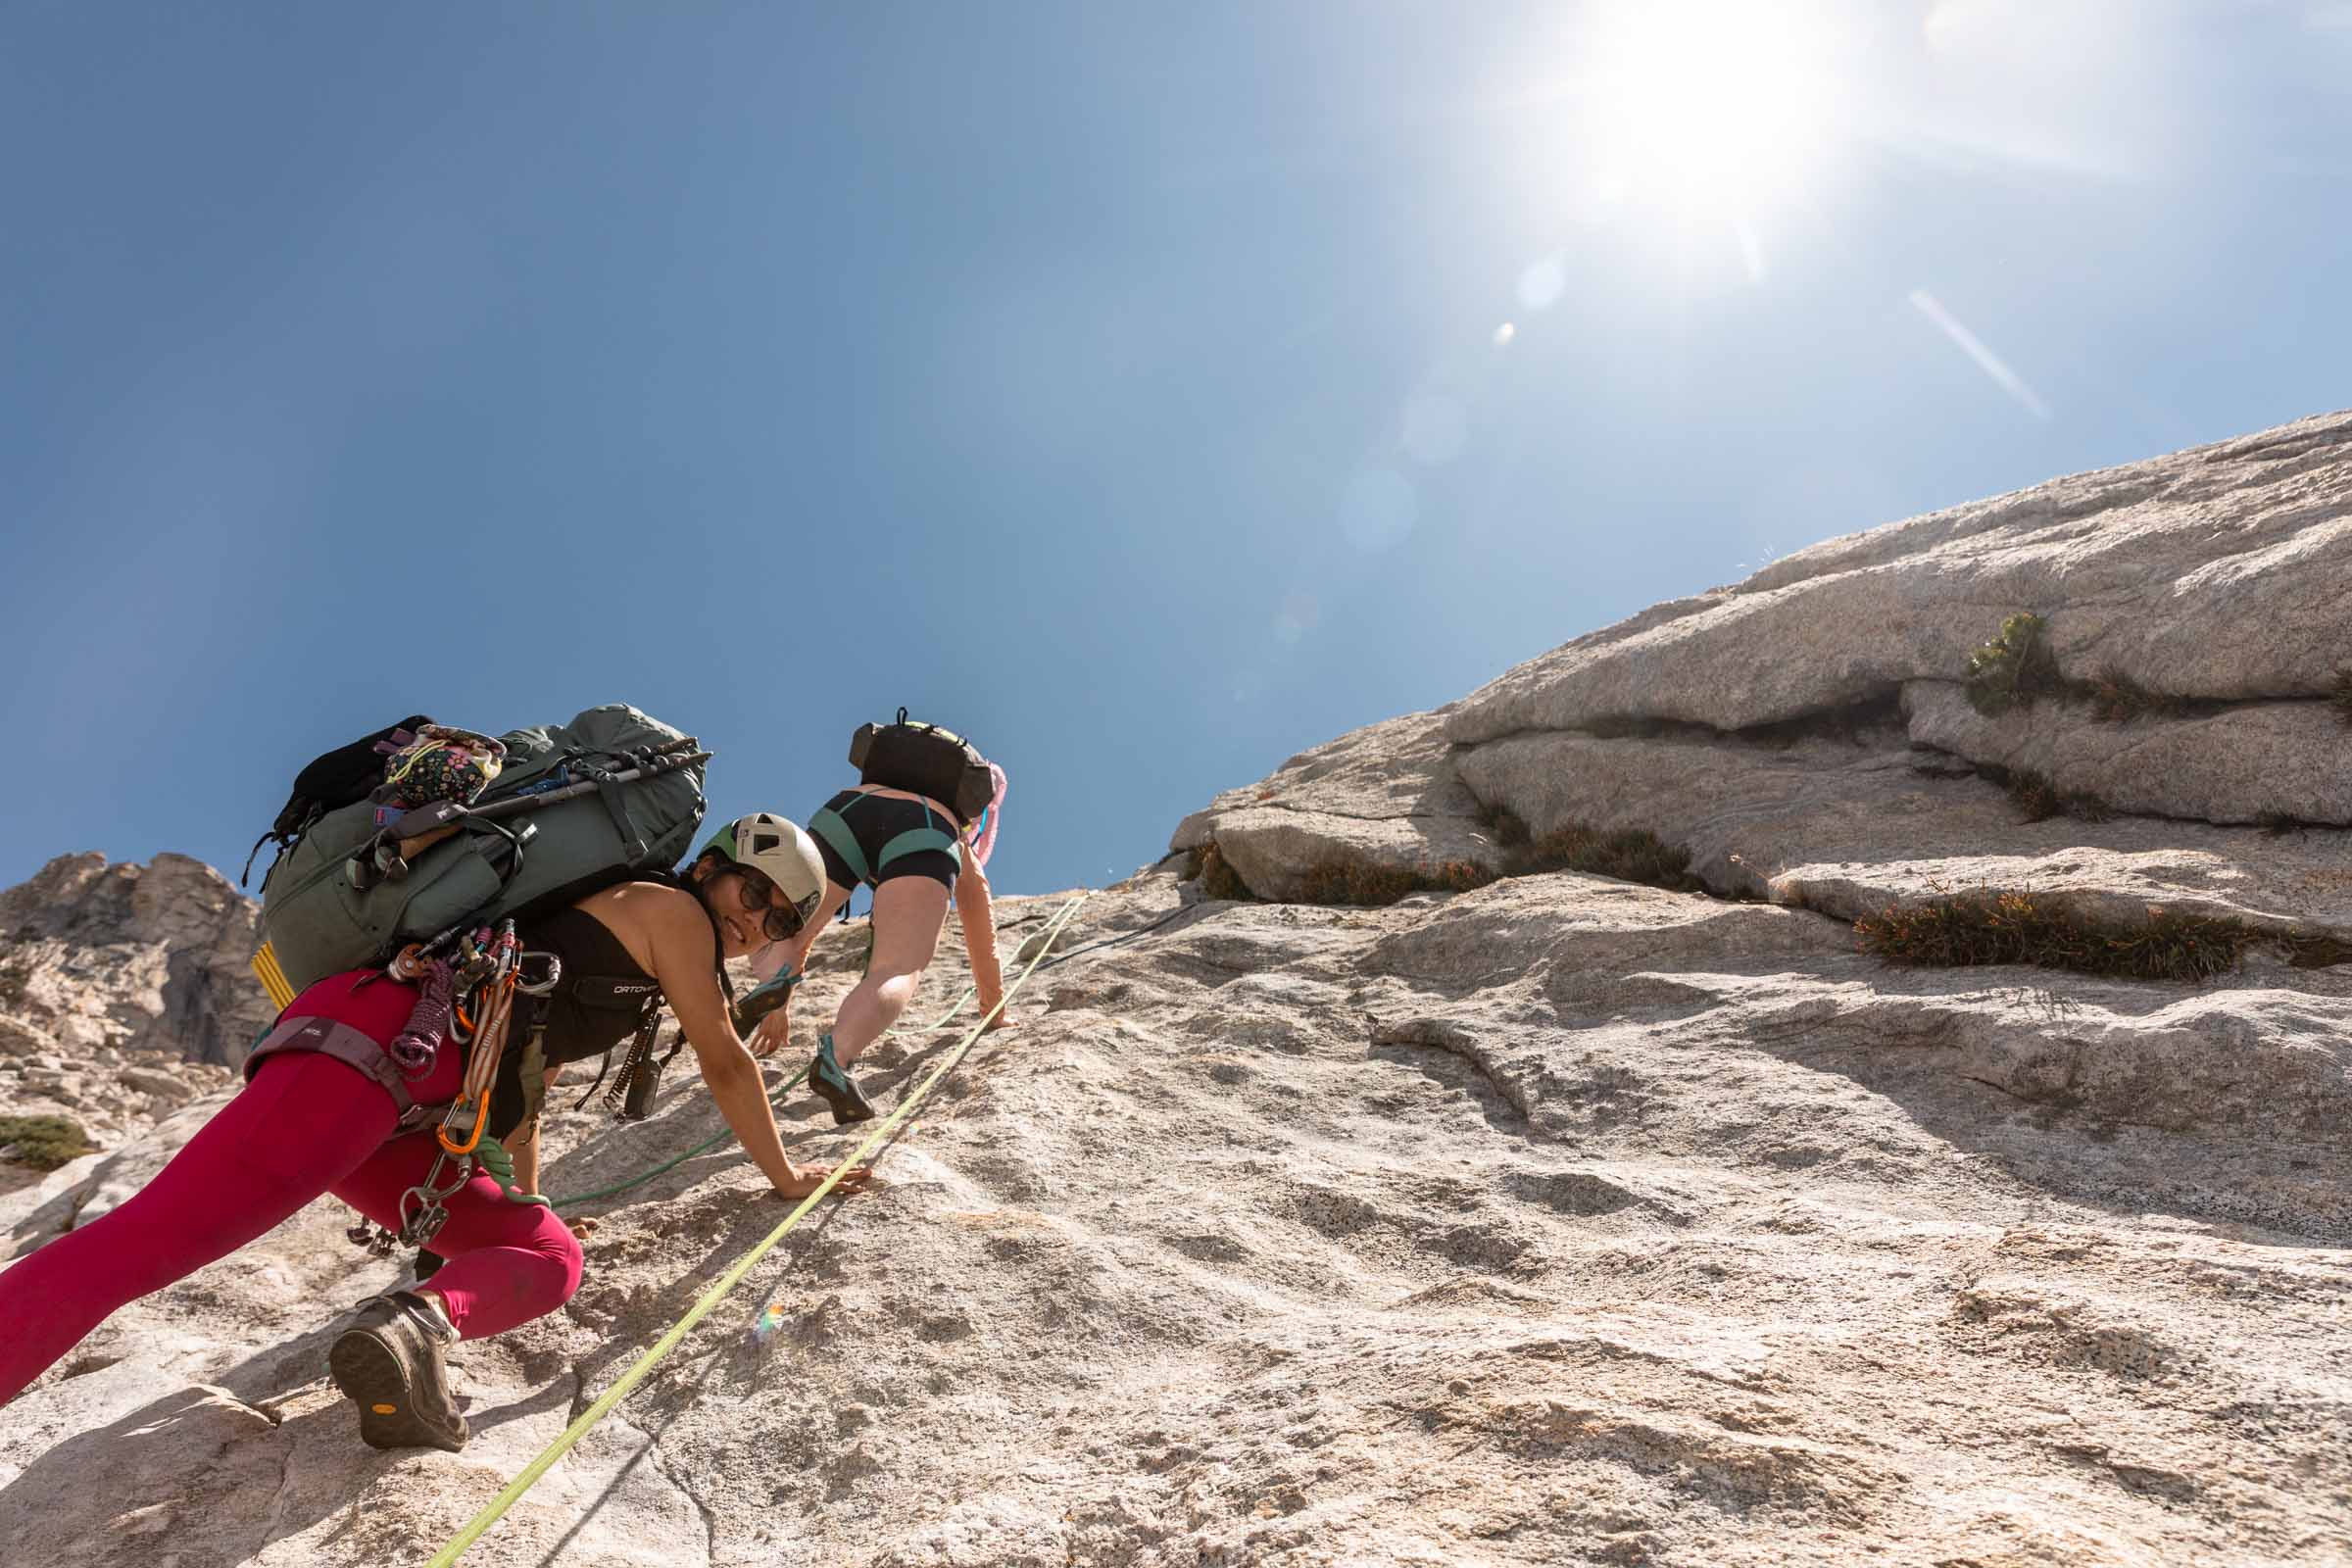
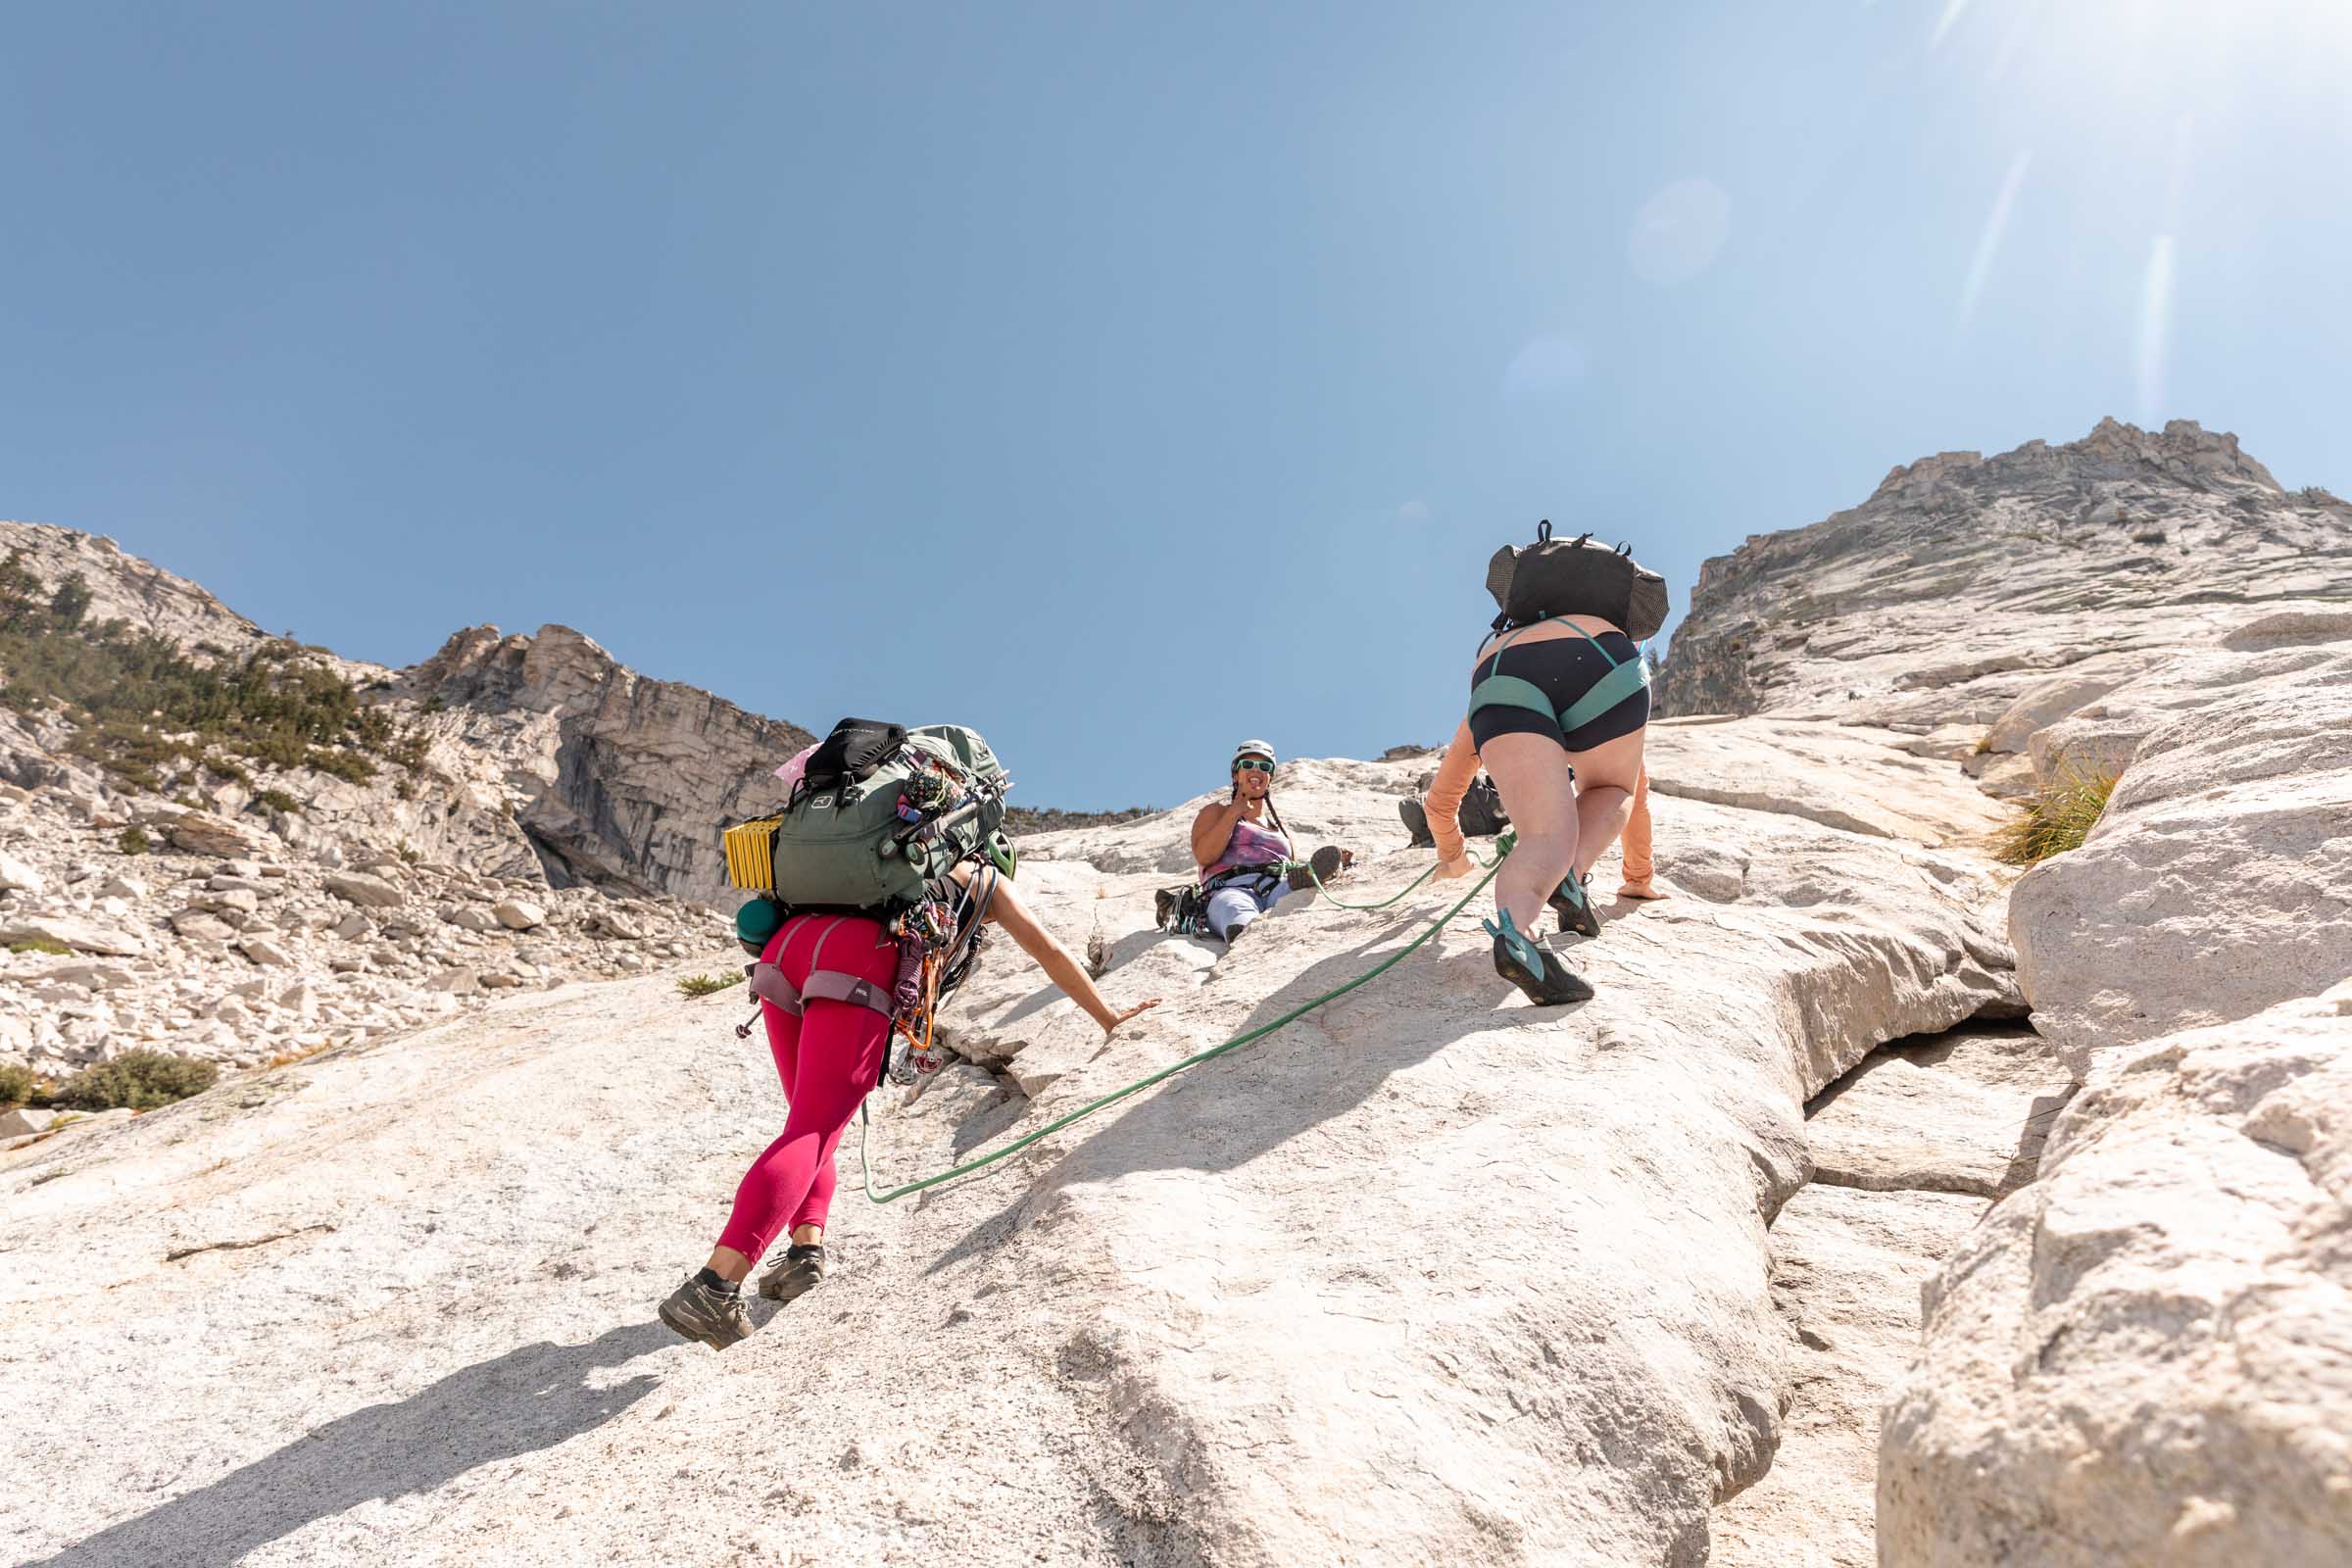
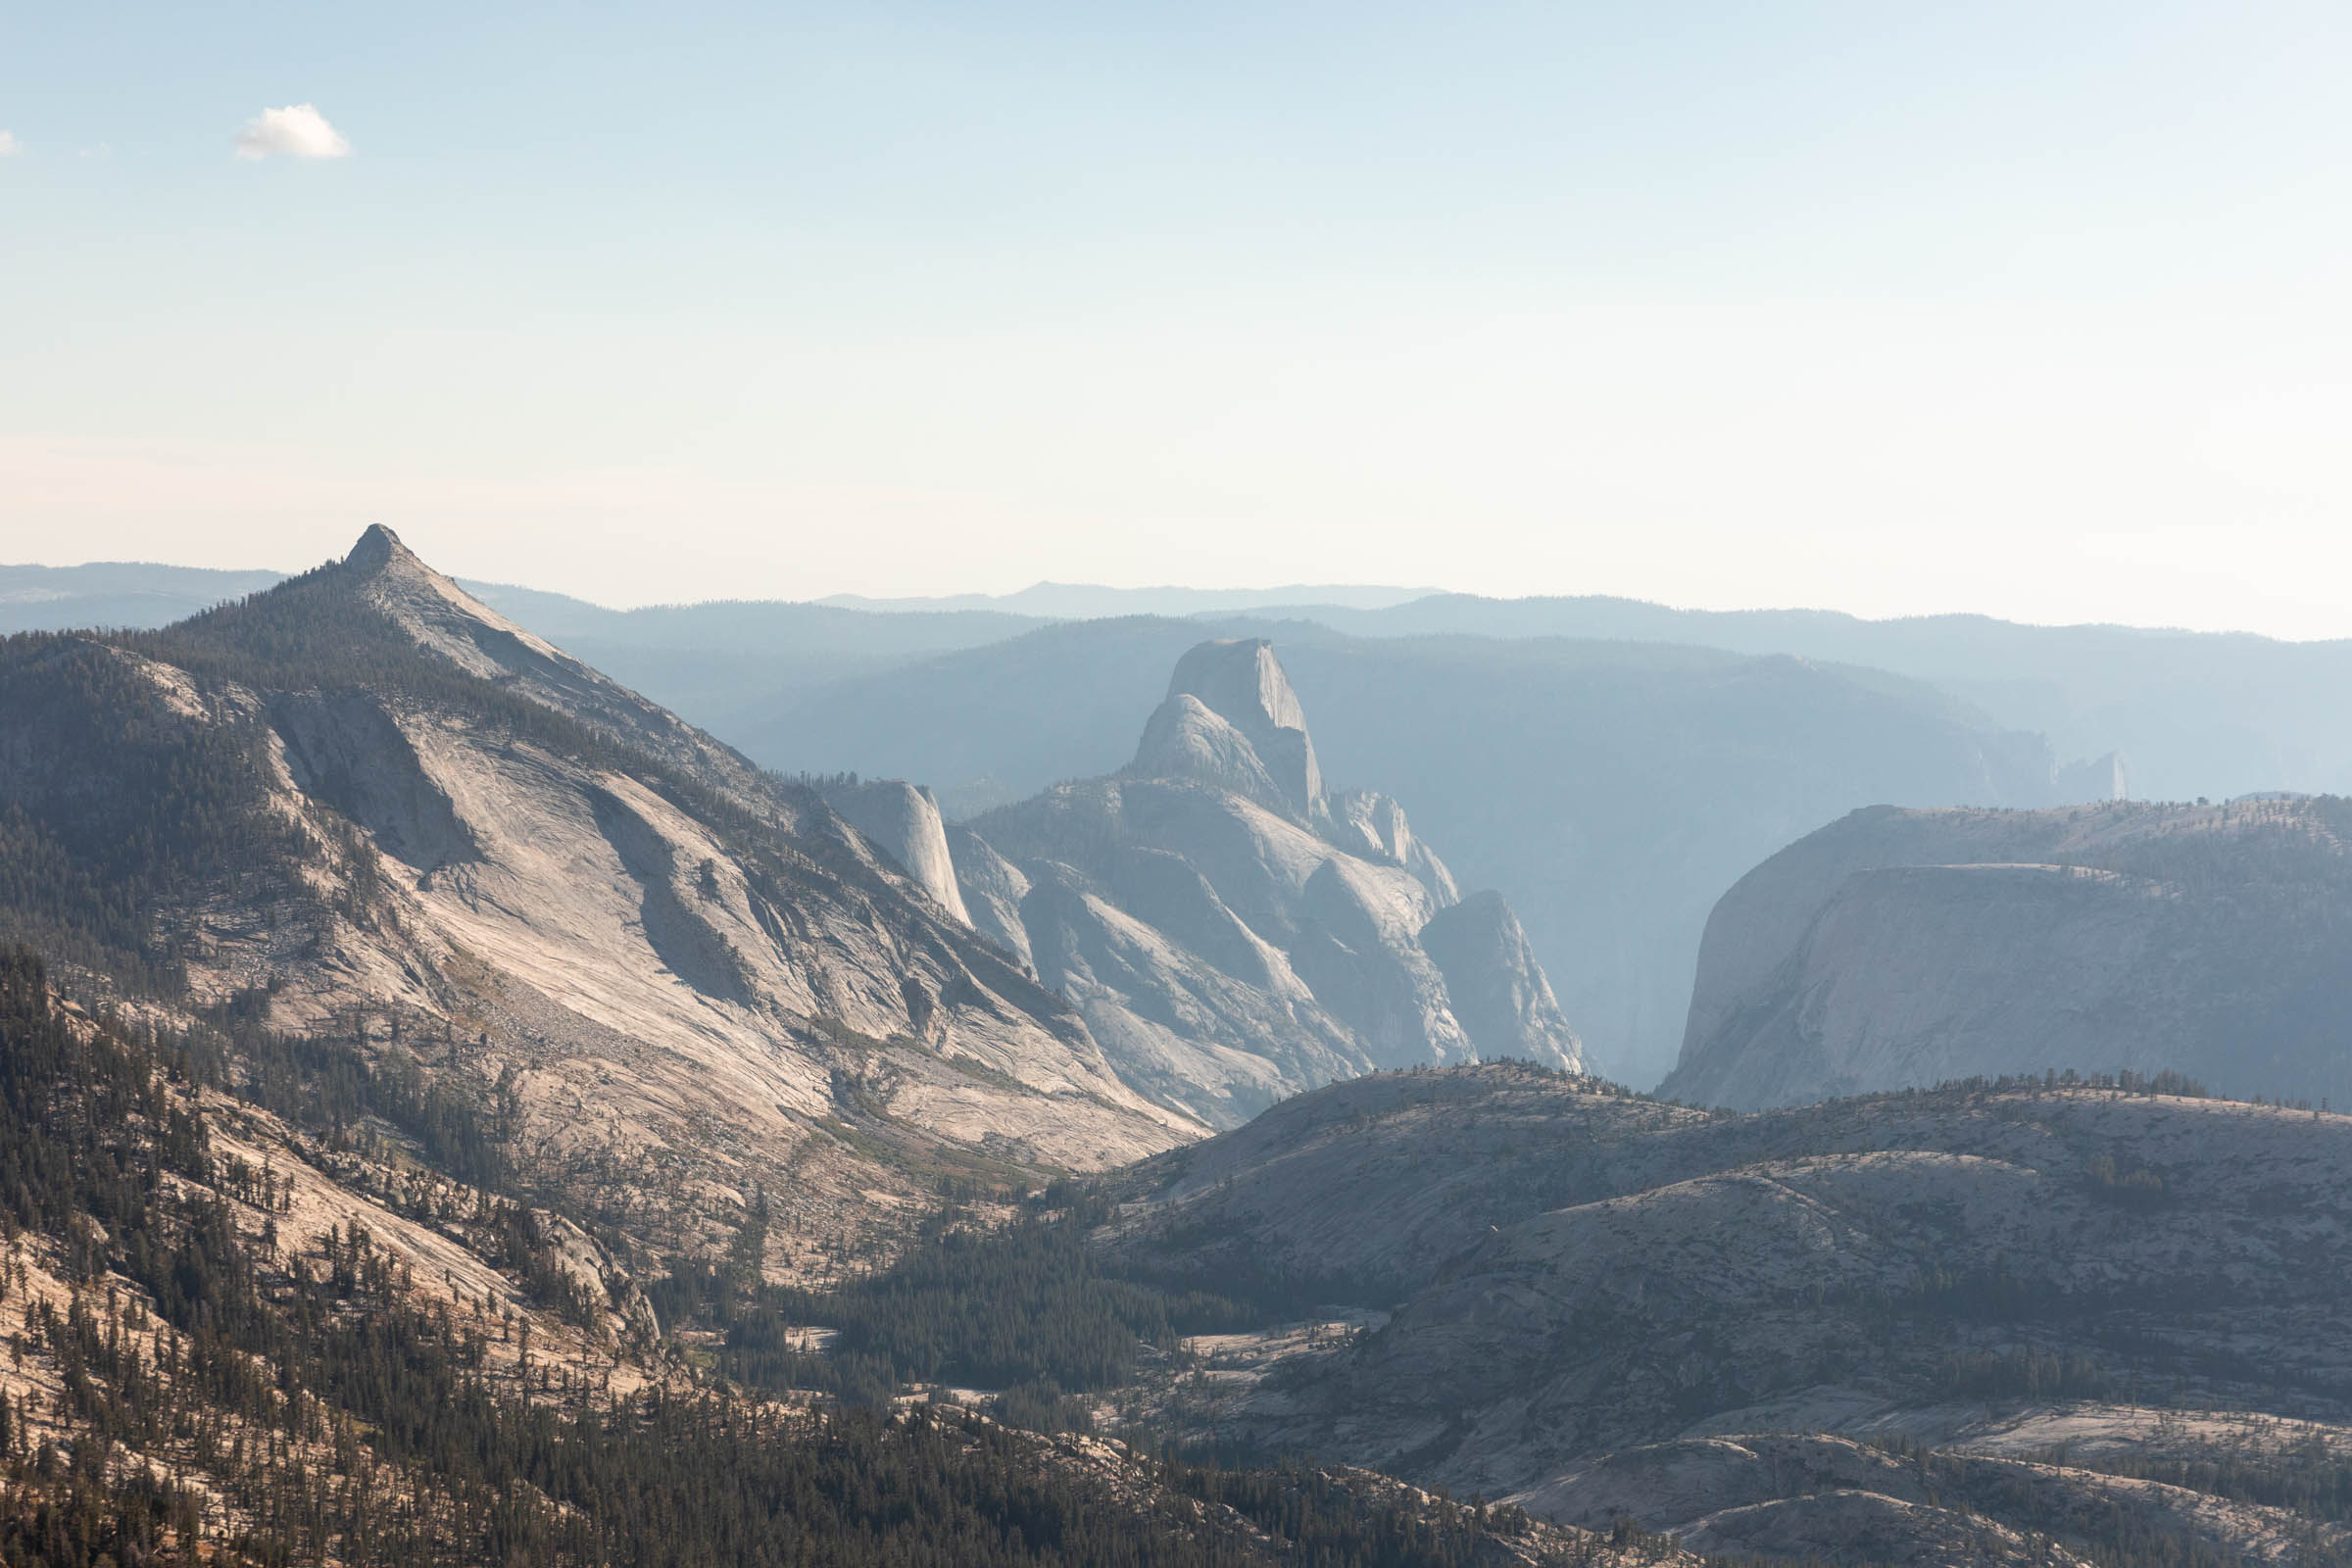
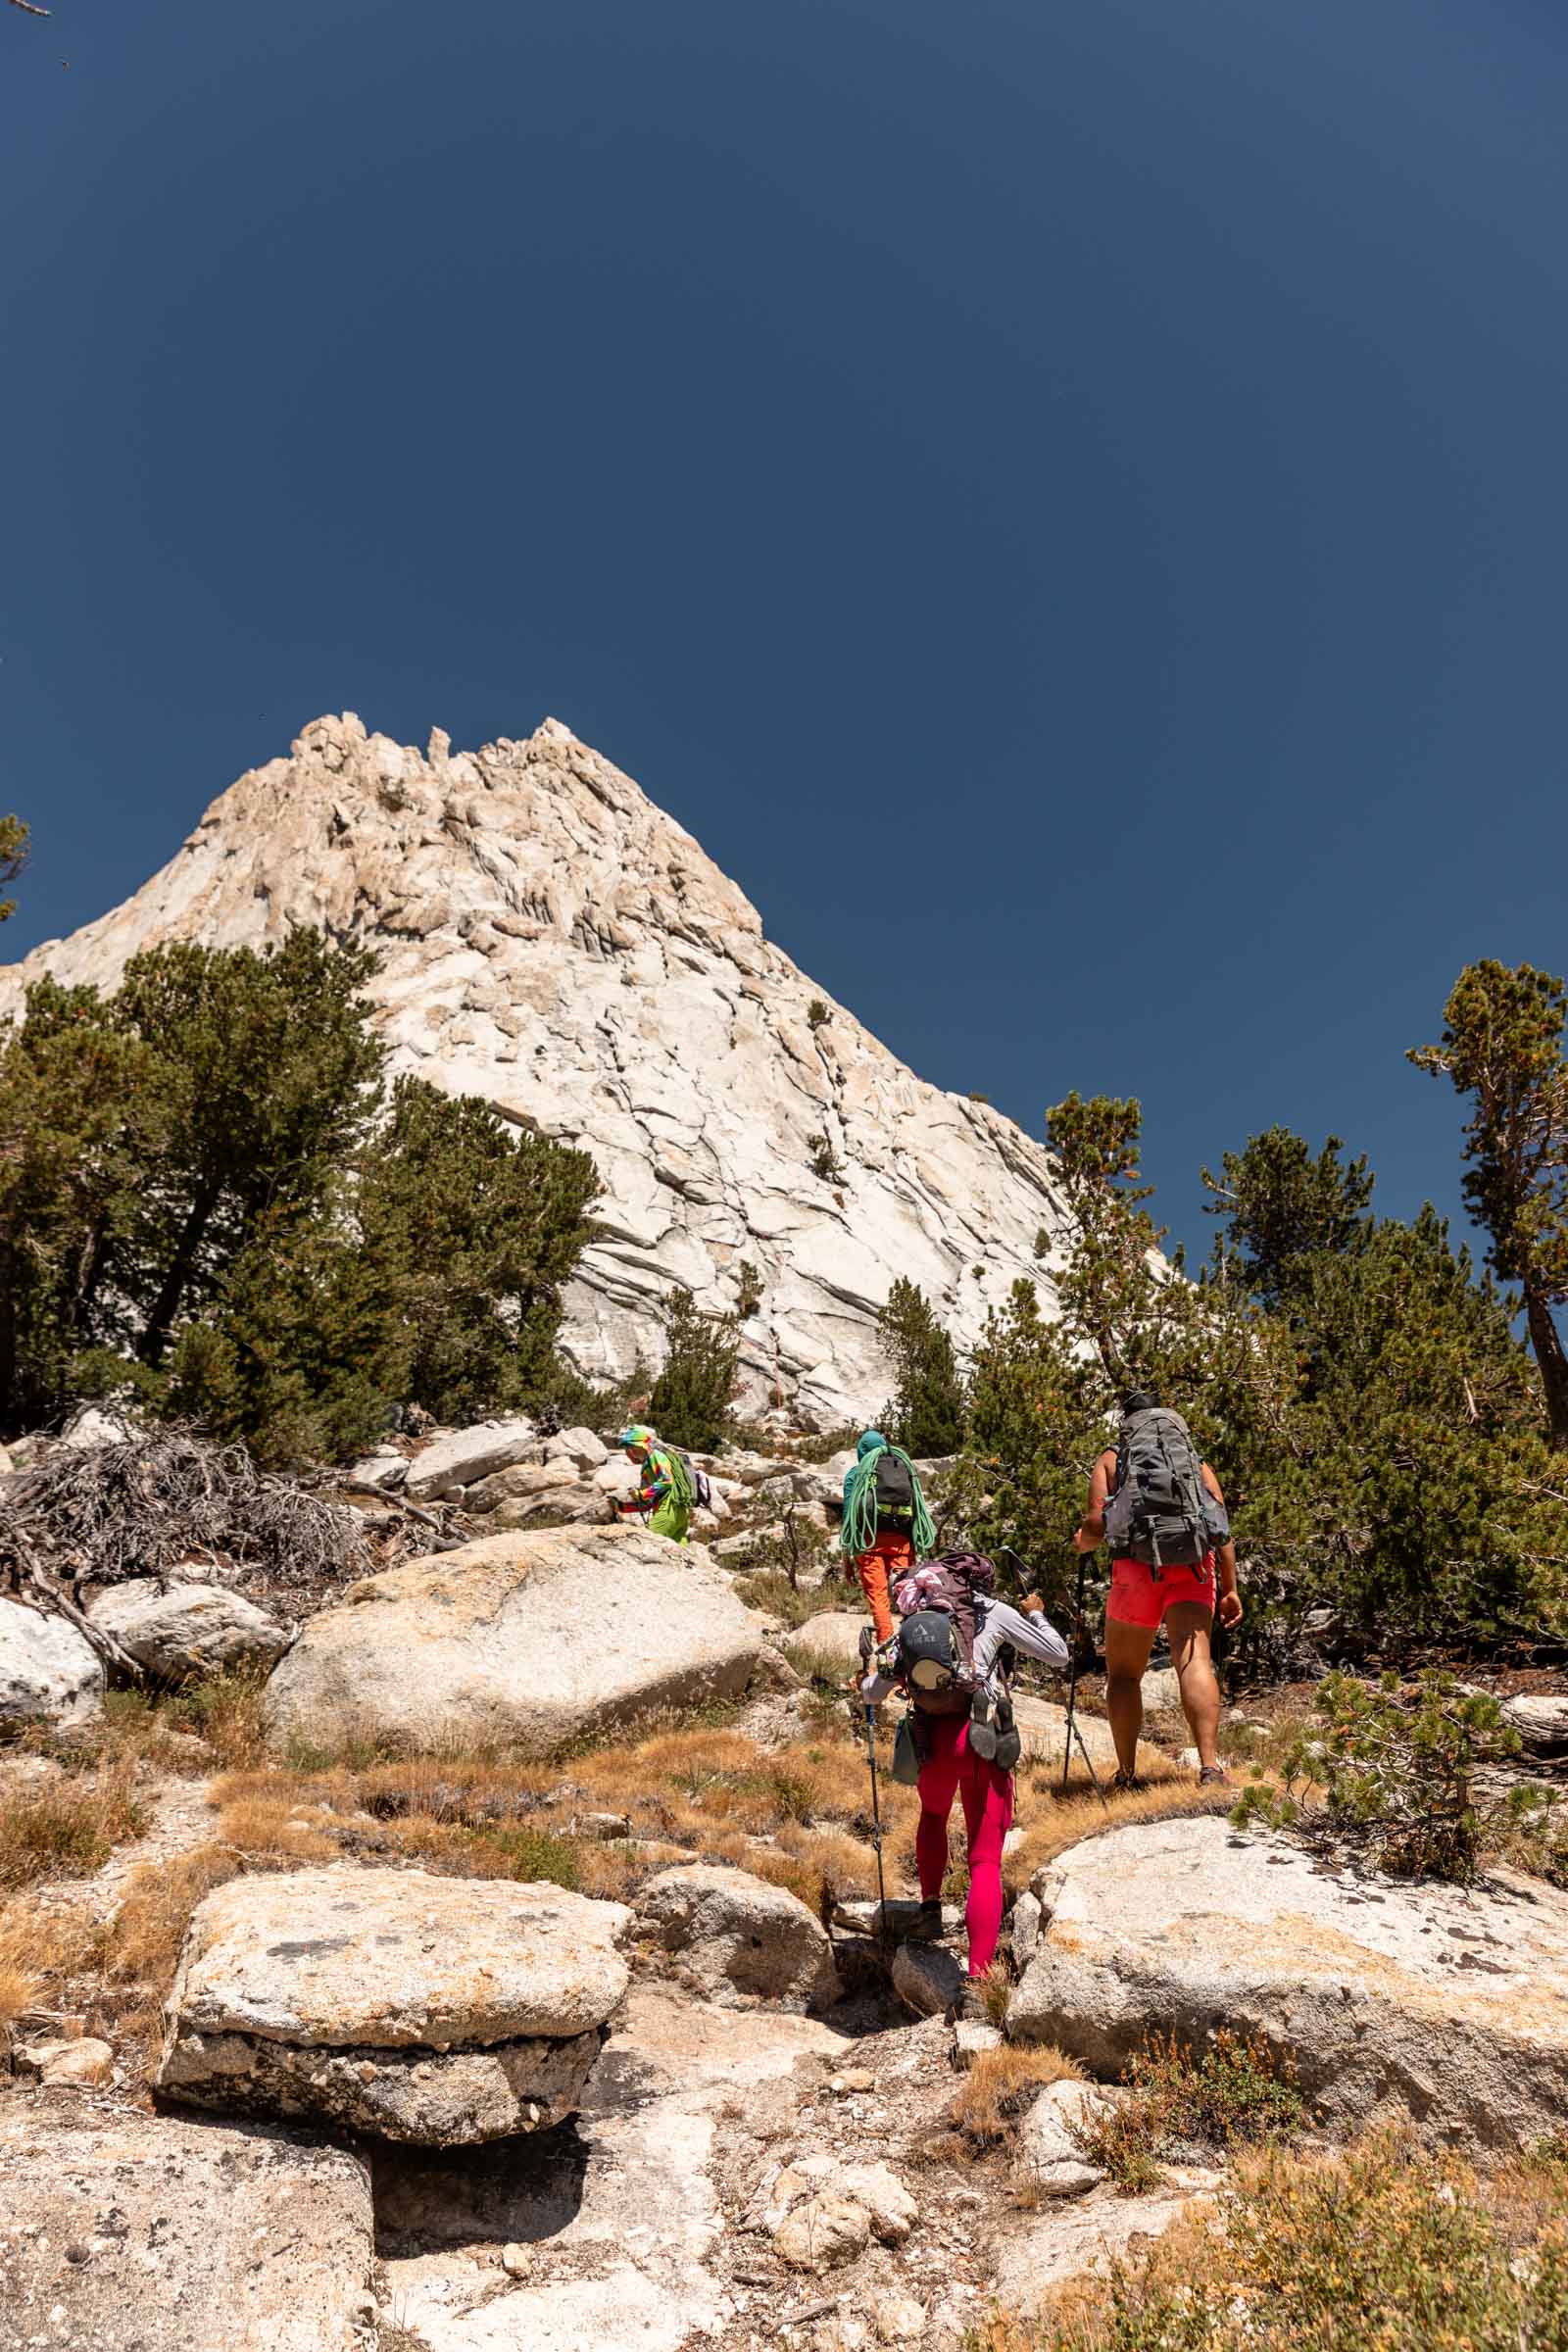
So at 10:30am we arrived at the Tenaya Lake Beach Parking Lot and slowly got going on our approach. Half of us had climbed this peak prior but yet none quite remembered the approach, so having the tracks were helpful to get to the base of the climb. On Mountain Project, the Northwest Buttress potentially goes to 14 pitches. I honestly didn’t even count! The amazing thing about Tuolumne climbing is that a lot of the rock is slab, so there’s a fuzzy area where you decide to rope up, depending on everyone’s comfort level. But what was true of everyone was how the altitude felt to us, sea creatures. I imagined that it would feel worse at 10,000 ft but it was felt even at 8000 ft.
We ended up roping up at 8850 ft where it started to get steep with higher consequence falls. Starting at 8400 ft however, we needed to pay attention to avoid the western cliff faces (right of you).
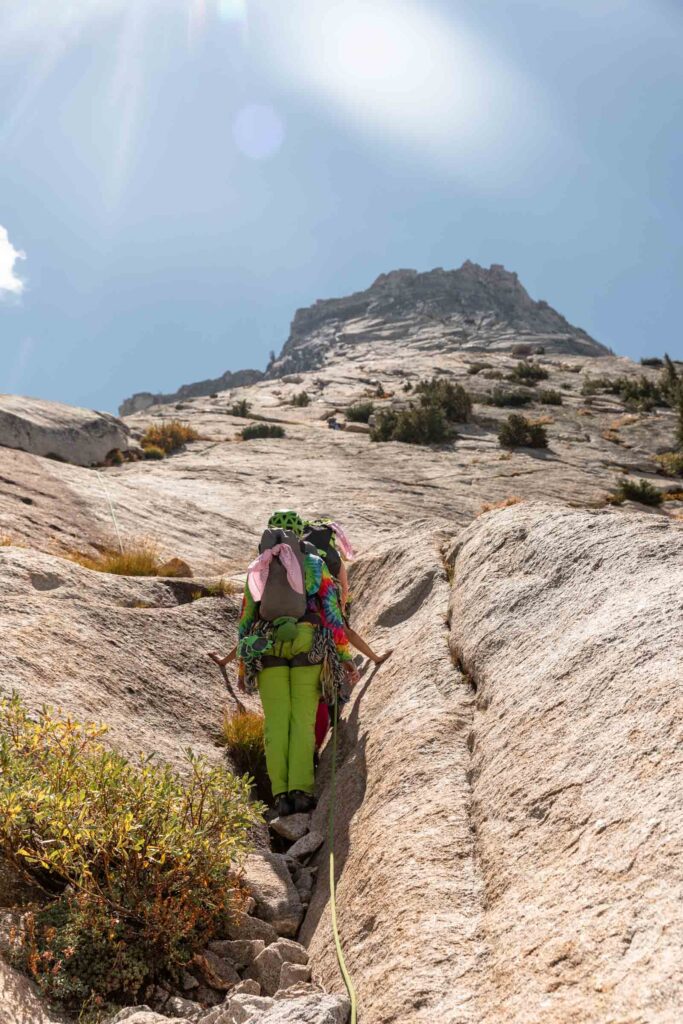
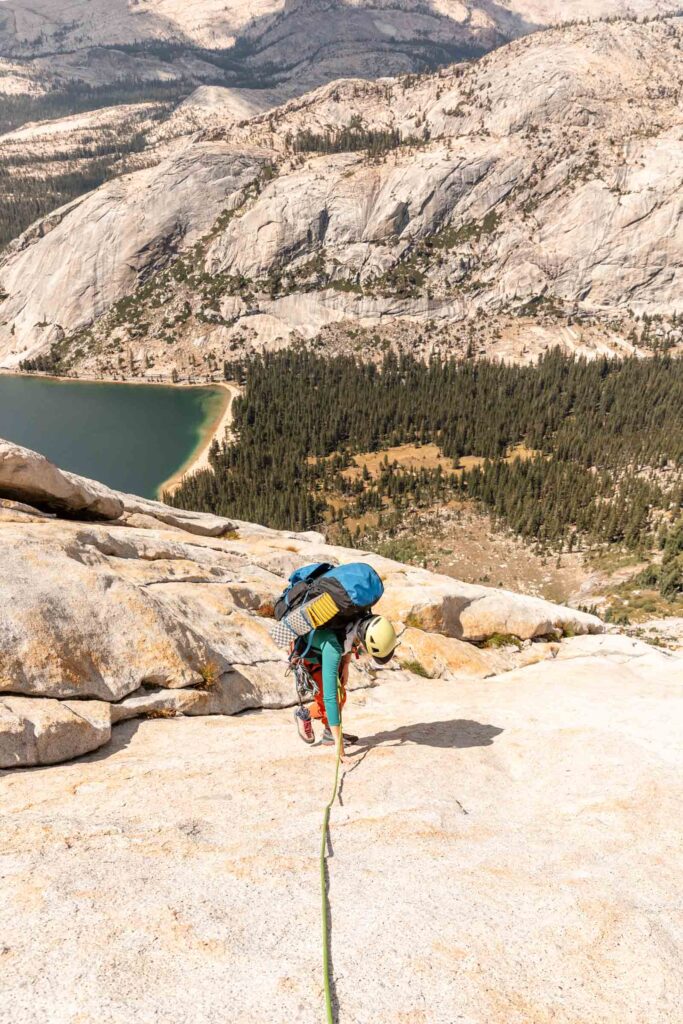
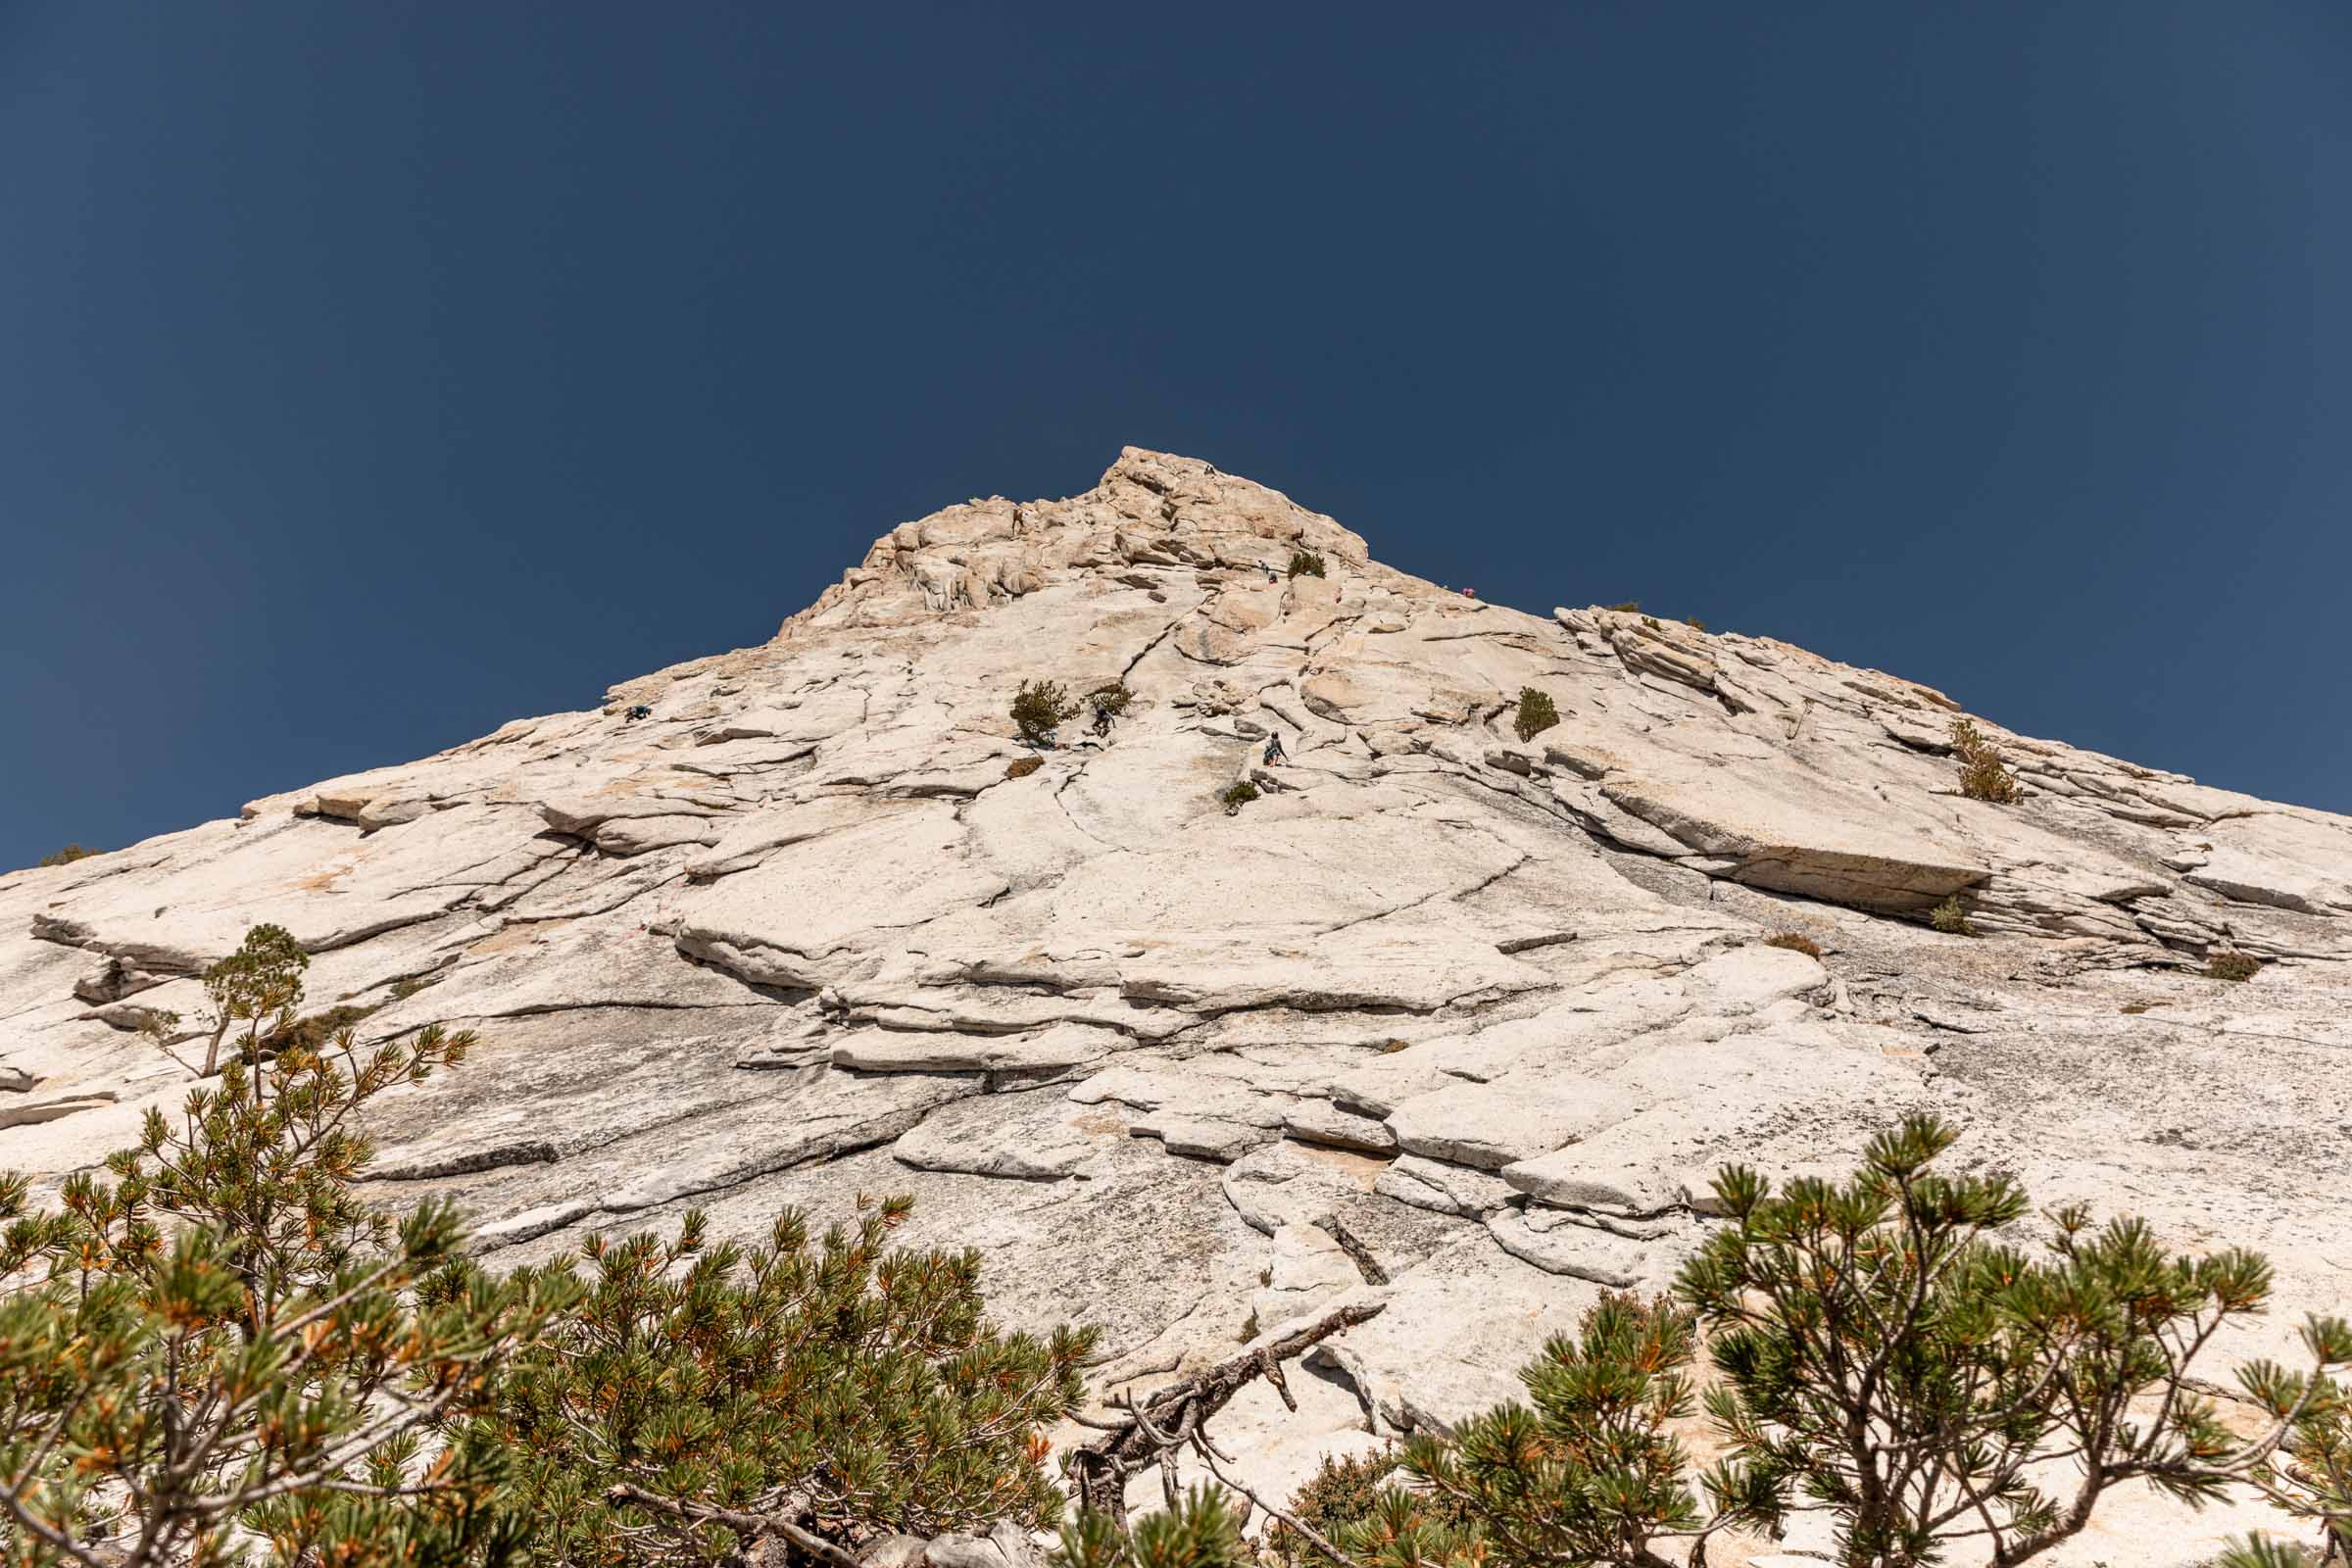
The majority of the climb felt like 3rd to 4th class slab. I honestly haven’t had much experience in slab scrambling or climbing. But roped up, it felt very simple to walk up if I managed to trust my feet. We climbed as 2 parties of 3 all pitched out and climbed as efficiently as the party of 2 ahead that simul-climbed.
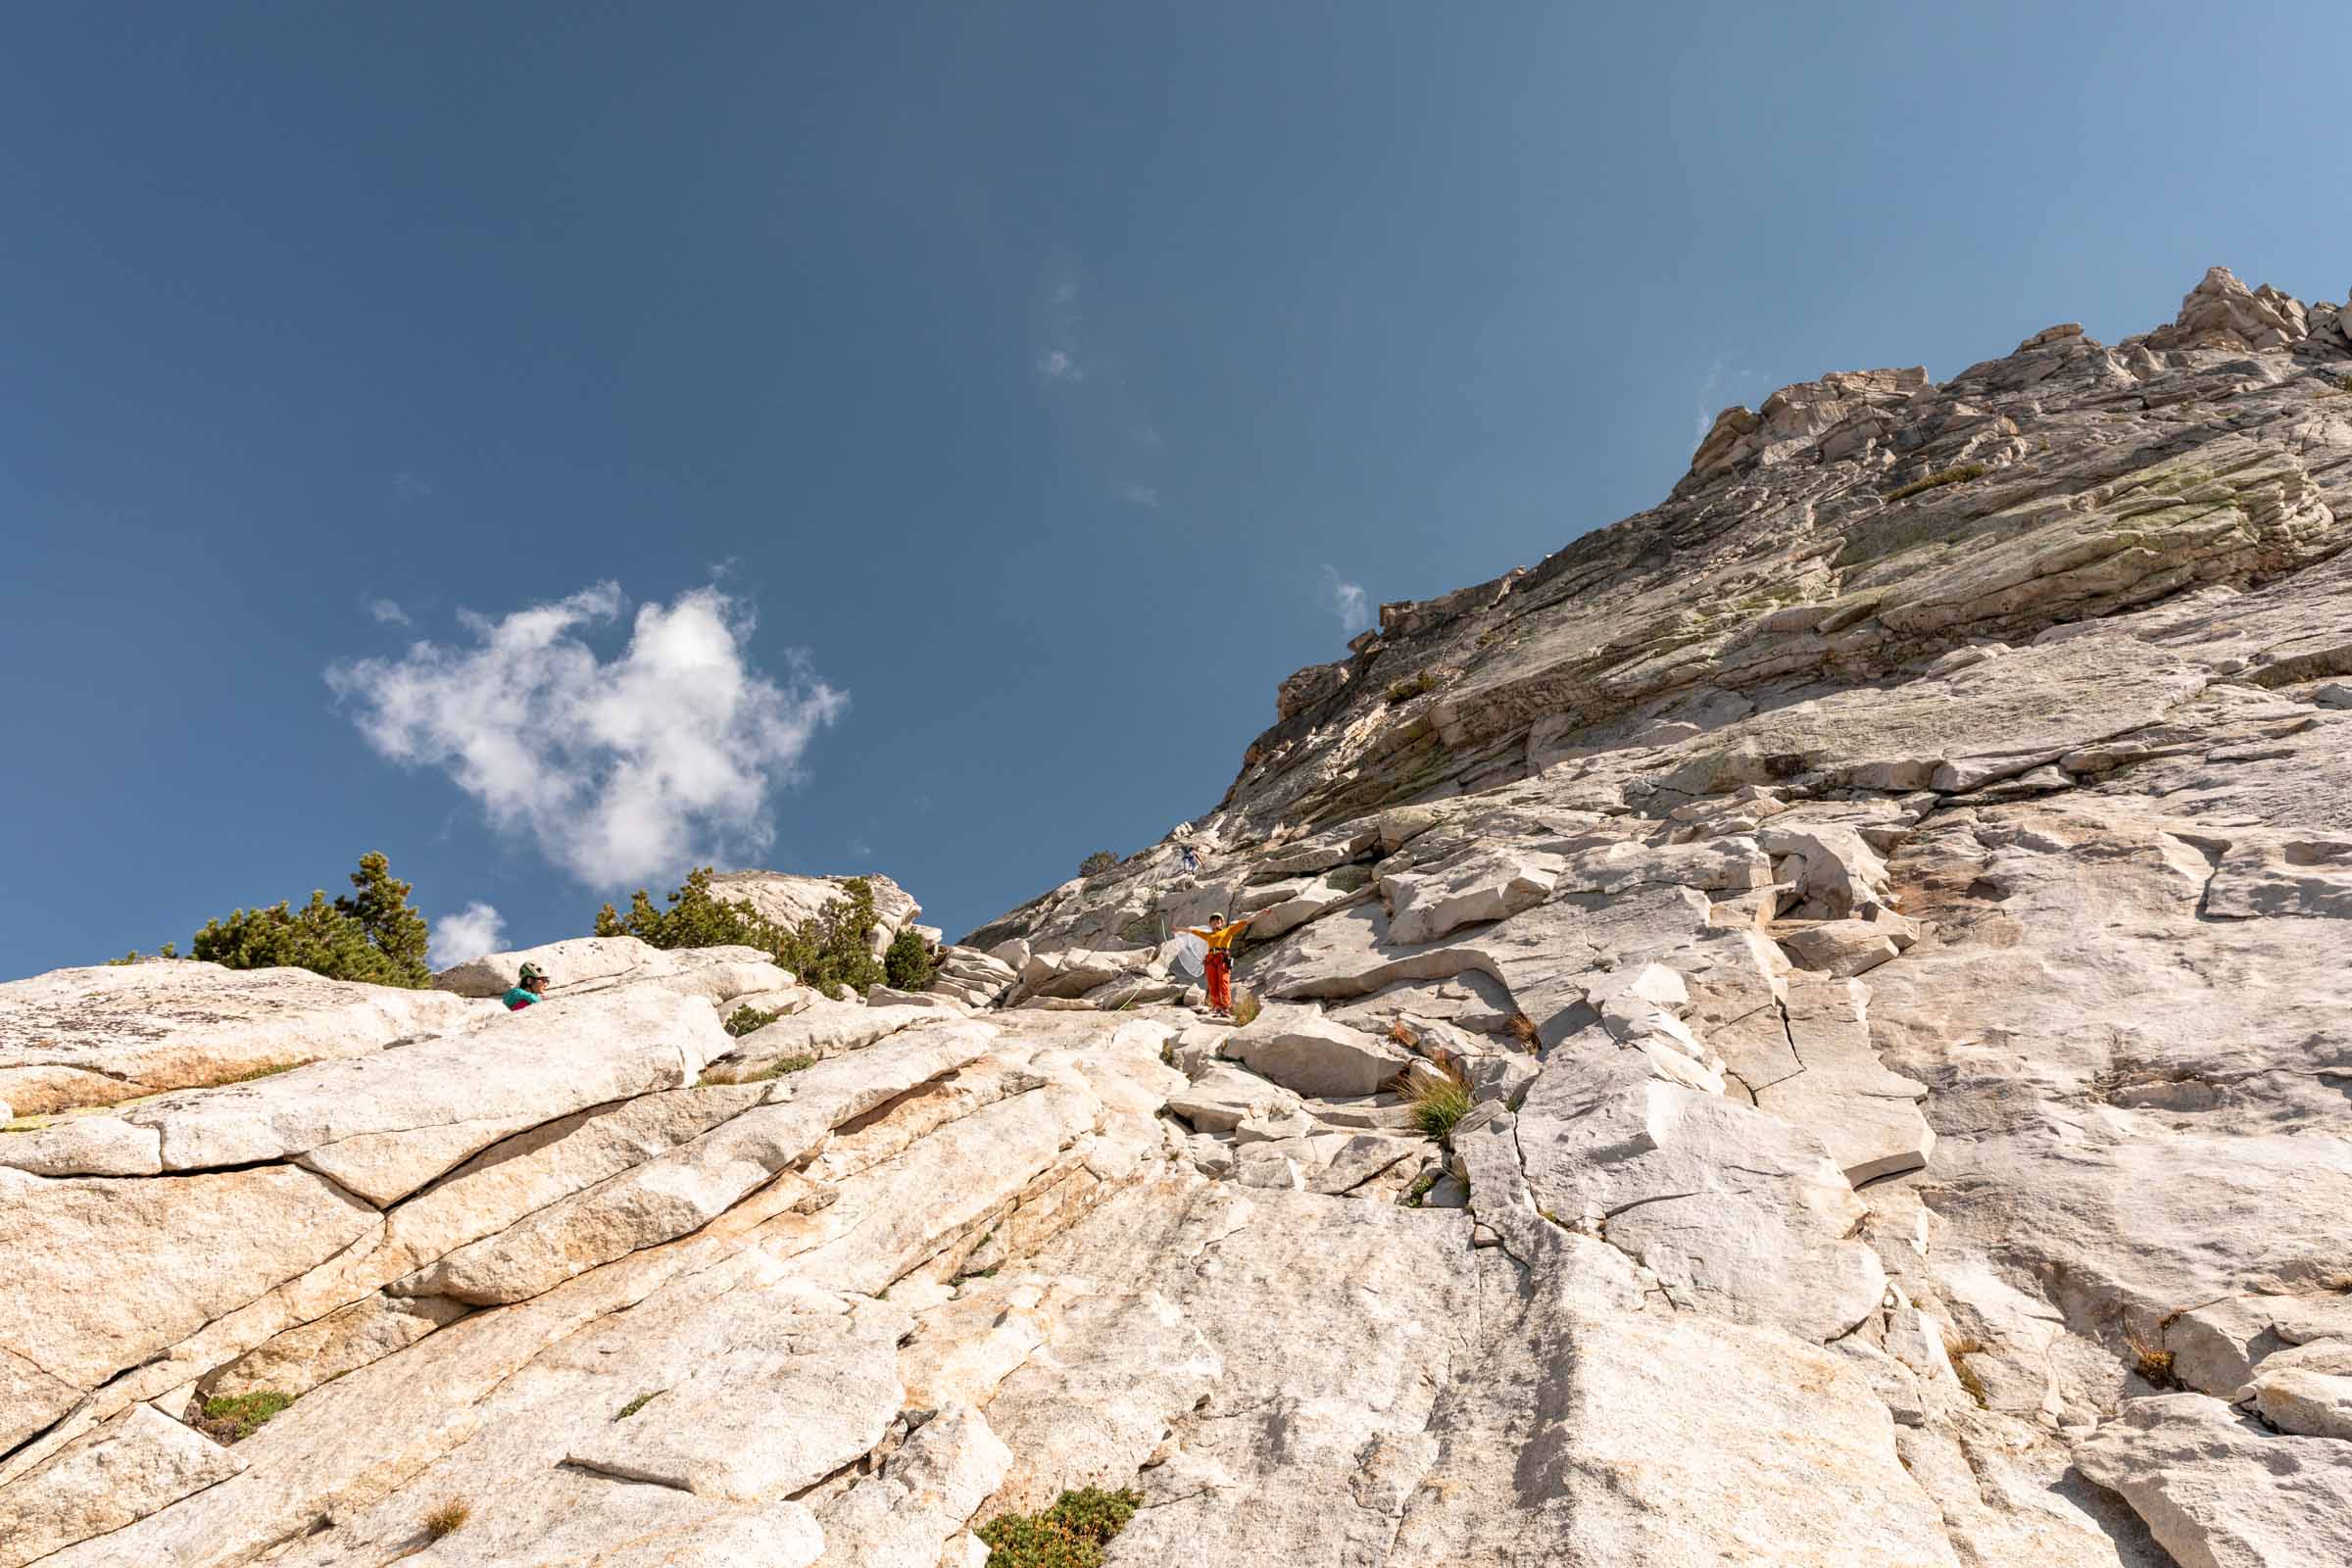
Around 9800 ft, the climbing grade felt considerably harder. It was like the rock was playing mind games. At first it’s all fun and games, chill slab, placing 0-3 pieces of gear in the cracks when you felt like it. Then all of a sudden, it makes you think and go, wait I need to actually be careful and watch where I’m going.
Here is when we started to go a bit more left up the ramp for the easiest way up. The climb is supposed to be a maximum of 5.5 moves after all. To me, the moves felt largely like exposed 3rd to 4th class and everything had great holds, from what I recall.
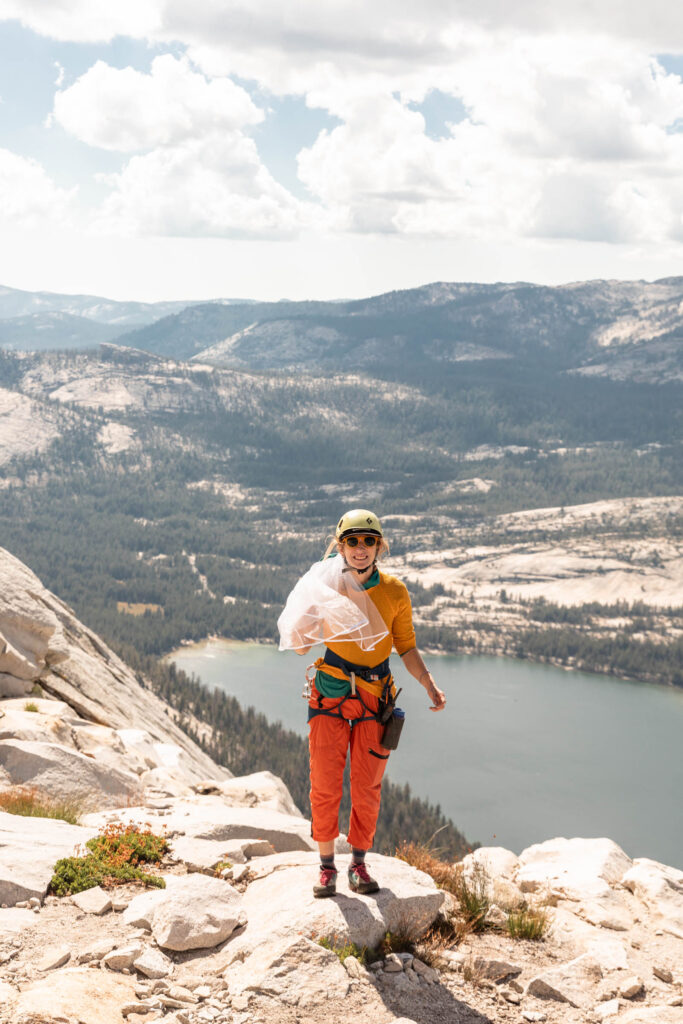
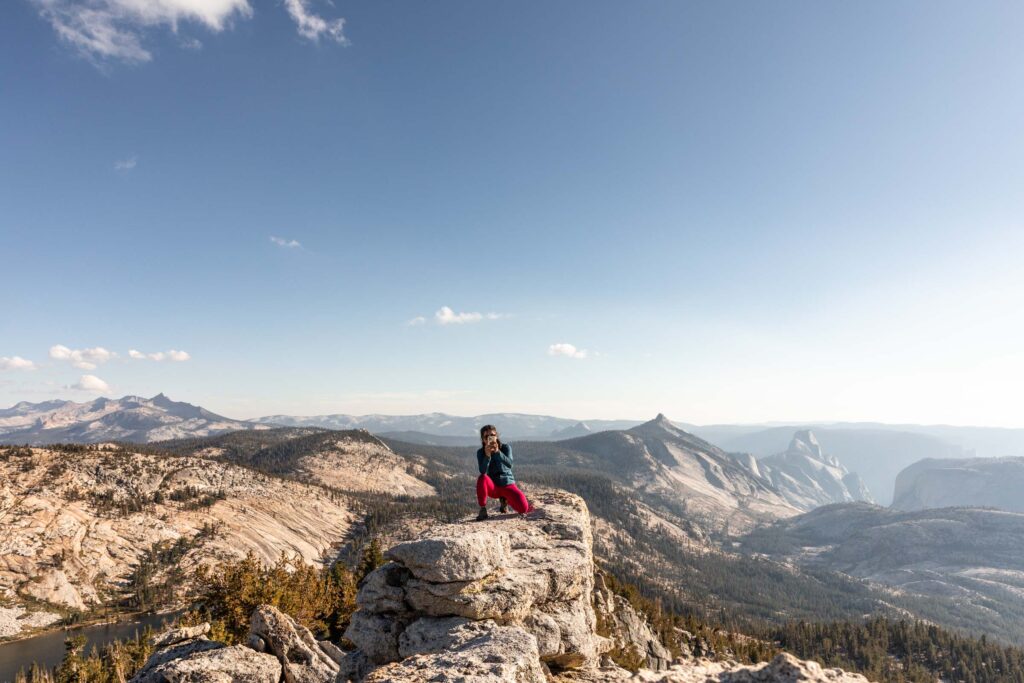
The last pitch had 2 options. One was a crack. The other was some class 2 into a couple more major low class 5 moves to the ridge. Since we had 2 rope teams, we split up our paths right here, just to meet up at the top. And at last at 5:30pm, we reached true summit. It took us 6 hrs for a chill, but moderately efficient party climb. A little longer than expected, and definitely later than intended since we had quite the late start.
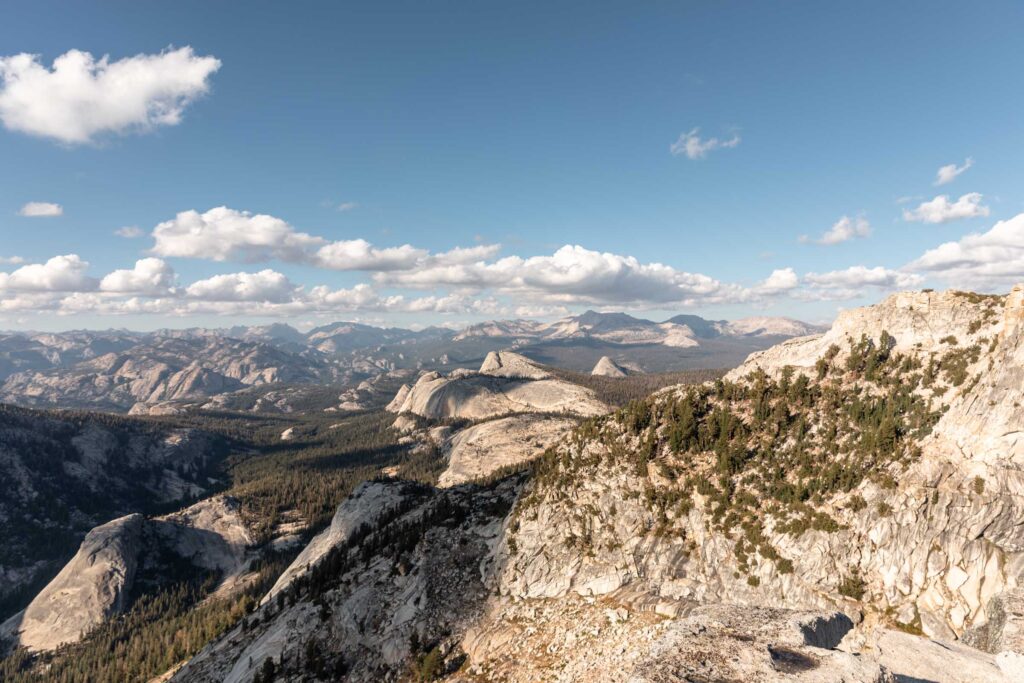
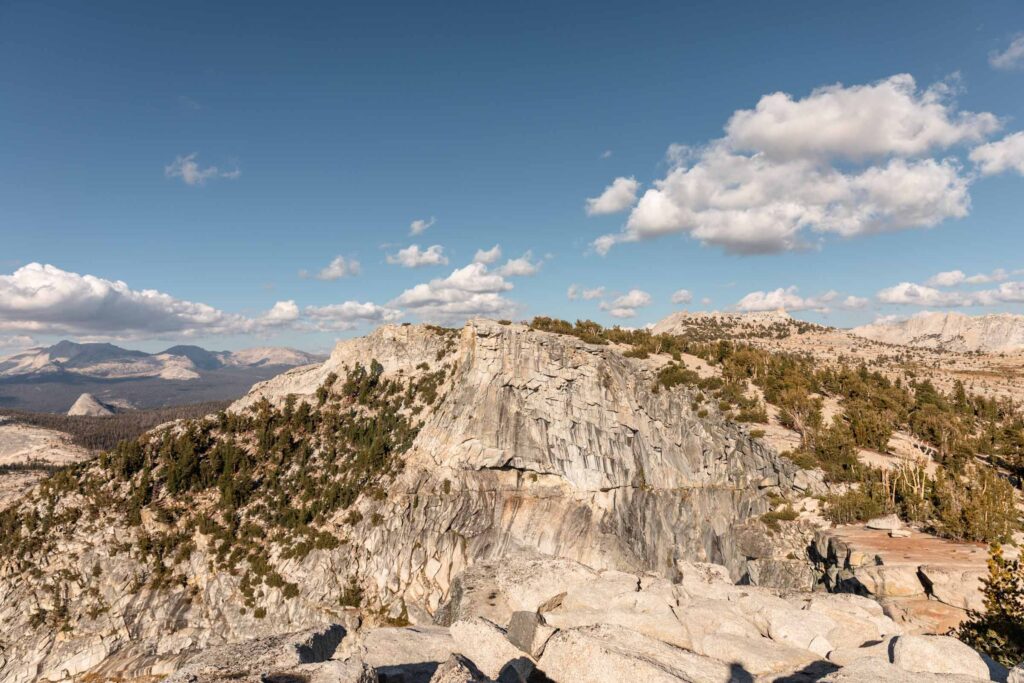
Liz and I descended down the east slopes of Tenaya Peak towards Mildred Lake, but we could’ve taken a more direct descent closer to the ridge. But be careful if you want to skip the “Ledges Descent”. Instead of cutting back to the west face of Tenaya at 9400-9600 ft for a very steep descent, stay along the ridge until 9300 ft. The slopes are gentle throughout, though there are minor little 5 foot ravines to navigate. Staying higher helps bypass these. Continue to avoid the cliffs as you round the ridge to head north towards Tenaya Lake from about 8800-9200 ft. There’s cairns here but take care to not go towards the cliffs. This westerly ridge was incredible and lead us to a climber’s trail back to the Tenaya Lake Trail for quite the easy and short walk off. Compared to other potential descents, this seems by far the best. Not too steep or too long (if you descended from Mildred Lake to Sunrise Lakes).
Hike to Cathedral Lakes Camp
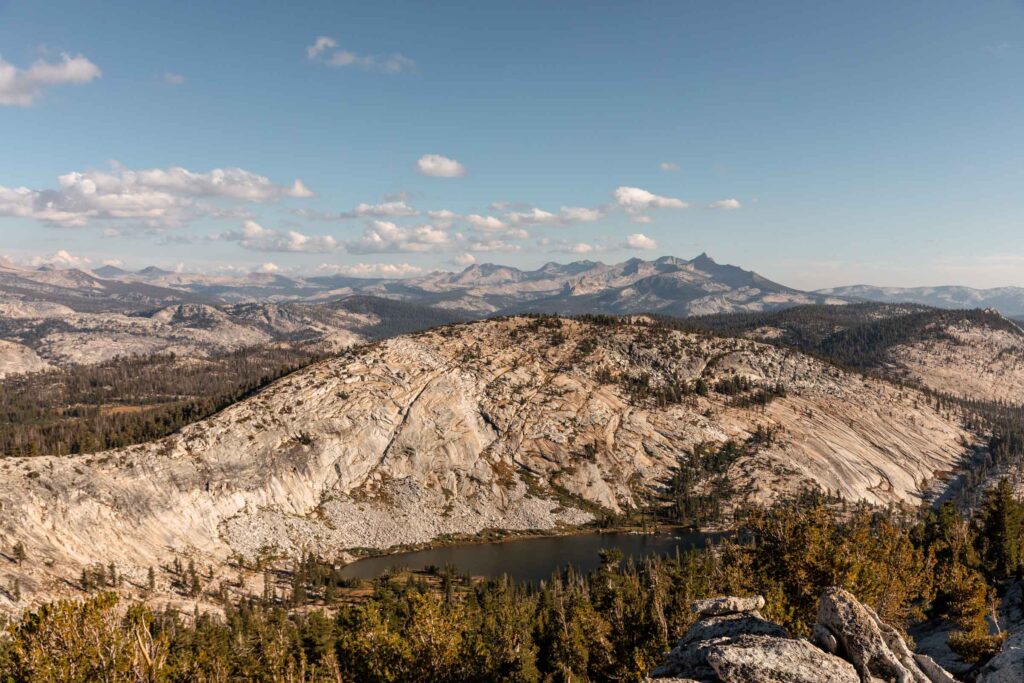
2-2.5 hours of daylight remained after we summited Tenaya. As a last minute change that made sense for the original Tuolumne Triple Crown (Tenaya Peak, Matthes Crest, Cathedral Peak), Sarah decided that Cathedral Lakes made much more sense as a base camp. So the preliminary plan to hike around from the car to camp instead of direct from Tenaya actually became longer, from about 3 miles to 4 miles long.
Everyone else hiked about 2 miles off-trail on granite to camp, passing by Tresidder Peak. They arrived at camp around 8pm, just as the sun had set. However, Liz and I decided to drive our vehicles around to Cathedral Lakes Trailhead (permits don’t dictate where you park) and hiked in from the north about 4 miles to the lakes. It was mindless, but we sure felt every step of uphill on the trail. We were so thankful for the relatively easy grade and flat sections that allowed us to keep marching on.
At camp, we were greeted with laughter and fairy lights and the best set up. When we tried to find our group, one guy commented, “oh there’s sounds to be a group of women laughing loudly across the lake”. And he turned out to be correct! By the way, radios are great for this situation where there’s 10+ camps made around the lake and hard to find your group in the dark.
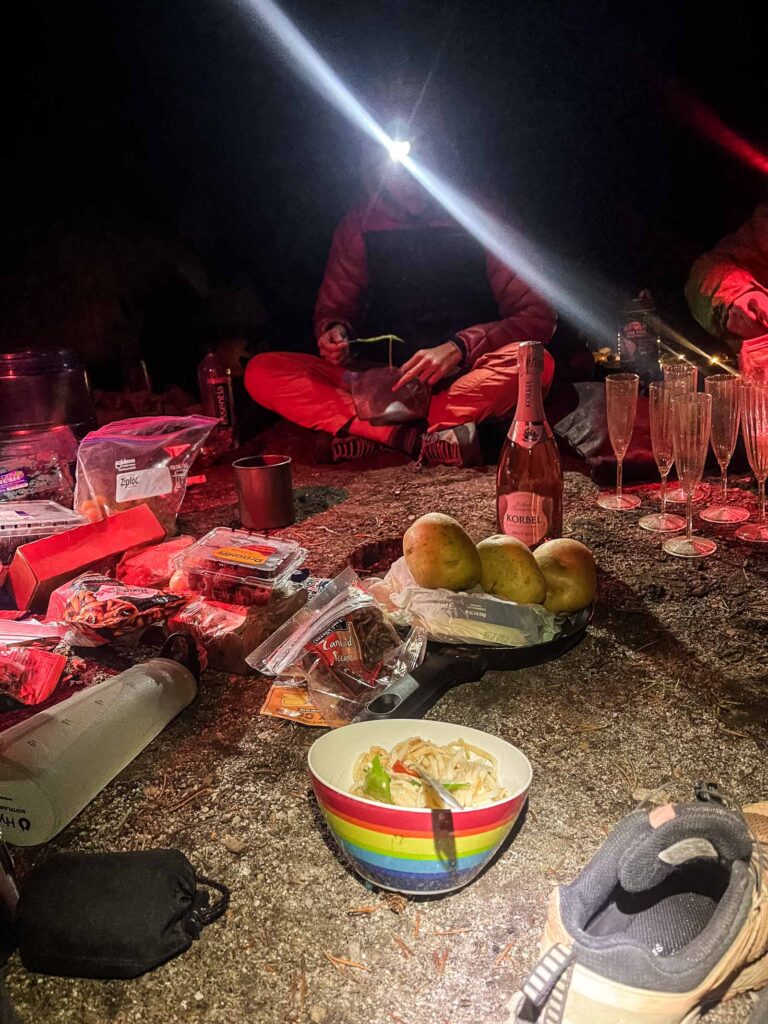
Thankfully, the group had already made peanut noodles for dinner for our rumbling stomachs, though a little lacking in equipment since I carried some of it. We should have thought through what time we’d make it to camp and rearrange who would bring what. It was nearly 11pm when we all cleaned up for bed and had zero room for dessert.
Step 2: Climb and sandbag your friend. Check.
Day 2: Climb Cathedral Peak
Original Day 2 Plan
We loosely planned to climb Matthes Crest and Cathedral Peak, but we were also very flexible. So at some point, we settled on a late start after our late bed time, plus climbing Cathedral Peak since it was closer and possibly skipping Matthes Crest altogether.
Actual Events
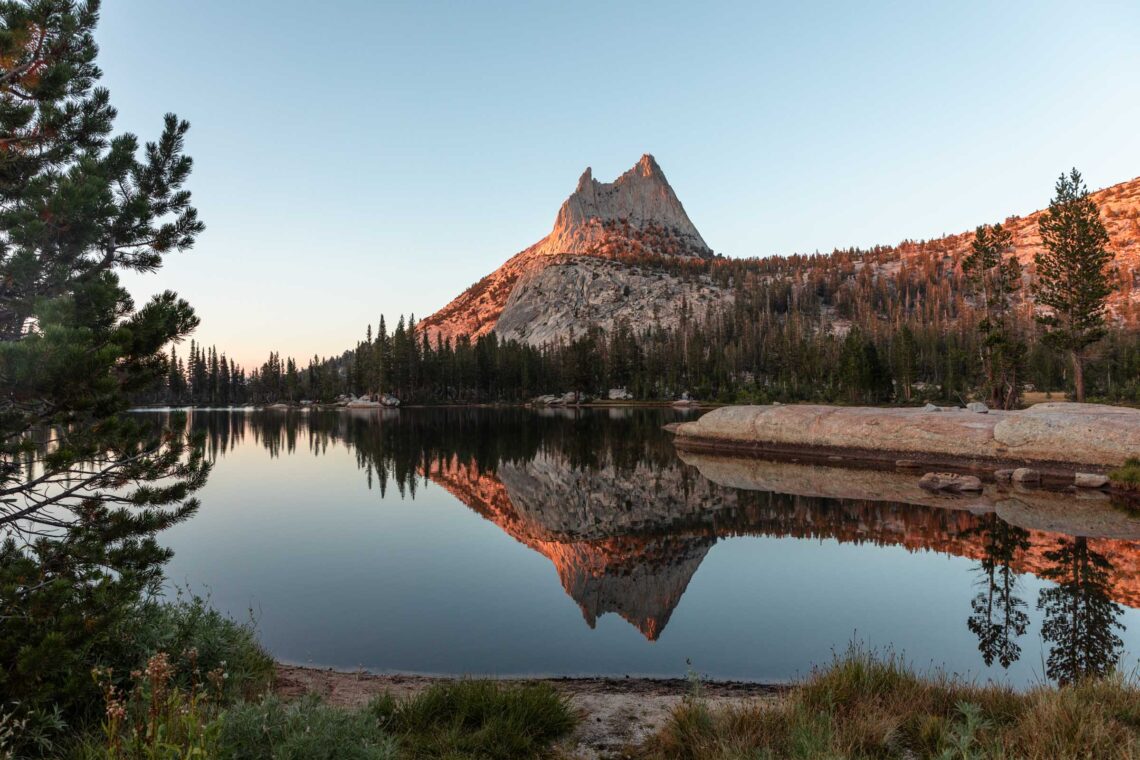
Cathedral Peak
On par with how we derailed most of original plan (not that it’s a bad thing), day 2 turned out quite different than expected.
We started with yet another leisurely breakfast morning, taking 3 hours from waking up to getting moving. It was also hard to move when then sun wasn’t up. And once the sun was shining on us, it was easier to change into shorts! For breakfast, we had a delicious egg scramble and hash of potatoes and onion. Cooking instead of rehydrating food meant meals just took longer. But we were well fed!
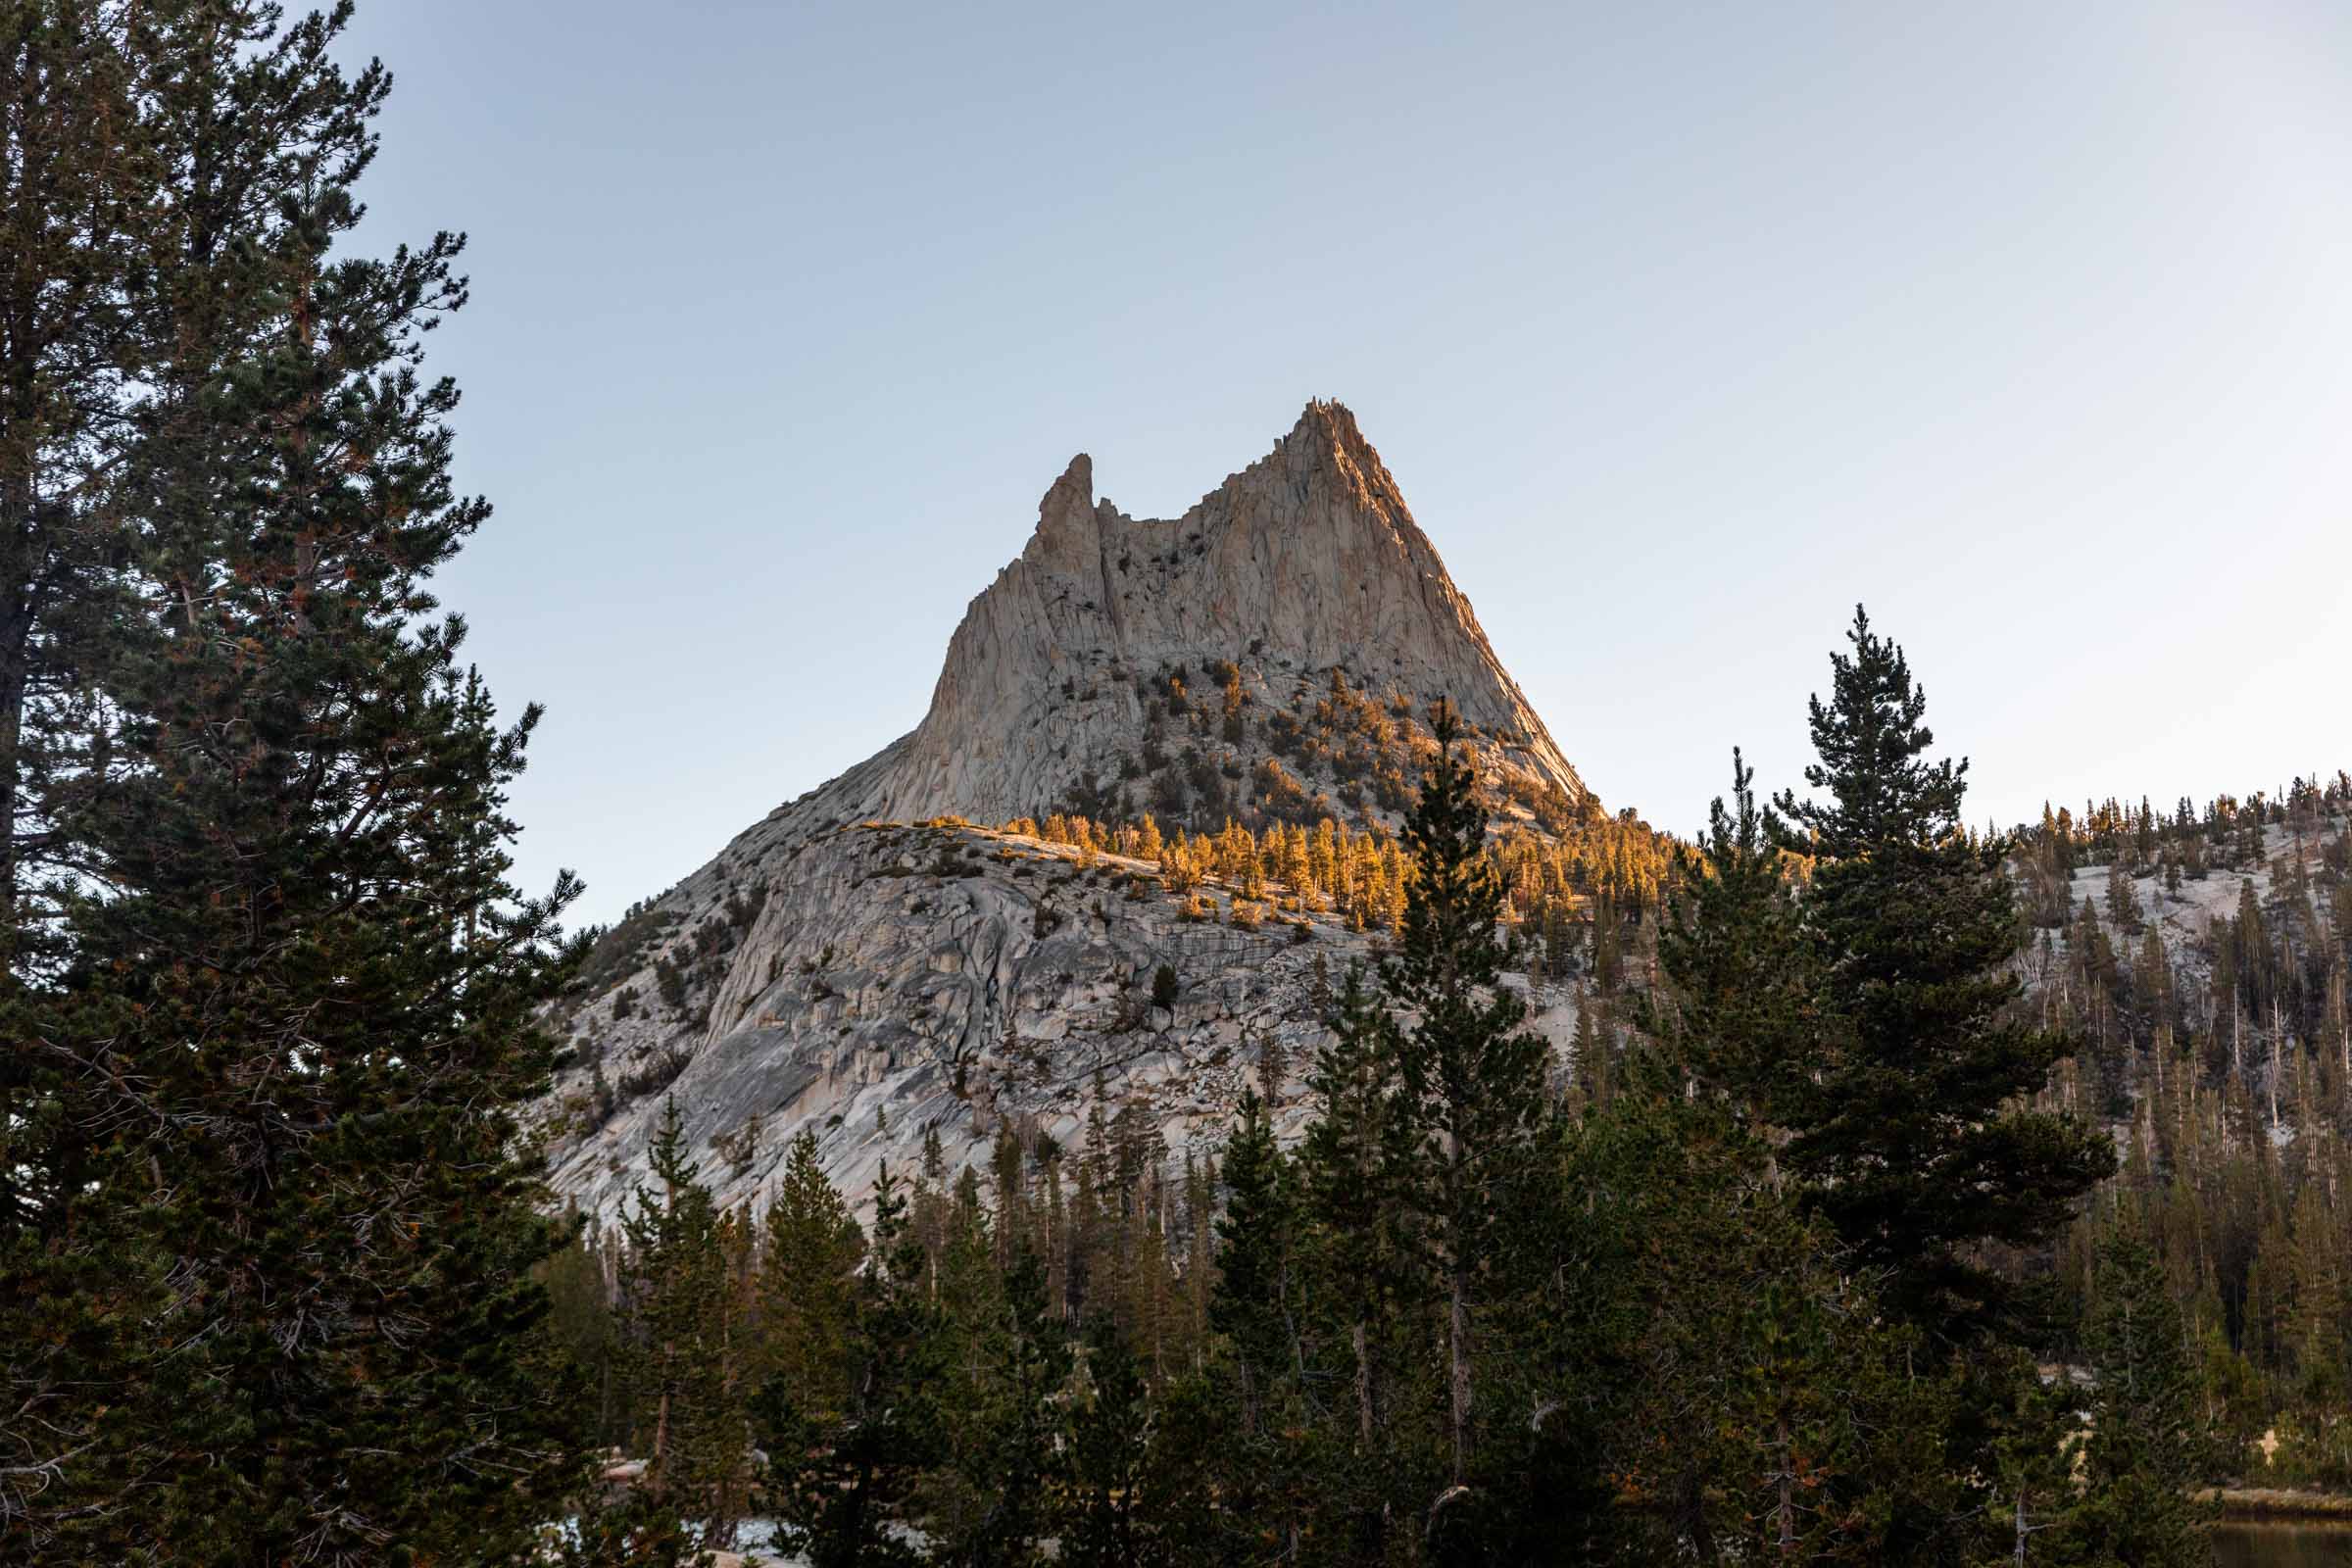
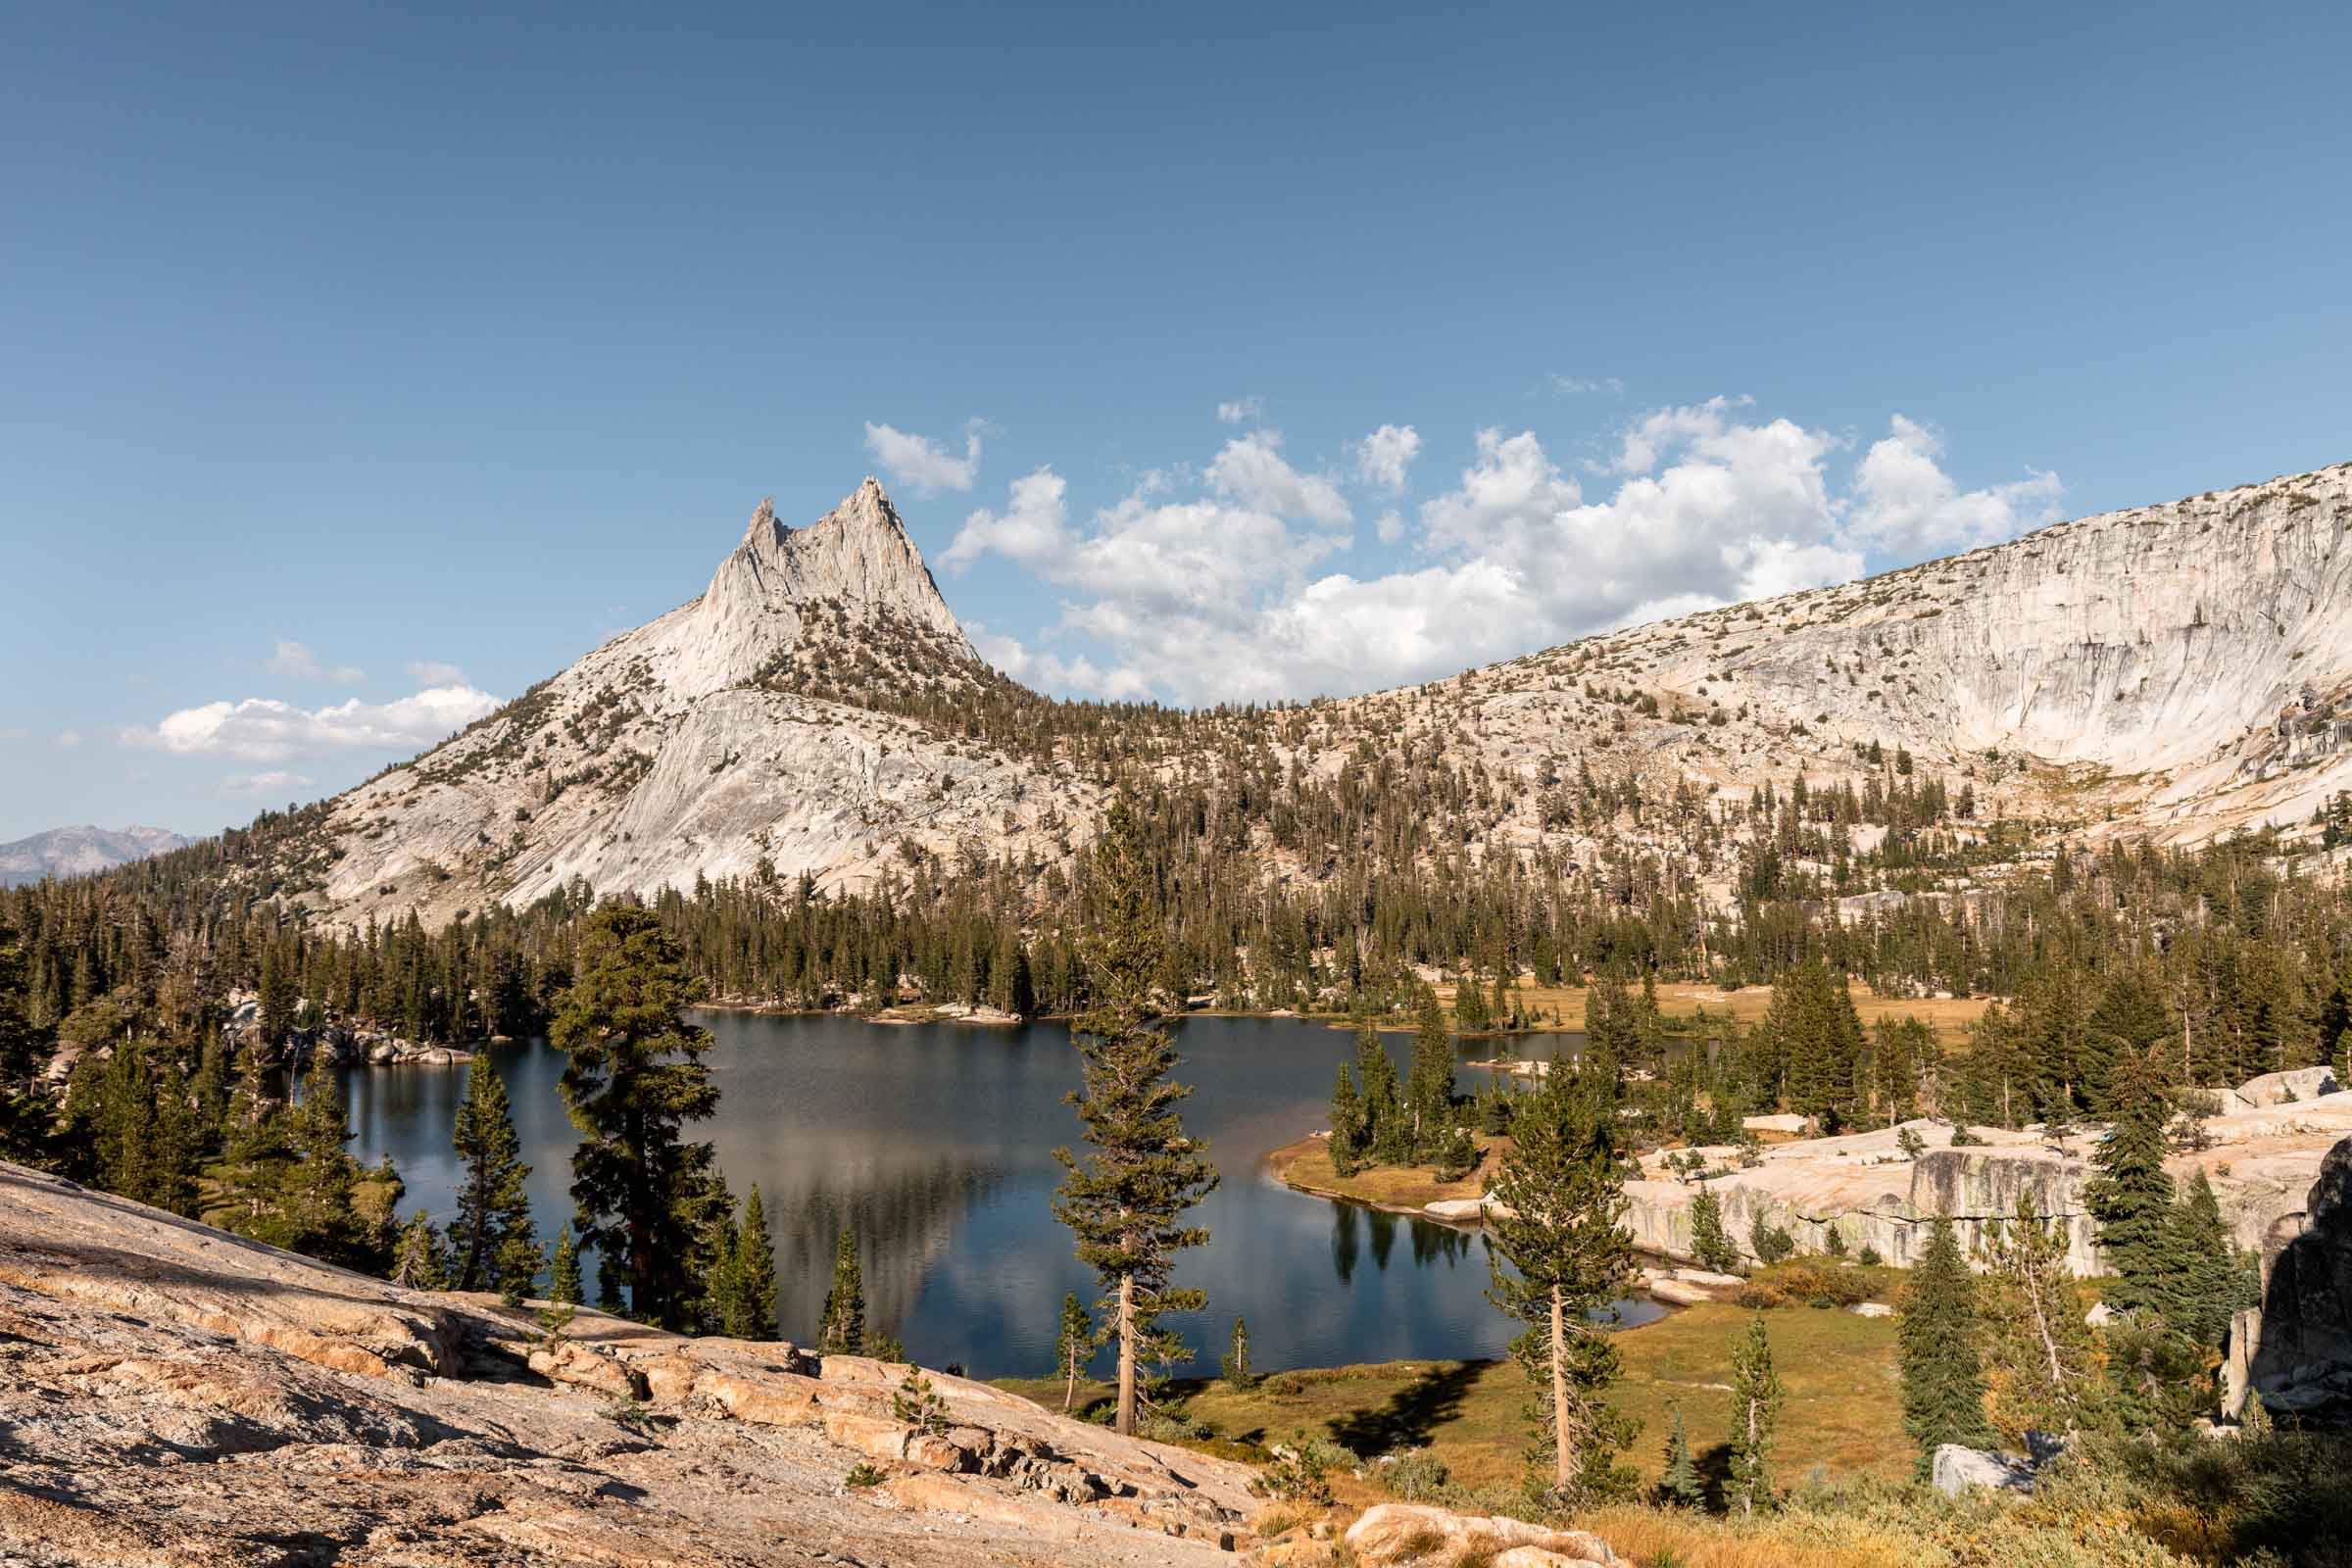
In the heat of the sun, at 10:30am (again), we started our trek to the base of Cathedral Peak. We made care to step on durable surfaces when we went off-trail. It took about 1 mile and 800 ft gained to the base.
But to our dismay, there were several parties already on the wall. The Southeast Buttress goes at 5.6 and we were limited to a lower grade of climbing for the whole group, so we were stuck with the one option. Unfortunately there is the chimney at pitch 4 that everyone funnels to. In theory you could climb to the left, but it goes at a harder grade, which we declined. Another group arrived at the base the same time we did and they eventually turned away.
After sitting and waiting to see how things progressed, we realized that 10+ parties x 30 minutes minimum per group going up the chimney pitch meant we were at least 5 hours away from getting to the chimney pitch. Plus 1 more pitch after and a descent. I really wanted to stay and climb this well-known route, which is often people’s first multi-pitch trad route. It just seemed so inviting!
But about 30 minutes later at 12:15pm or so, we figured that climbing and descending would take us into a late night back at camp (5 hours of waiting at pitch 4 and probably 7 hours total back to camp), with barely enough time to relax. That seemed no good. We had cheese and crackers waiting for us at camp. And that sounded really great.
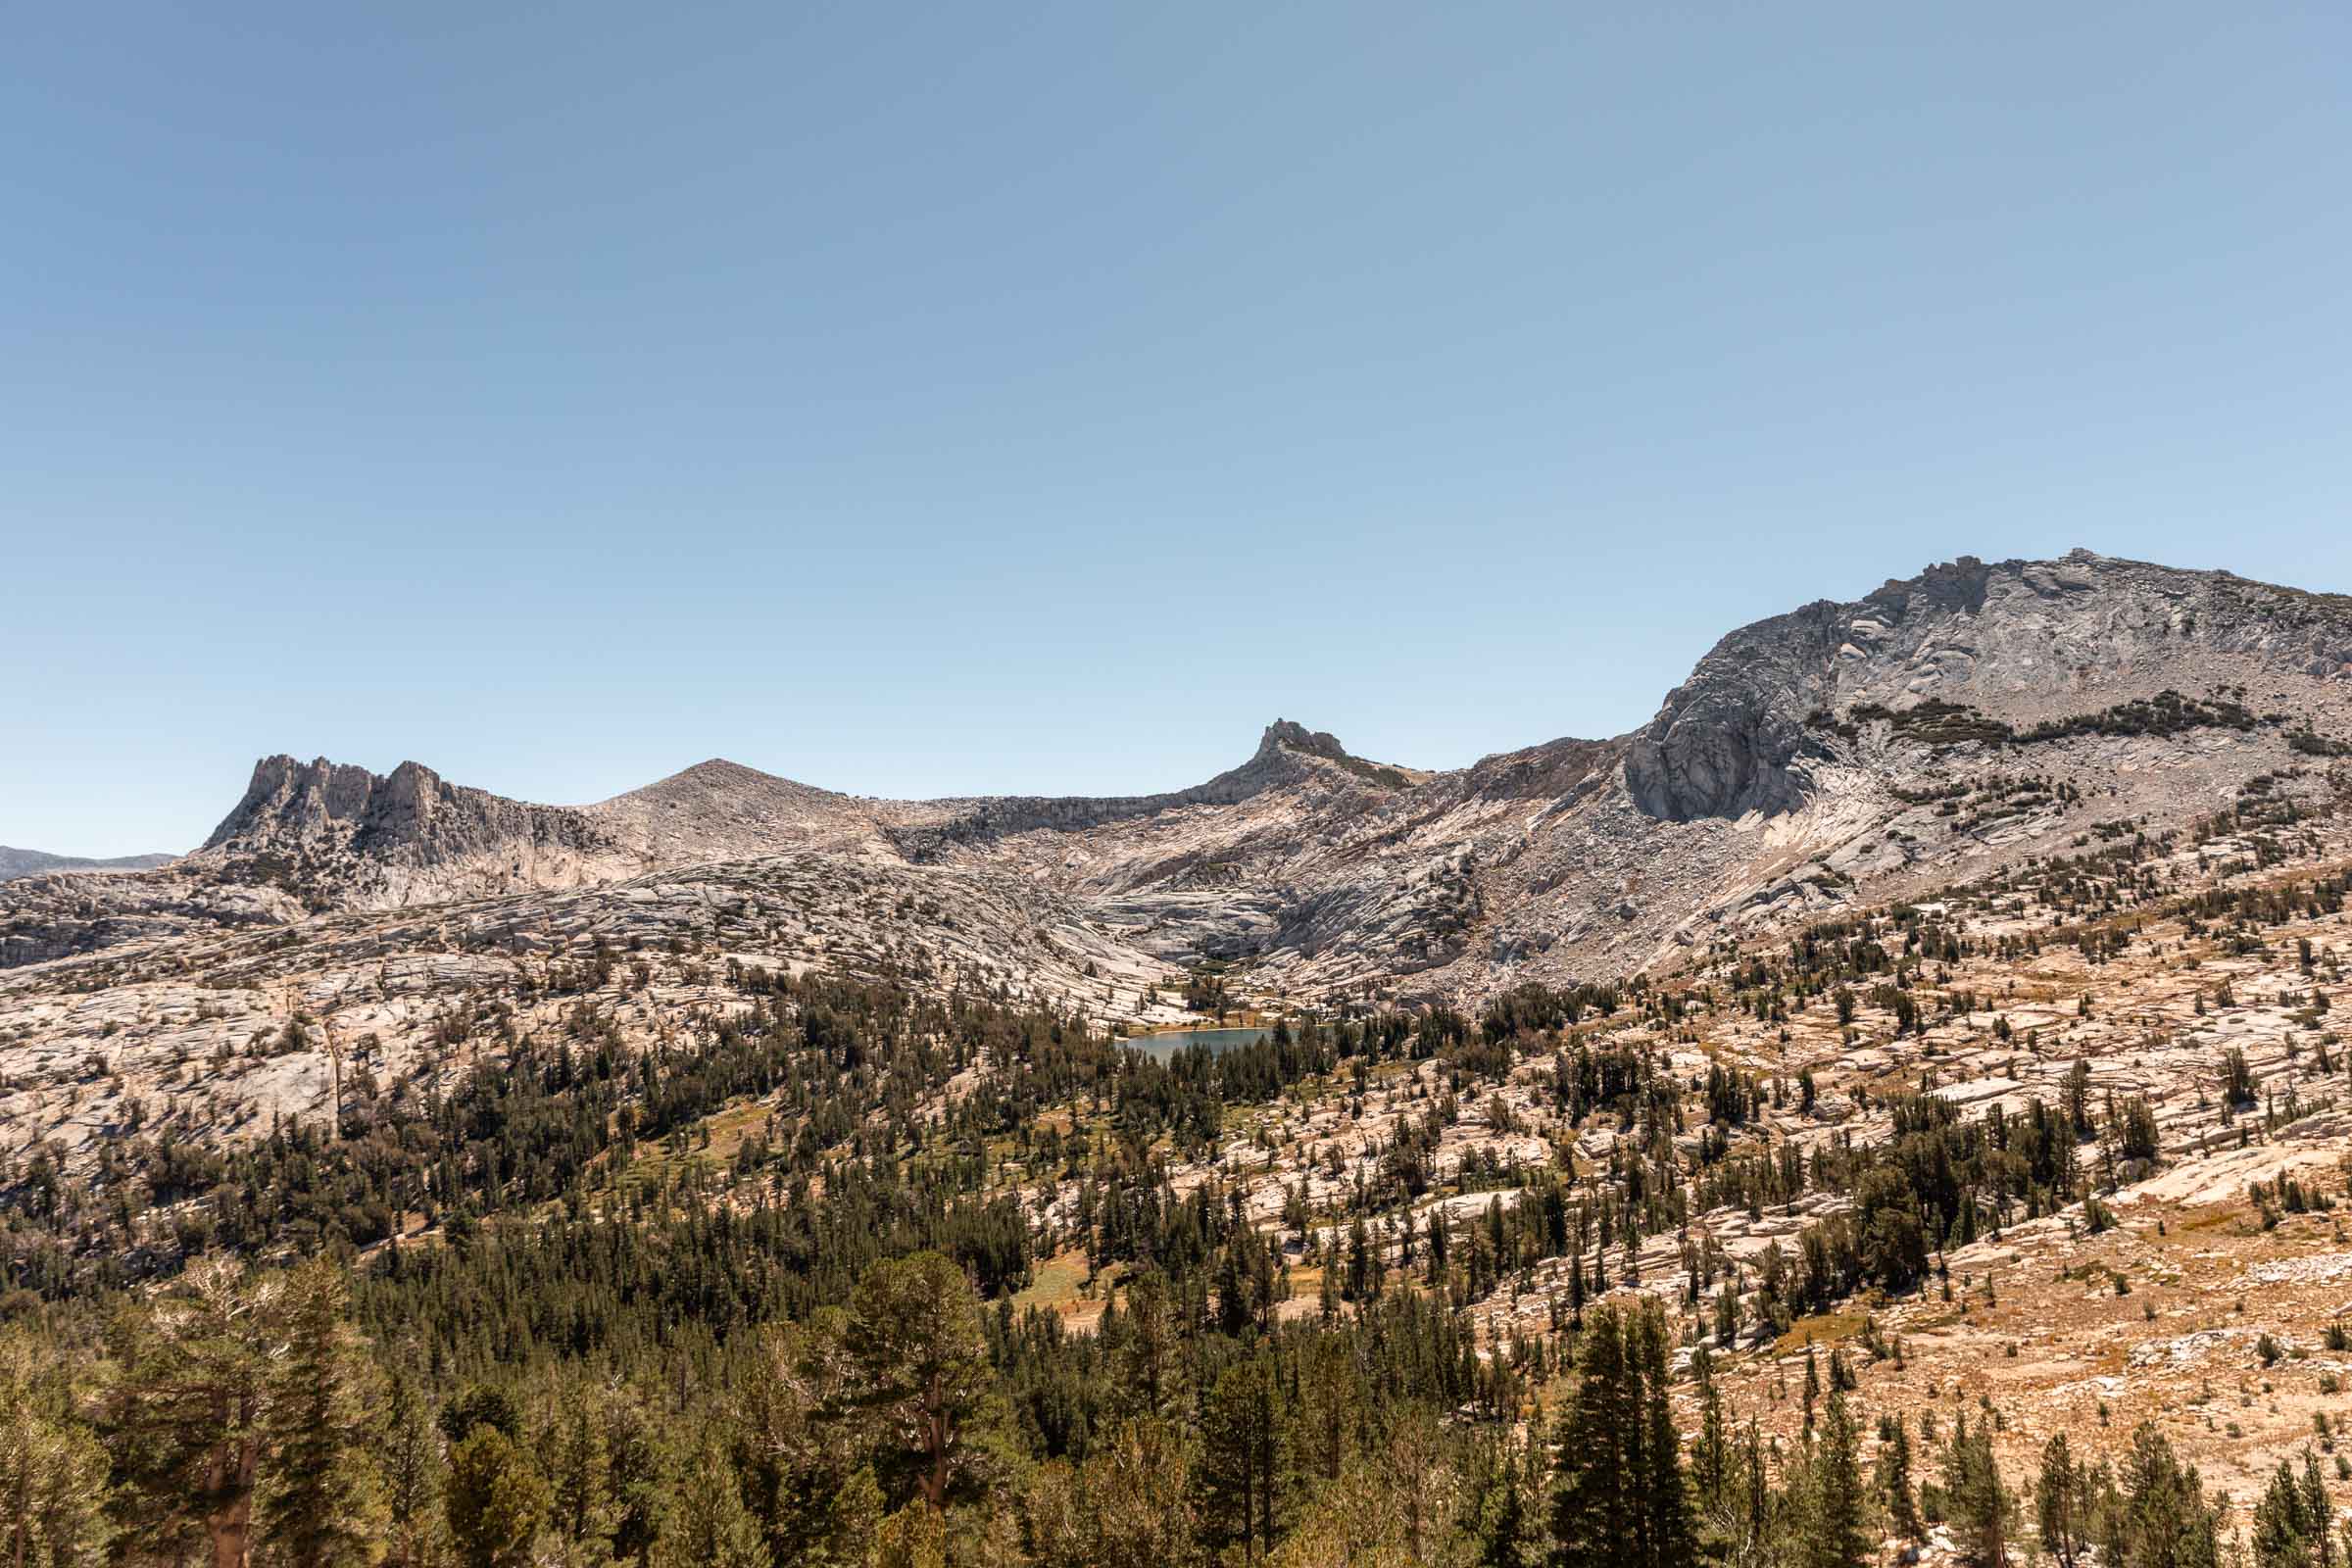
We debated checking out Budd Lake since it looked so pretty from afar. But seeing that cheese snack was at the other lake, that seemed like the better choice of the two. So at 1pm, we were back at camp, lounging, snacking, taking naps.
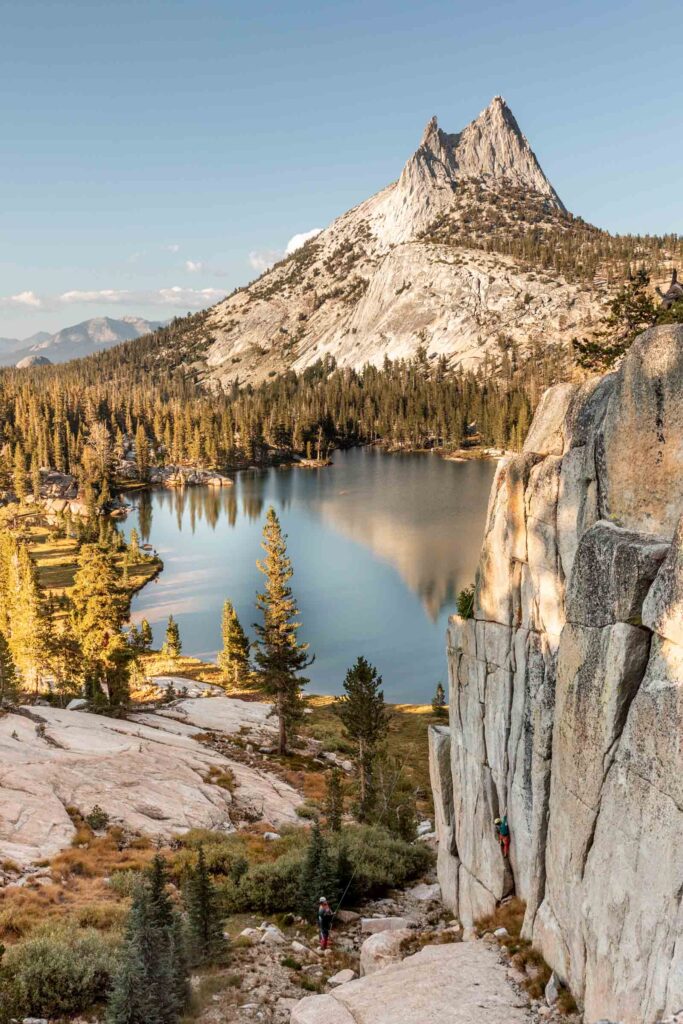
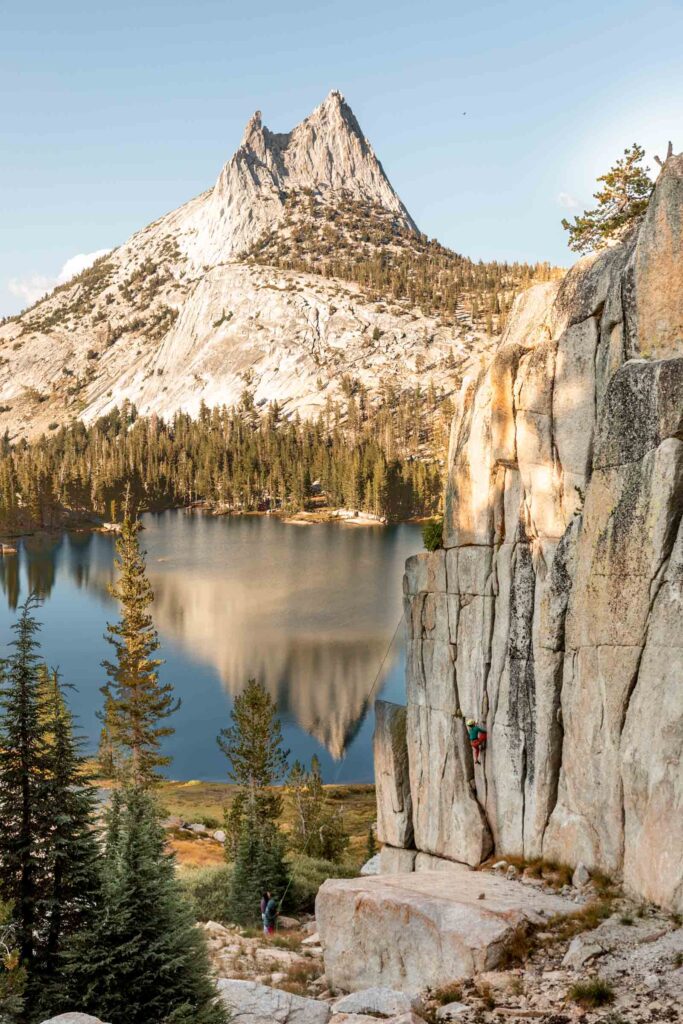
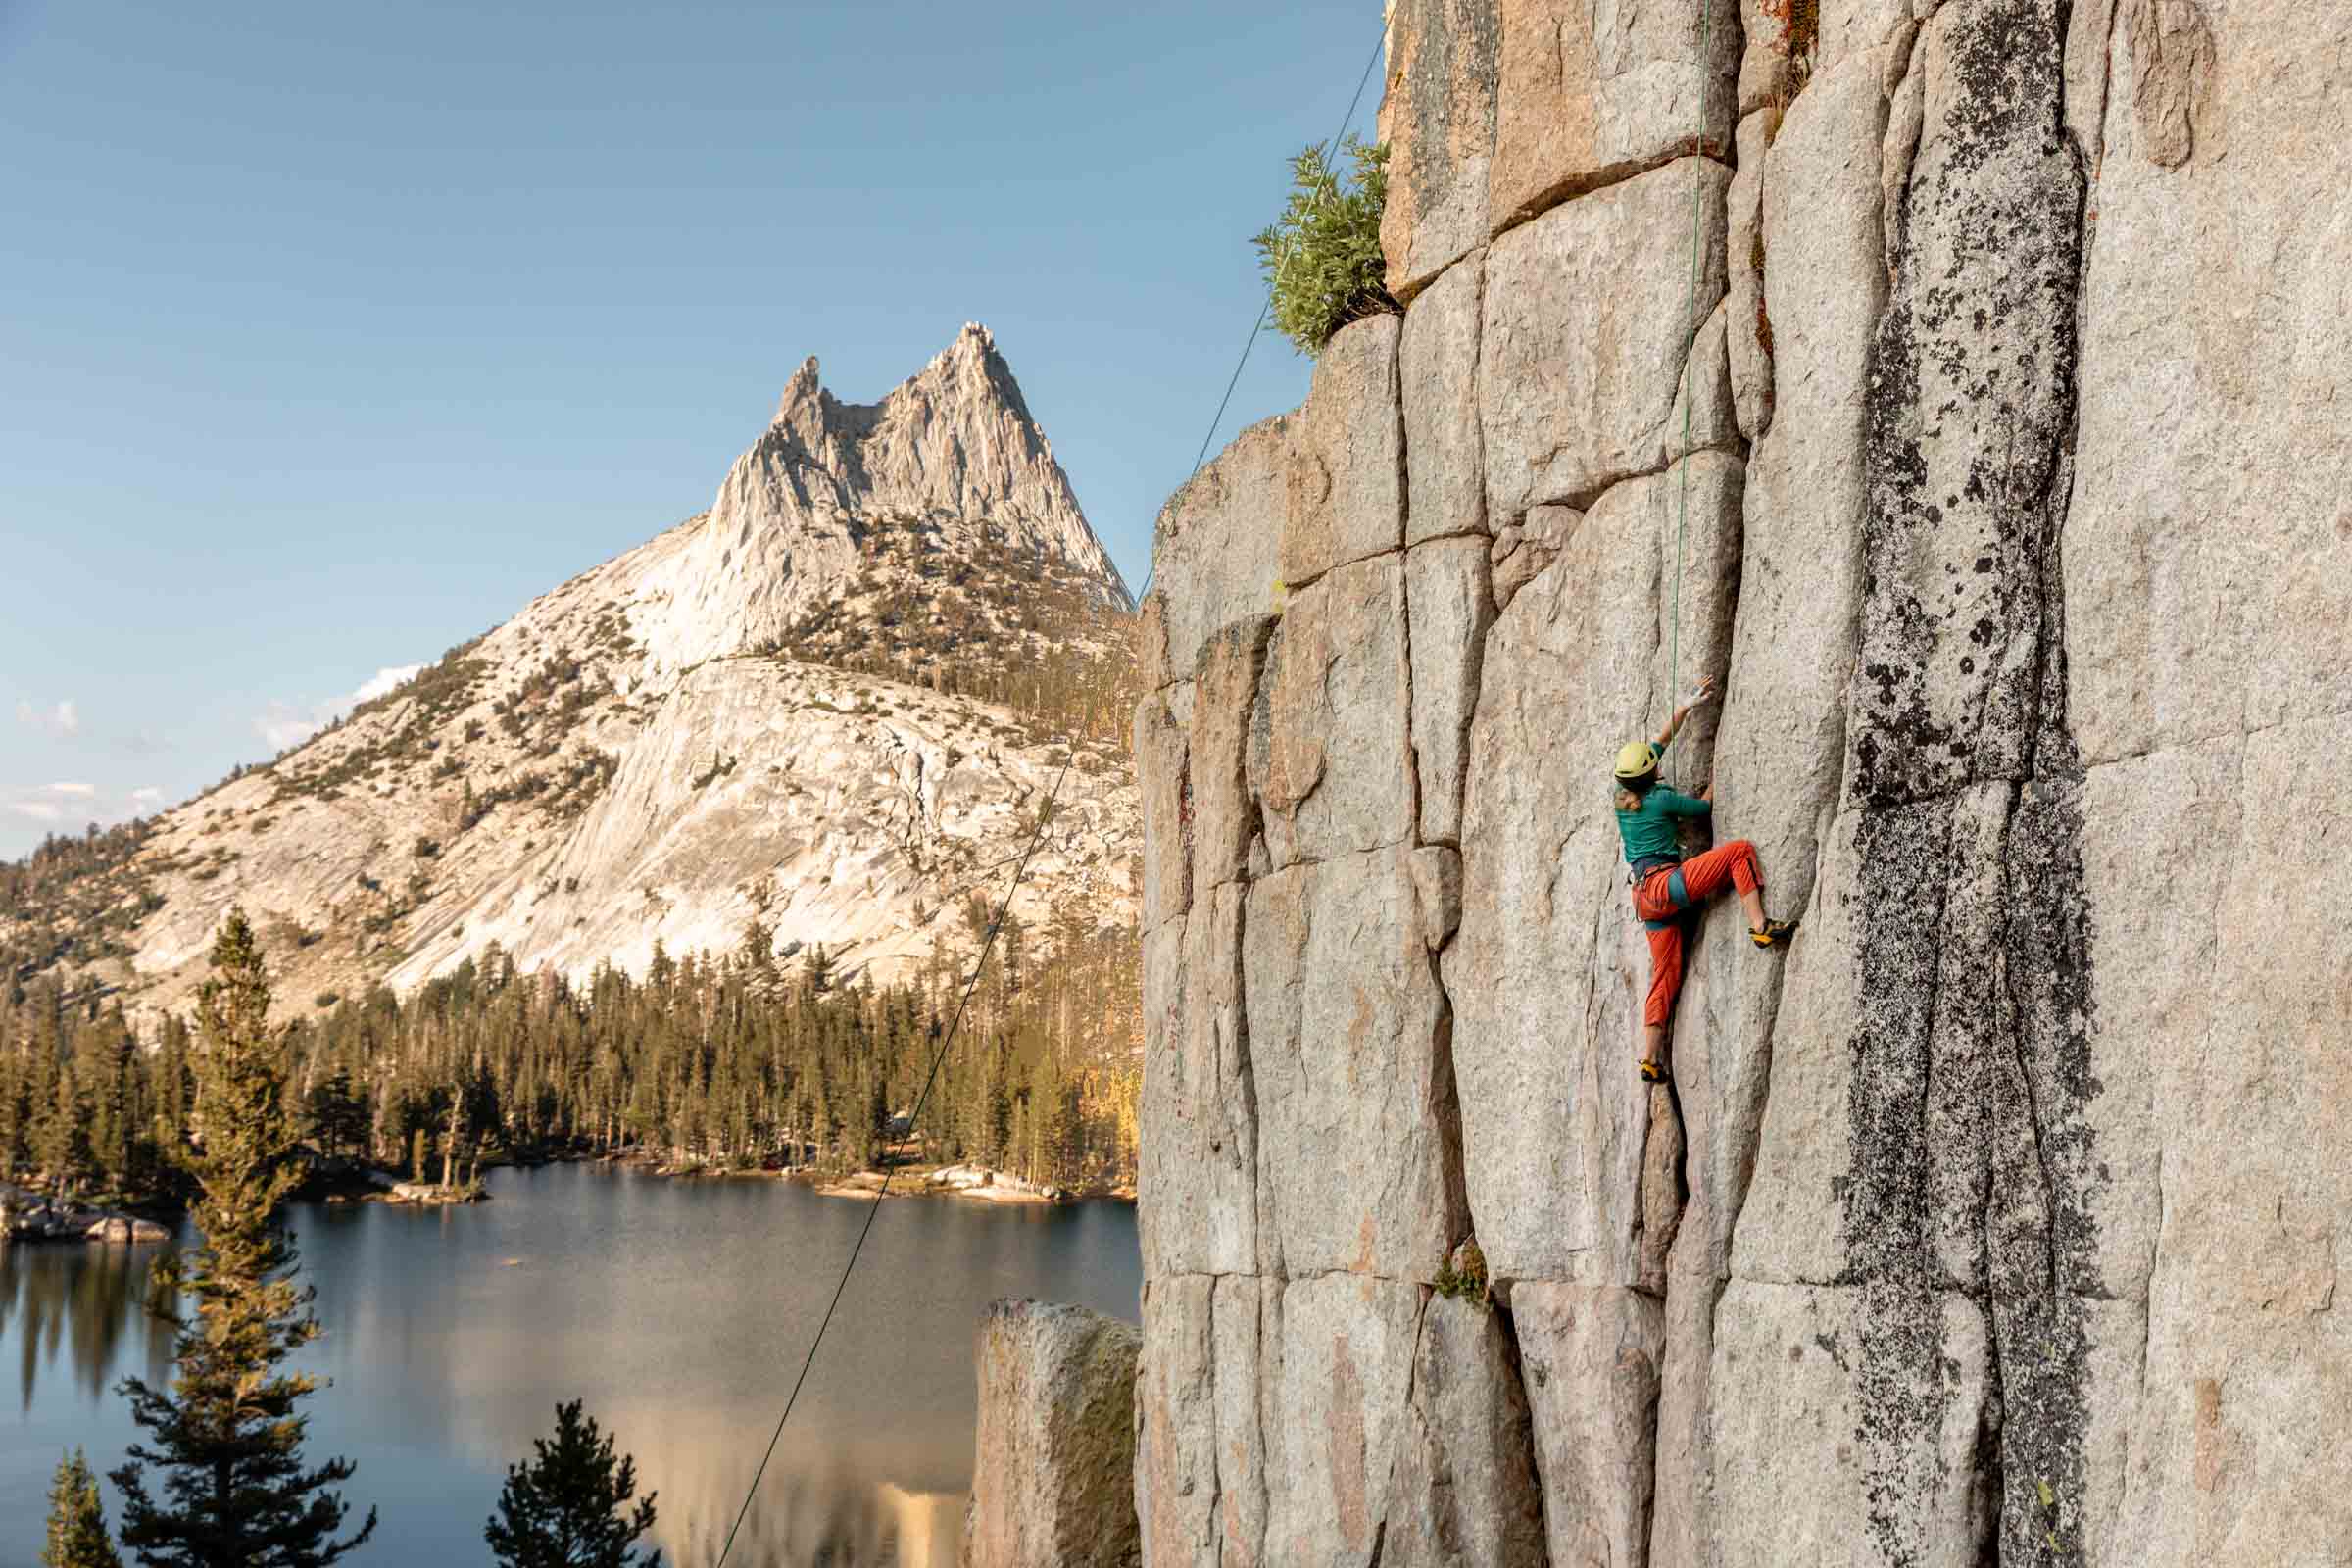
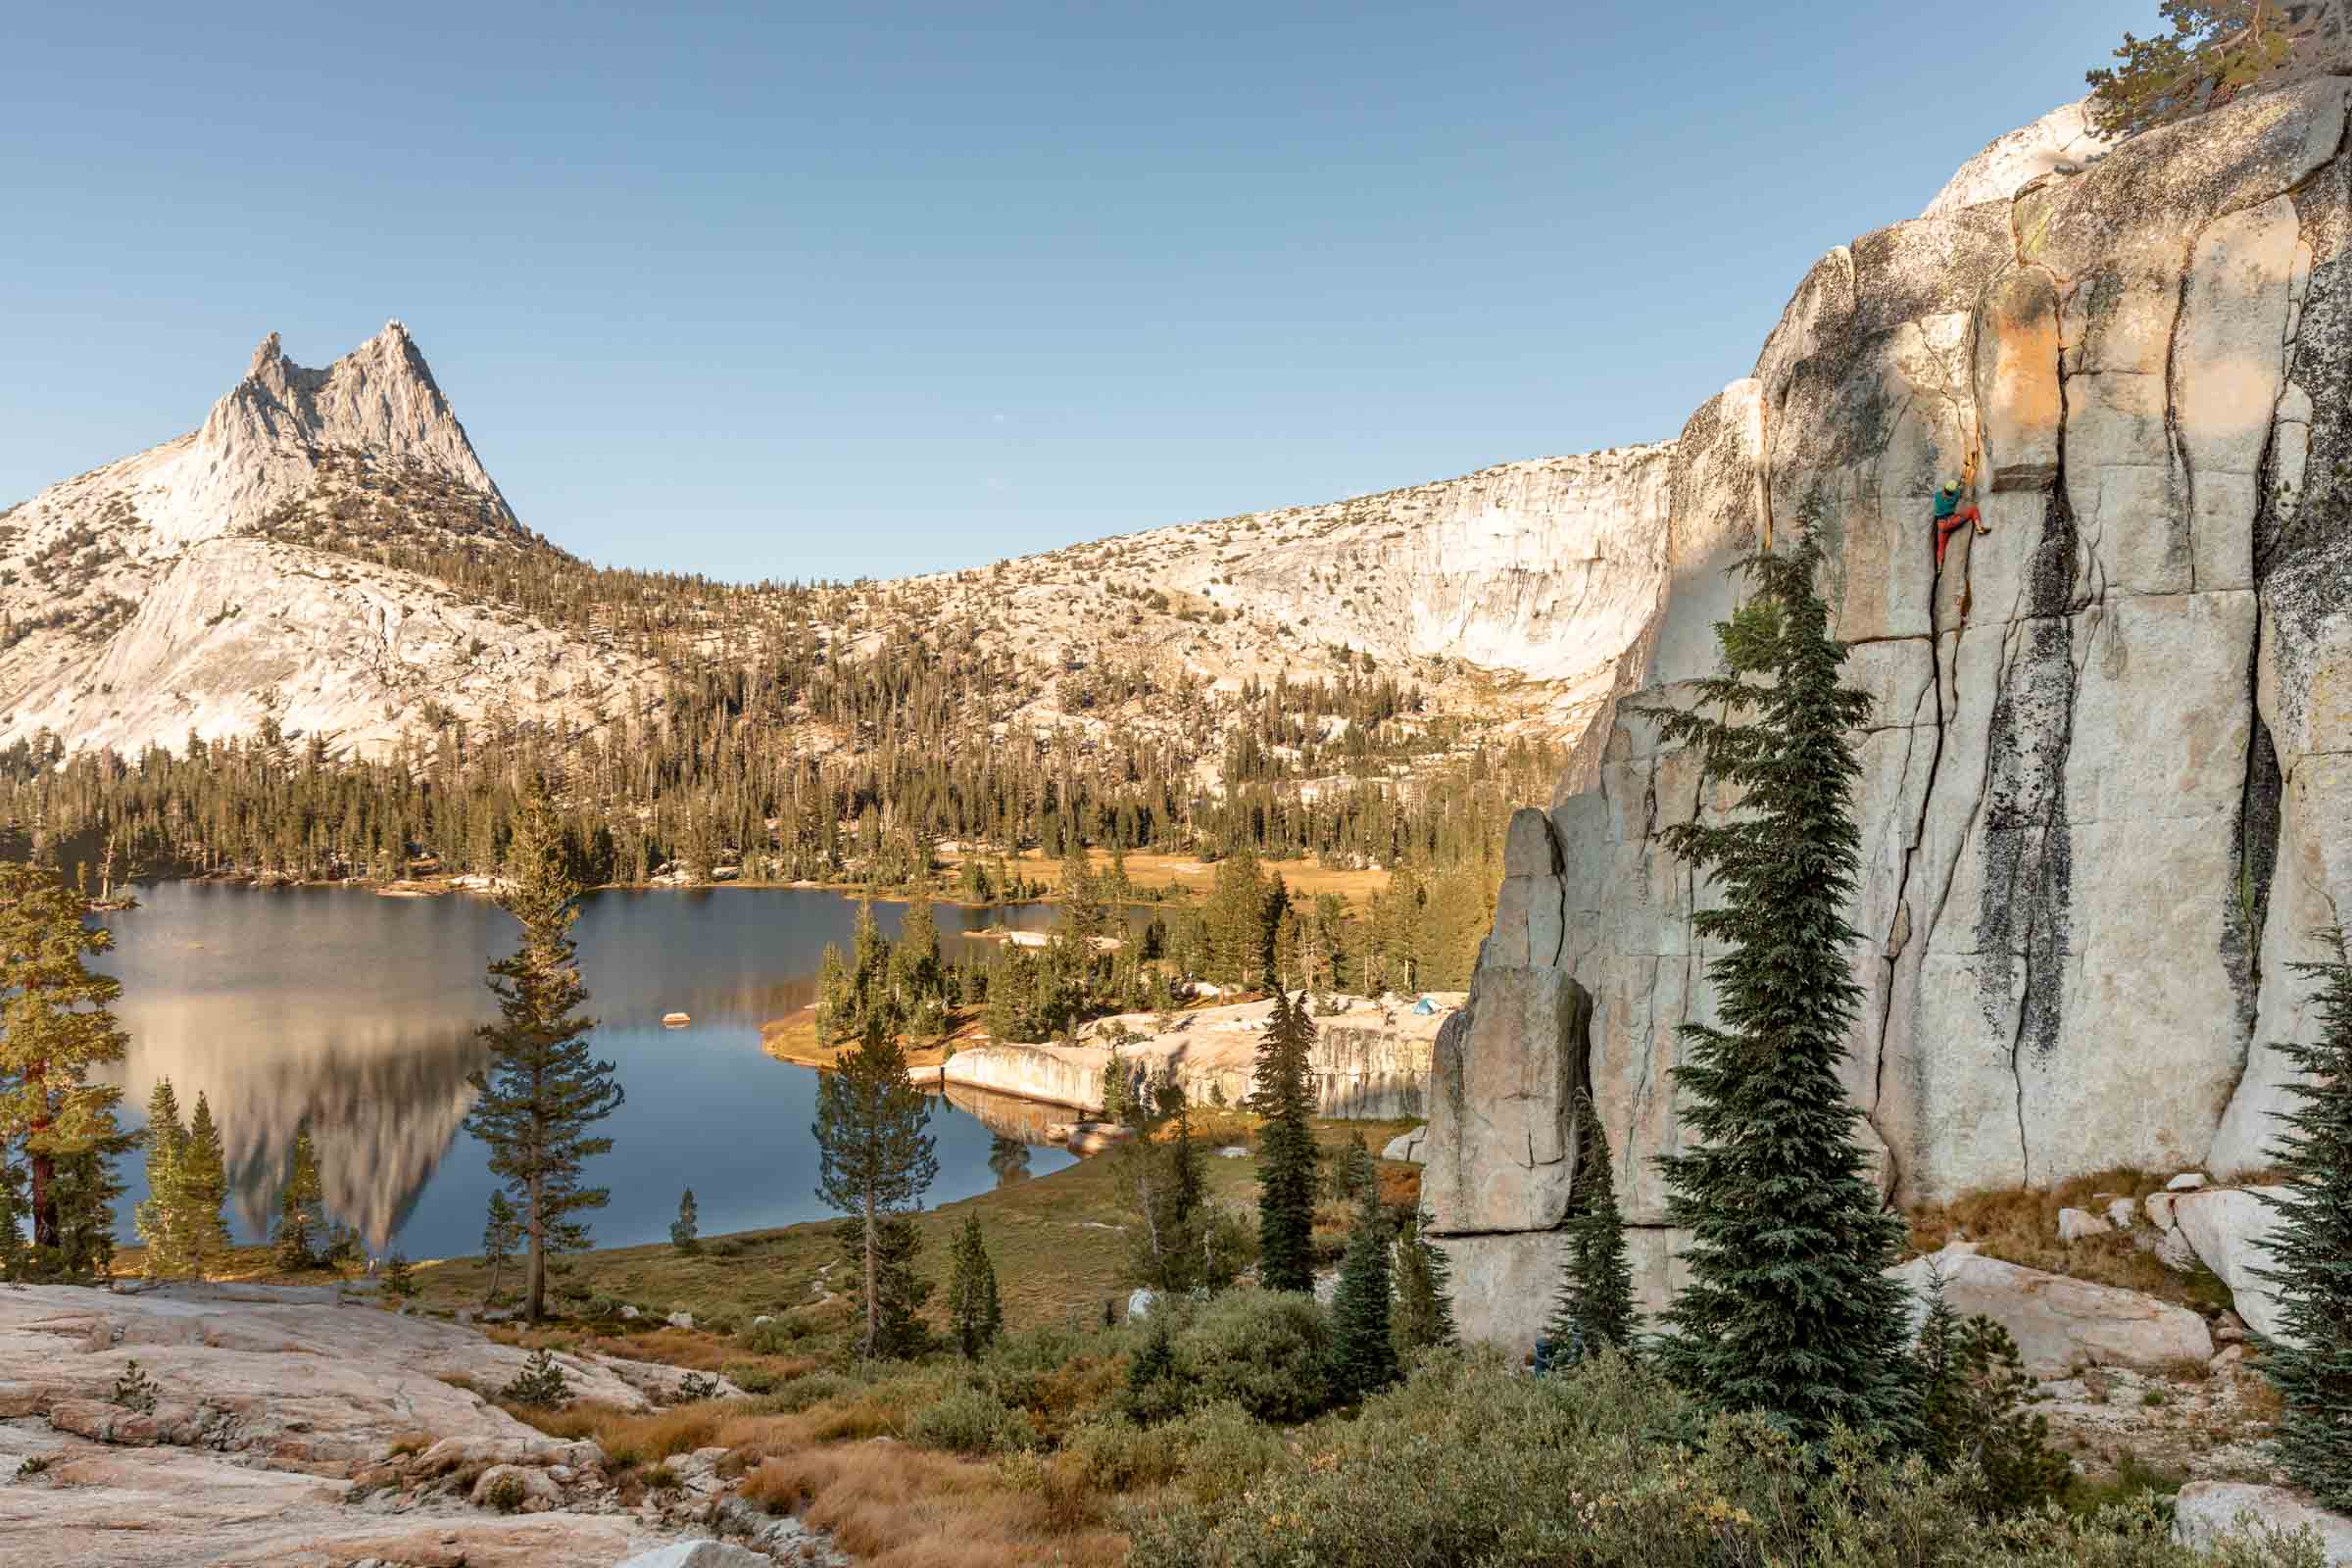
Upper Cathedral Lakes, South Shore Buttress, (Templeton Is Impressed 5.10)
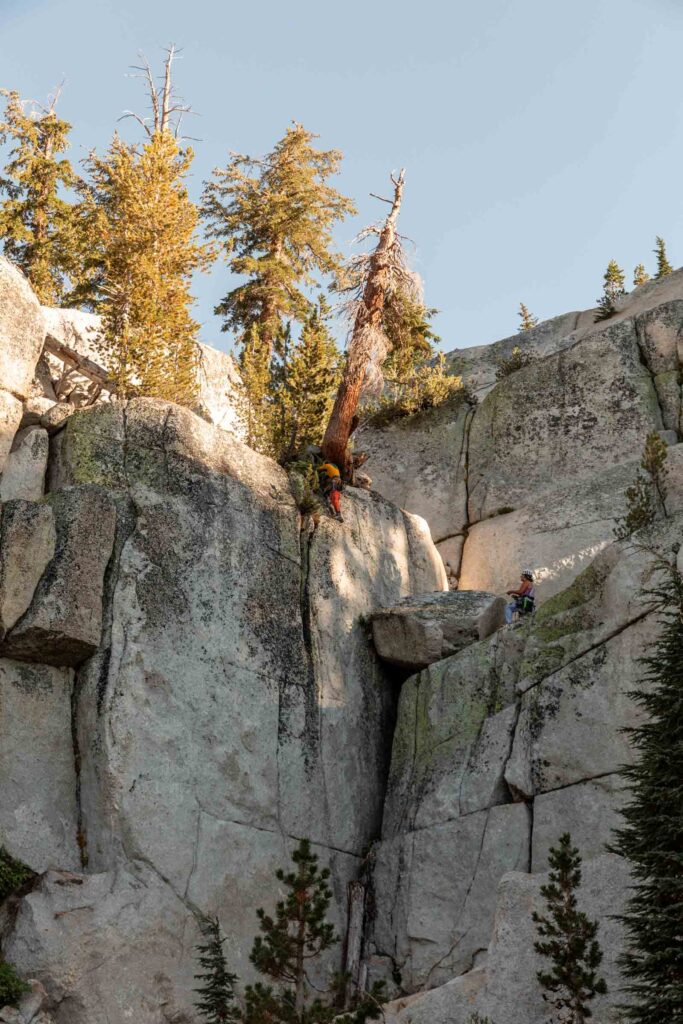
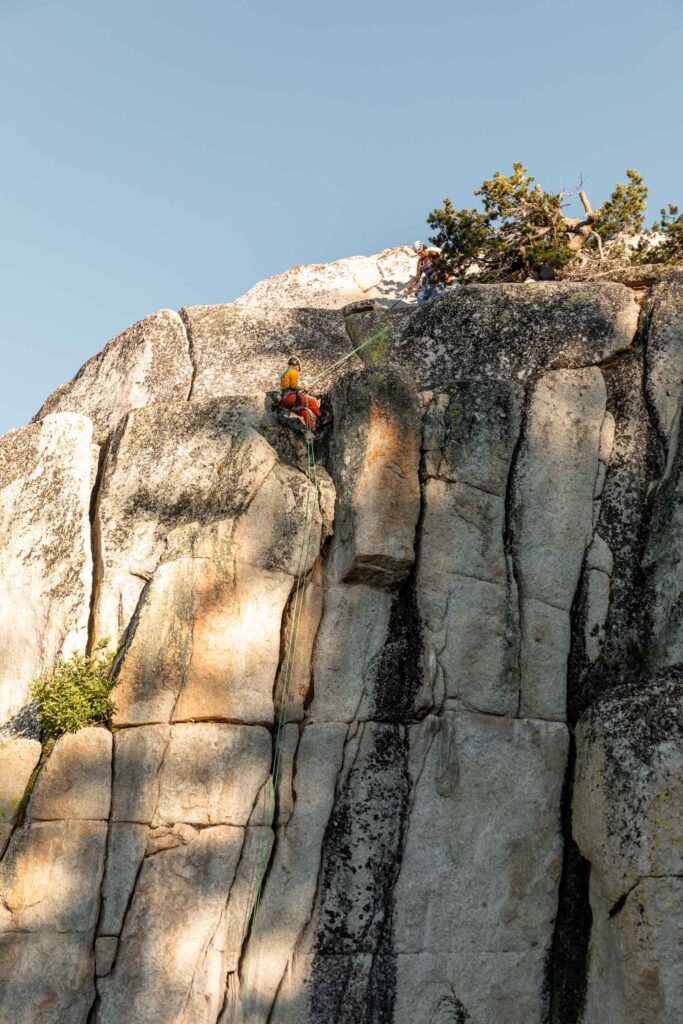
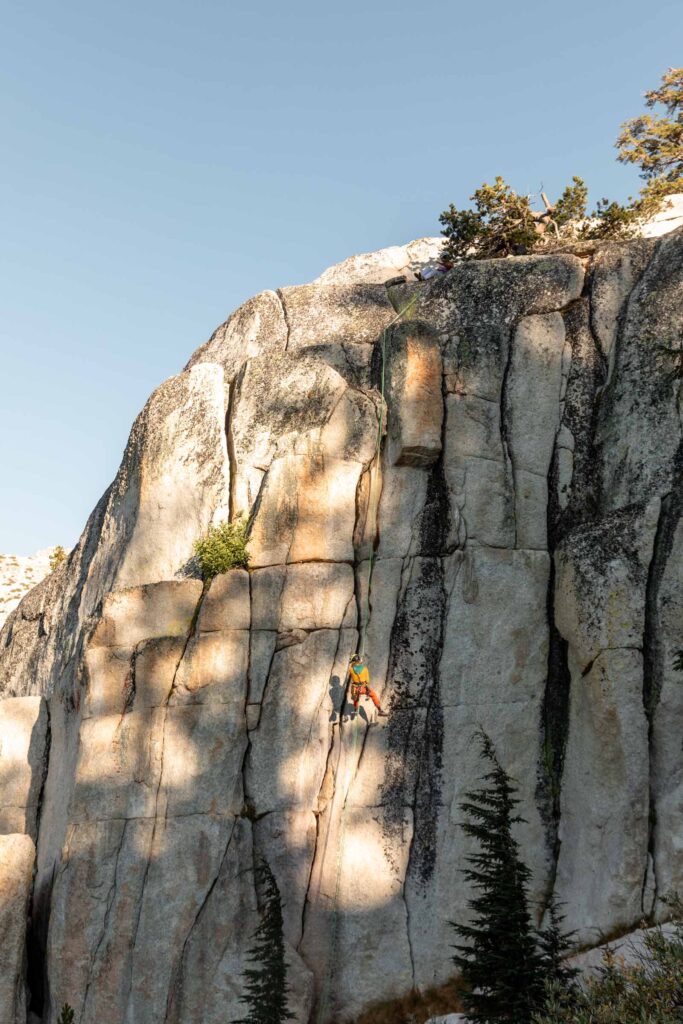
After all the napping, probably due to altitude and the poor night’s sleep, we all woke up ready to move. Sarah decided to go for an easy 7.5 mile run. I wouldn’t call it easy at the altitude though! And the rest decided to check out the Upper Cathedral Lakes bouldering and crag. It took a bit of searching to figure out where to go, a bit like geocaching, but was a fun puzzle to solve. At last, we rounded the corner of some campsites and found the crag! So aesthetic!
Like much of Tuolumne I found, there was a PG-13 rated climb here. Aka scary to lead! But with the 3 climbing guides we had in our group, they figured out a way to walk to the top and set up an interesting top rope anchor above Charlotte and Templeton Is Impressed. I stayed a little longer to watch Lani climb the route before I walked back to camp to start dinner.
With more time to cook and a better understanding of everyone’s stomach size, we proportioned the food better this evening. We made a curry with instant rice and it was such a hit! Plus berry crisp for dinner. This is all courtesy to my last glamping trip where I bought all the fresh produce to feed the group. We literally couldn’t fit all the food in the 3 bear bins the first night and had to sleep with some of the food and items that are less interesting to critters and bears (such as zucchini). But thankfully, after the second night, we had space for all our snacks and everything. I truly don’t understand how 1 bear bin fits food unless you are living off dehydrated meals. And I prefer better meals. Not that I generally backpack for more than a night or two at a time.
With a more relaxed day, we all got to bed sooner than the night before! We decided that we’d potentially climb after hiking out the next day since some people had to drive home immediately after and so that we could have our pancakes! Otherwise, we thought about an early wake up to try Cathedral Peak again. Alas, it was a bachelorette party and we wanted to just hang out and enjoy camp.
Step 3: Spend quality time with friends. Check.
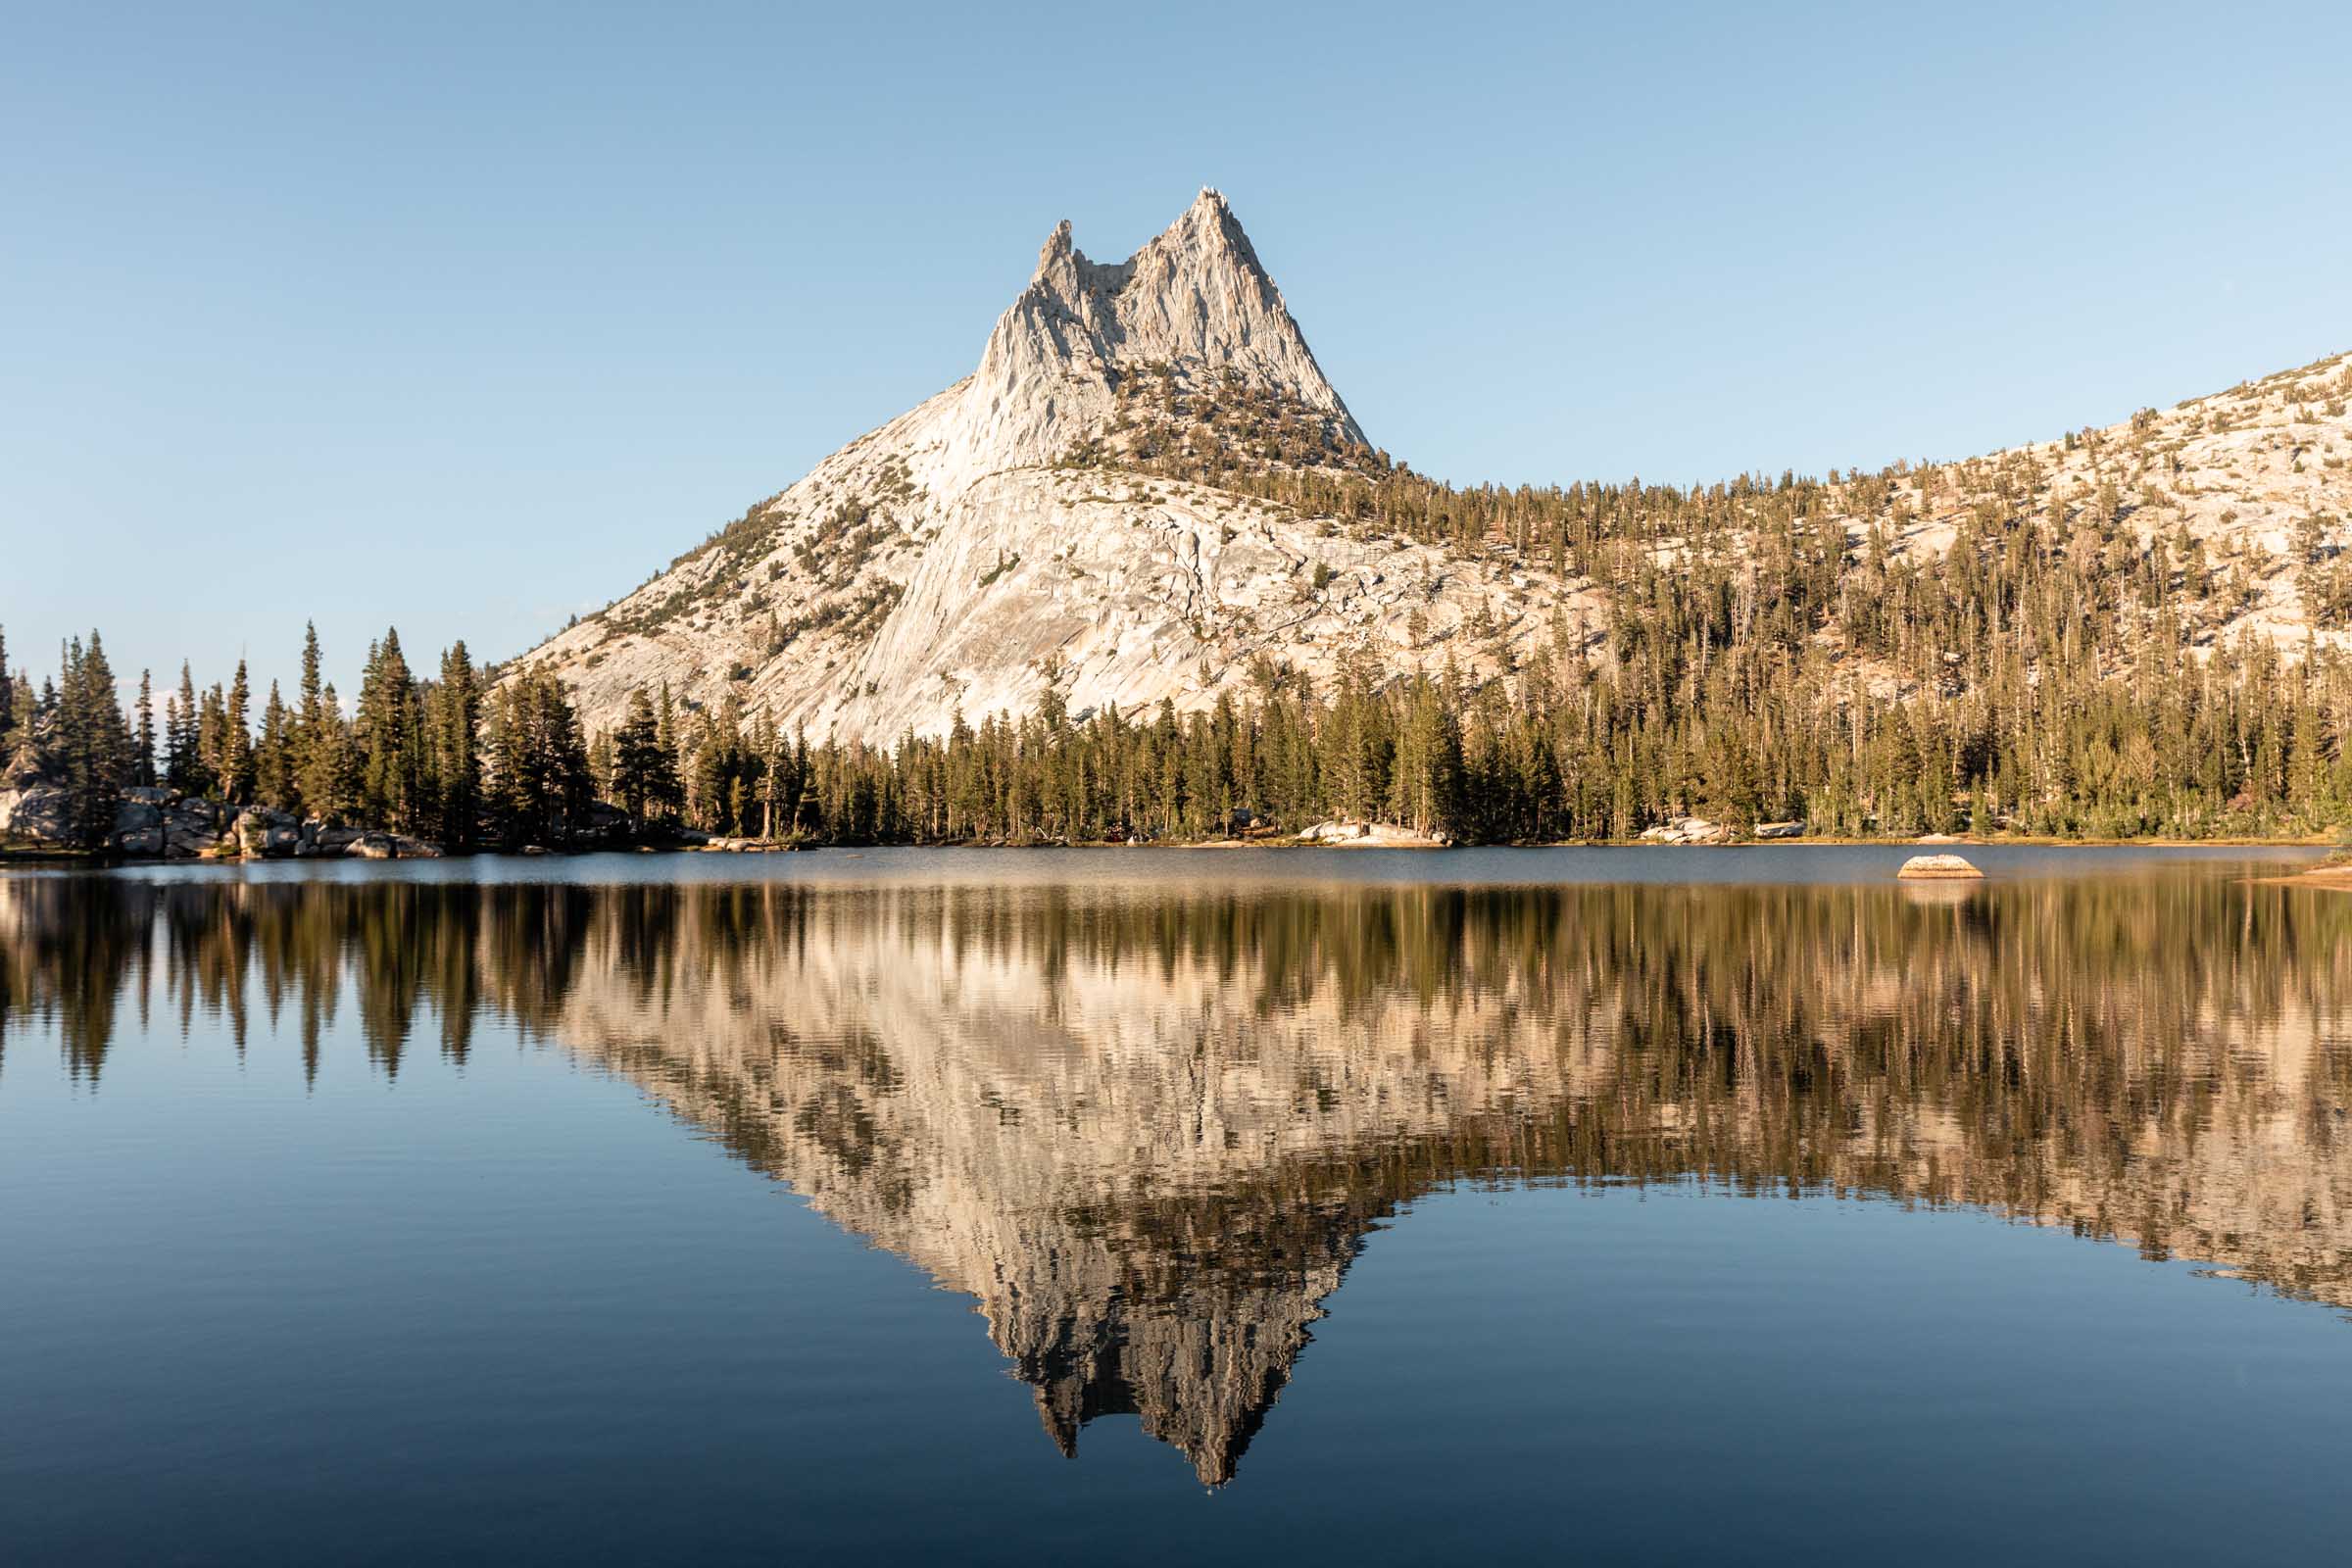
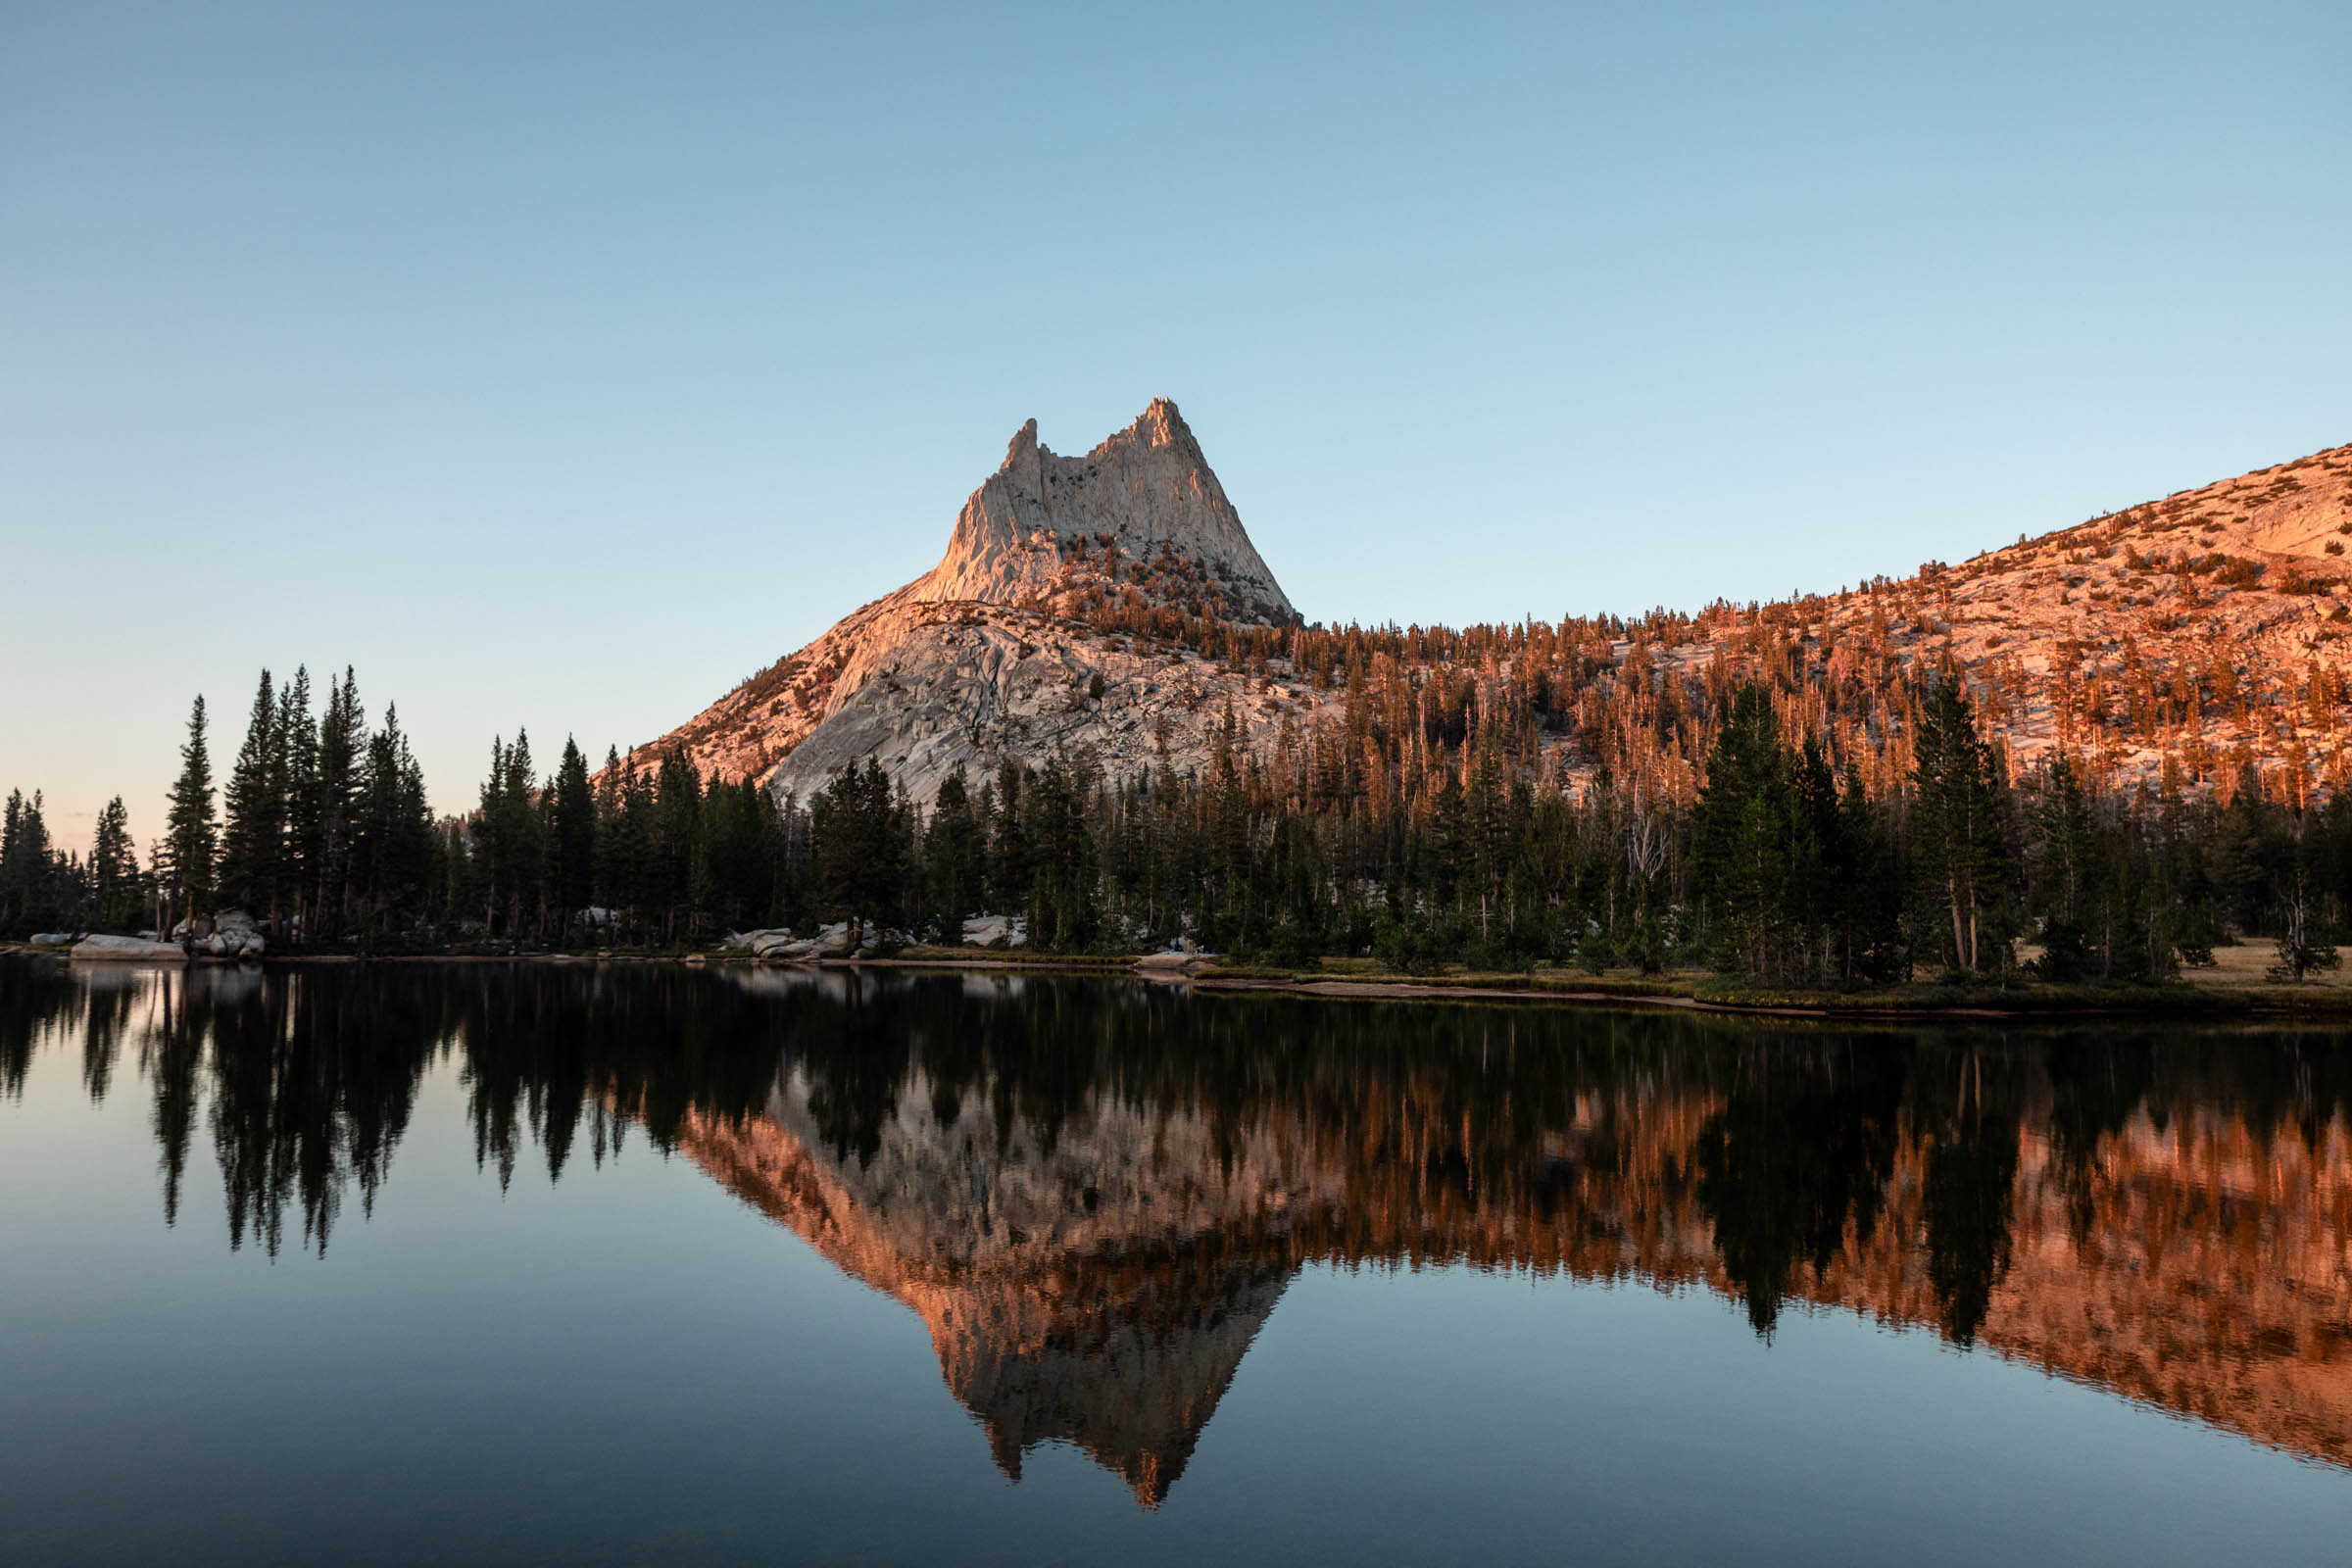
Day 3: Hike Out and Climb
Original Day 3 Plan
Well the most original plan was climb Cathedral Peak, which then changed to Matthes Crest, then no climbing until after we hiked out. There was talk of climbing by Tenaya Lake, but read more to find out what happened.
Actual Events
We woke up at a lazy time, no alarms. We enjoyed blueberry pancakes with berry compote made from berries we didn’t finish from last night’s berry crisp. We (Sarah) even hauled in maple syrup for the pancakes. Delicious! After breakfast, we began our ritual of dividing up our food from the bear bins. This day, we had possibly our earliest start at a ripe 10:15am. To be fair, that was speedy since we had to pack our tents too!
4ish miles later, we were back at the trailhead, ready to check out the Tuolumne Visitor Center. We returned our borrowed bear bin and regrouped at Tenaya Lake. With much lazing about, sorting gear and food, it was 3pm before we made any moves again. No climbing to be had here.
Rather, the few of us staying the extra night settled into our campsite in Upper Pines. Since it was after the official bachelorette events, I had pre-planned to watch sunset from the cliffs of Glacier Point and Taft Point. Other people had an itch to climb, so Lani convinced the rest to climb Generator Crack, a highly rated 5.10c climb. As much as Tuolumne sparked a renewed interest to climb for me, I really wanted to see sunset.
I grabbed a quick shower from Curry Village and slice of pizza from the Pizza Deck (would’ve preferred a full small pizza but it would’ve taken 20 minutes, biting into my precious sunset hours). We separated on our own ways and I drove about an hour to my sunset destination and got to watch it with 30+ other people, enjoying each in their own way.
Back at camp, it was lovely to sleep at a lower elevation and warmer temperatures and I slept so soundly. But by morning, it was time to truly say goodbye… until we all return home to Washington again.
Step 4: Complete the bachelorette. Check.
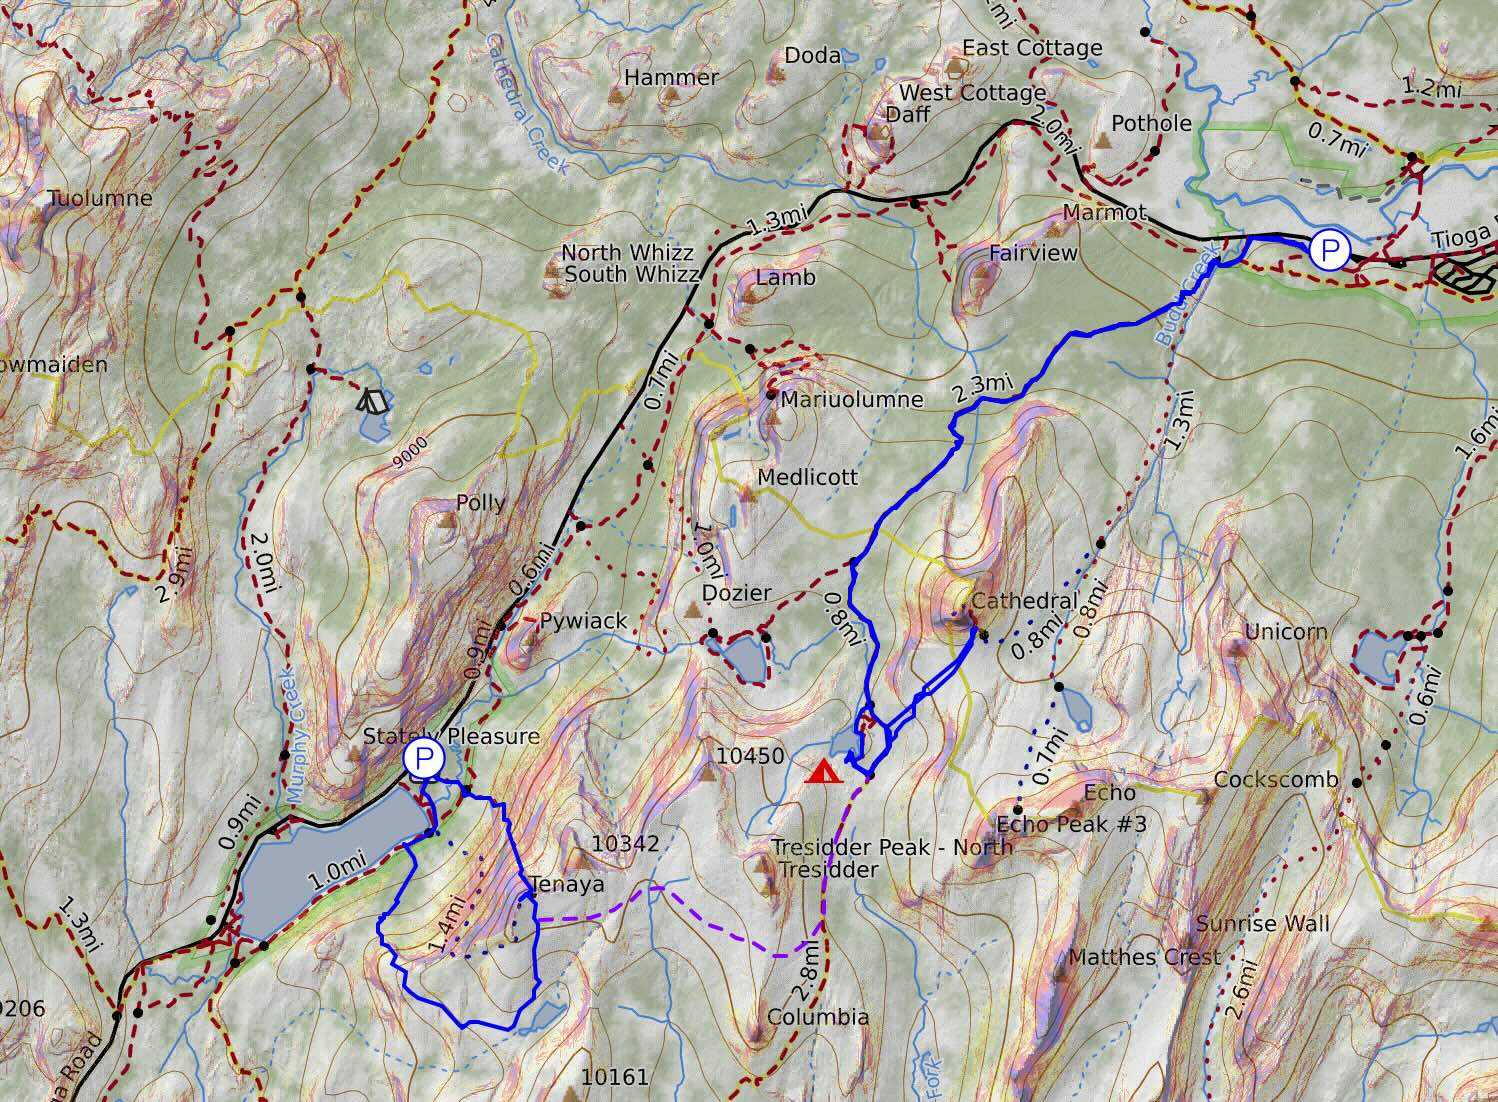
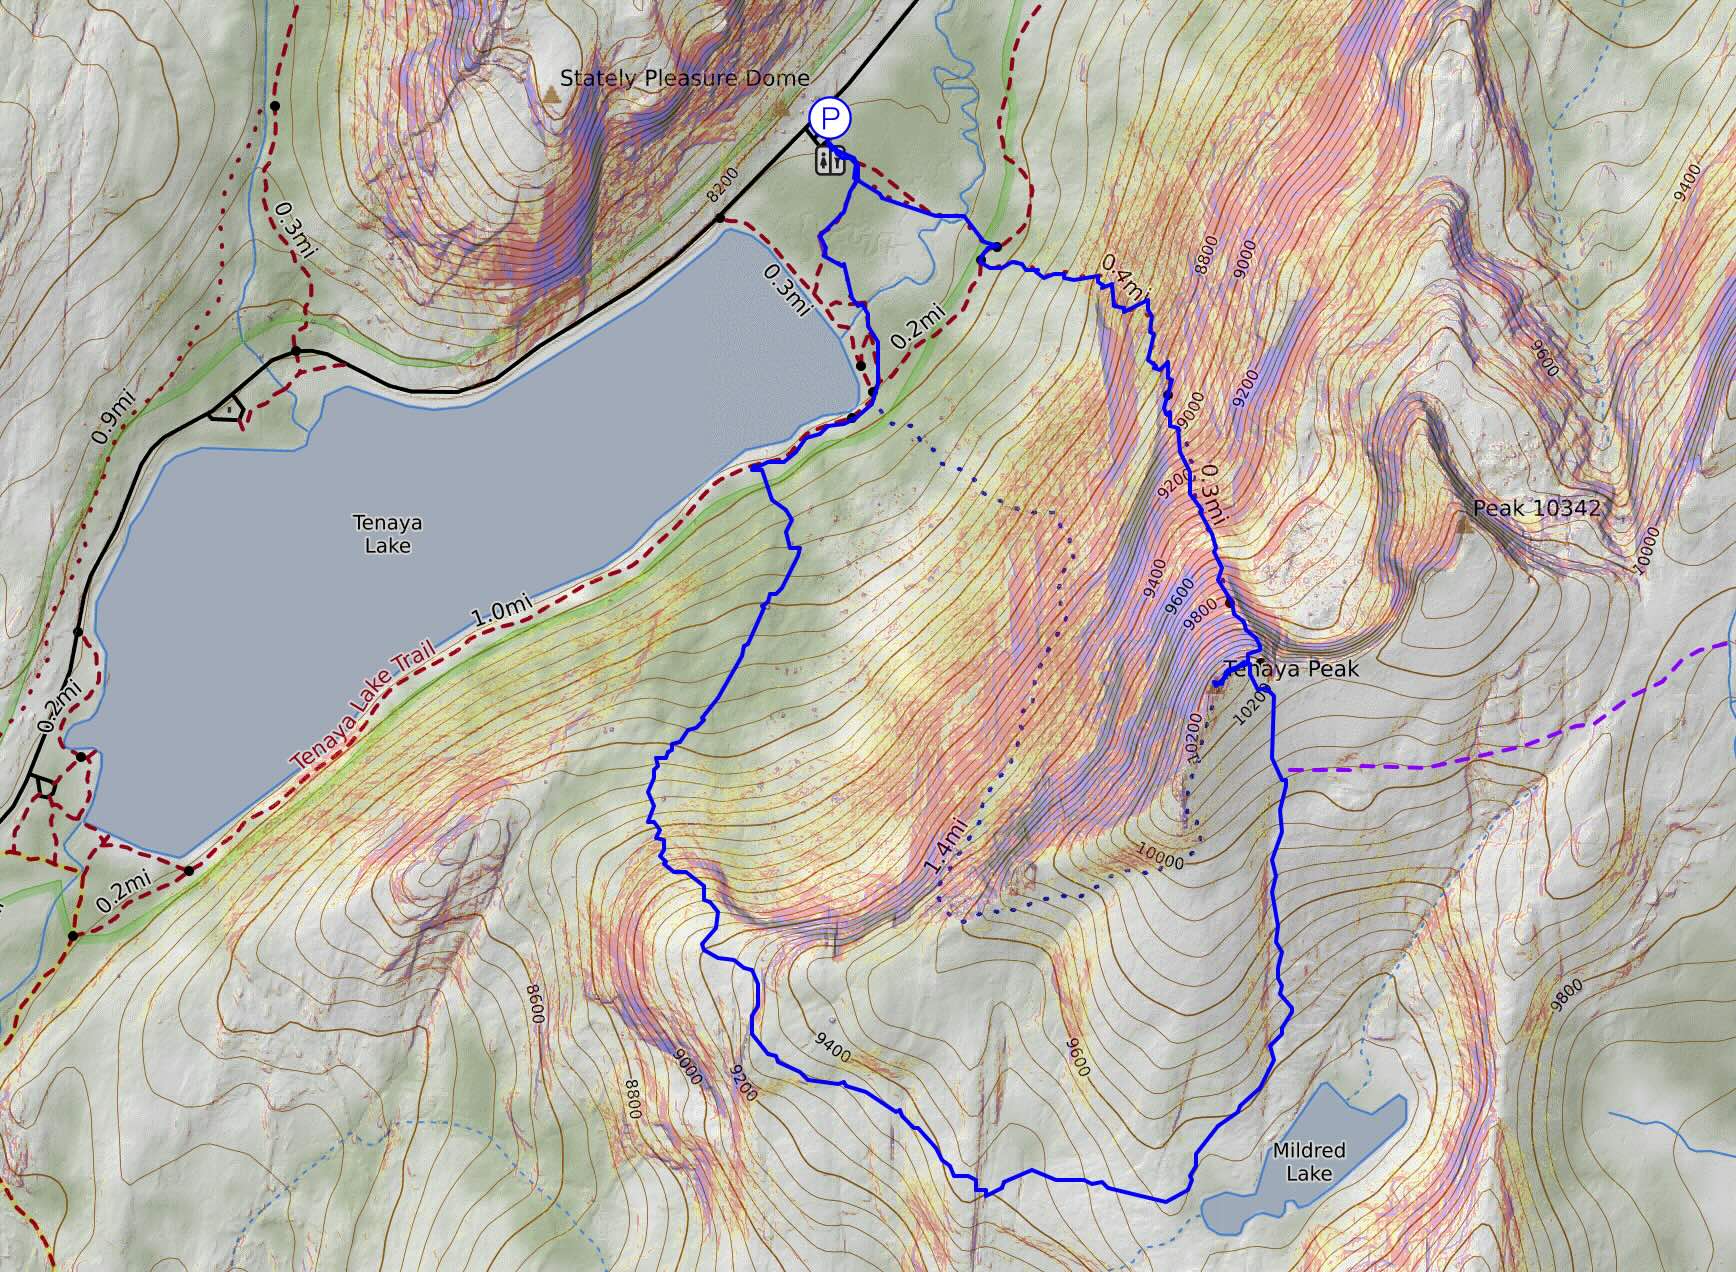
Need-To-Know
Getting To Yosemite
Yosemite National Park is large and “The Valley” is the main part of Yosemite. To the north, about 1.5 hours is Tuolumne Meadows in the cliffs above. To the south is Glacier Point Road about an hour away at its furthest point.
I debated several options and for my personal preference and budget, flying into Oakland and then driving 4+ hours to Yosemite was the best option since I knew I wanted to be in the Valley for my final day.
If you’re flying in, consider Reno for the shortest 2.5 hour drive to Tuolumne, add 1.5 hours for a 4 hour drive to Yosemite Valley.
Otherwise if you want to be based out of Yosemite Valley, consider mostly Sacramento, Oakland or San Jose to fly into. Depending on traffic, Sacramento could be slightly faster. Otherwise, with zero traffic, they all take about 3.5 hours to drive to the valley, which isn’t so bad! I would plan to drive in the morning or early afternoon to avoid the rush hour traffic. Check out the different options for flights + rental cars if you have a tighter budget. I really enjoy visiting the Bay Area, so that was another draw for me to go through Oakland. Plus, the airport is smaller and security is fast to go through.
Yosemite Permits
To backpack in Yosemite, you are required to obtain a wilderness permit. We applied for early lottery, 24 weeks in advance and got exactly what we had hoped for. Planning ahead is extremely helpful. But you can’t submit multiple entries per group. I think they have a way of finding out.
Use this table to figure out the 24 weeks in advance rule. Once that week is over, then it’s first-come, first-served.
Permits are based on your trailhead entry. But it doesn’t matter where you park. I find this odd and confusing and hard to regulate. I don’t encourage going around the rules, but we did start at slightly different entry points, but ended up camping in the same spot really.
For campground permits, check out recration.gov for all potential ones including Tuolumne Meadows Campground and Upper Pines Campground in the Valley.
Bear bins are legally required and it is illegal to use bear bag hangs due to aggressive bears in the area. You can rent them from the rangers though!
Meals & Recipes
A little last minute planning meant reusing recipes from the past, which is so great and easy! Like my time before going on a 22 mile glamping trip, we had vegetarians in the group, so no meat at all, which honestly works pretty good. There’s many ways to elevate a backpacking/climbing trip to have a little bachelorette flair.
Day 1 Lunch/snacks: BYO
We couldn’t possibly be in charge of every single food item and this was a great way for everyone to enjoy their personal preferences. There were SO. MANY. BARS. Literally one of our bear bins was snacks only for 6 people. Wild. And we planned on bigger days so we didn’t eat a lot of the snacks we brought. There was also a lack of communication about how much food we were getting for the group, like a few group snacks/desserts that would’ve saved people some extra bars.
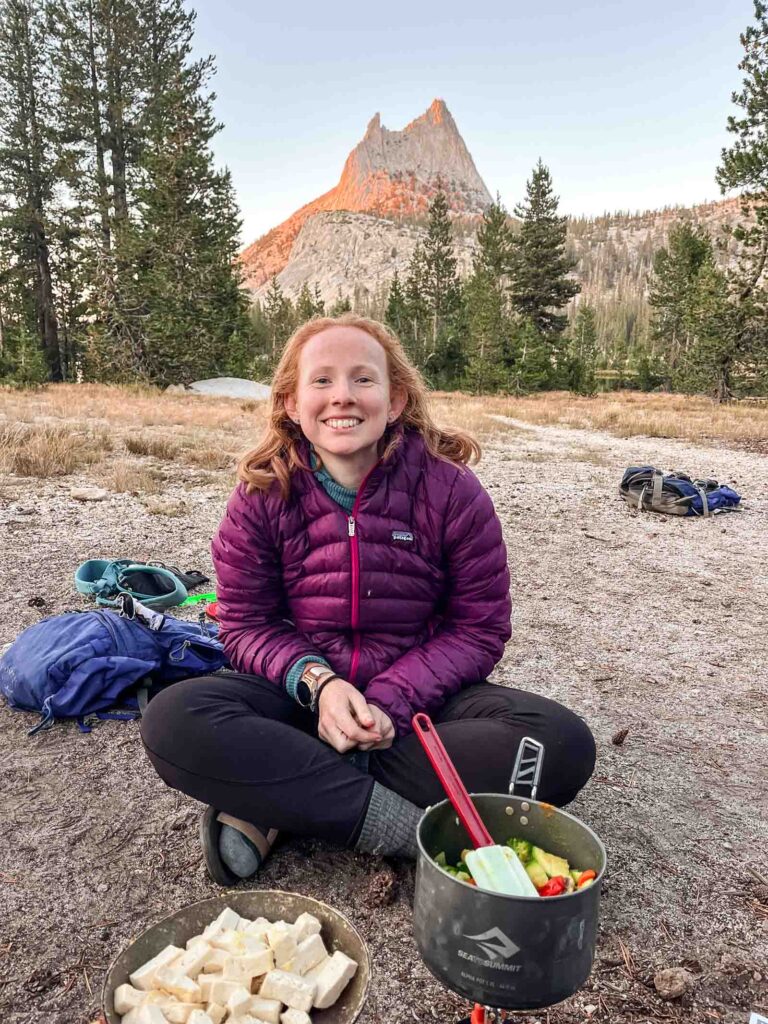
Day 1 Dinner: Peanut Noodles
I wasn’t here to help out with the peanut noodles, but it went something like this. We made it super simple as a variation from pad thai noodles, then peanut-soy sauce noodles, and completely nixed that for peanut satay sauce because it would be way easier with everyone traveling.
Serving Size: about 6-8
Ingredients
- 1-1.5 lb dry rice noodles
- 1 block tofu
- 1 Tbsp butter
- 1 bag snap peas
- Any other vegetables (we didn’t get any else in, but I highly recommend more)
- Trader Joe’s peanut satay sauce
- Lime (optional)
No at-home directions (unless you want to pre-prep the veggies).
At Camp Directions
- Boil water and cook the dry rice noodles. Then drain and set aside. Apparently a gallon bag was used in our case. Make sure you use freezer bags if you do that. Otherwise the bag can be easily punctured
- Cook the tofu. Perhaps more than 30 seconds so your tummy doesn’t hurt from too much raw tofu. I recommend about 5 minutes to get them golden. Bonus if you use butter.
- Add veggies to the pot (ideally bigger pot and not a jetboil) and cook till your preference.
- Combine everything together (ideally not in a gallon bag) with the satay sauce.
- Serve it up!
Pro tip from my guide friends: Use lidded containers as your backcountry bowl. Great for keeping sauces in and for leftovers.
Day 1 Dessert: Chocolate Chip Cookies & Champagne
We planned for more dessert but kind of over-made dinner so we had limited room. Initially I thought that cooking cookies on a pan would be a grand idea but at the store, I realize that would be quite difficult so I opted for pre-made cookies that were perfectly in a pack of 6. The Trader Joe’s Sea Salt Chocolate Chunk Cookies were such a hit even if everyone ate it at different times.
For the champagne, we brought up plastic champagne flutes to celebrate with. The great thing about champagne is no wine opener needed. The bad thing is that you’re carrying glass in the backcountry.
Day 2 Breakfast: Egg Scramble and Potato Hash
I don’t know if I was shy about photos or distracted, but no photos here. We had a pot and a small pan to cook with. But here’s approximately what we cooked. Another version is described here.
Serving Size: about 6-8
Ingredients
- 1 dozen eggs
- 2-3 Tbsp butter
- 3 potatoes (not 4)
- 1/2 onion
- 1 bell pepper
At Home Directions
- Pre-crack eggs into a sacrificial nalgene. A dozen eggs is just over half a liter unfortunately.
- You can pre-chop veggies like onions and bell pepper if you want, but don’t chop potatoes till you’re cooking or else they oxidize and it looks bad.
At Camp Directions
- Dice the potatoes. Smaller size means it cooks faster.
- When you’re ready to cook (because camp stoves are hot! especially in the center), add 1-2 Tbsp butter to the pot and add onions to get them carmelized first.
- Then add in the potatoes. If you have a lid, cover to maximize the heat efficiency. Once they start getting soft, add the bell pepper.
- After about 10 minutes, the hash should be ready. Once it looks almost done, ready the pan for eggs. Shake up the nalgene if the eggs aren’t mixed together yet. Add 1 Tbsp of butter to the pan. Cook the eggs in 1-2 batches, depending on the size of your pan. Our tiny 8 inch pan only held about 6-8 eggs at a time.
- Serve the eggs hot as they are ready and top with potatoes!
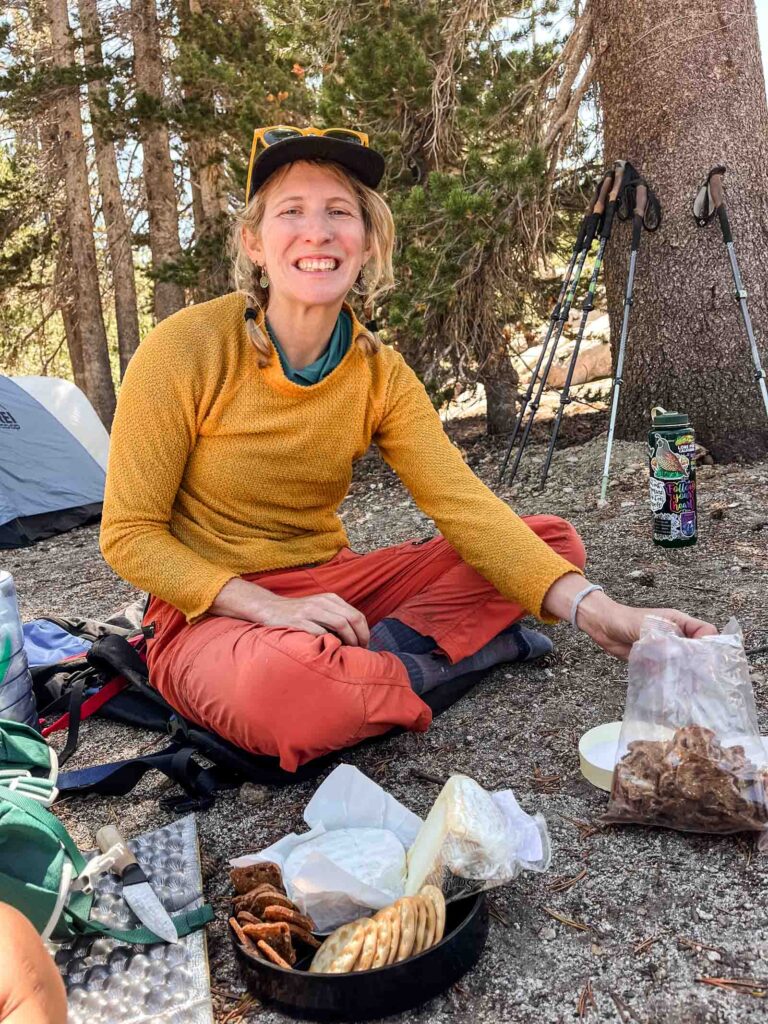
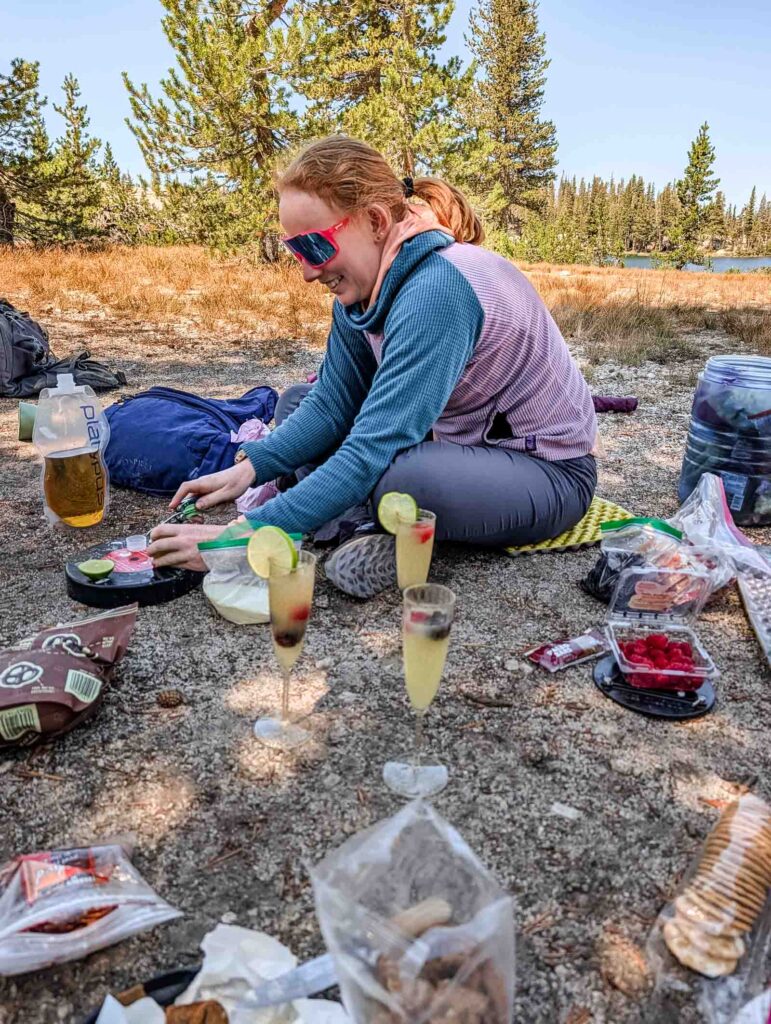
Day 2 Snack: Cheese and Crackers plus Margaritas
Growing up, I was never a cheese girl. But since college, I’ve since learned to love cheese and cracker (or wine and cheese nights). Charcuterie is just so fun! We almost brought the who shebang of a cheese board and cheese knives, but we thought better with all the weight of the veggies. For backcountry cheeses, go for harder cheeses, though brie can work too. It’s my favorite after all.
Cheese and Crackers
Don’t bring the boxes for room, and squeeze out air if you’re tight on room. Bring extra baggies in case you have leftovers for whatever reason. BTW these links are not sponsored, I just love TJ’s!
- Fancy crackers like the TJ’s Raisin and Rosemary Crisps or Pumpkin and Cranberry or my favorite stand in — the Fig and Olive
- More standard budget-friendly crackers like the TJ’s Wheat Crisp Crackers
- At least 2 cheeses of varying types for different preferences but apparently I still went for 2 different bries: Saint André Triple Cream Brie (it’s more dry than sticky-smooth, if that makes sense) and Double Cream Brie becuase they seemed good to carry
- Fruit like grapes (lol we ate these before we even got to our cheese course)
- TJ’s Candied Pecans nuts are a great add
Other options that are great:
- TJ’s Gluten Free Cranberry Raisin Toasts (but fewer crackers in one box)
- Cracker Assortments since they discontinued their water crackers for the ultra-budget
- Gouda, Stilton, cheddar, cheese trays, any cheese that is a block really! Try to keep it cool by packing it more center top of the pack
- Berries are an option but ours got pretty mush after carrying in the backpack and bouncing around. You could use dry fruit or small jams too
- If you are meat-inclined, add in some prosciutto! TJ’s also has meat trays
Margaritas
- Lemonade powder (in a baggie)
- Water
- Berries
- Tequila
- Salt/Lime (optional)
Not my realm but I legitimately thought that the water filter bag was filled with pee because it was such a color! Sarah was head of the fun drinks. We mixed the lemonade in a large pot. Definitely taste test it before serving. We had a few berries to spare so we personalized each champagne flute (from the night before, but cleaned out). Since we didn’t pre-mix the tequila, we could also adjust the amounts for everyone to have their perfect drink. If you have extra salt, you can salt the rims. We added little slices of lime to everyone’s drink too!
Day 2 Dinner: Vegetable and Tofu Curry
Recipe: https://www.alpinewanderlust.com/feasting-and-glamping-goldmyer-hot-springs-backpacking/#curry
Largely follow the link above. However this time we used instant one-minute rice. I never actually cooked with minute rice so I boiled it for a few minutes, which seemed to be a good mistake. Since we only had one pot, rice was the first to be cooked.
I then cooked the tofu in a separate pan since room was scare. Definitely more than 30 seconds so our tummies could feel better this night! In the pot, I cooked the rest of the veggies. This time we had:
- 2-3 carrots
- 1 large zucchini
- 1 bag pre-cut broccoli
- 1 pack mushrooms
- Plus a little left over onion and bell pepper from the morning
It was definitely a step down from what I brought previously, but you have to make do when you’re traveling. We still used a whole can of coconut cream, but had to cook the curry in 2 batches.
Changes to the original recipe: I pre-mixed the spices and had a little plastic wrap of salt to season. I skipped the tomato paste and vegetable stock. You can use whatever veggies you prefer though and you can totally pre-chop the veggies. We just didn’t have time or the ability to do so for this trip. Plus bear bin lids turn out to be great cutting boards.
Day 2 Dessert: Berry Crisp
Recipe: https://www.alpinewanderlust.com/feasting-and-glamping-goldmyer-hot-springs-backpacking/#crisp
This is such a favorite! Everyone always raves about this because what can go wrong with cooked berries and a nice crunchy brown-sugar-oatmeal mix? I made the crisp mix at home to bring but used half of the original recipe for our group of 6. I was lazy and also skipped the lemon and sugar for the berries. Fruit have enough sugar anyway!
I cooked the crisp on the pan first then started the berries in the pot. It takes a couple minutes before the berries start to get juicy and a few more minutes for it to cook down. Stir often!
Also highly recommend adding a bit of water to the crisp mixture if you’re lacking some butter because it helps it cook better and more moist instead of just accidentally burning.
Changes to the original recipe: I used fresh berries because they’d keep better than frozen berries but they don’t hold as much liquid. Could be good could be bad. Because they were a little to liquid for me, I added some of the extra flour mixture from the crisp to the berries to thicken it and that worked lovely. I used a mix of raspberry, blackberry and blueberry.
Day 3 Breakfast: Pancakes
This one was easy! We didn’t want to risk backcountry eggs on the third day, so we found egg-free pancake mix that was just add water. It also happened to be protein pancakes, haha. This was all we needed for breakfast:
- Pancake mix (add water only)
- Maple syrup
- Blueberries and other berries
- Butter
With my overestimation of how much food we’d eat, we had plenty of extra blueberries. We made some into a berry compote like the night before, cooking it down with a little flour mixture to thicken. Then the other berries were added to the pancakes for blueberry pancakes. Yum!
Ideally bring a spatula for easy cooking for all the meals but especially for pancakes1
Decorations (curtesy of Sarah)
Sarah was in charge of most of the bachelorette, so I credit this all to her! She got battery-operated string lights that honestly made camp look a bit like a witch-y scene with us gaggling. Plus a little mirror ball that was hung on the most perfect spot notch on a tree branch. She also got us matching heart sunglasses (no UV protection, only cute vibes) that I forgot to photograph. But most importantly the bandanas in honor of Lani’s love for bandanas back in the day. But really, it was just a lot of good vibes provided by the whole group that really made this bachelorette special and so uniquely our friend.
Photos taken on Canon 5D Mark IV and iPhone 13 mini, except where noted