2-day fall itinerary to rocky mountain national park
If you’re tight on time but you want to see the sights, here’s the perfect 2-day itinerary to see Rocky Mountain National Park. Now I typically write more trip reports but this time, this is going to be your go-to guide and (almost) everything you’ll need to know about your trip.
Preface: I had the most lovely opportunity to visit Colorado in the fall to attend some weddings and obviously had to incorporate some classic Colorado activities and fall aspen colors. My first foray into Colorado actually was on a fall weekend several years ago where we had all sorts of weather to warm sun and a snow storm! But this time around, I got to plan out the schedule myself and I had so much fun that I wanted to share it with you too.
The 2-Day Itinerary
Technically I spent a little longer but that was to climb at Lumpy Ridge, so we’ll ignore that day for now. But this is the core of the itinerary:
Day 0
- Fly into Denver
- Drive from Denver
- Get settled and unpack in Estes Park
Day 1
- Wake up early to hike Chasm Lake
- Get lunch at Estes Park
- Take the bus up to Bear Lake and hike to Lake Haiyaha
- Get back in town for dinner
Day 2
- Get breakfast in Estes Park
- Drive the Old Fall River Road
- Get a snack at the Alpine Visitor Center
- Stop along all the pull outs on Trail Ridge Road
- Head back to Denver for you flight out
How to Get to Rocky Mountain National Park
If I had to guess, you’re probably going to fly into Denver to get to Rocky Mountain National Park (RMNP) if you’re reading this blog. Otherwise, that means you’re probably close enough to drive, which is so cool! RMNP actually has 2 main entrances, East through Estes Park and West from Grand Lake/Breckenridge area.
Generally, renting a car is a great idea to maximize your time, though there is a bus service from Denver Union Station to RMNP called Bustang that operates in the summer. Denver International Airport is on the far side of Denver compared to where the mountains are located. But fear not, because it is only 1.5 hours of driving (vs 2+ hrs from Seattle to Mount Rainier National Park).
I highly recommend a more scenic route by driving immediately west of Denver International Airport and get on the Peak to Peak Highway via Boulder Route 119 to Route 72. Driving from Nederland to Estes Park is such a beautiful drive through the aspens if you time it correctly.
If you aren’t coming from Denver, you might consider entering from the West side, which will be less busy. This is great for anyone who is coming from Breckenridge, Grand Junction, or Steamboat Springs. Basically if you’re on a road trip and passing through from the west side. But I still like how Estes Park is situated.
Where to Stay
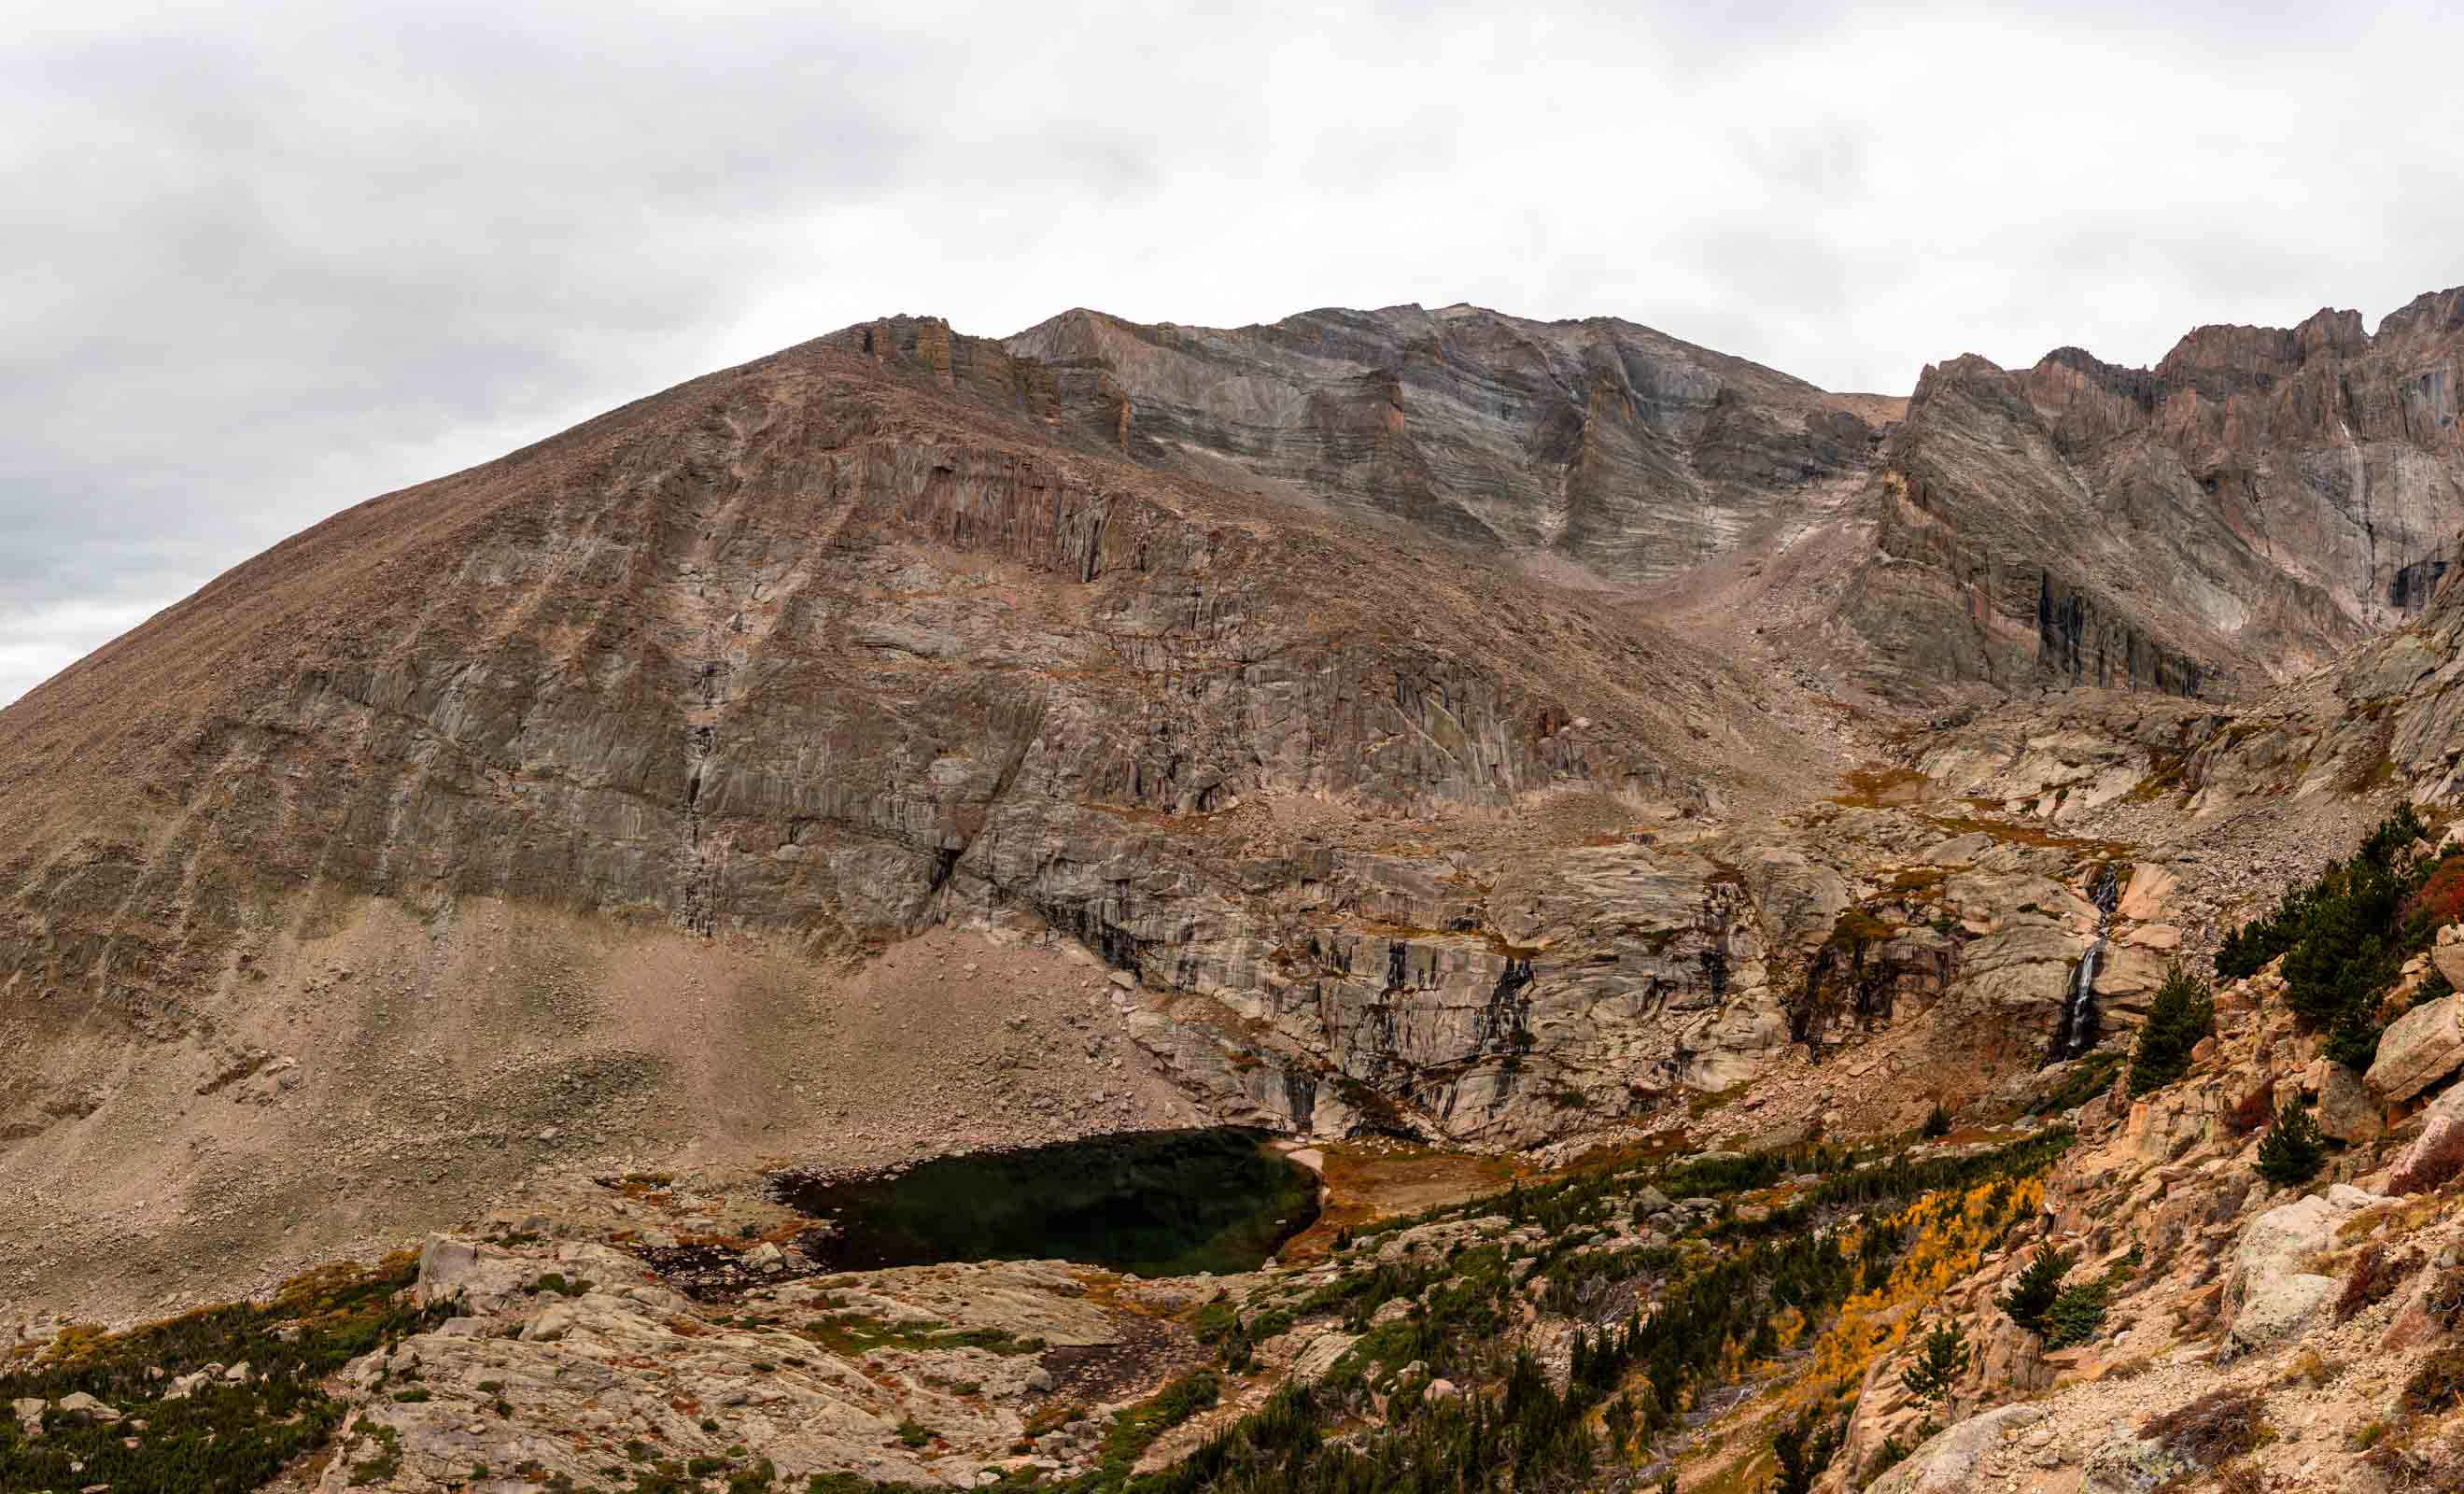
Next step, where to stay! It is a no-brainer to stay at Estes Park, except that it is generally more expensive than further options. But staying close means spending less time driving and being closer to the park entrance and plenty of food options. If Estes Park isn’t in your budget, consider staying by Grand Lake on the west side or Allenspark to the southeast. Otherwise heading all the way out to Lyon is a decent option for staying under budget, but it is definitely more suburban on the outskirts of the Denver metropolitan area.
I found it super helpful staying at higher elevations to get my lungs used to the sparse oxygen and low pressure atmosphere. That’s why Estes Park is a great option sitting at 7500 ft. As a disclaimer, I arrived in Colorado a few days prior and spent time at 9000+ ft during the days which greatly helped me acclimate to RMNP.
Where to Eat
We didn’t try every restaurant but here were some of our favorites:
Breakfast
- Kind Coffee: Great food and drinks, but very popular, budget for extra time to wait for your drink
- Inkwell & Brew: Good coffee, less busy than Kind
Quick Lunch
- River Walk Café
- Slice Brothers Pizza
Dinners
- SOLE Rooftop Cantina & Tequila Bar
- Indian Bites Estes Park
Getting Around
Once you’re in Estes Park, you have some flexibility for how to get around. I still would recommend a car for ease of access but there’s plenty of RMNP shuttles that run from Estes Park into the eastern entrances. If you’re trying to get to Bear Lake, definitely take advantage of the shuttles to avoid a hectic parking situation. You’ll still need passes and reservations (see below), but it is a relief and reduces the high car traffic for such a popular national park. There is a large park and ride at the start of the Bear Lake Shuttle, which runs every 10-15 minutes, so you can skip the Estes Park shuttle if you want since it only drops you off at the interchange.
If you want to get all the way through the park (i.e. Grand Lake to Estes Park), you’ll want a car!
Passes, Permits, and Reservations (oh my!)
This was definitely the hardest part of planning the trip. We didn’t realize till the week before that reservations are required, which added some stress to our trip. But you’re reading this now so you don’t have to make our mistake!
National Park Pass
Like nearly all national parks, Rocky Mountain National Park requires a park pass to enter whether on foot or by vehicle. I love using my annual America the Beautiful national park pass ($80) that is good for all national-related public lands. So it works for National Forests, all National Parks, and even ones you might not think about like National Monuments. It also gets your full car of people in at one time.
If this is the only national park you’ll visit in a year, then I would recommend just getting the 1-7 day RMNP pass for $35. It is good for 7 consecutive days. It is helpful to obtain your pass before you visit, otherwise you can pay at the entrance booth. Here is a link to get the RMNP Pass
Timed Entry Reservations
These are often called permits or reservations interchangeably. In recent years, RMNP has implemented a timed-entry system to limit the number of people entering at a given time and allow more flow. I feel like it has been great to reduce the crowdedness. It is required mid May to mid October and the rules can change, so always stay up-to-date on the RMNP Timed Entry Website
The basics are this: there are 2 types of timed entry. One allows for access to everywhere and one excludes access to Bear Lake Road (the most popular area). So if you don’t care about Bear Lake Road, then just go for the normal timed entry reservation, which is probably also easier to obtain. But if you do want to go to Bear Lake Road, then you must absolutely get a “Timed Entry + Bear Lake Road” reservation.
Let’s dig in a bit
Timed Entry + Bear Lake Road
Essentially if you want to go to Bear Lake Road (which I recommend you do), you must get the “plus” reservation for access during 5 am – 6 pm. If you want to go in before 5 am or after 6 pm, you do not need a reservation. However, in the fall, that is quite prohibitive when the sun isn’t even up at those hours!
Timed Entry
For everywhere else at RMNP, reservations are only required 9 am – 2 pm. Honestly I think that if you aren’t trying to get to Bear Lake Road, you can easily visit the park without reservations by heading in before 9 am or after 2 pm. And don’t forget to put up your park pass at the trailhead. Some parking lots don’t pass through an entrance booth. Instead, there are rangers who check for your pass/reservation.
How the reservations work
Once you’ve gotten a reservation, if you’ve entered the park with your reservation, you’re free to go back for a re-entry at any point except for Bear Lake Road which is specific times for 5 am – 2 pm. As in you can re-enter Bear Lake Road after 2 pm. Don’t worry, it really isn’t that confusing if you just get the timed entry you want!
In general the first lot of reservations open 1 month before the the month you want to visit. So June 1 opens up July 1 – 31 dates.
But if you missed the first batch (like we did), don’t fret because there is a second batch. They release about a hundred openings per time slot at 7 pm MDT the night before the day you want. We were all glued to our phones at 7 pm when we wanted our Bear Lake Road time slot. If you get in within about 2-3 minutes, ideally exactly, you will likely get a reservation. At least, in the fall when it is a bit less busy.
RMNP Permits
Unless you are camping overnight or have a special event or situation, you won’t need any additional permits here.
Weather
Colorado weather is a whole another beast. It is so unlike PNW weather. You’re almost guaranteed a thunderstorm every afternoon. But will it be directly above you? That is the biggest question. We somehow narrowly avoided rain every day despite seeing rain clouds a couple miles away. The weather system tends to blow in from the west and is extremely location dependent. Like your favorite weather forecast will not be that helpful. We definitely braved that potential rain on day 1, but it worked out for us!
In terms of temperature, it was always mild and chilly in the evenings in late September. When the sun was out, it would be quite warm. I would recommend end of September to early October for maximum fall (re: aspen) foliage. We only saw the beginning of the trees turning color.
Day 1: Hiking in RMNP
Alrighty, finally into the good stuff! Sorry to make you scroll and wait, but I though the info was important before you got to this.
Chasm Lake
No timed-entry permit needed if you arrive before 9 am.
8.5 miles . 2500 ft gain . 11,760 ft high (3.5 hrs for fit hikers, budget up to 6 hours)
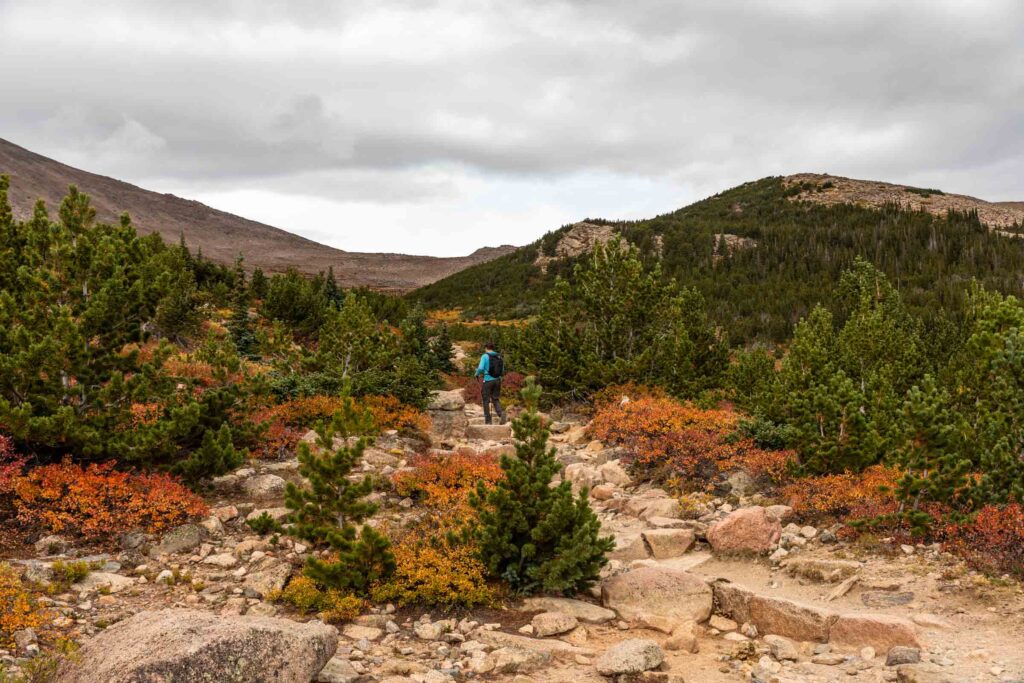
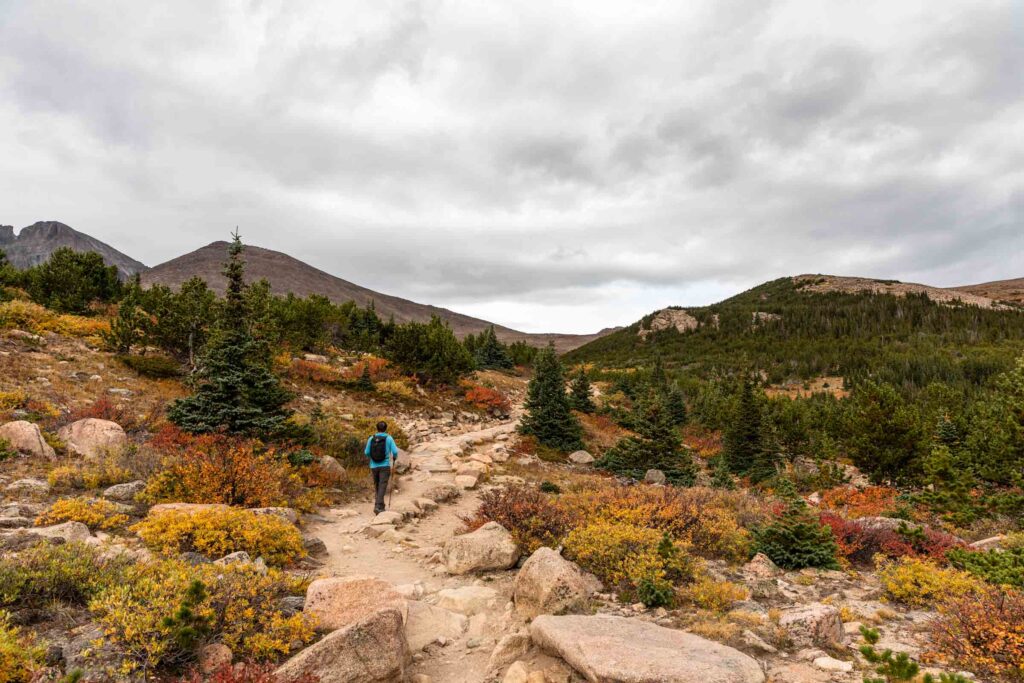
Truly not for the faint of heart since the trail nearly reaches 12000 ft. Typically without acclimation, I would have trouble breathing from the start. But having spent a few nights at higher altitude, this felt much more attainable than I believed. Going 8.5 miles and 2500 ft uphill in Washington might not be difficult, but at elevation in Colorado, it is a whole another beast.
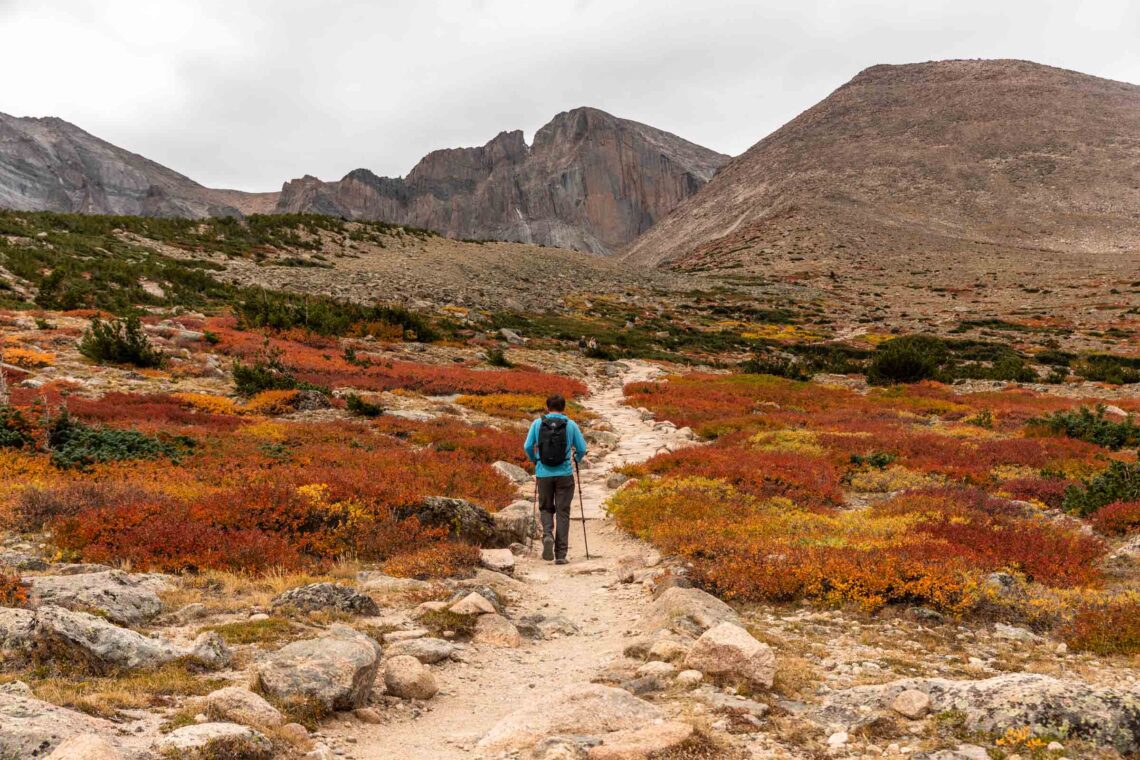
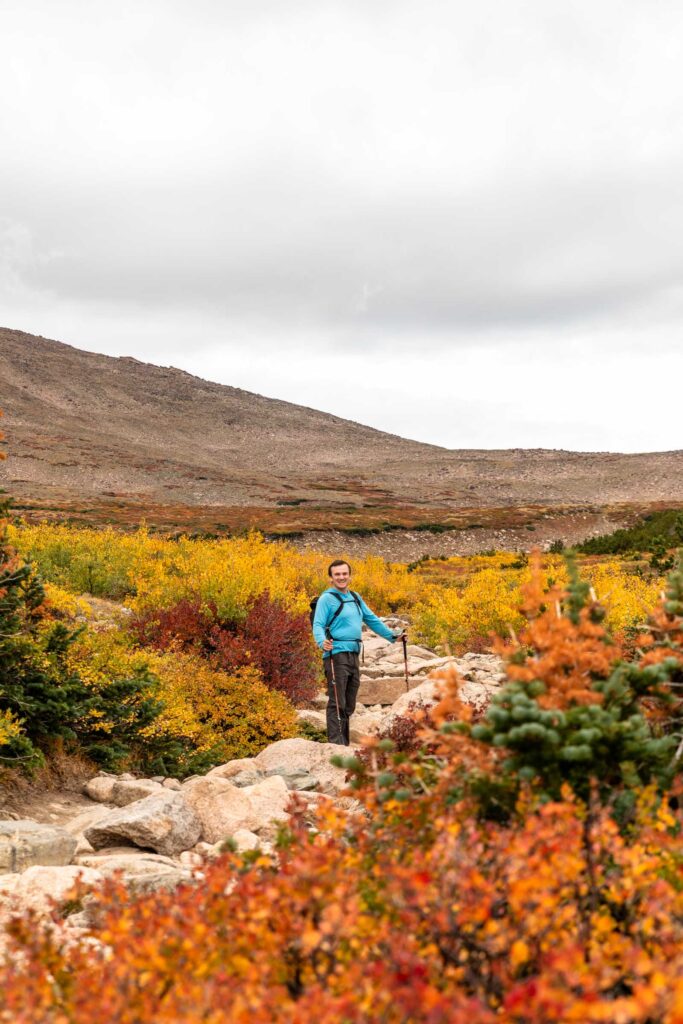
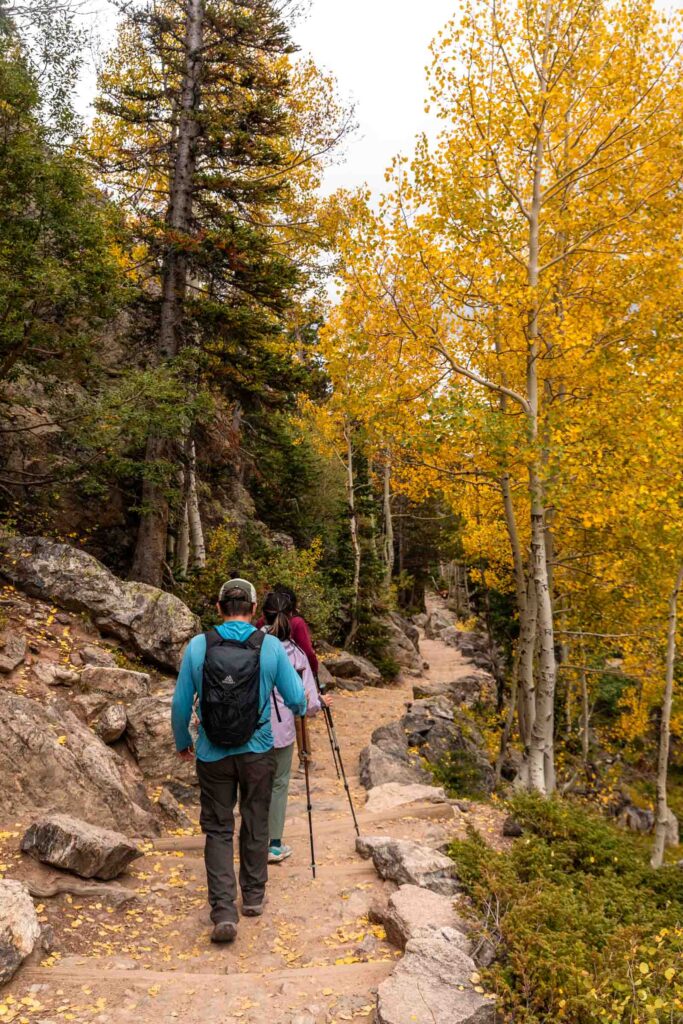
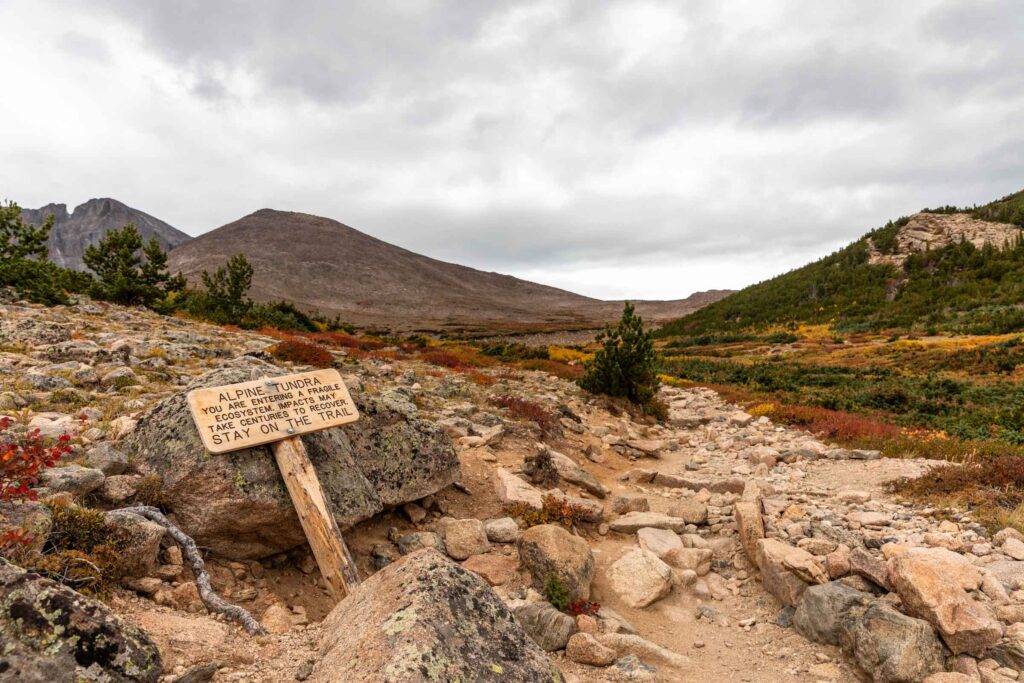
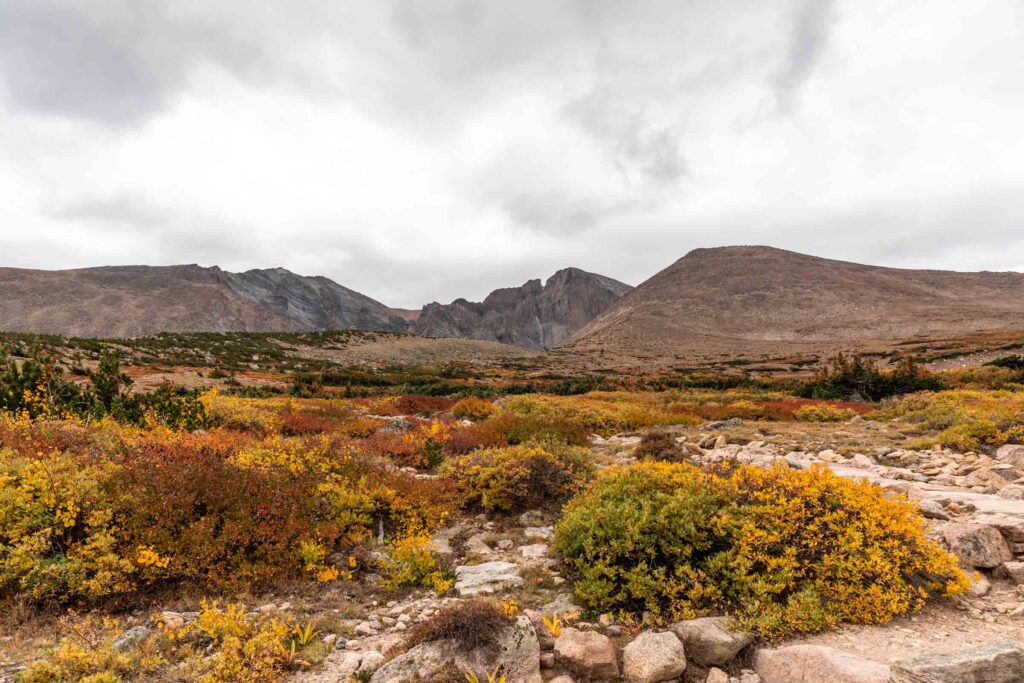
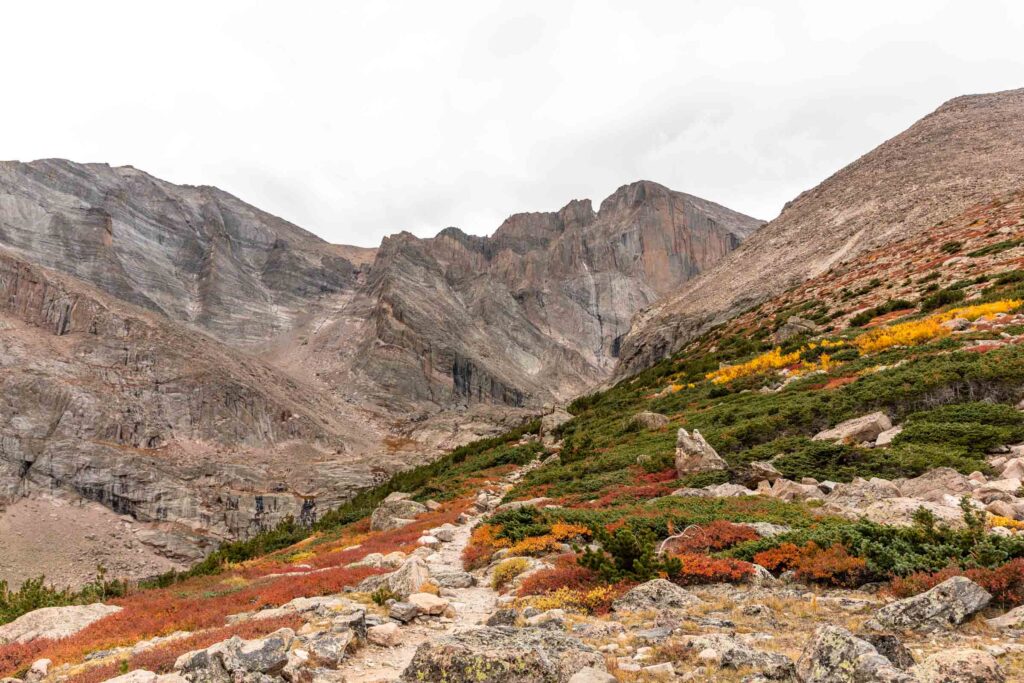
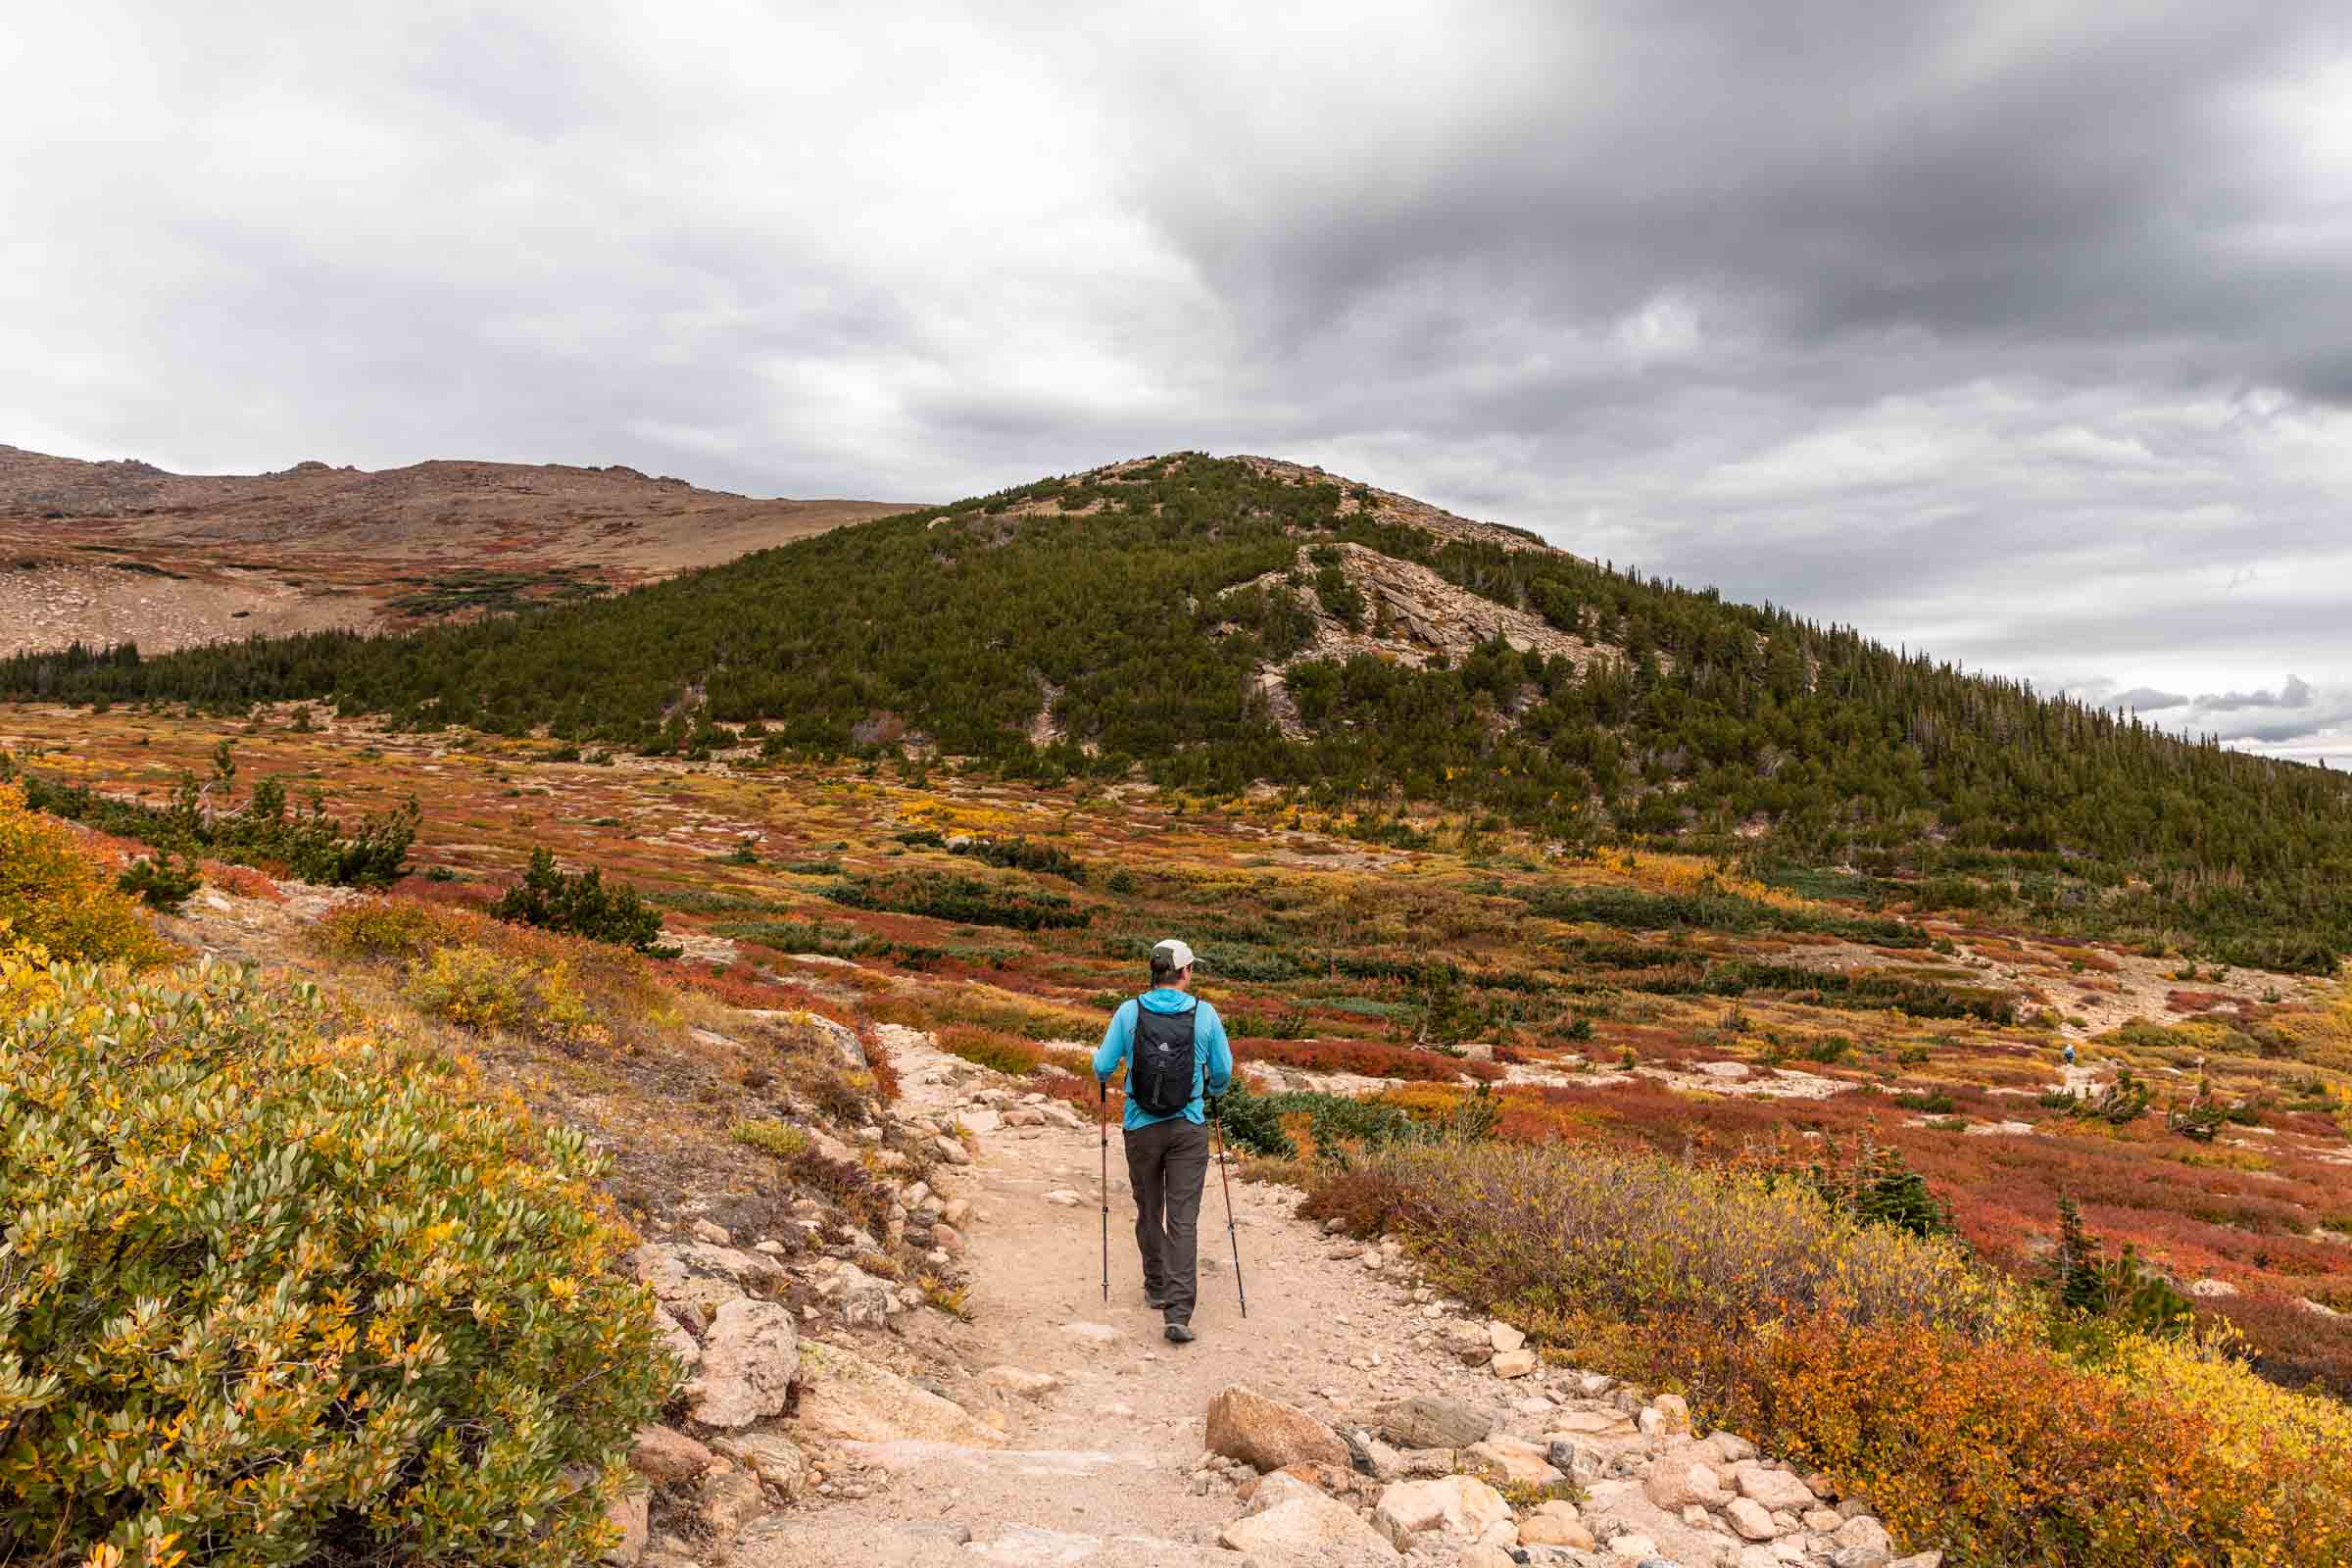
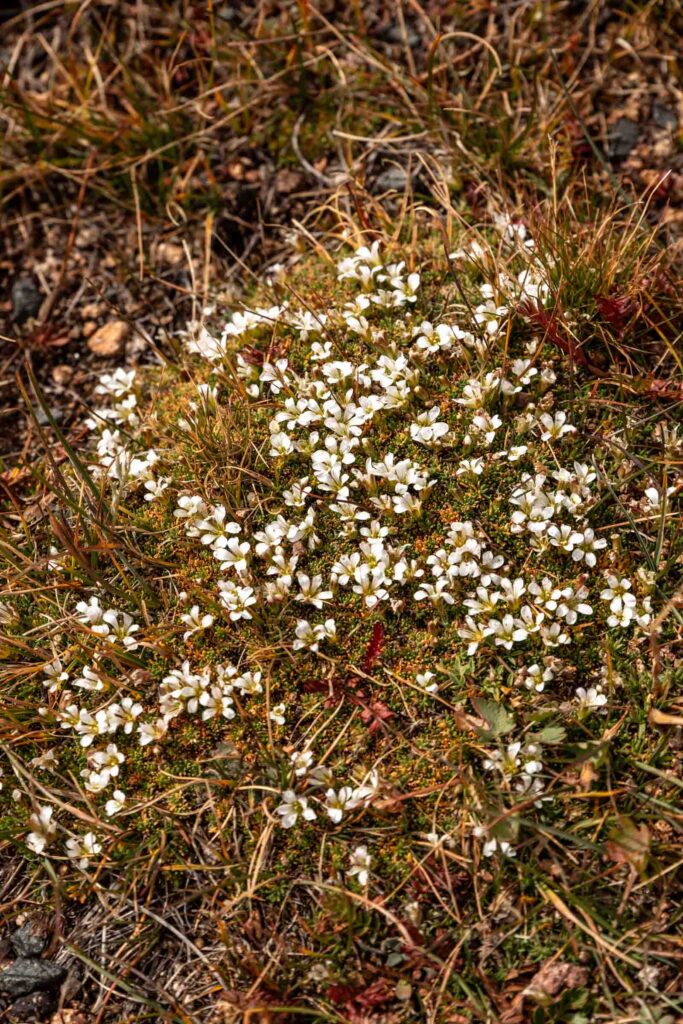
The trail meanders through the woods, providing shade before opening up to the fragile alpine meadows about half way. We hardly saw anyone in the forest and then all of a sudden, more people once it was open. And my goodness was it colorful! We could see Longs Peak from here. It’s the only 14er in RMNP. Though we briefly discussed hiking Longs Peak, I’m glad we didn’t so we could have a more relaxed trip and not push ourselves too much. We had no idea how our bodies would react to the altitude after having the worst time with altitude on a ski touring hut trip a couple years ago.
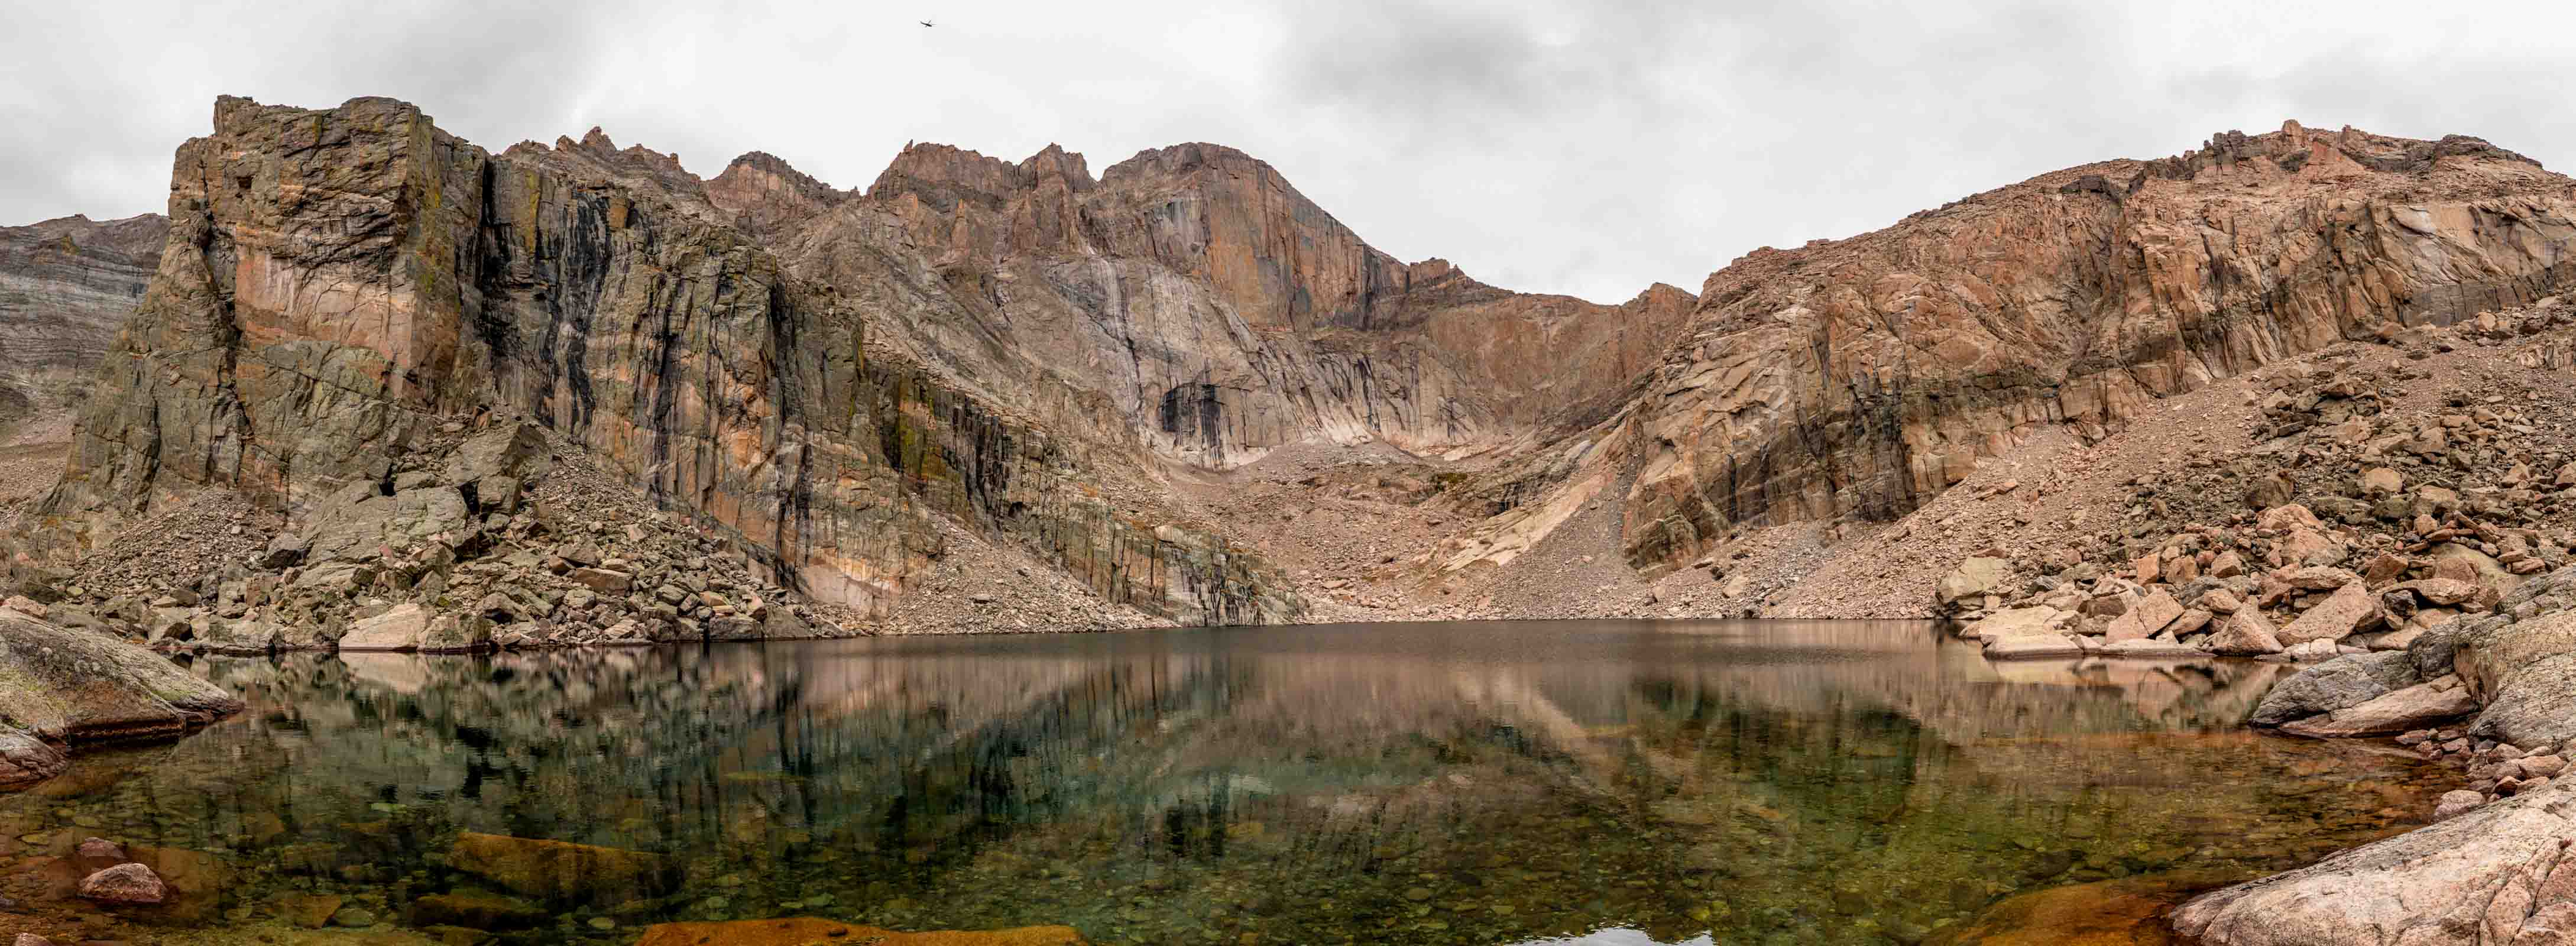
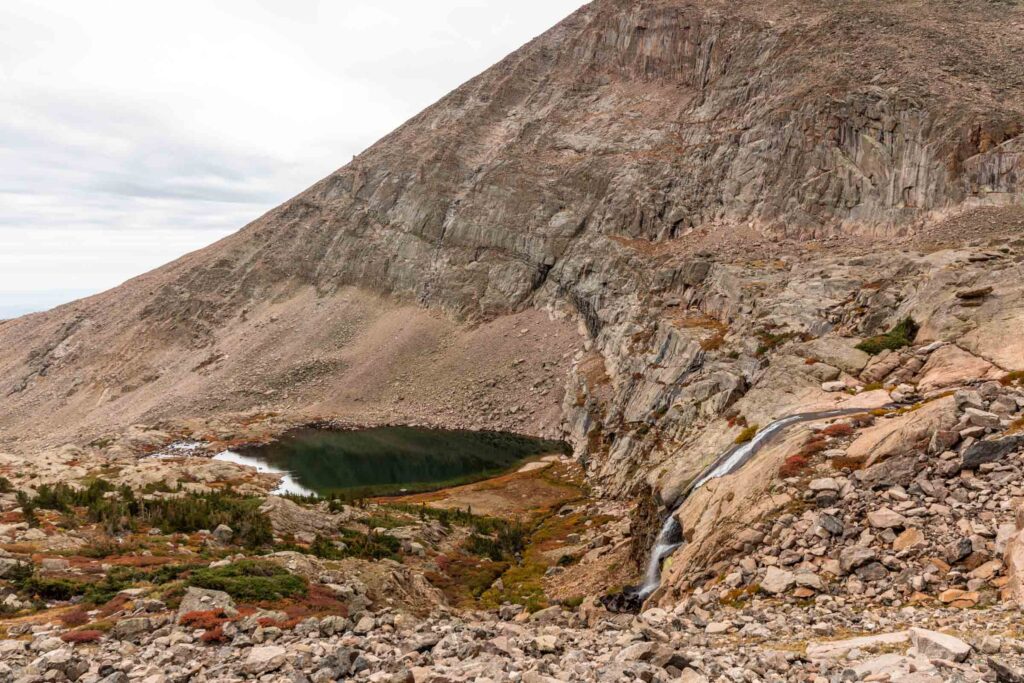
At the intersection between Chasm Lake and the Longs Peak trail (which can also get you back to Bear Lake Road the long way), we found a lovely outhouse built of rock. I’m always intrigued by how toilet structures are built in different parks. We kept pushing onwards to the lake where we saw more color and just the water flow and granite was so beautiful! I had always imagined the Rockies to be a bit barren and dull, but there is a beauty in the rocks.
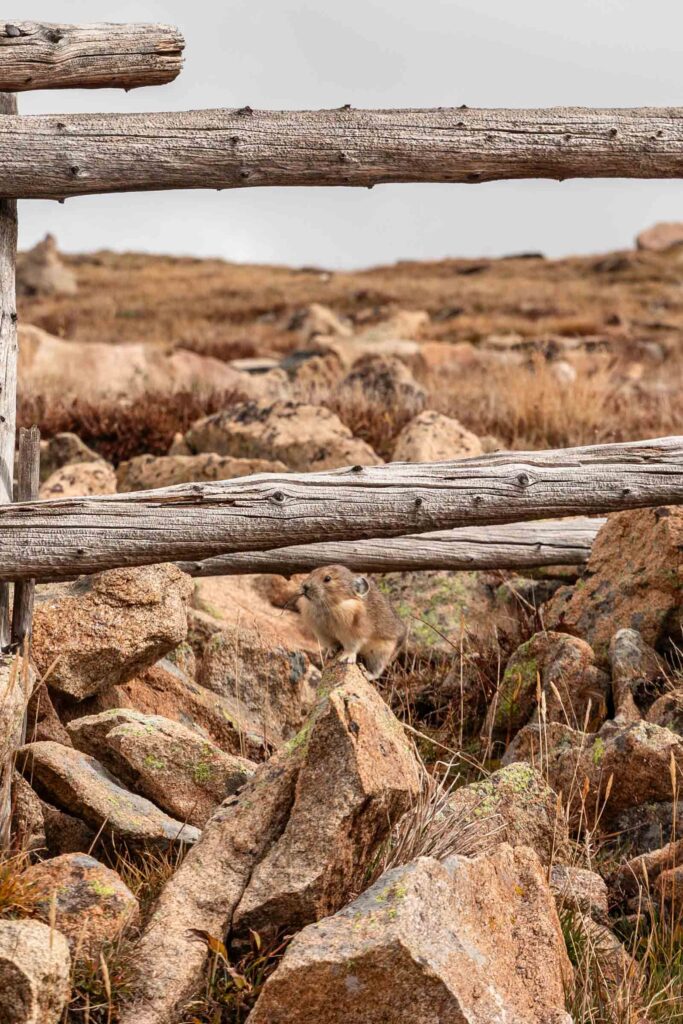
The pika here are vicious. We took a snack break at the lake and a pika would not leave us along. The plus side is that it gave me several chances to photograph it. Always remember: don’t feed the wildlife!
We soon returned back to the trailhead (with aspens!) to meet up with some friends for lunch at Estes Park before a group hike in the core zone of RMNP.
Lake Haiyaha
Time-Entry + Bear Lake Road reservation required 5 am – 6 pm
4 mile . 800 ft gain . 10,200 ft high (1.5 hrs for fit hikers, budget up to 4 hrs)
Having already been to Emerald Lake on my last visit to RMNP, I really wanted to see Lake Haiyaha if Sky Pond was out of reach. With a late start, we determined a 9 mile hike would be too far and pushing it too much with the potential thunderstorm.
We first drop cars off at the park and ride (we used our timed entry to enter after 2 pm) and then took the shuttle bus to the end of the road at Bear Lake Trailhead. There’s good bathrooms here, compared to the stinky ones at the park and ride.
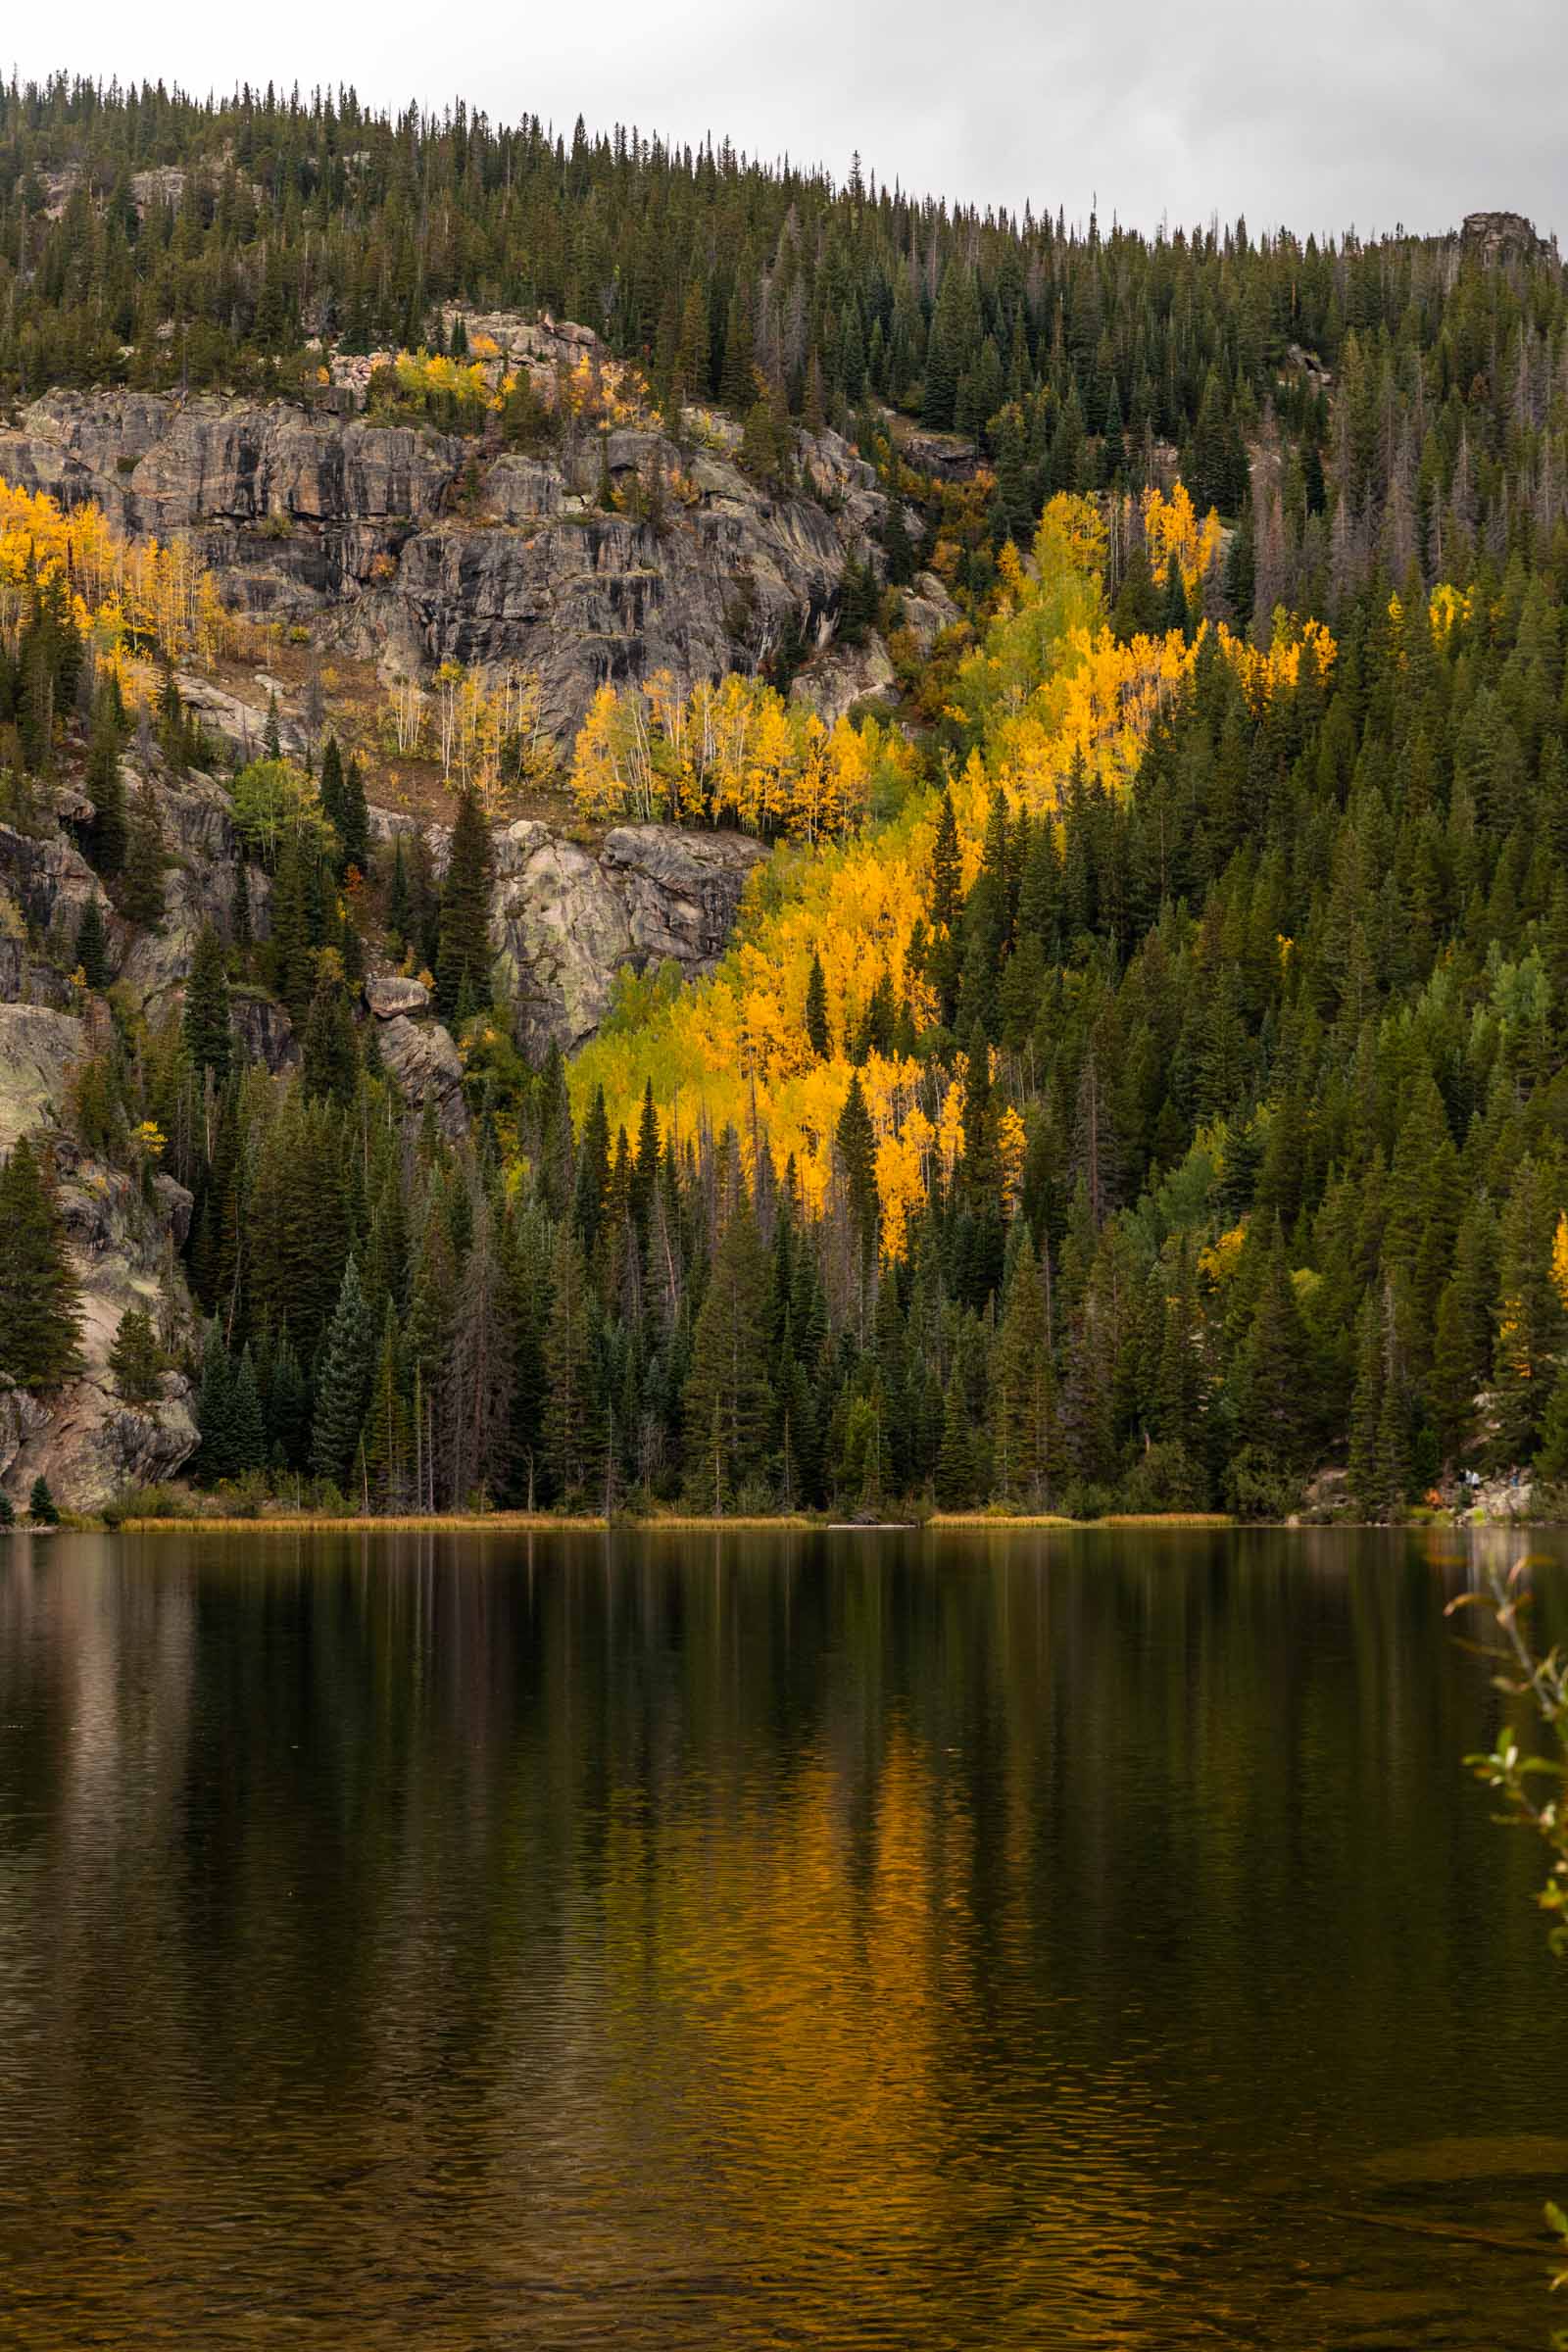
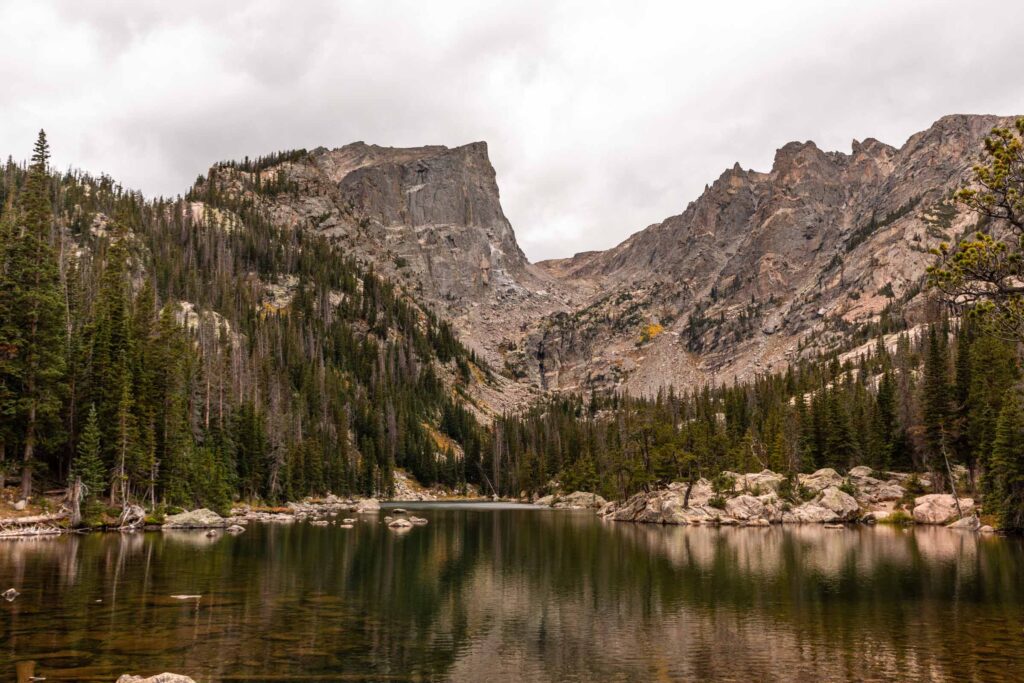
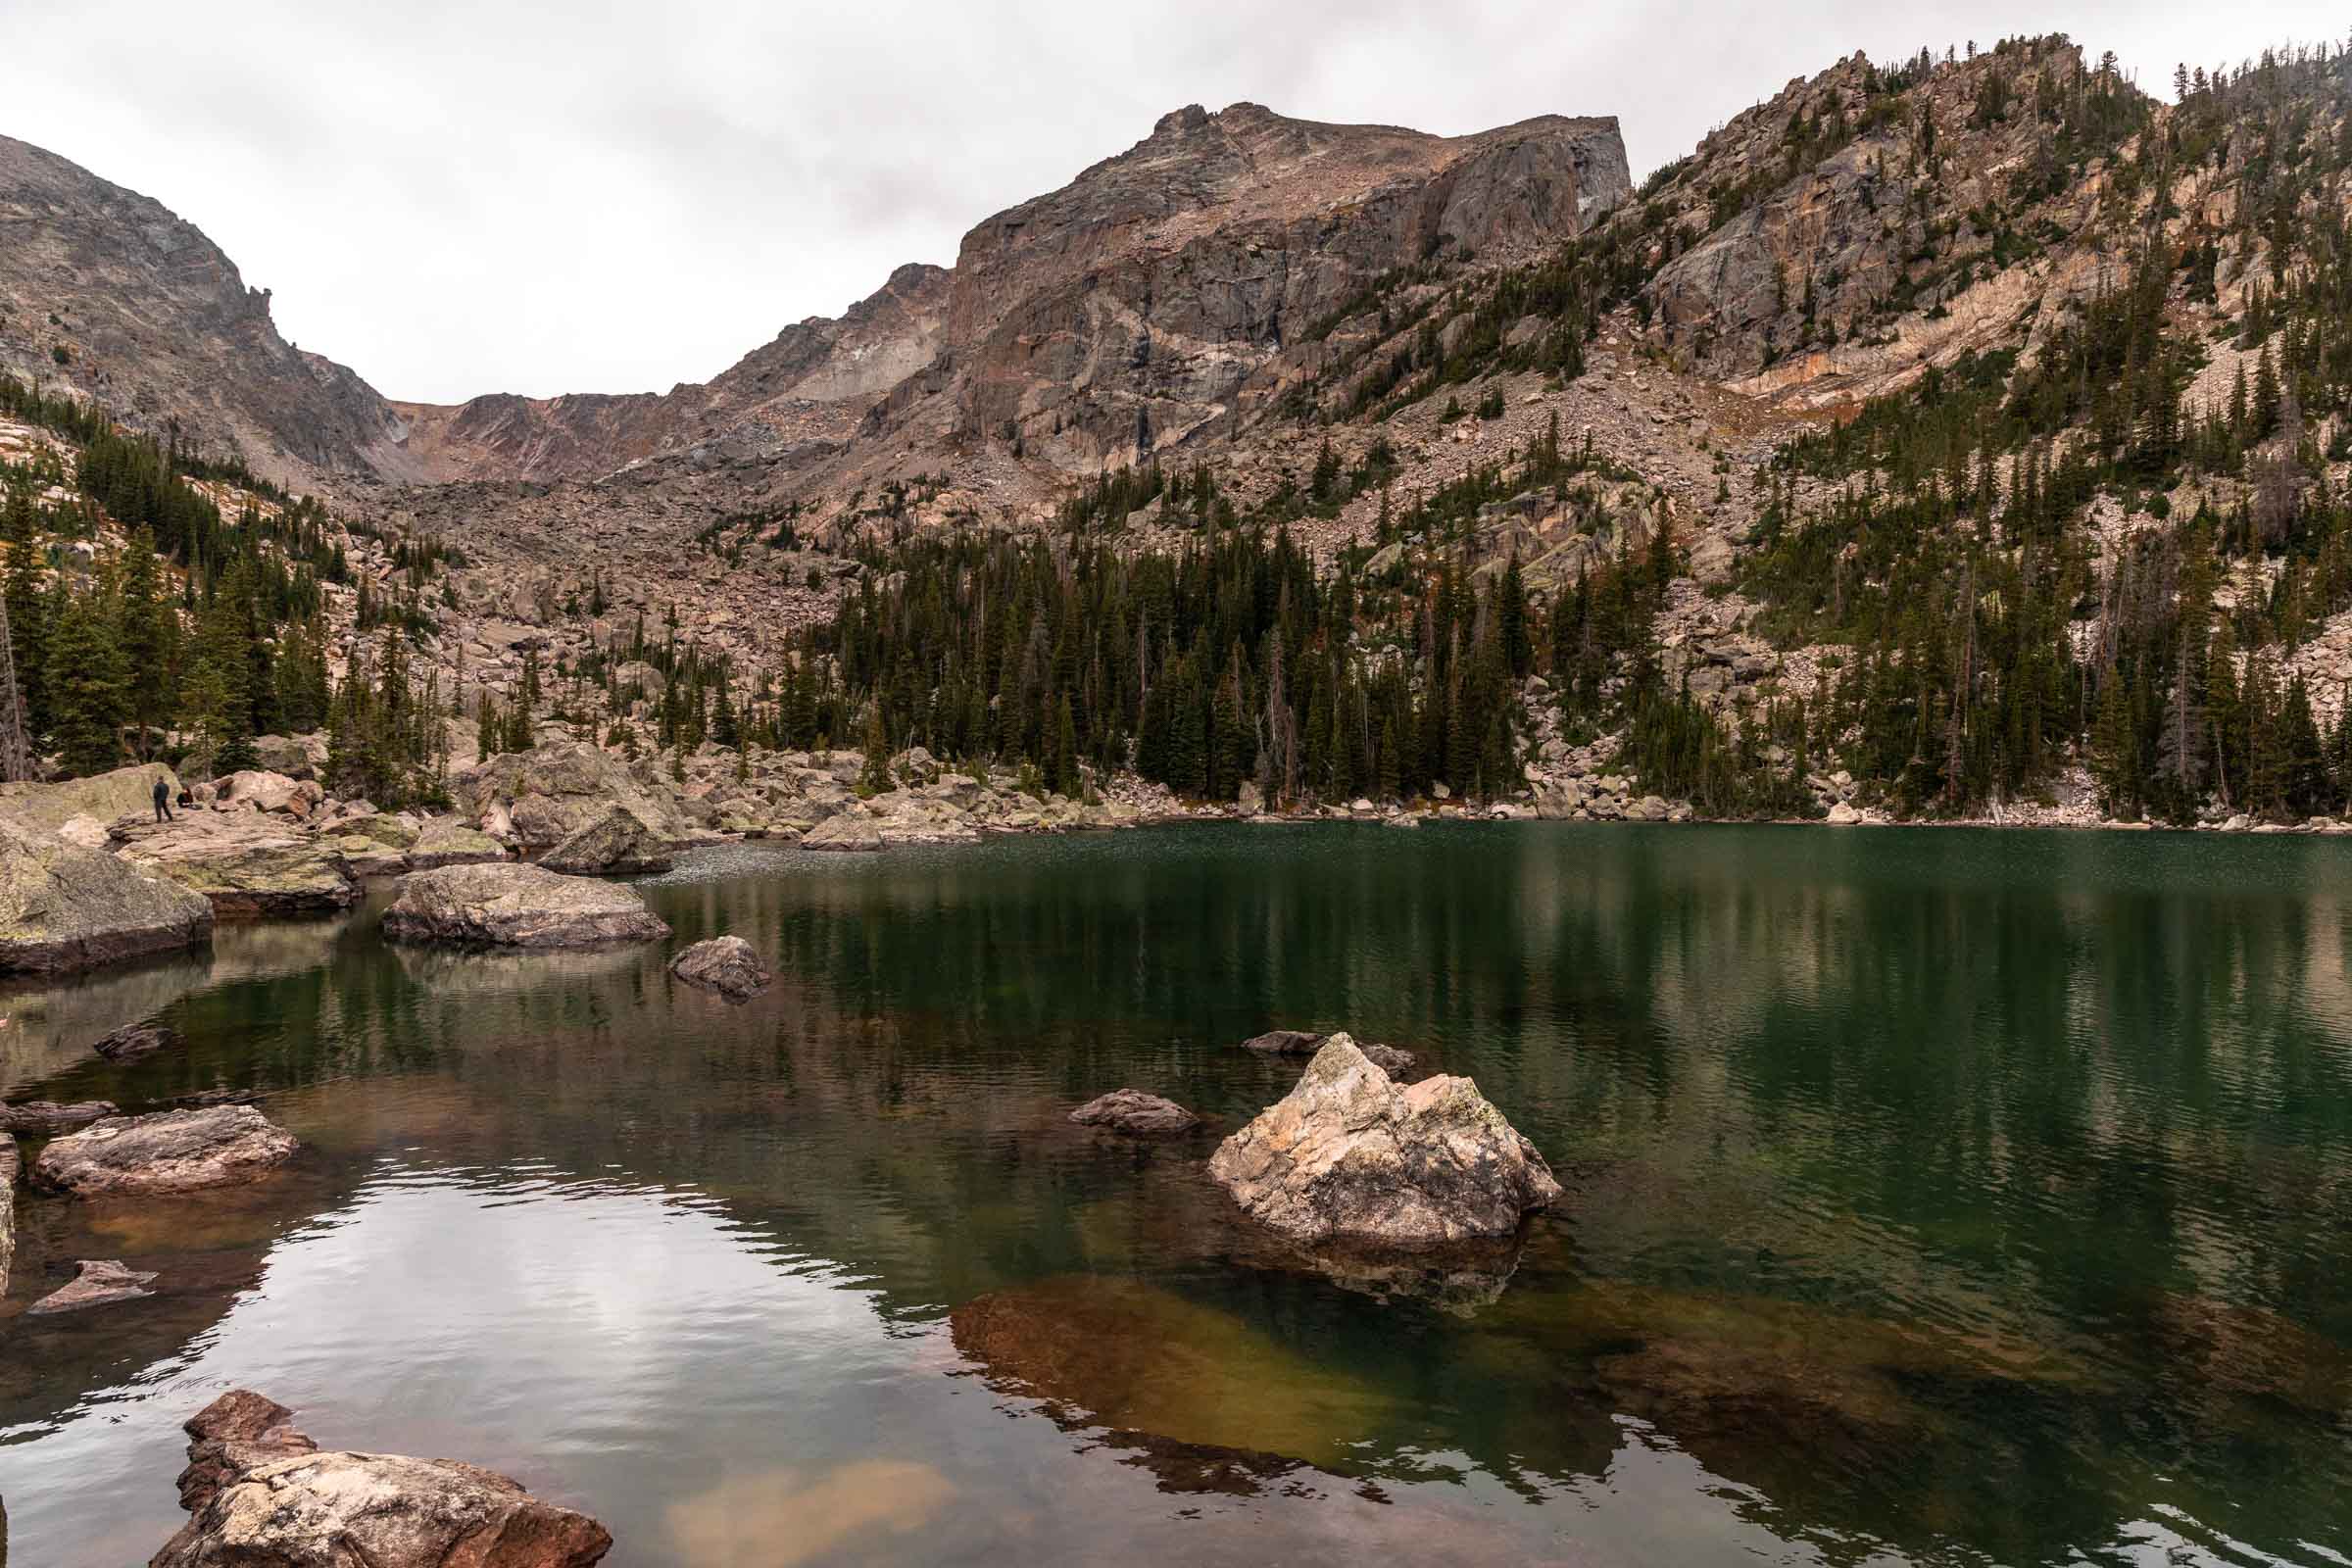
As a group, we walked to Bear Lake and admired some aspens. Then we headed up to Nymph Lake where half of us broke off to return and the rest continued forth. At Dream Lake, we determined we didn’t need to see Emerald Lake since the view would be slightly similar, so we pushed forward to Lake Haiyaha. It was so fun having an emptier trail and a bit anxiety-inducing when we were pushing the limits of the imminent thunderstorm. Not to worry, we made it back in time for the shuttle and the thunderstorm totally missed us.
The hardest part of visiting Colorado and RMNP is honestly being flexible with your afternoons in case of thunderstorms.
Day 2: Sight-seeing in RMNP
3-4 leisurely hours
We took it easy on our last day, but you could easily swap things to do if something works better. The coolest thing about National Parks is how accessible it can be. No walking for views? Okay! We got breakfast in town before we scurried our way over to the entrance booth, narrowly sliding in before 9 am. We didn’t want to deal with the timed-entry reservations and took the early morning wake up instead.
While we entered the Bear Lake Road via the Beaver Meadows Entrance Station, we went through the Fall River Entrance Station for Day 2. I think that added some slight stress when we didn’t realize the other entrance was a further drive from Estes Park but shorter drive to the Old Fall River Road.
Old Fall River Road
This was the original road through RMNP back in the day. It is still very well maintained but it is also still a gravel/dirt road and can get narrow in parts. But the plus side is that it is one-way only so you don’t have to worry about people coming down. I can’t believe it used to be two way!
There are not that many stops along this road but there sure are great views on this joy ride. Take it slow and soak it in.
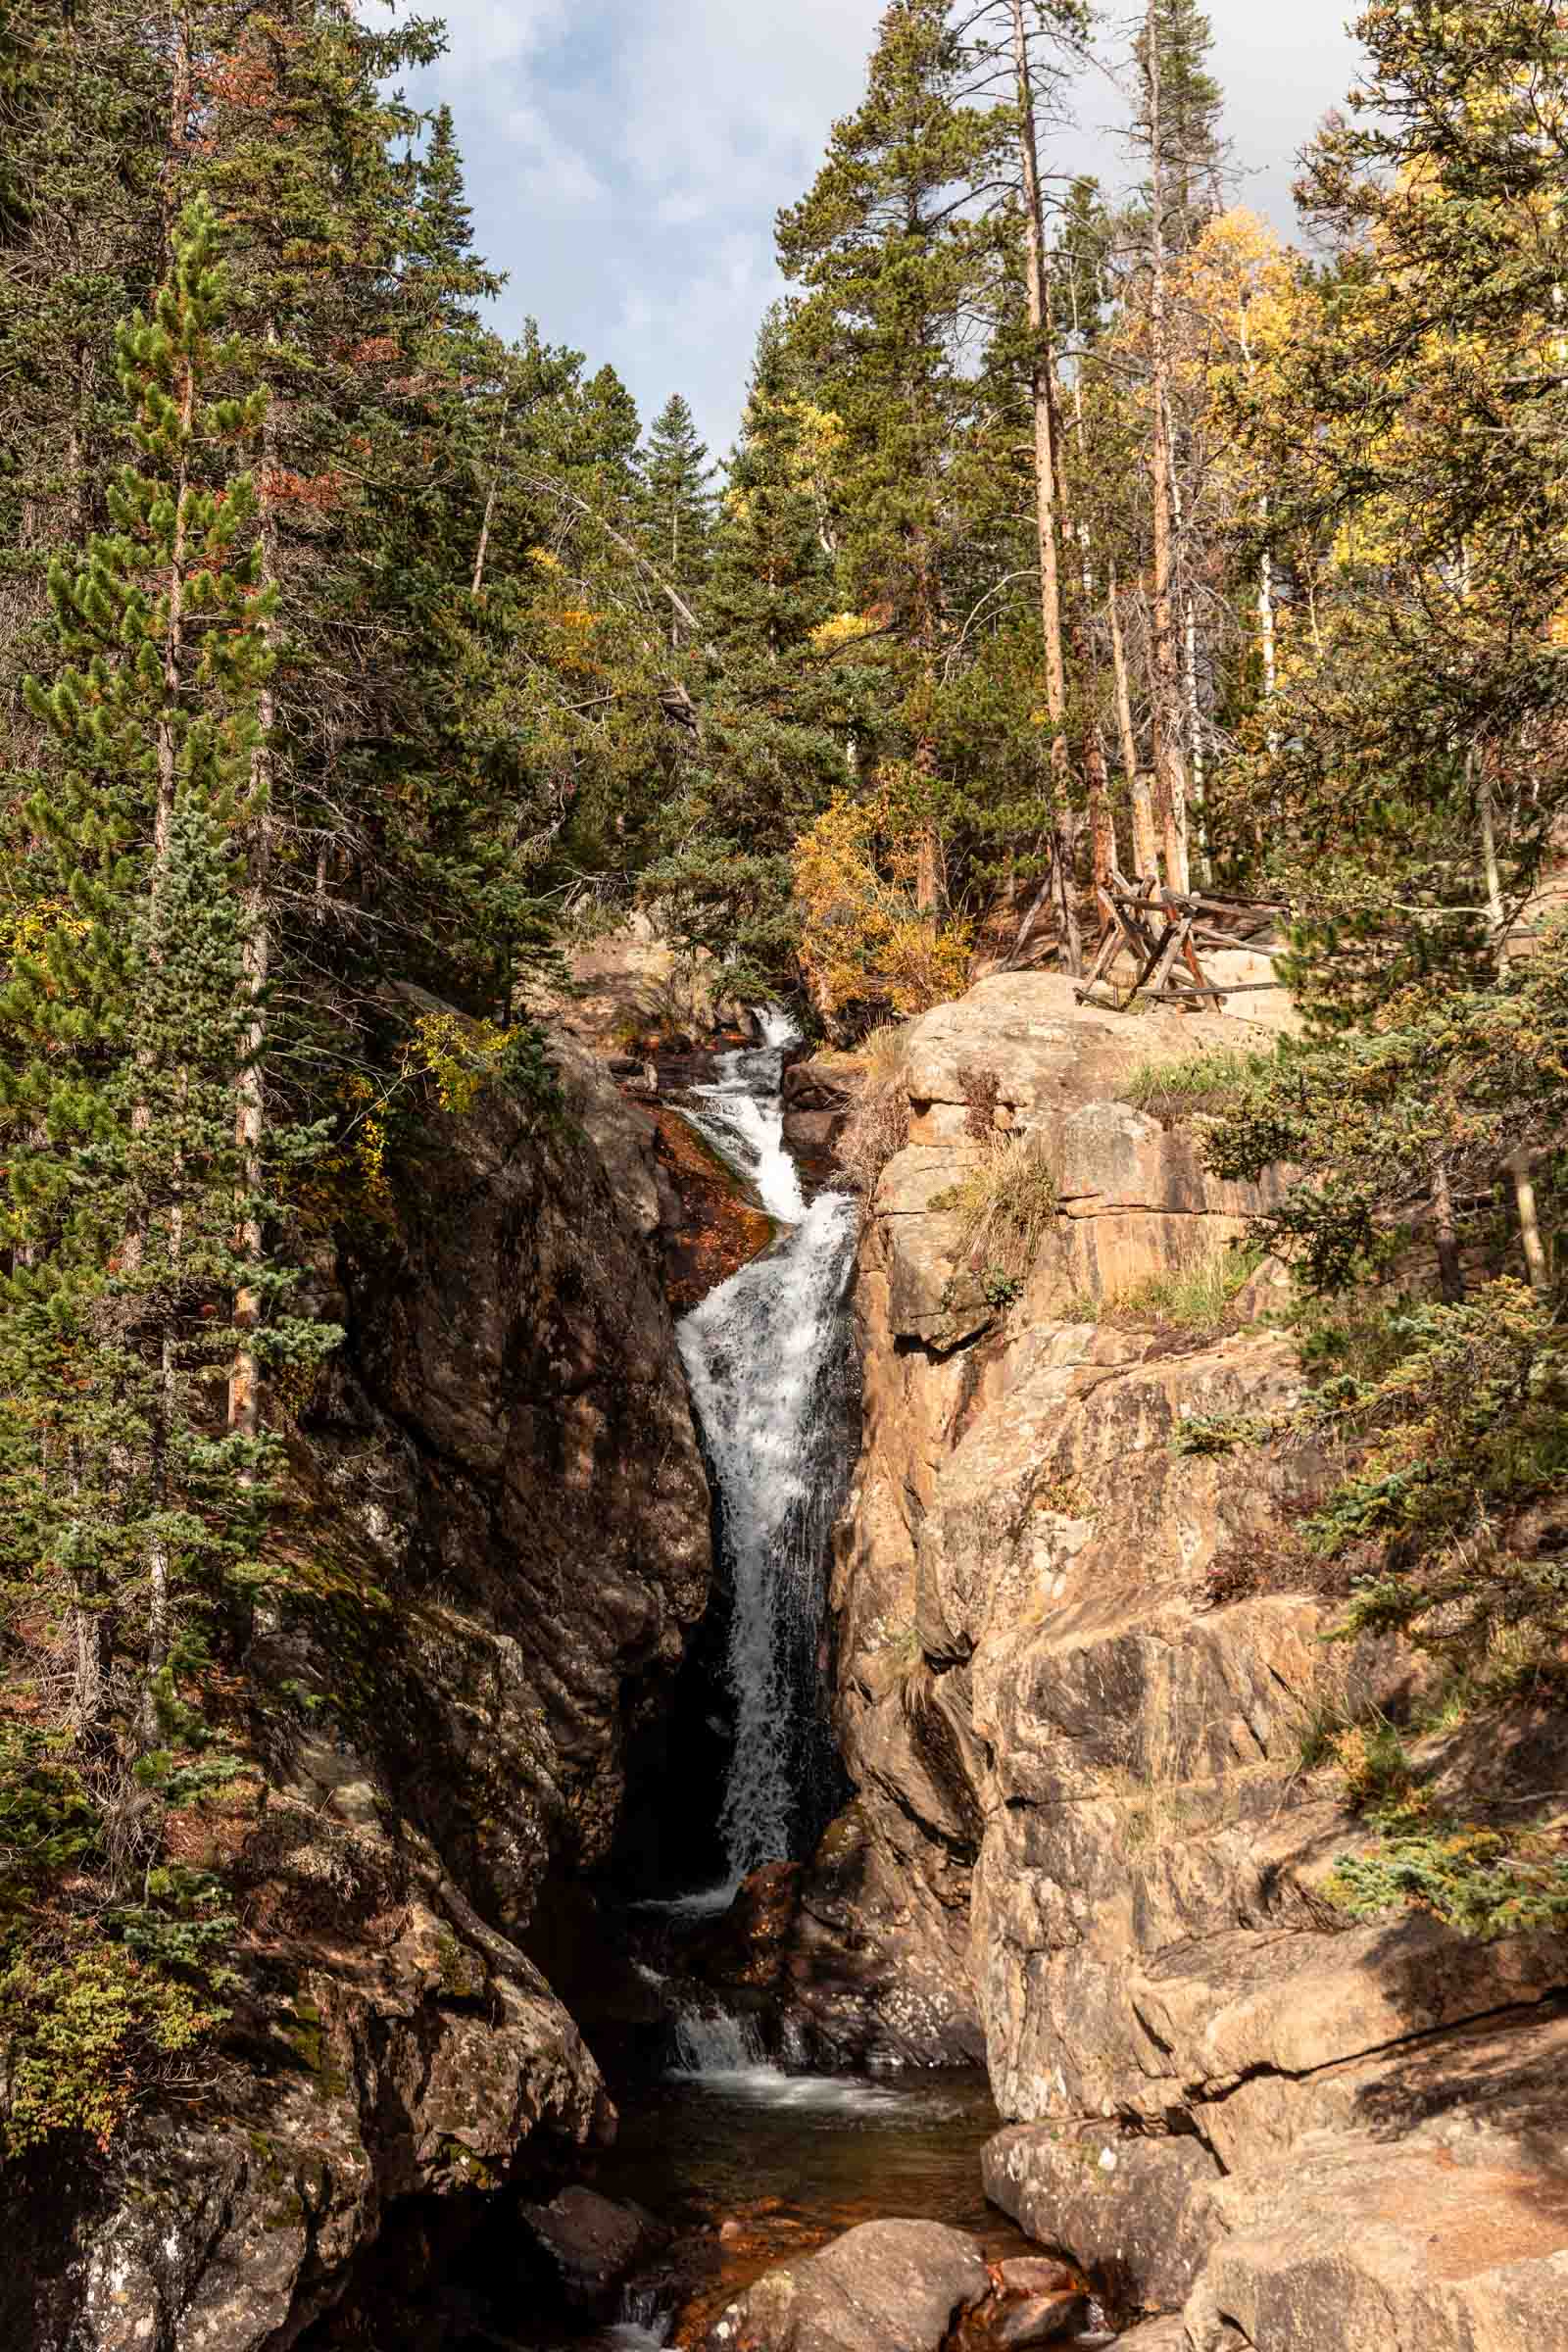
We enjoyed stopping at Chasm Falls but didn’t find Chapin Pass to be as inspiring unless you hike a few miles out. You can totally just skip over and go straight to the Alpine Visitor Center. It’s quite busy and has a giant gift shop if that’s your thing. There’s also hot food if you’re in need of a pick-me-up after the cold rush of alpine air.
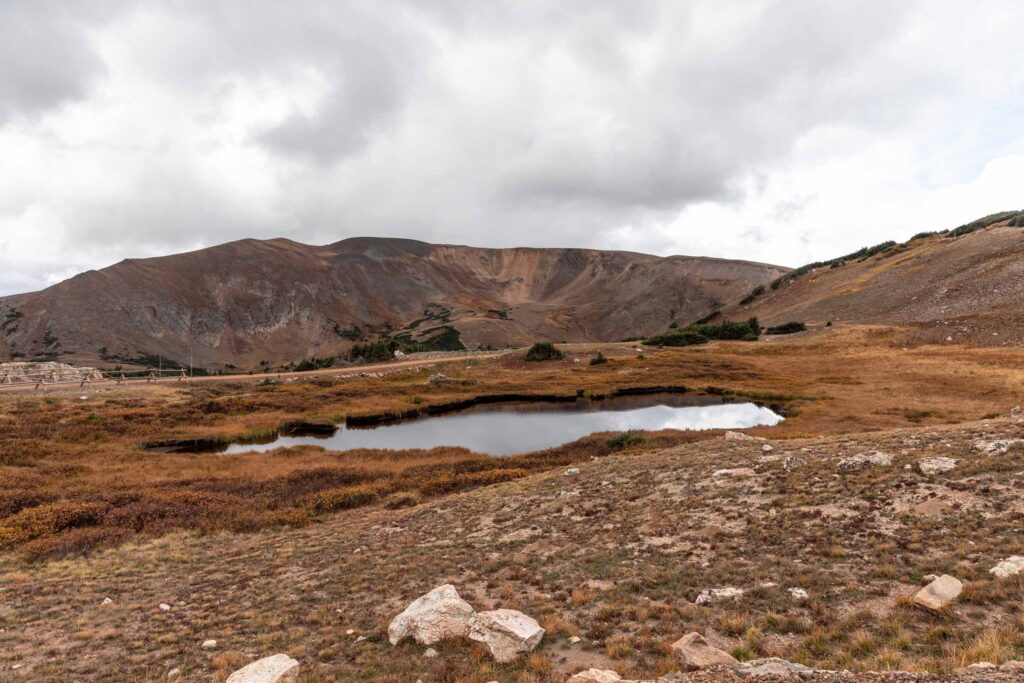
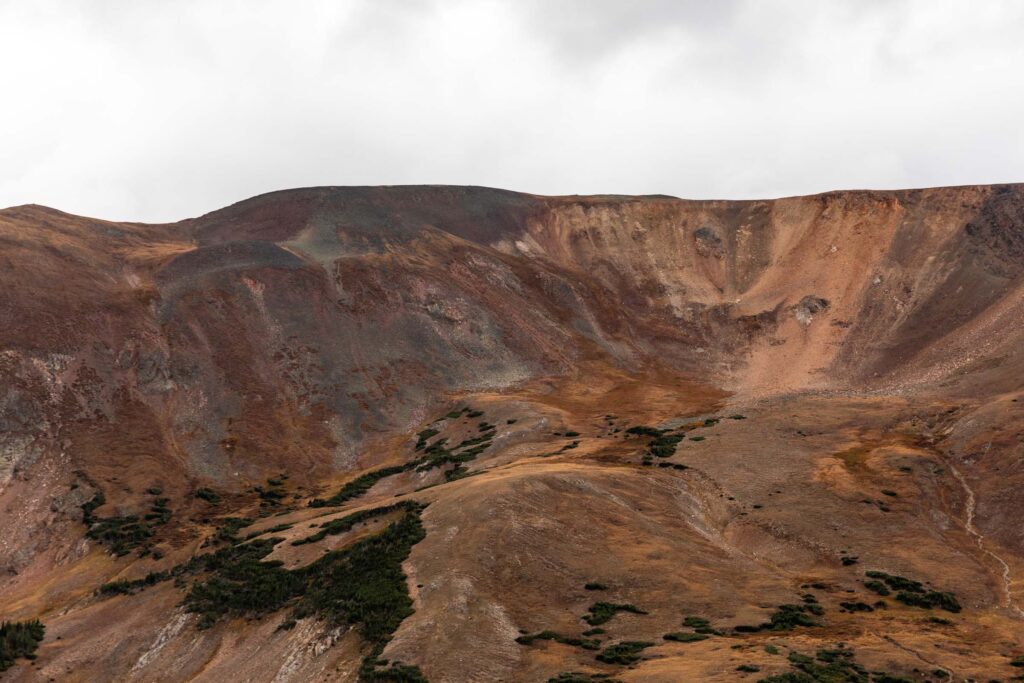
We walked up the Alpine Ridge Trail just to get over 12000 ft for a photo, but honestly the views are pretty cool up here too. It was extremely busy in the whole alpine zone here (anywhere above the trees). Double puffy jacket was necessary for me!
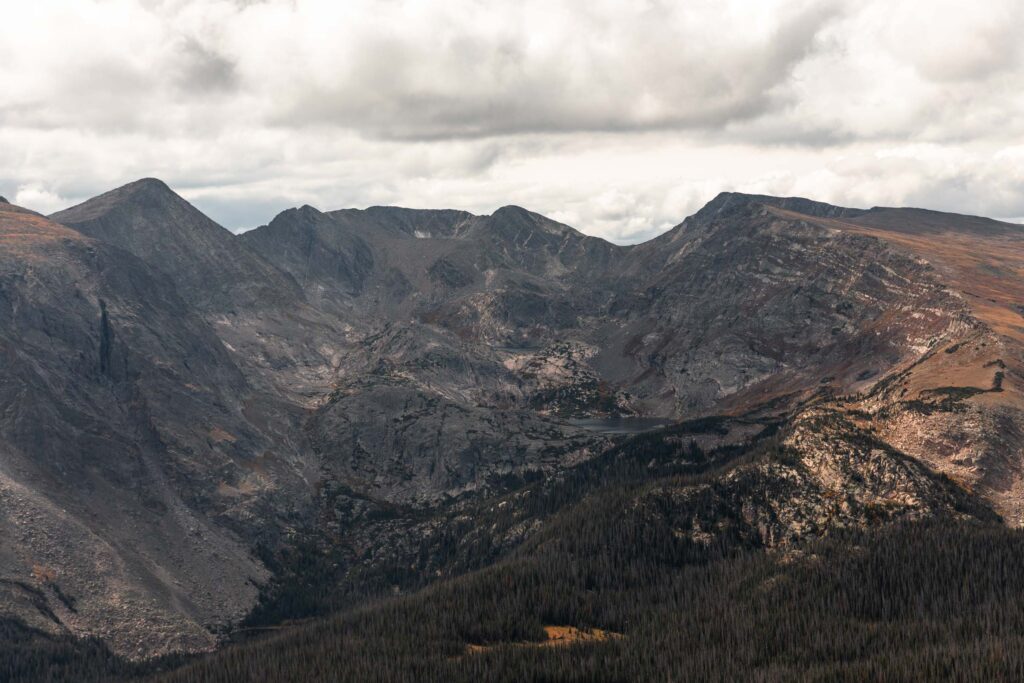
Trail Ridge Road
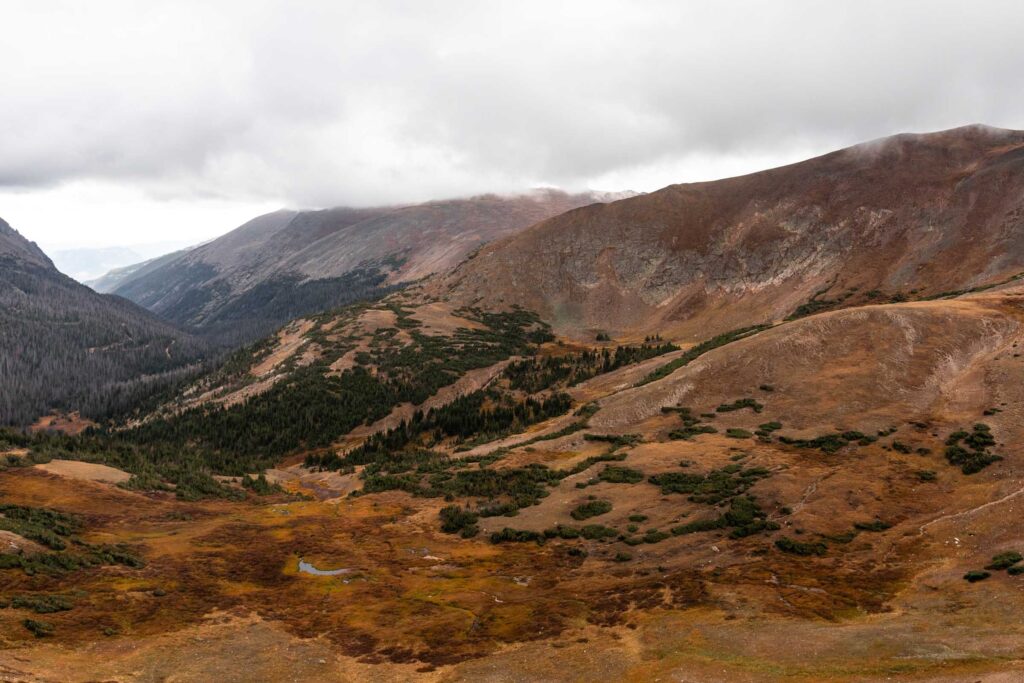
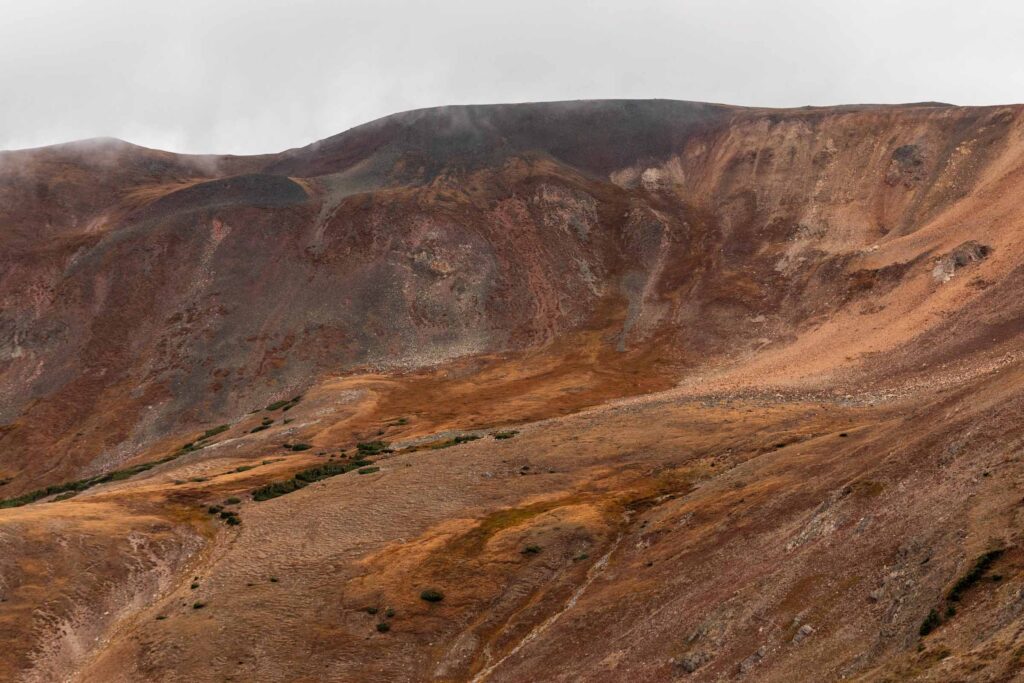
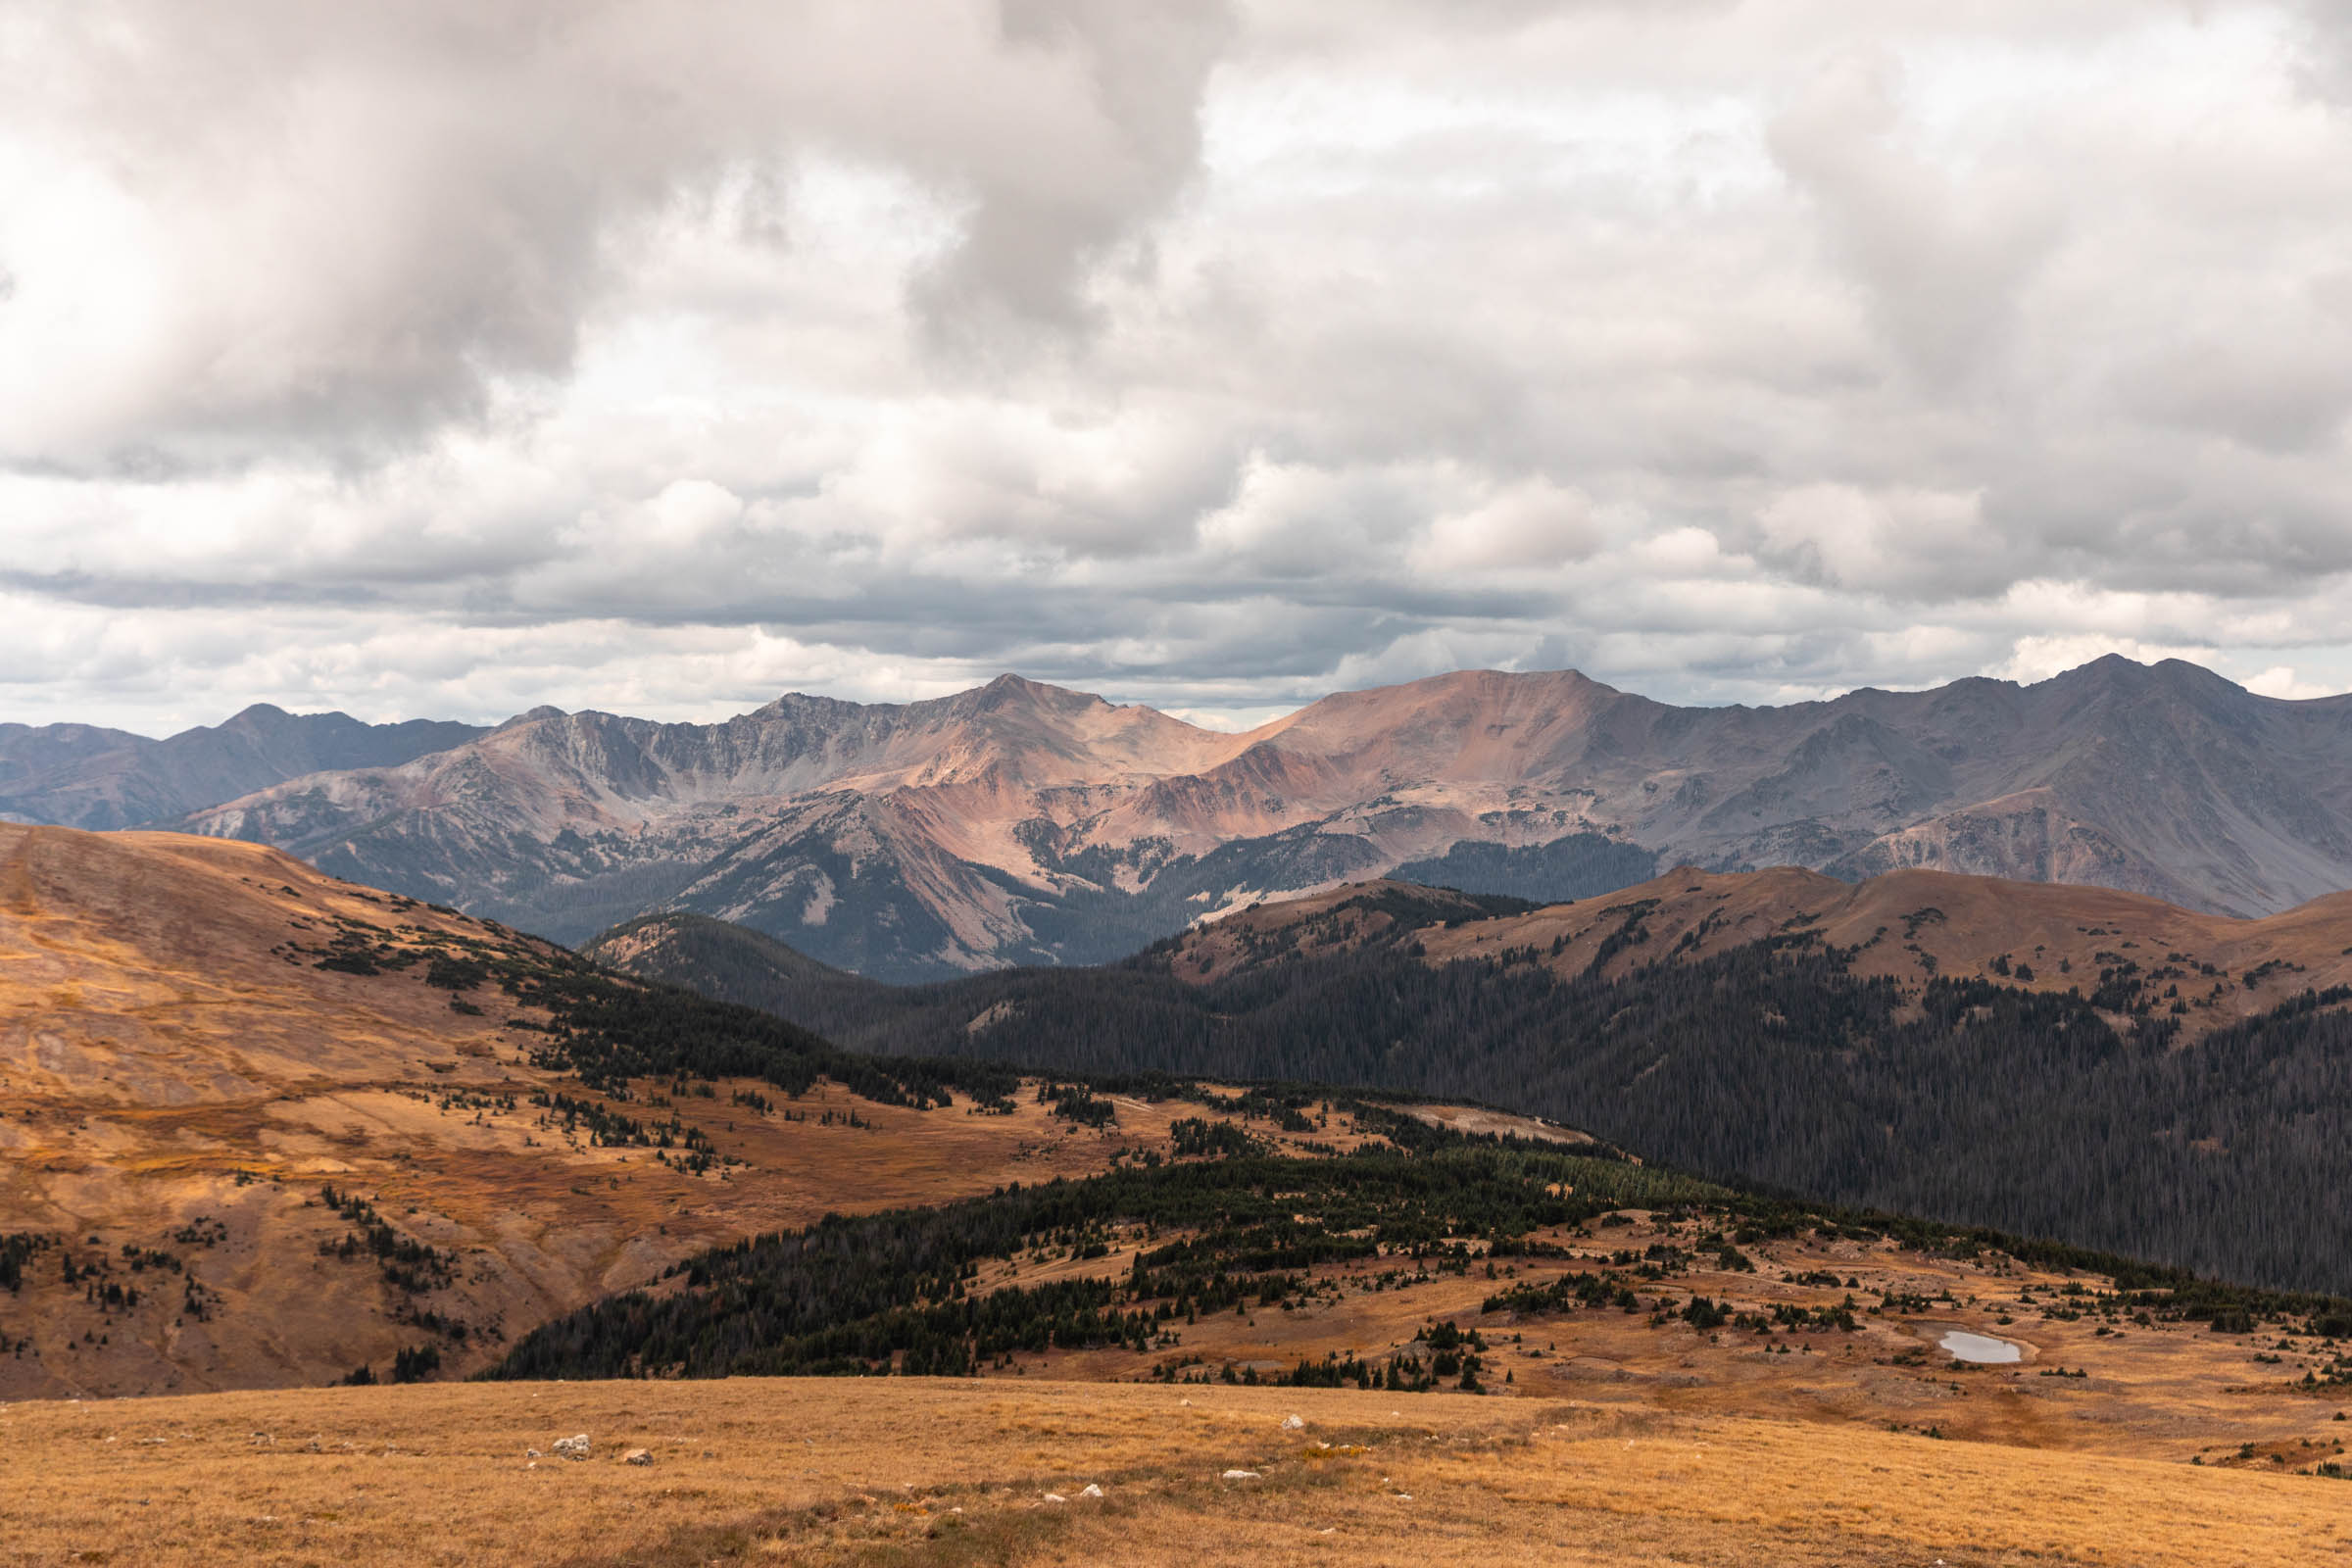
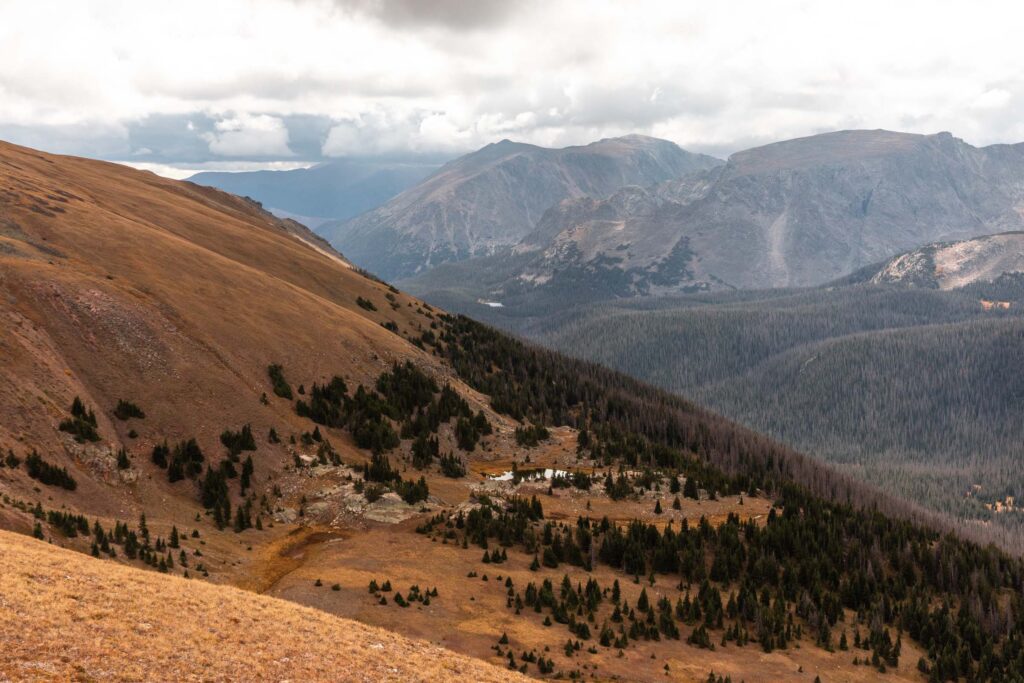
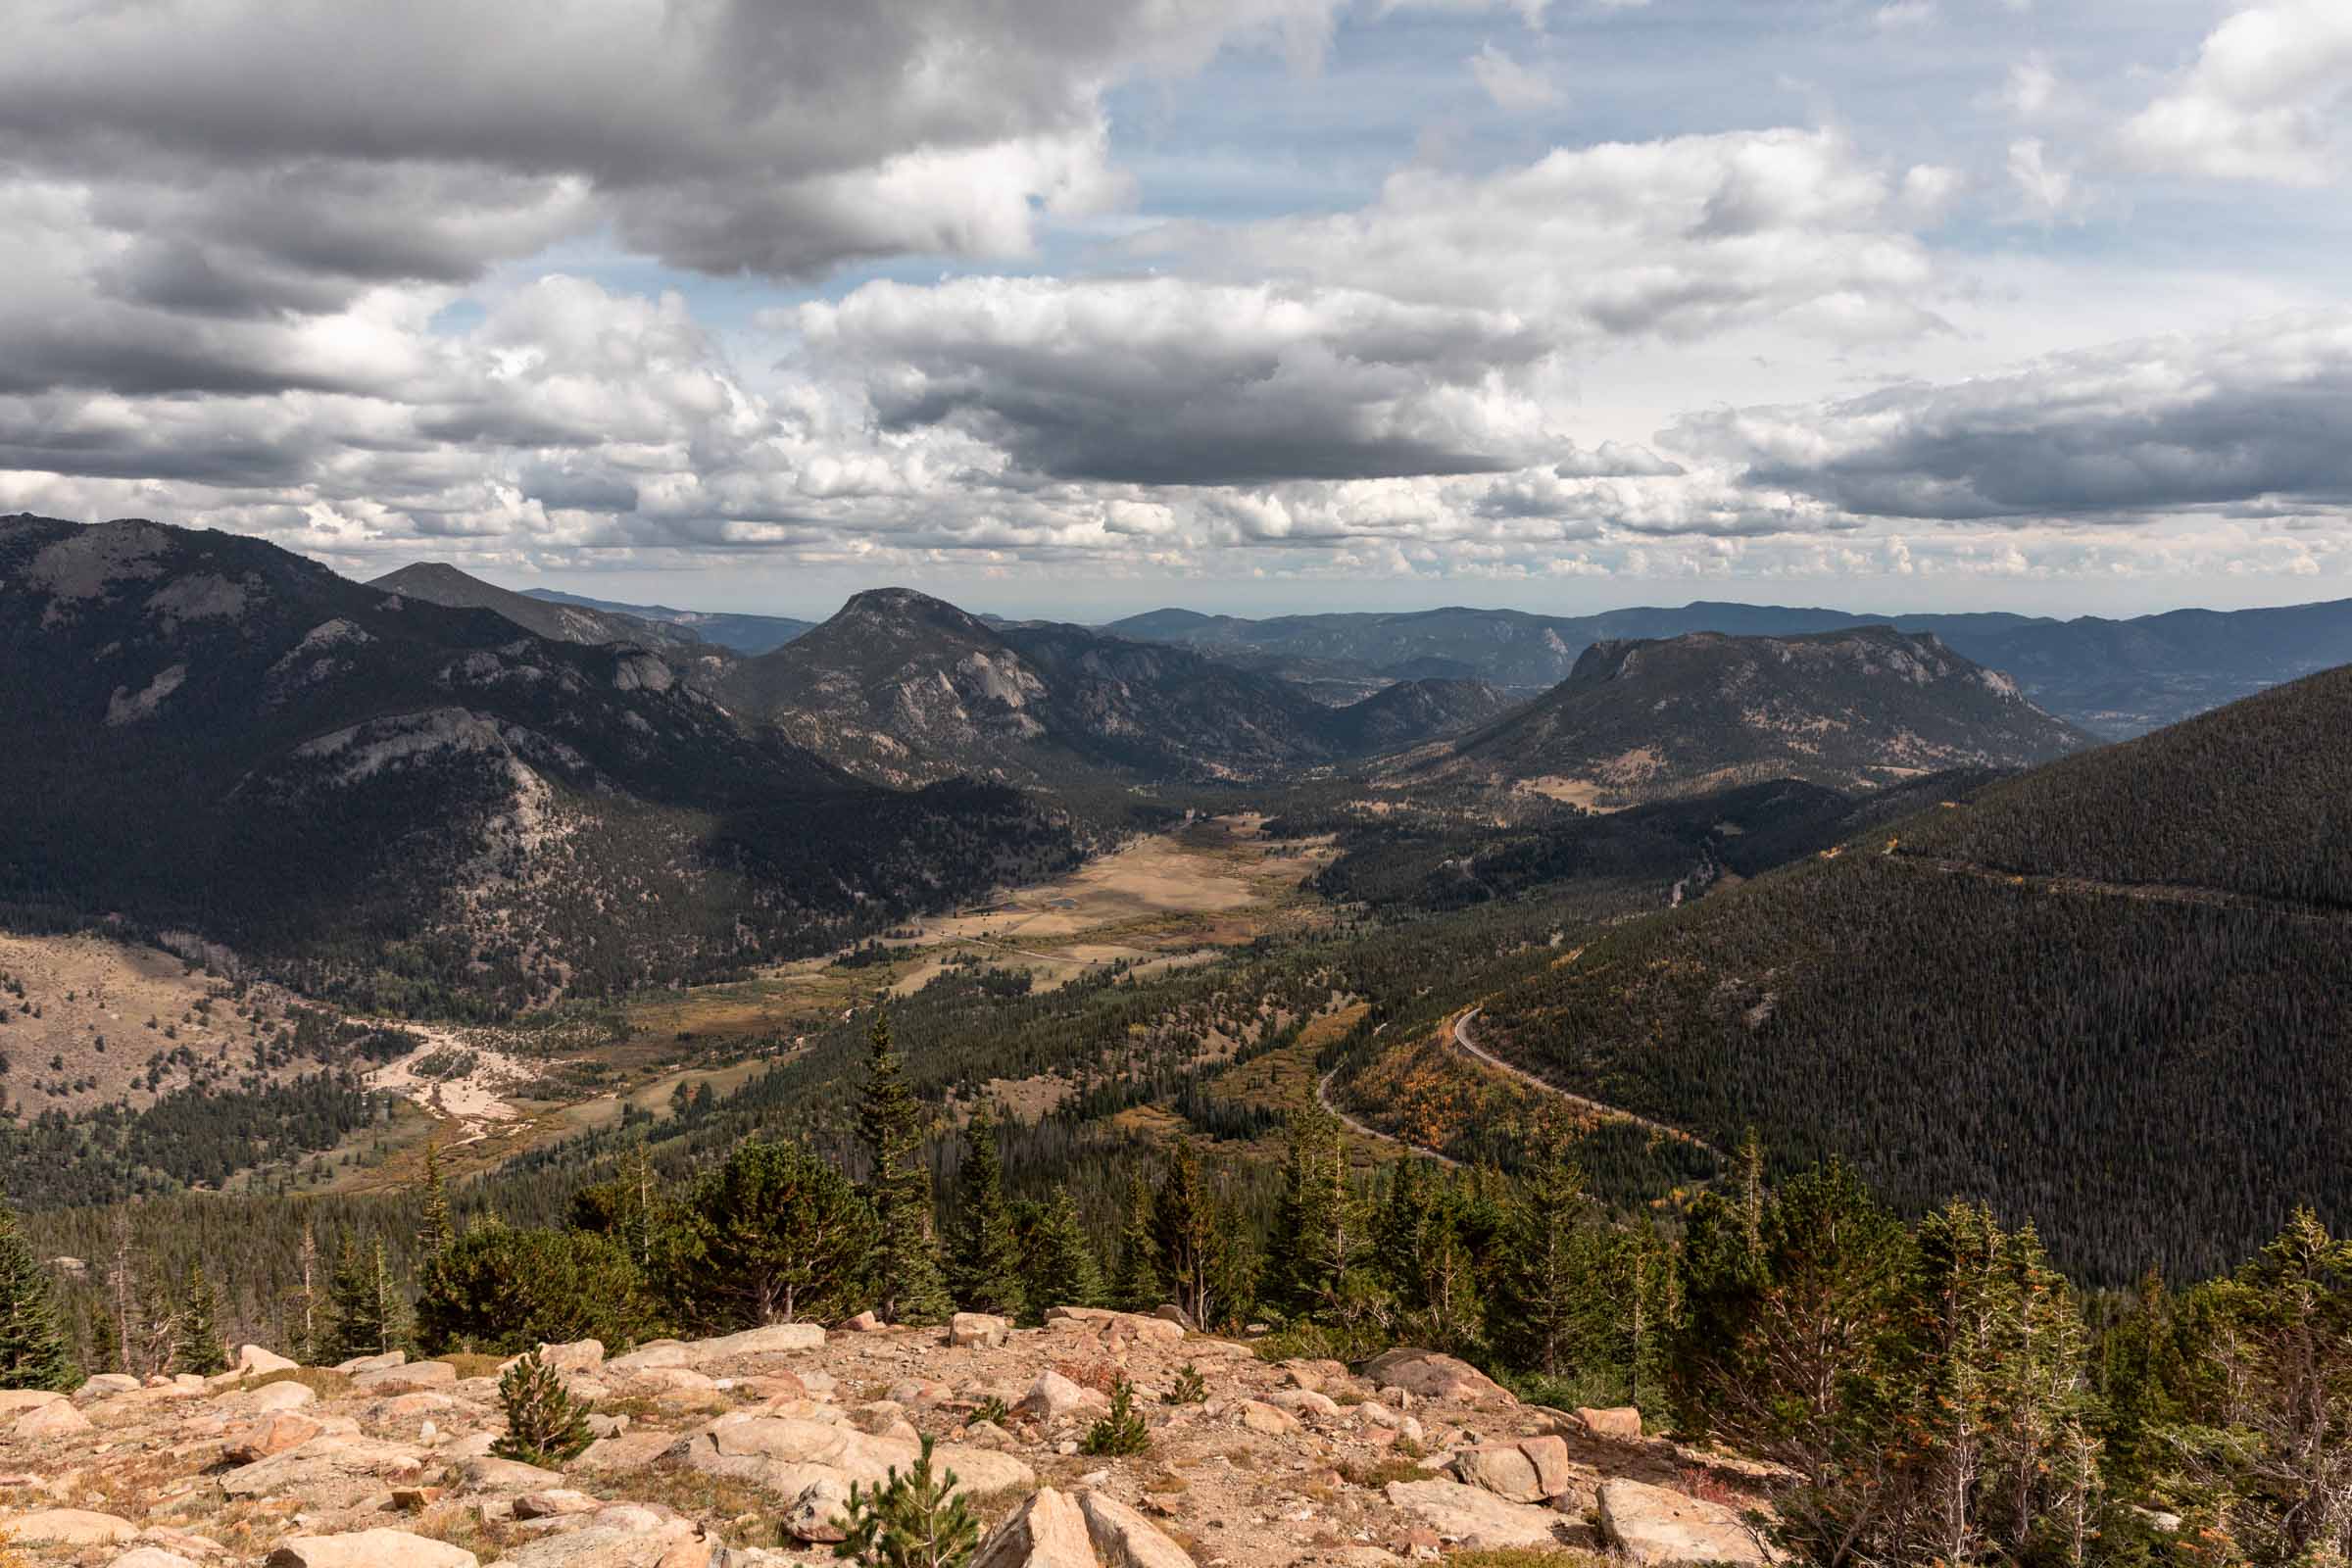
It’s a busier road than the Old Fall River Road with cars flying down what feels like a highway but it’s a great way to make a loop out of the roads. Since the Old Fall River Road is one-way you have to take it up and the Trail Ridge Road down. There’s plenty of interpretive signs for every pullout and short trail. I’d recommend checking them all out if you have time, especially Tundra Communities.
And just like that it’s time to head home after a quick Estes Park lunch break.
Photos taken on Canon 5D Mark IV

You May Also Like

elevation is no joke | fowler-hilliard hut overnight ski tour

a canadian exploration | little sifton, rogers pass
