a summer grind | south sister summit hike
12 miles . 5000 ft gain . 10,358 ft high
Three Sisters Wilderness
If you’ve followed my blog or instagram, you’ll know that I don’t typically blog about hikes as much as I do backpacking trips or technical mountaineering climbs. But I suppose because I am based in Washington, anything remotely interesting outside of Washington is worth a blog post to me! And moreover, I found that there weren’t quite enough detailed trip reports about the South Sister hike and thought it deserved more.
What is the South Sister Hike or Climb?
So if you ever want to go to a fun mountain town destination for various activities in the Pacific Northwest and you’re into sunny weather, Bend, Oregon is a great location (similarly, I’d say Leavenworth and the Methow Valley are that way too). But Bend boasts in not only hiking, but 30 minutes to skiing at Mount Bachelor, 30 minutes to a world-class climbing destination at Smith Rock, and plenty of outdoor activities ranging from mountain biking to paddling on the Deschutes River.
In Central Oregon, the landscape feels largely flat since it is a high desert east of the Cascade Range. However, unlike Washington, Oregon is dotted with plenty of volcanoes (and buttes). The Three Sisters is a series of three of those volcanoes that make an iconic backdrop to the landscape of Bend. It’s summited in the winter and summer alike. While it rises above 10k feet above sea level, it is not as glaciated or snow-covered as the Washington volcanoes that also reach 10k. On Mount Baker (10781 ft), you’ll have a mandatory crossing of a glacier such as Easton or Squak. Even on Mount Rainier, just reaching Camp Muir at 10188 ft, there’s the permanent Muir Snowfield. And so forth. So it’s definitely a lower barrier to entry to “climb” South Sister. Many other prominent peaks in Oregon require 4th class scrambling to low 5th class climbing with technical gear involved. South Sister, however, requires none of that other than snow gear when there is snow in the winter and lingering to early summer.
Some might call it the South Sister climb and others might say it’s the South Sister hike. The fact that you’re summiting a volcano and travel on loose gravel/rocks could qualify this as a climb, but you in no way would need ropes. It’s also a hike in the sense that you don’t need much gear and it doesn’t get vertical beyond big stair steps on occasion.
The main (easiest) route approaches from the south, though perhaps there are more technical routes up other aspects.
Need to Know (Permits, Parking etc)
Before I dive further into what the actual hike felt like, let’s talk about some important things.
The main parking lot for the South Sister climber’s trail is at Devil’s Lake. There’s an upper and lower lot, but both are the same distance to the trailhead since they’ve rerouted it from the old trailhead. As of 2026, the new trail isn’t on gaia, caltopo, or other mapping software.
From June 15 to October 15, day-use permits are required for accessing the South Sister climb, along with many other trailheads in Central Oregon. One batch for 60 spots opens 10 days prior at 7 am PST and a second opening for 90 spots happens 2 days prior at 7 am PST. On weekends and holidays, these permits go up quickly. I got mine at 7 am sharp and by 7:01 am, no permits were available anymore. It’s one permit per person and $1/person to acquire.
Be punctual when grabbing your permits on recreation.gov for the Three Sisters- Devils Lake/ Wickiup (South Sister) Trailhead permit
Additionally, you’ll need a recreation pass to park at the trailhead. This is the same Northwest Forest Pass that works in Washington or the Annual National Park Pass (interagency pass). For just a day pass, it costs $5. An annual NW Forest Pass pass costs $30 and the national park pass is $80 for the year. Grab a digital pass (suggested to print) here.
Hiking South Sister in Summer
I won’t claim to know what it’s like to hike South Sister outside of summer, but I imagine it a lot similar to hiking Camp Muir with the snow and kicking in steps and depending on the weather, potential for icy spots where microspikes or crampons may be necessary.
Part 1: Forest
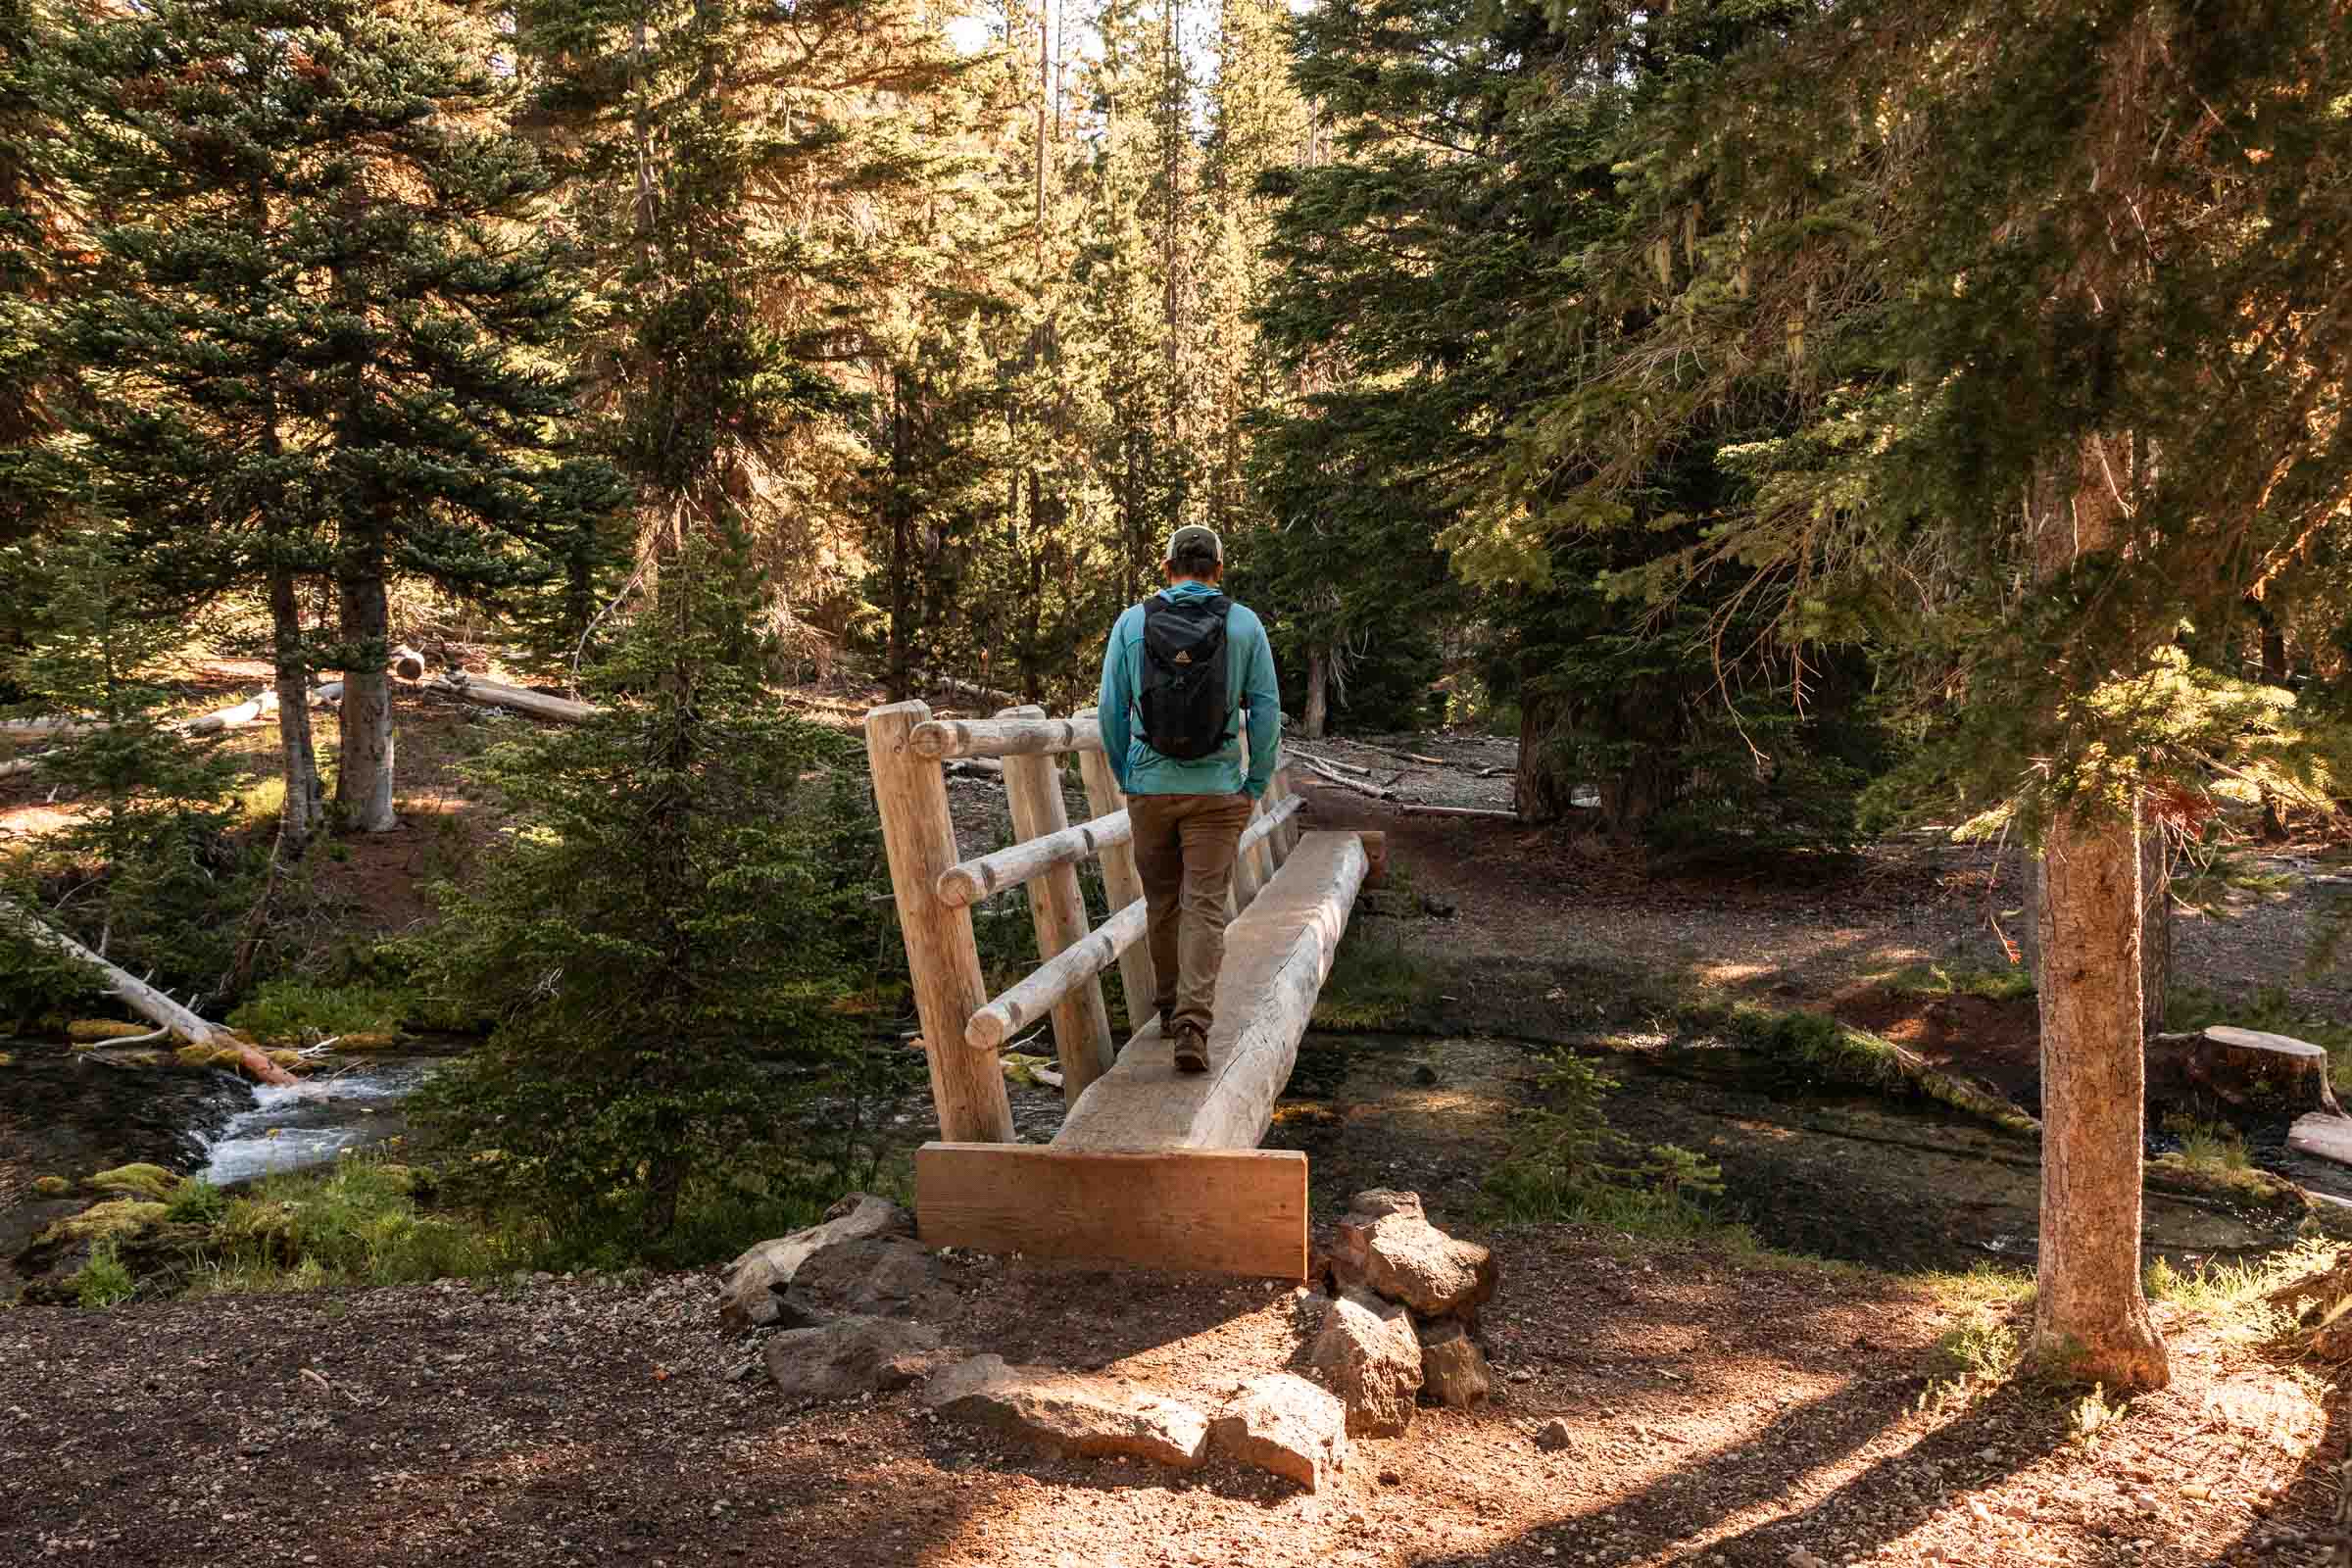
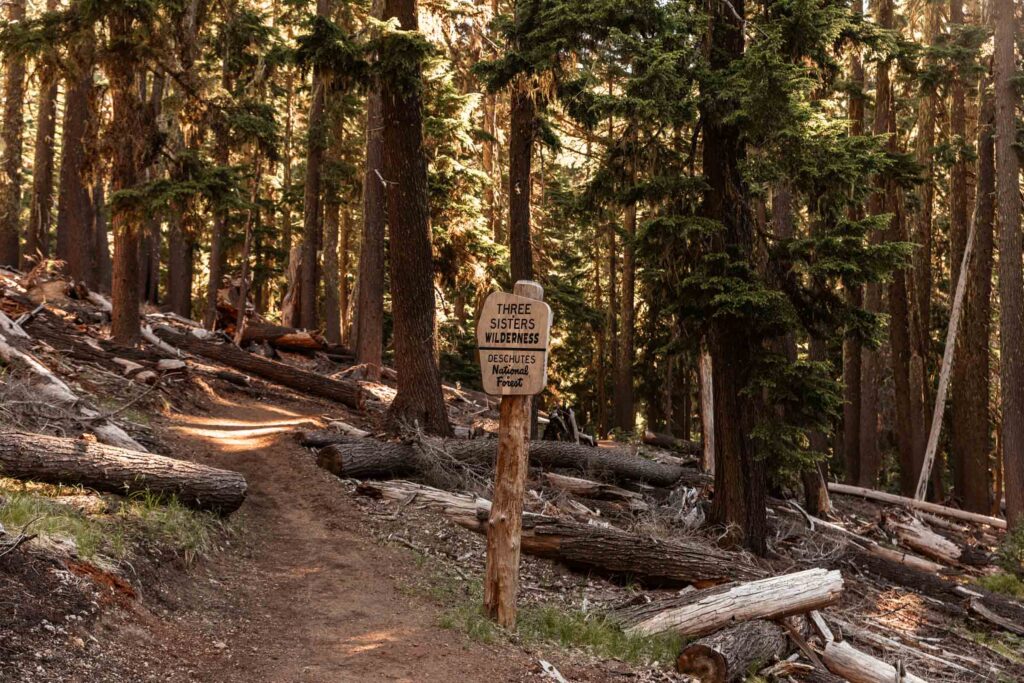
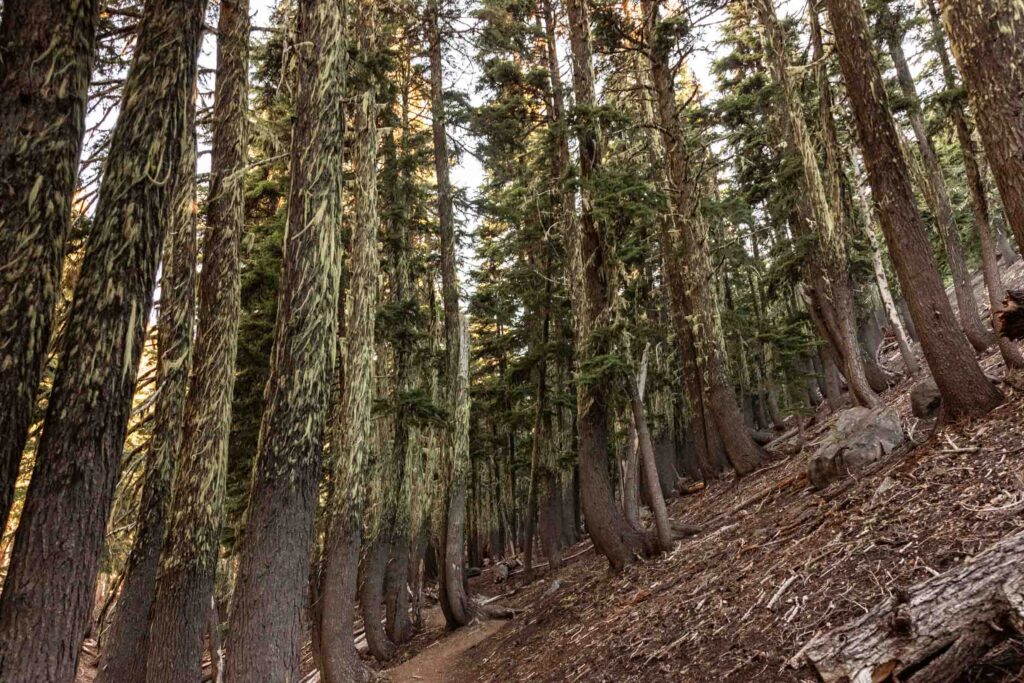
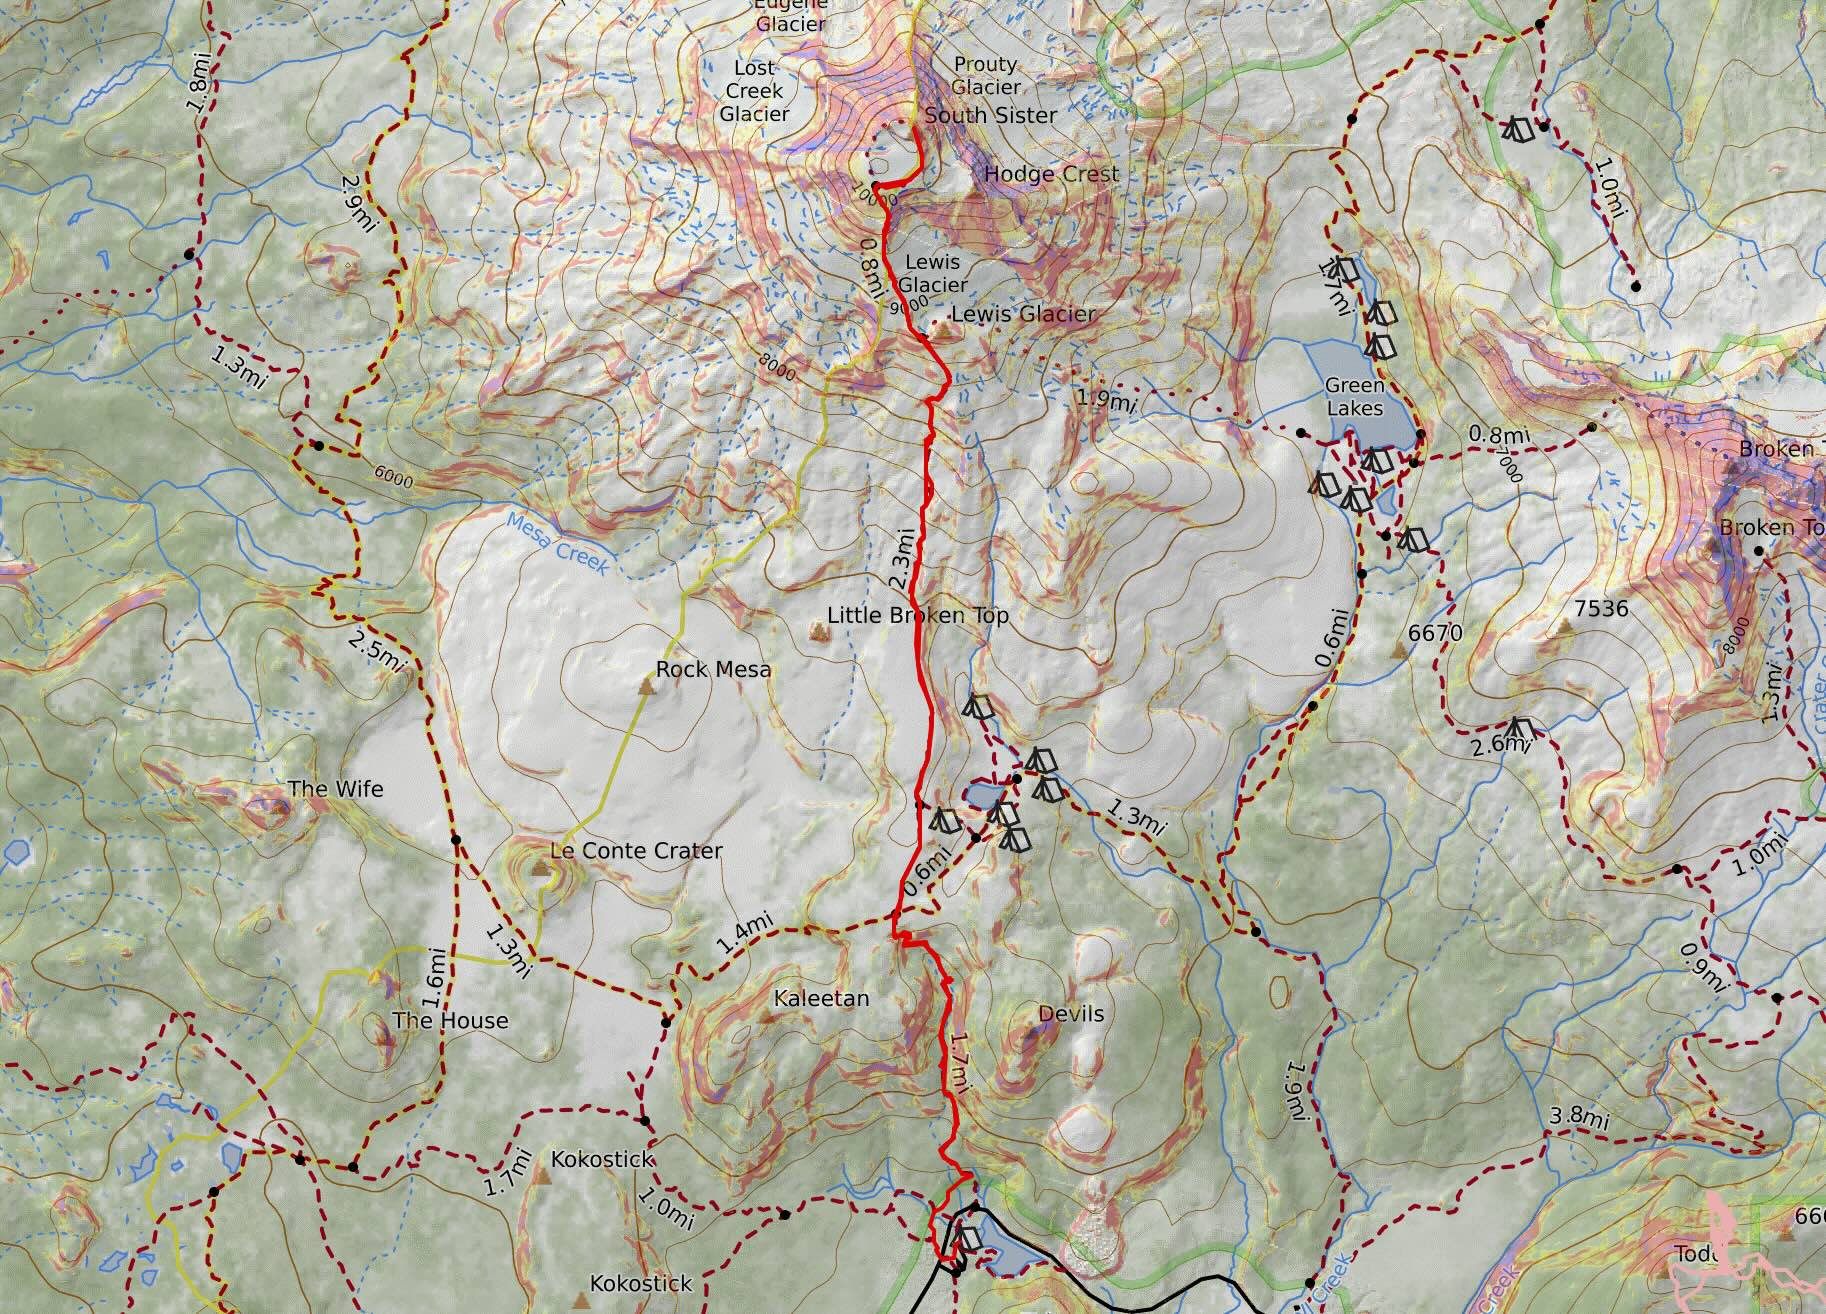
However, hiking South Sister in the summer is fairly straightforward. This might’ve been a low snow year so the snow melted out earlier but like most alpine hikes, wait till late June or early July to avoid the snow and before October. Really all the hike is to hike North. No turns are made, though you cross a few other trails. At the beginning there’s good signs to follow north into the forest. From Devil’s Lake Campground (where campers can stay overnight for first come, first served spots) follow the signs for South Sister Climber’s Trail which will take you to an underpass tunnel. There’s another sign for South Sister (don’t take Elk Devil’s Trail) to stay right. It’s a pleasant half mile before some serious elevation gain through the pretty forest for about 1000 ft and over another 1.5 miles.
Key Aspects: Shady, gain elevation like a classic PNW hike
Stats: 2 miles, 1200 ft gain from trailhead to first major trail intersection
Part 2: Plateau
As you exit the forest (after 2 miles and 1200 ft gained) and end up on a plateau, you’ll reach the intersection for Moraine Trail. Seems like there’s horse use on that trail, but not the one you came up on. If you’re feeling energetic, you can take a quick detour to Moraine Lake. You can also camp here, there’s over 20 sites, but an overnight permit is required and there’s only 8 groups available starting from Devil’s Lake and another 7 groups from Green Lake Trailhead. Reserve starting April 7 or 10 days ahead for spots on recreation.gov for the Central Cascades Wilderness Overnight Permits
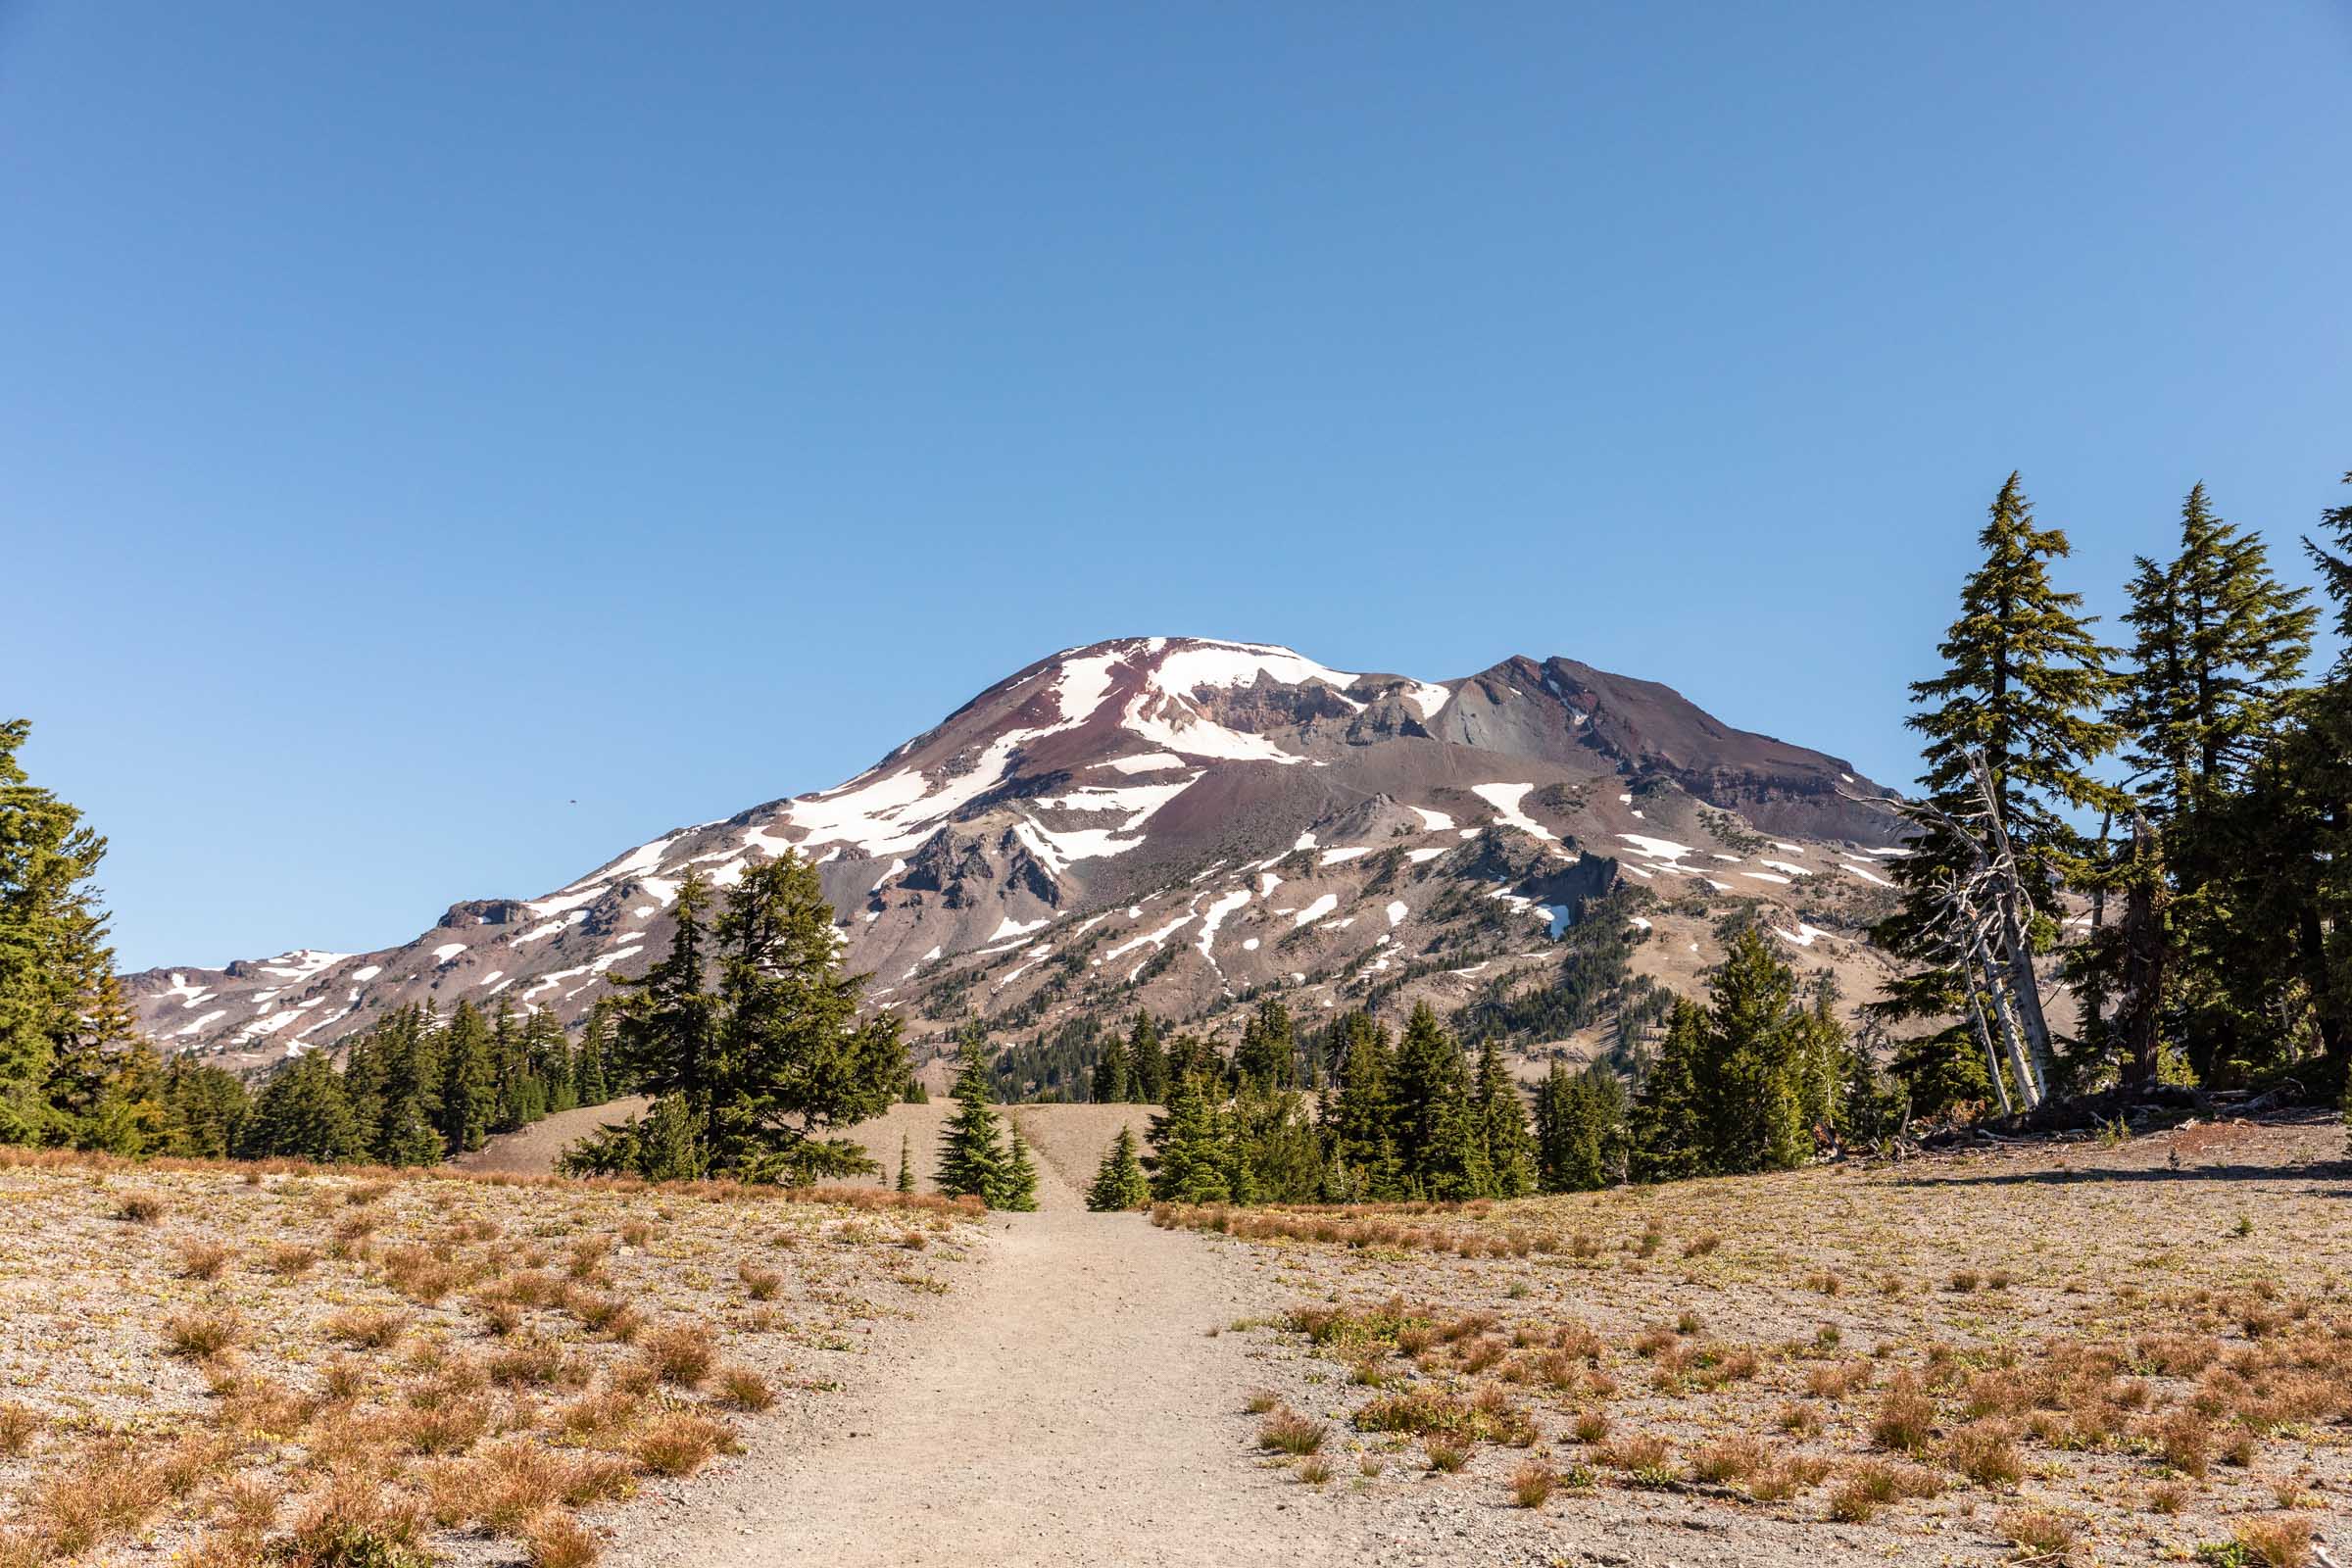
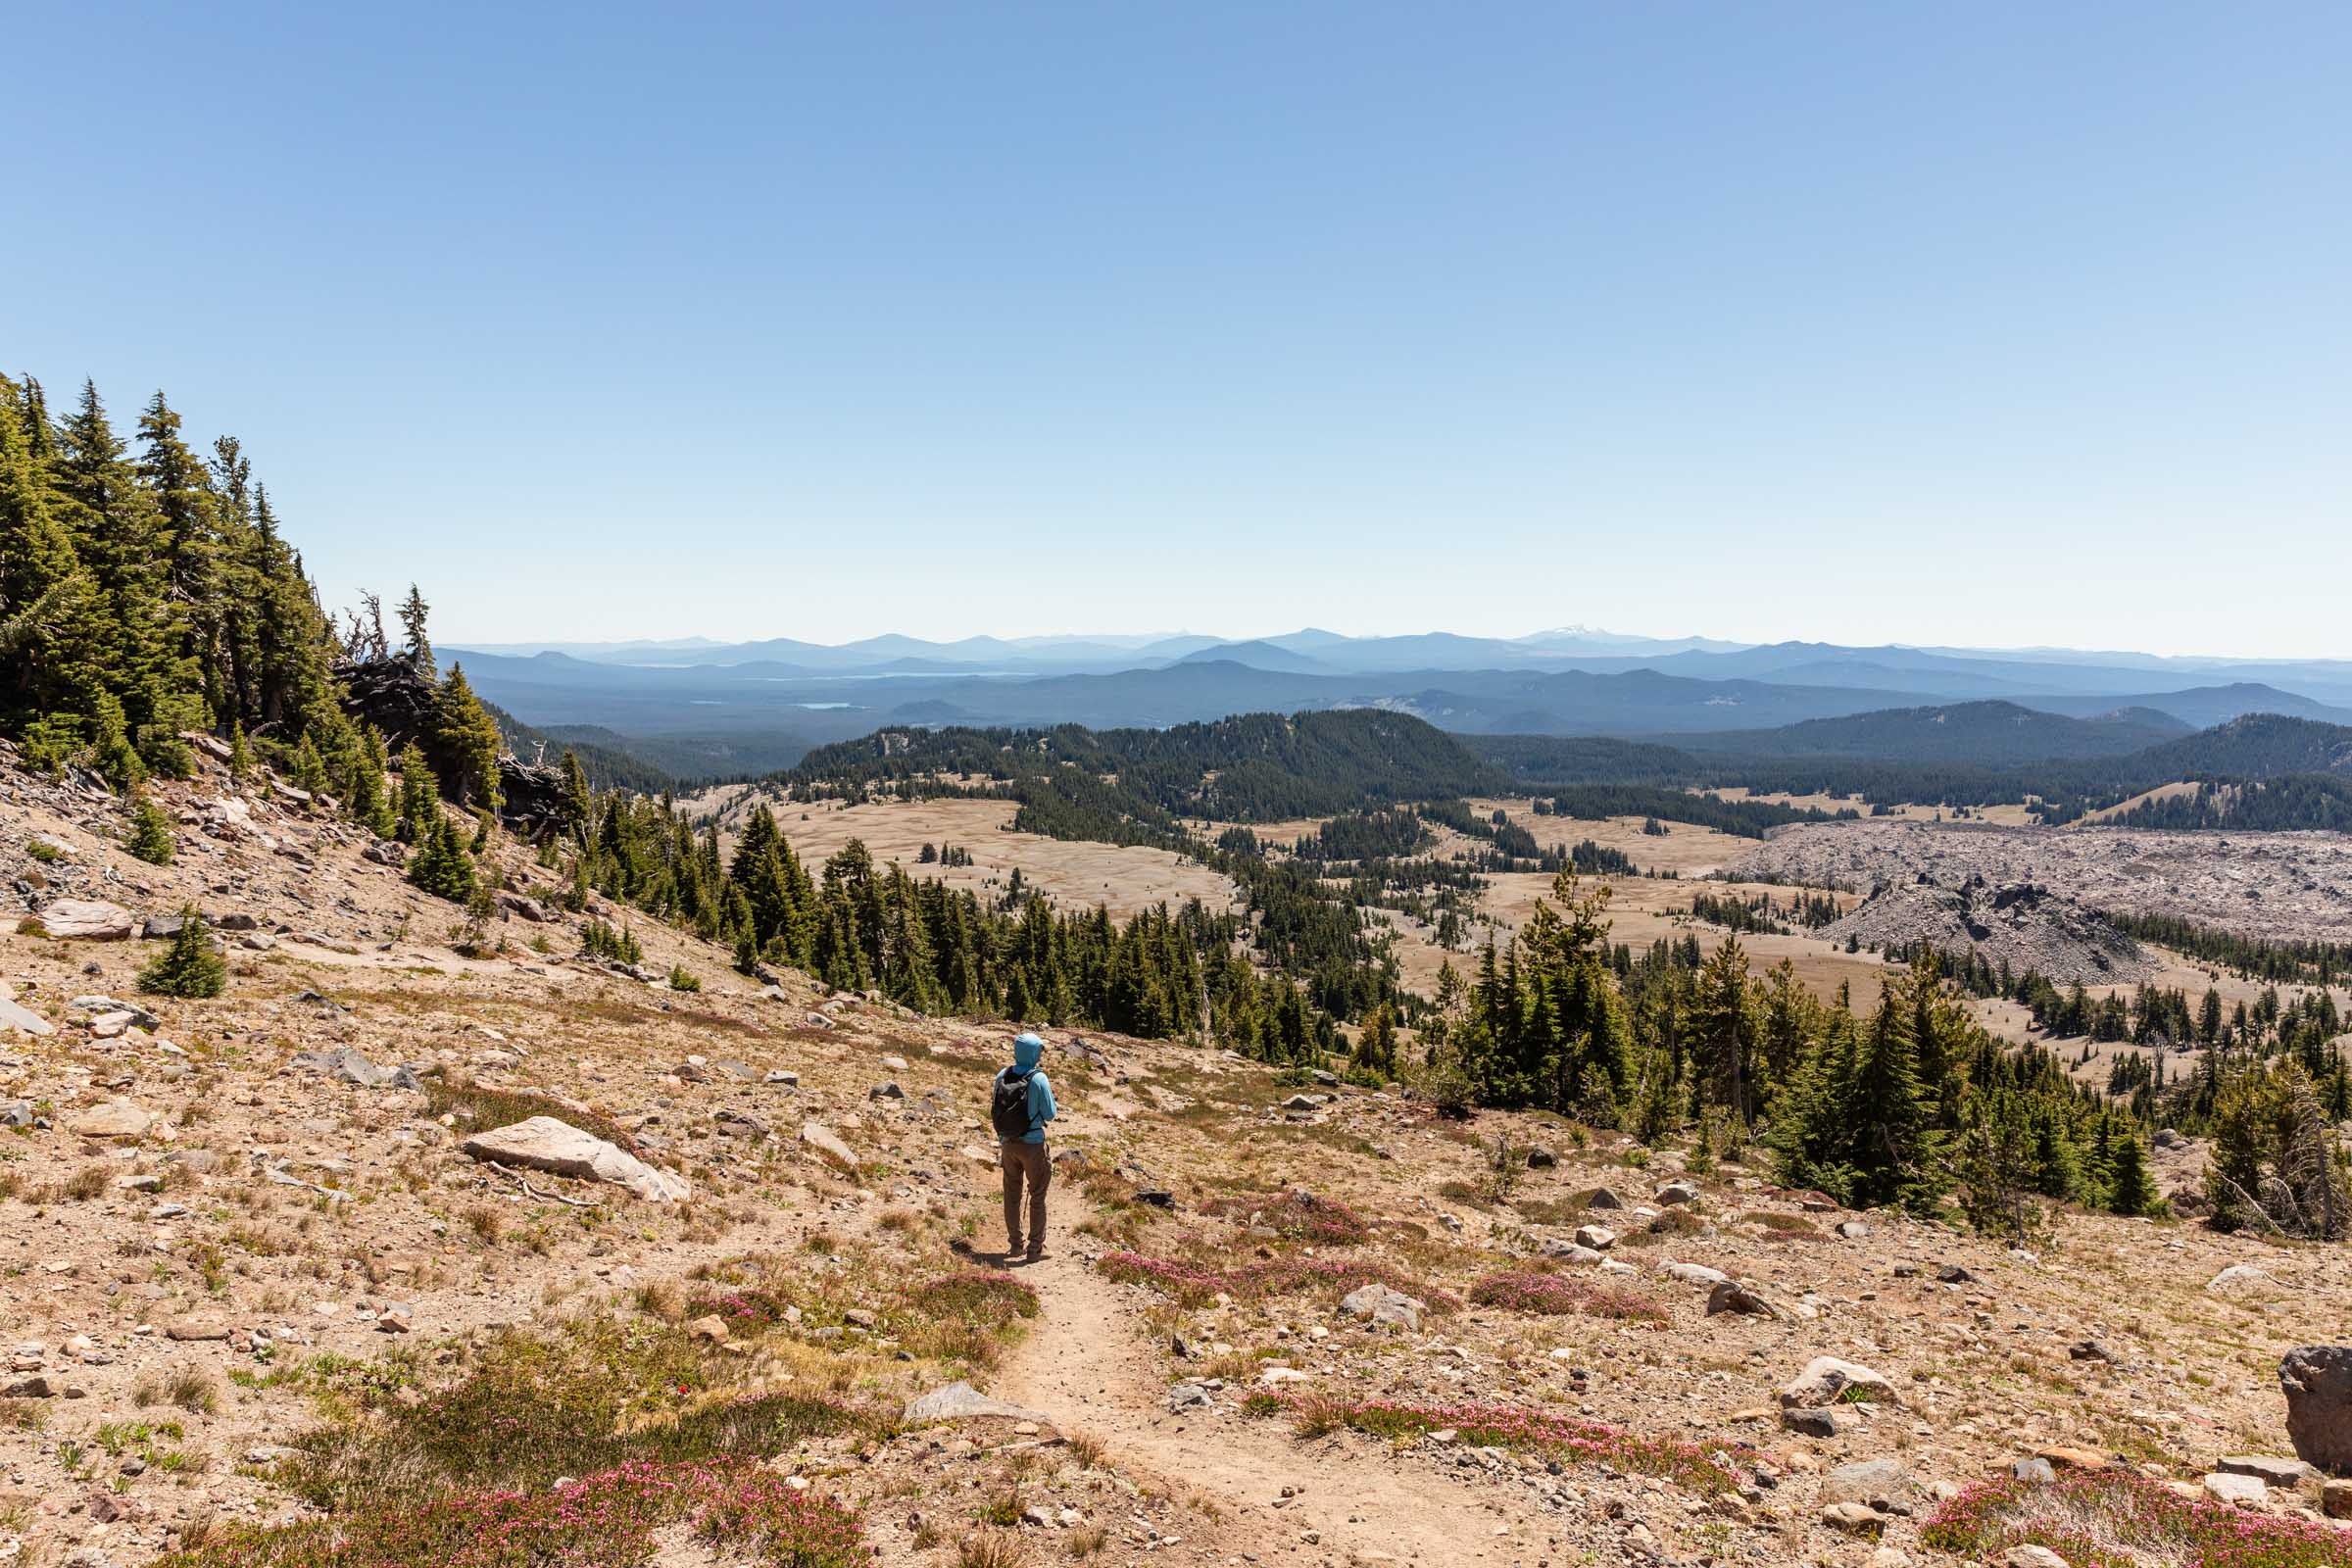
Anyway, from the trail intersection, take a good break and sunscreen up since the shade gets sparse. The next mile is rather mellow and for whatever reason, I felt like going at a strolling pace, whereas in the steeper trees, I wanted to hike a bit faster. On this little plateau, you’ll get a good view of Moraine Lake so you don’t need to feel any FOMO if you don’t take the detour through.
Key Aspects: Open and exposed, but flat travel
Stats: 1 mile, 200 ft gain from trail intersection to main climb
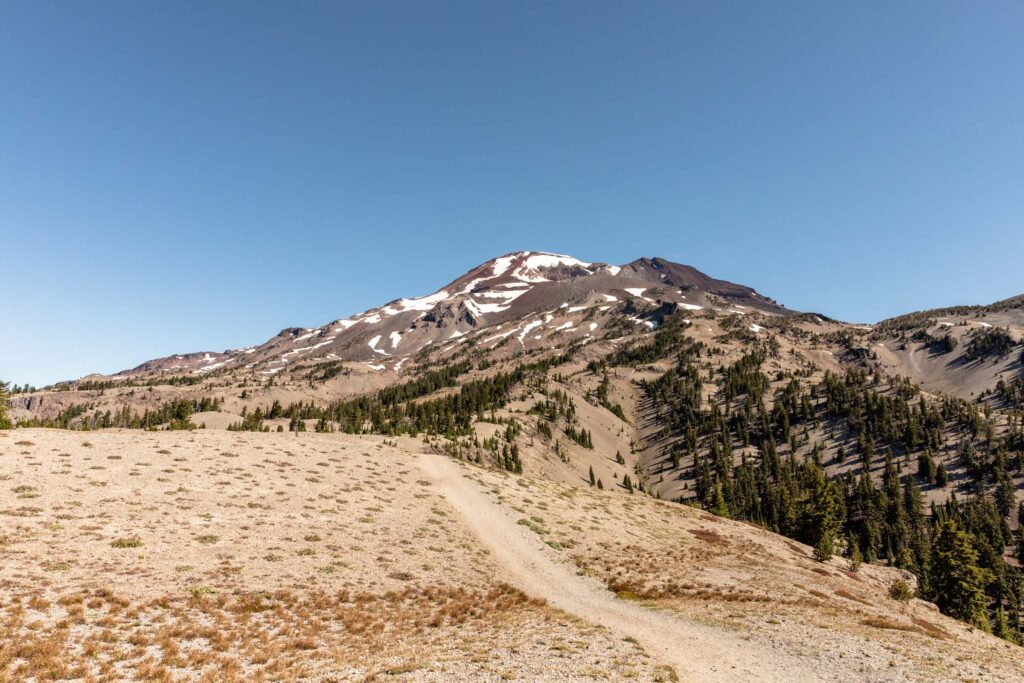
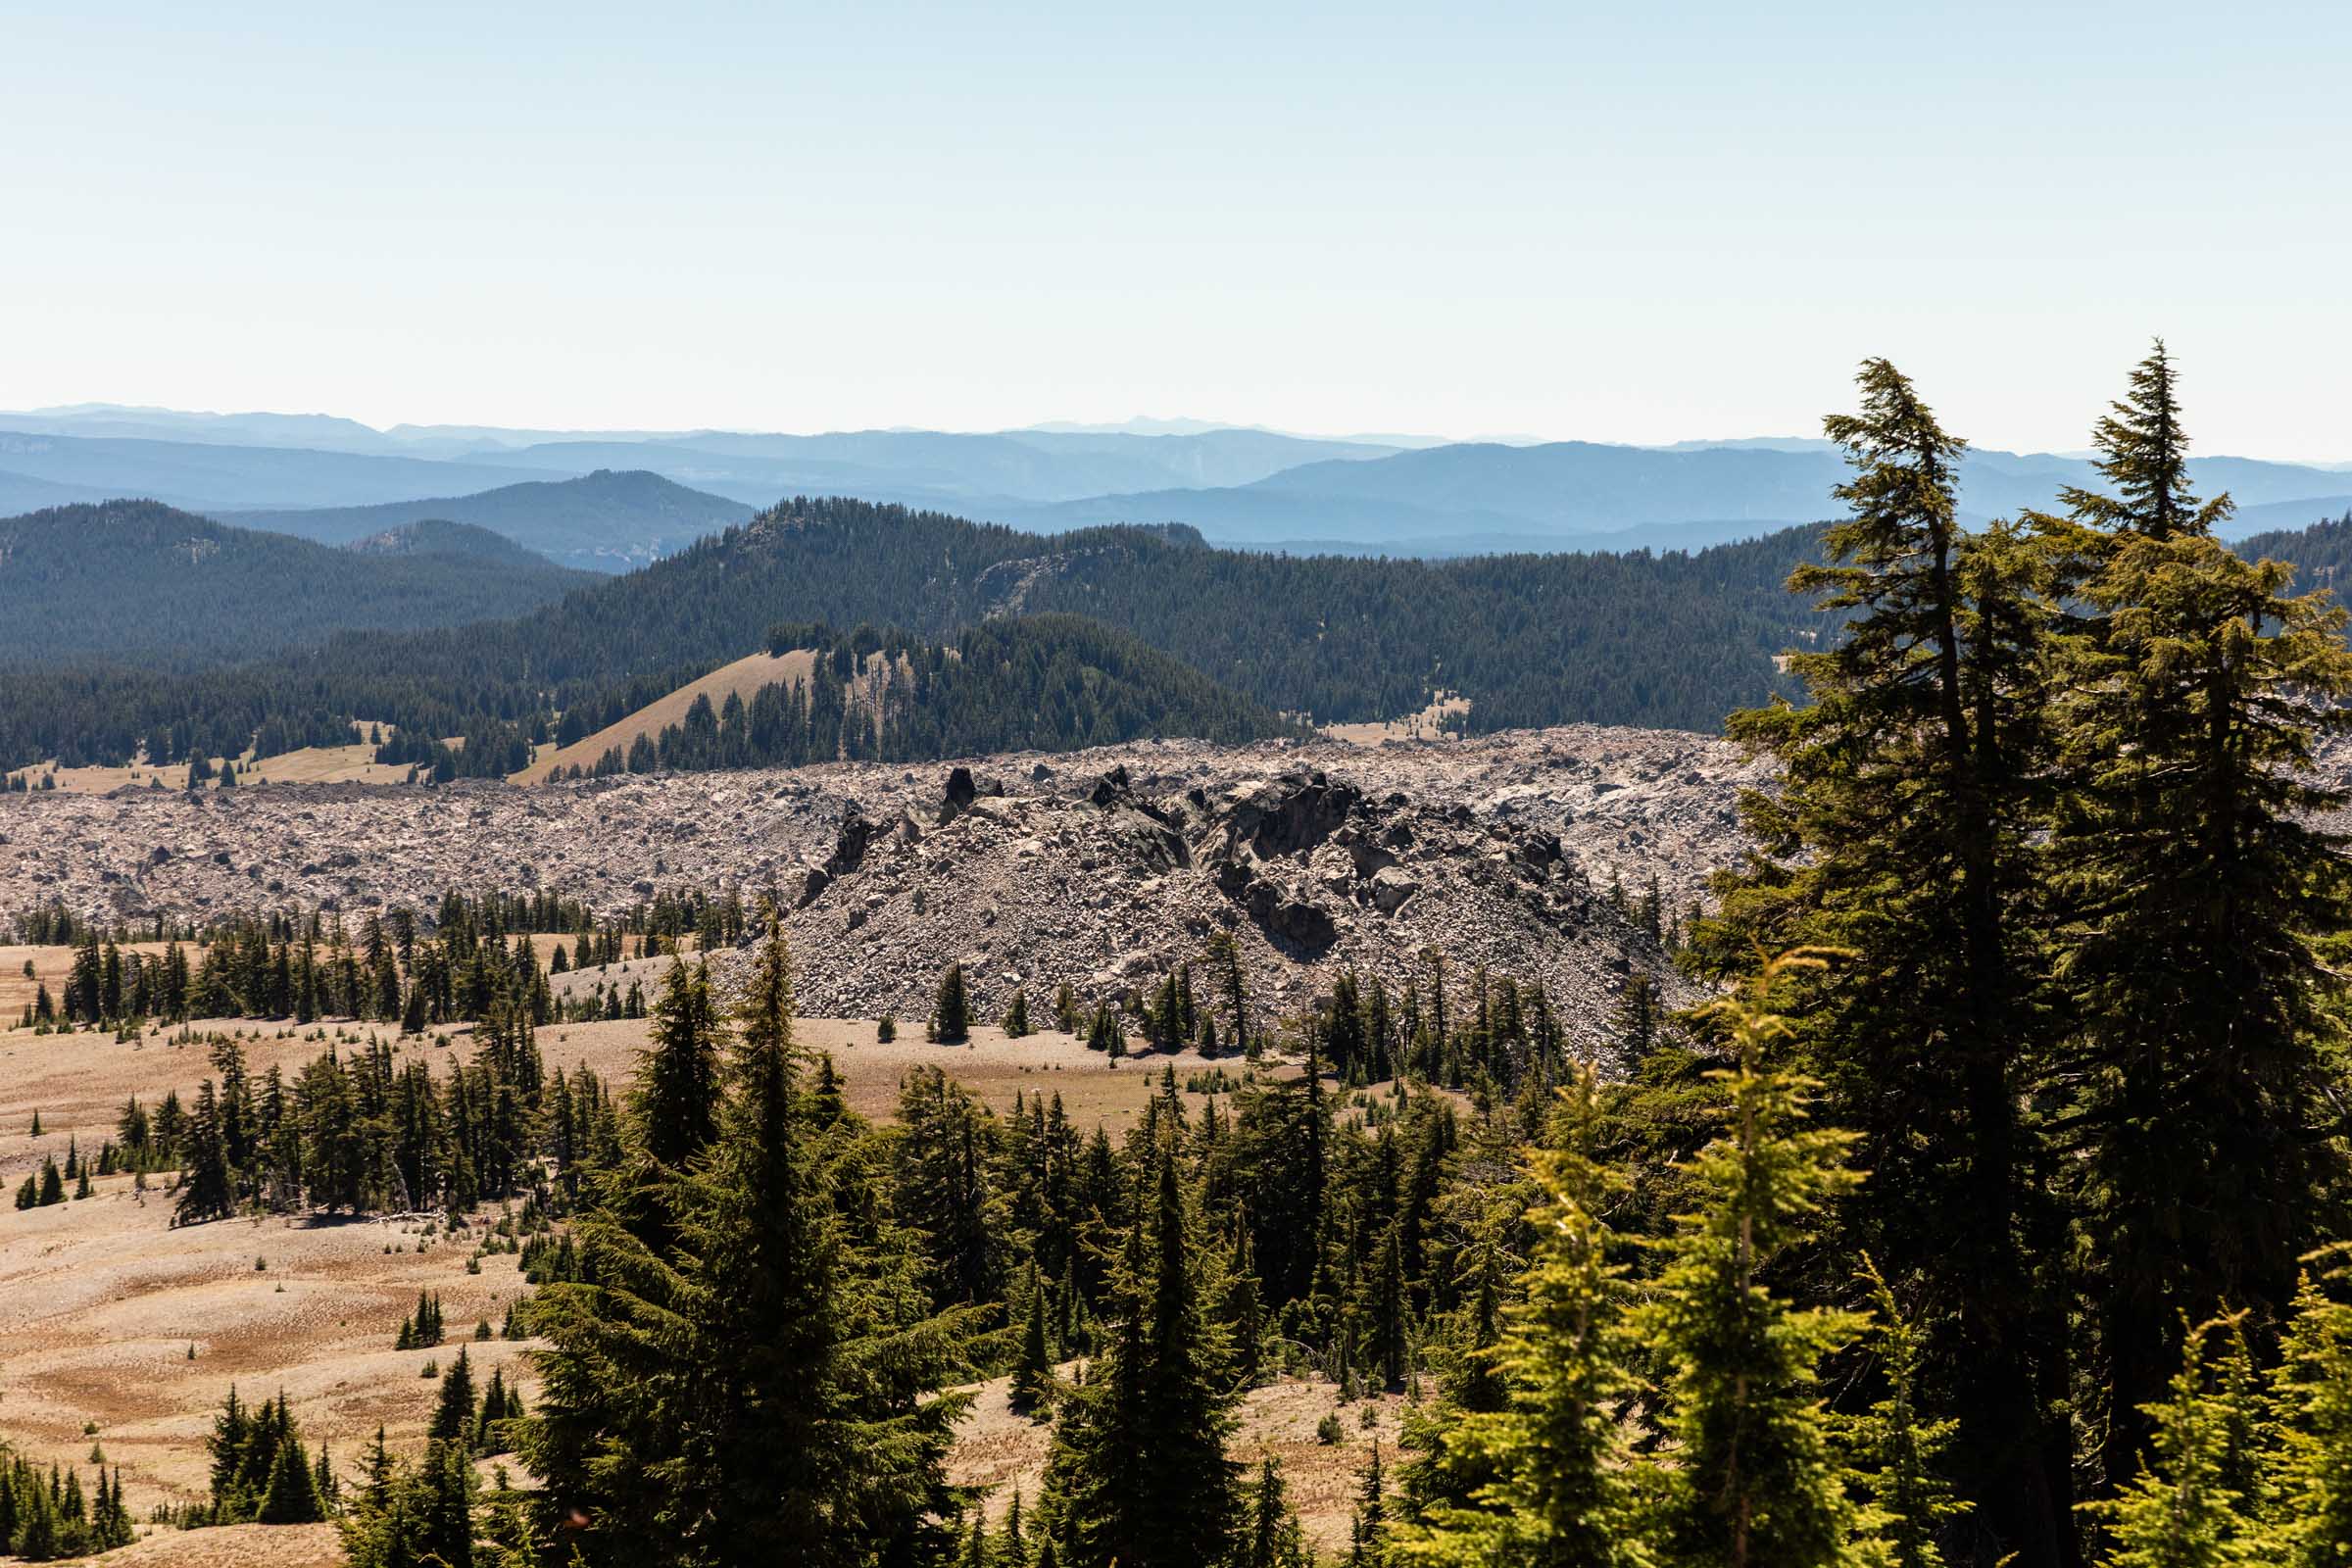
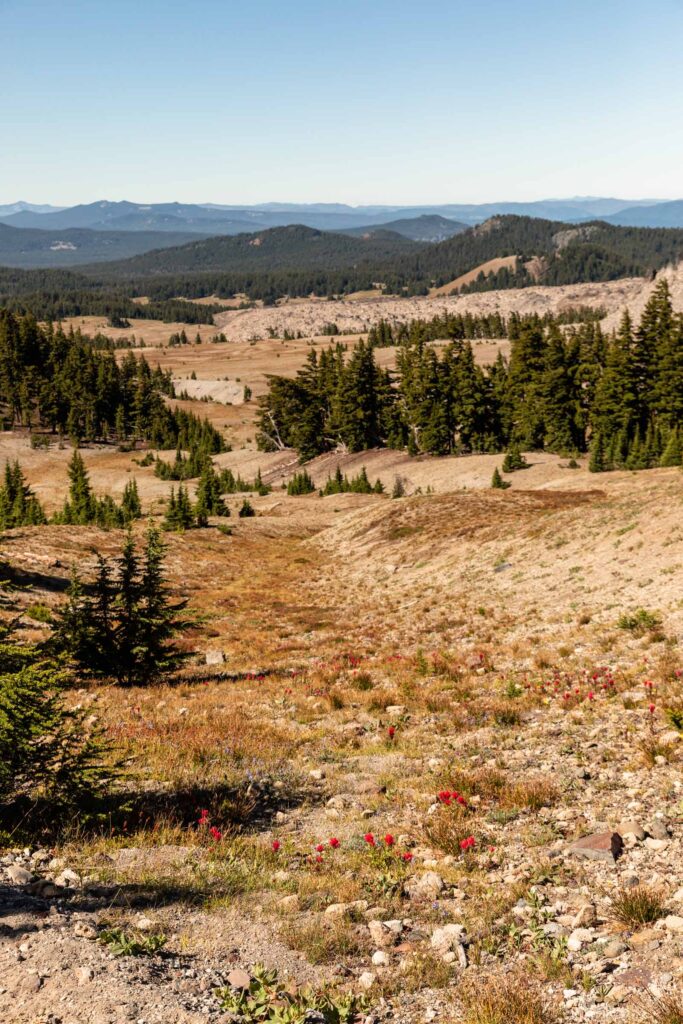
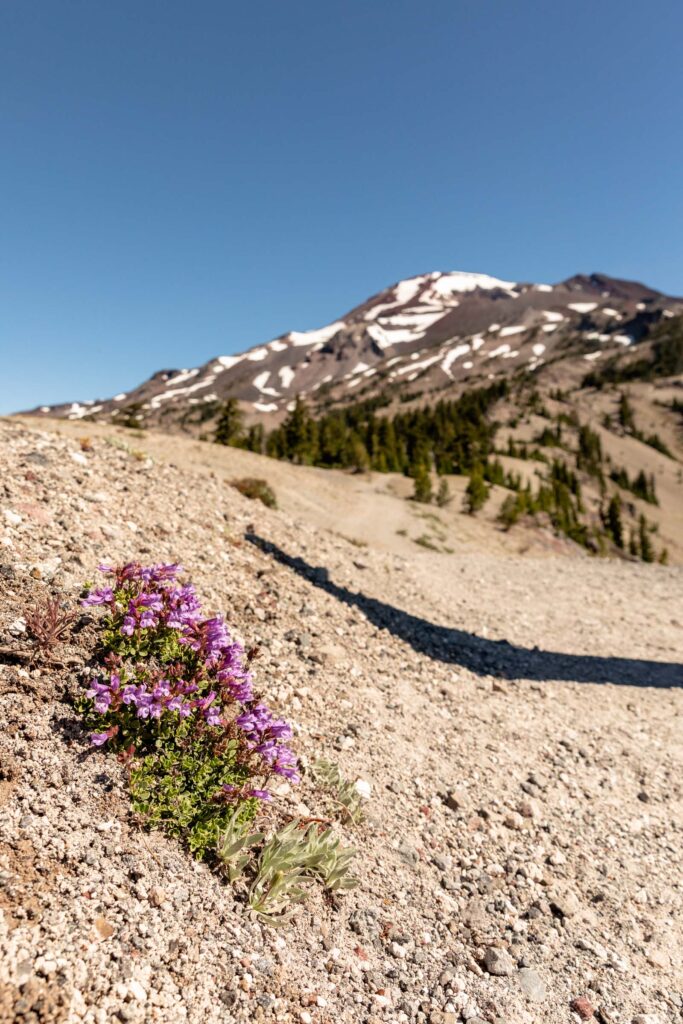
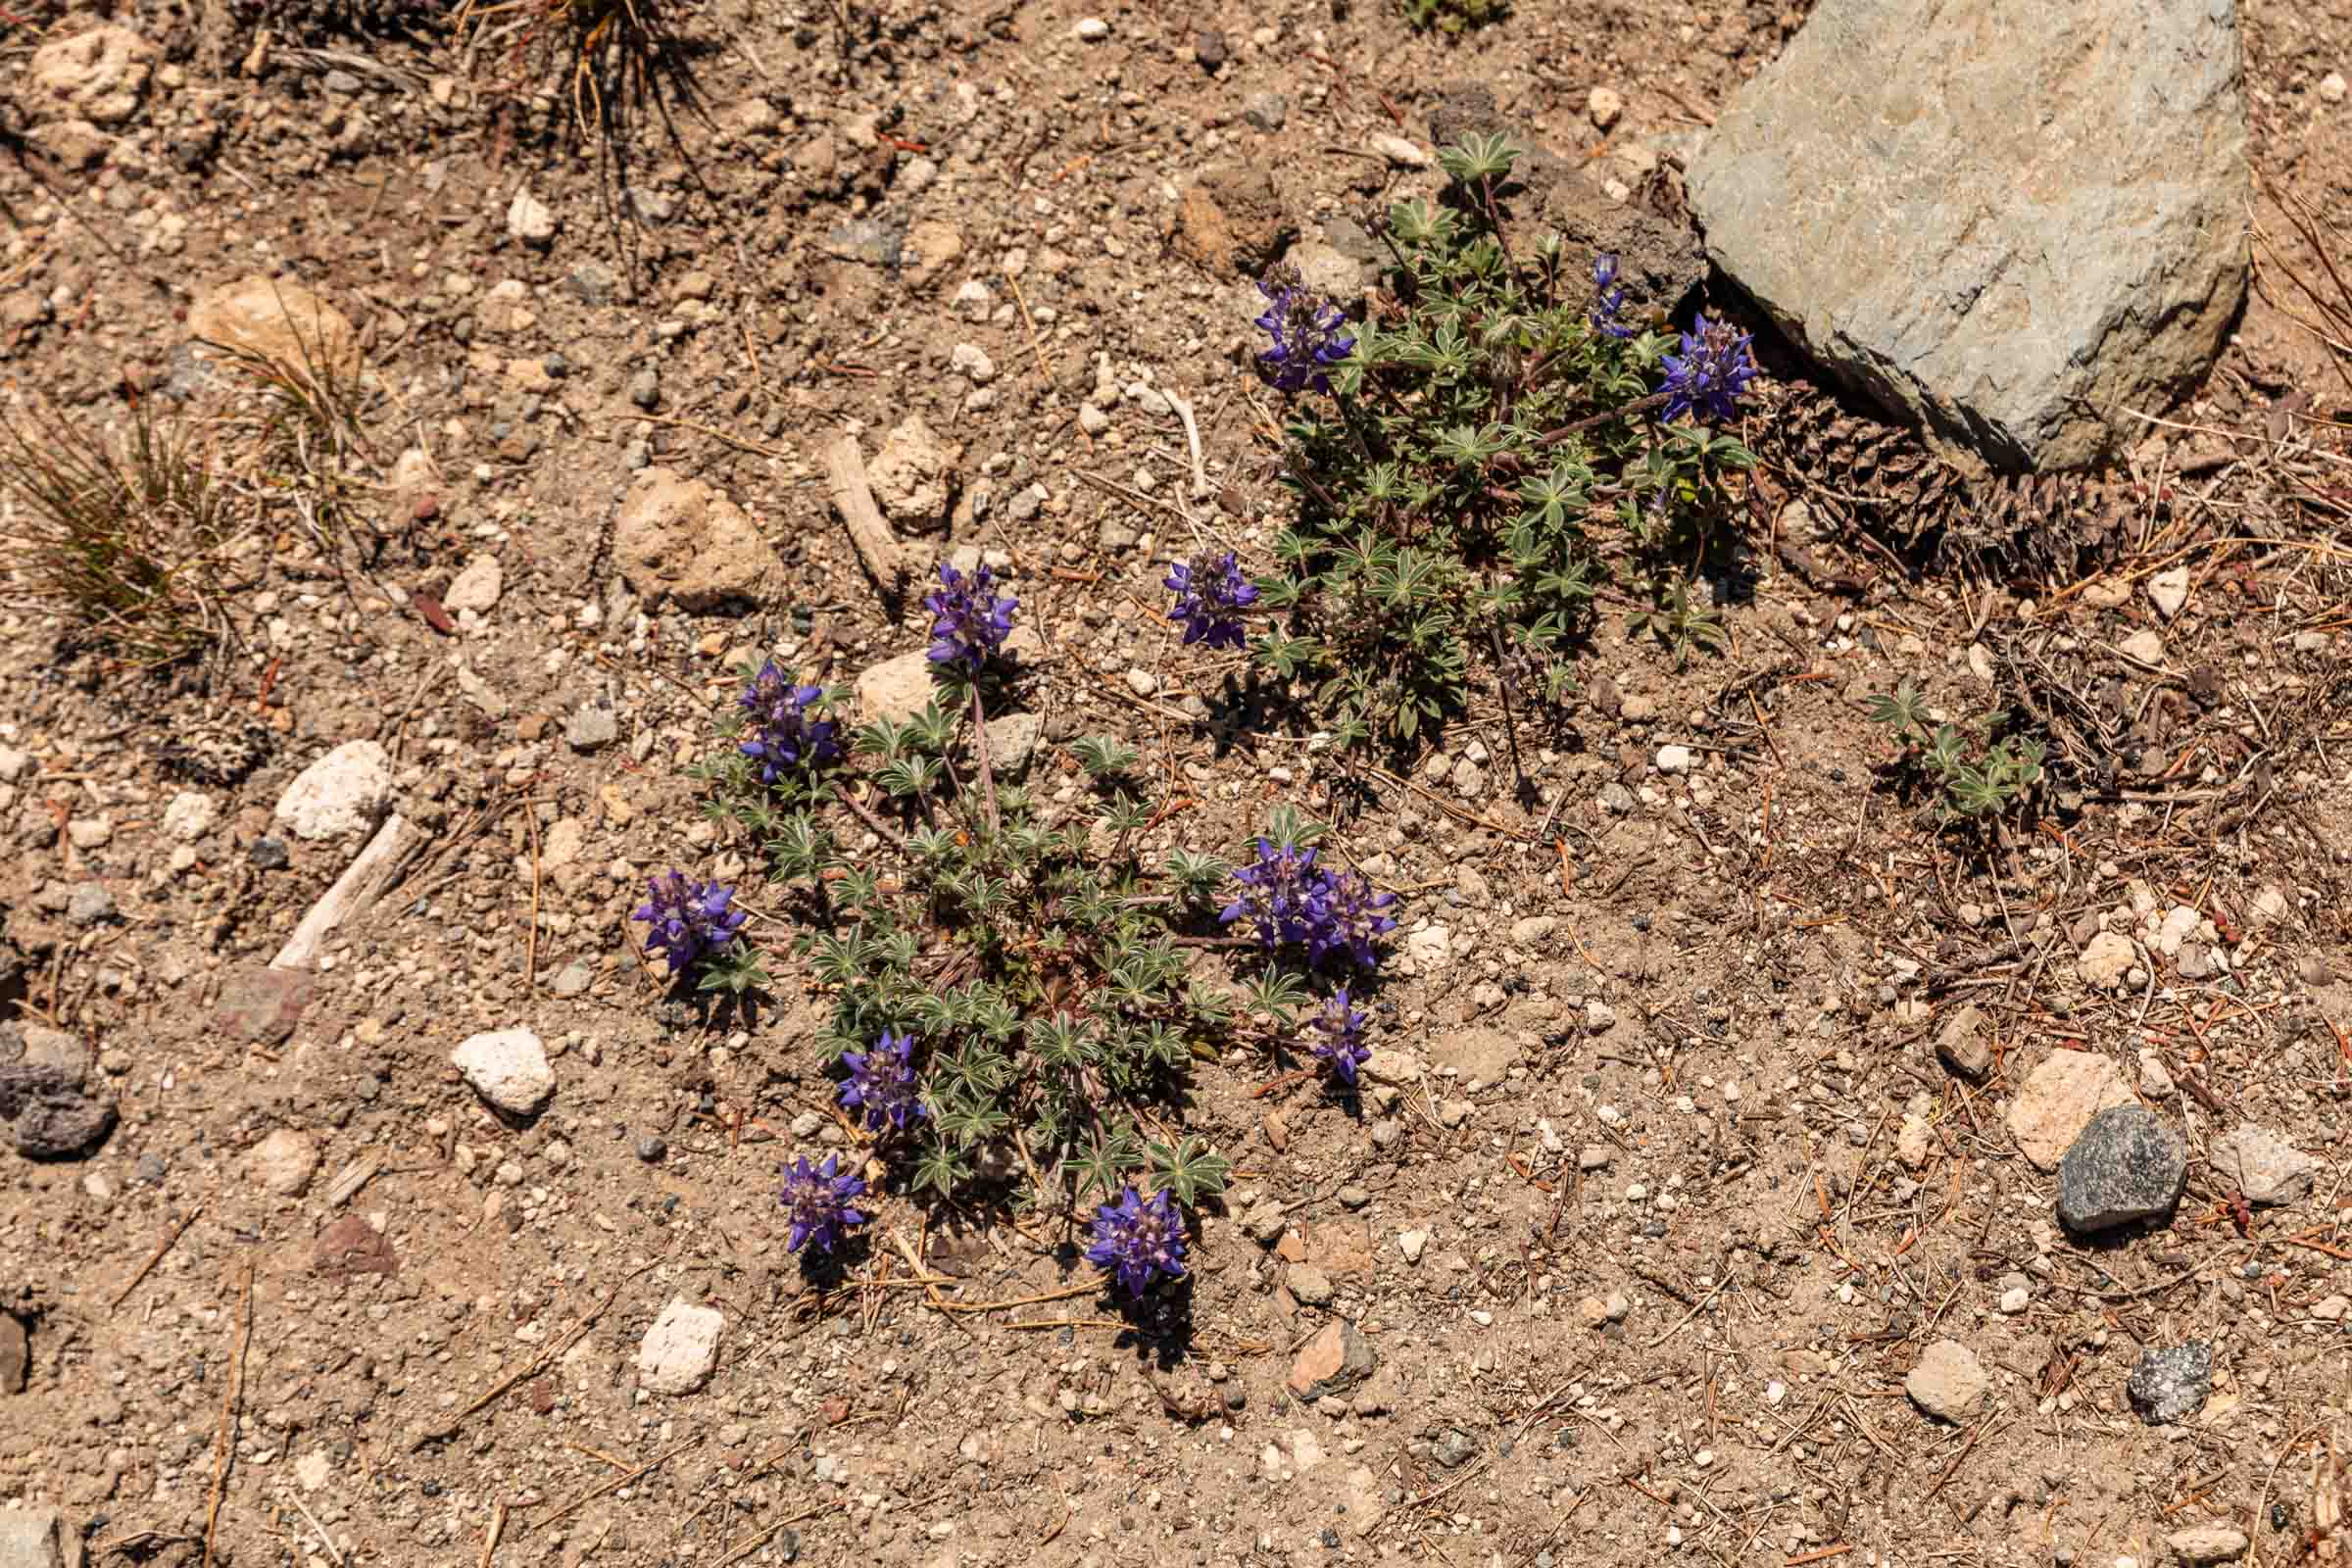
Part 3: Main Climb
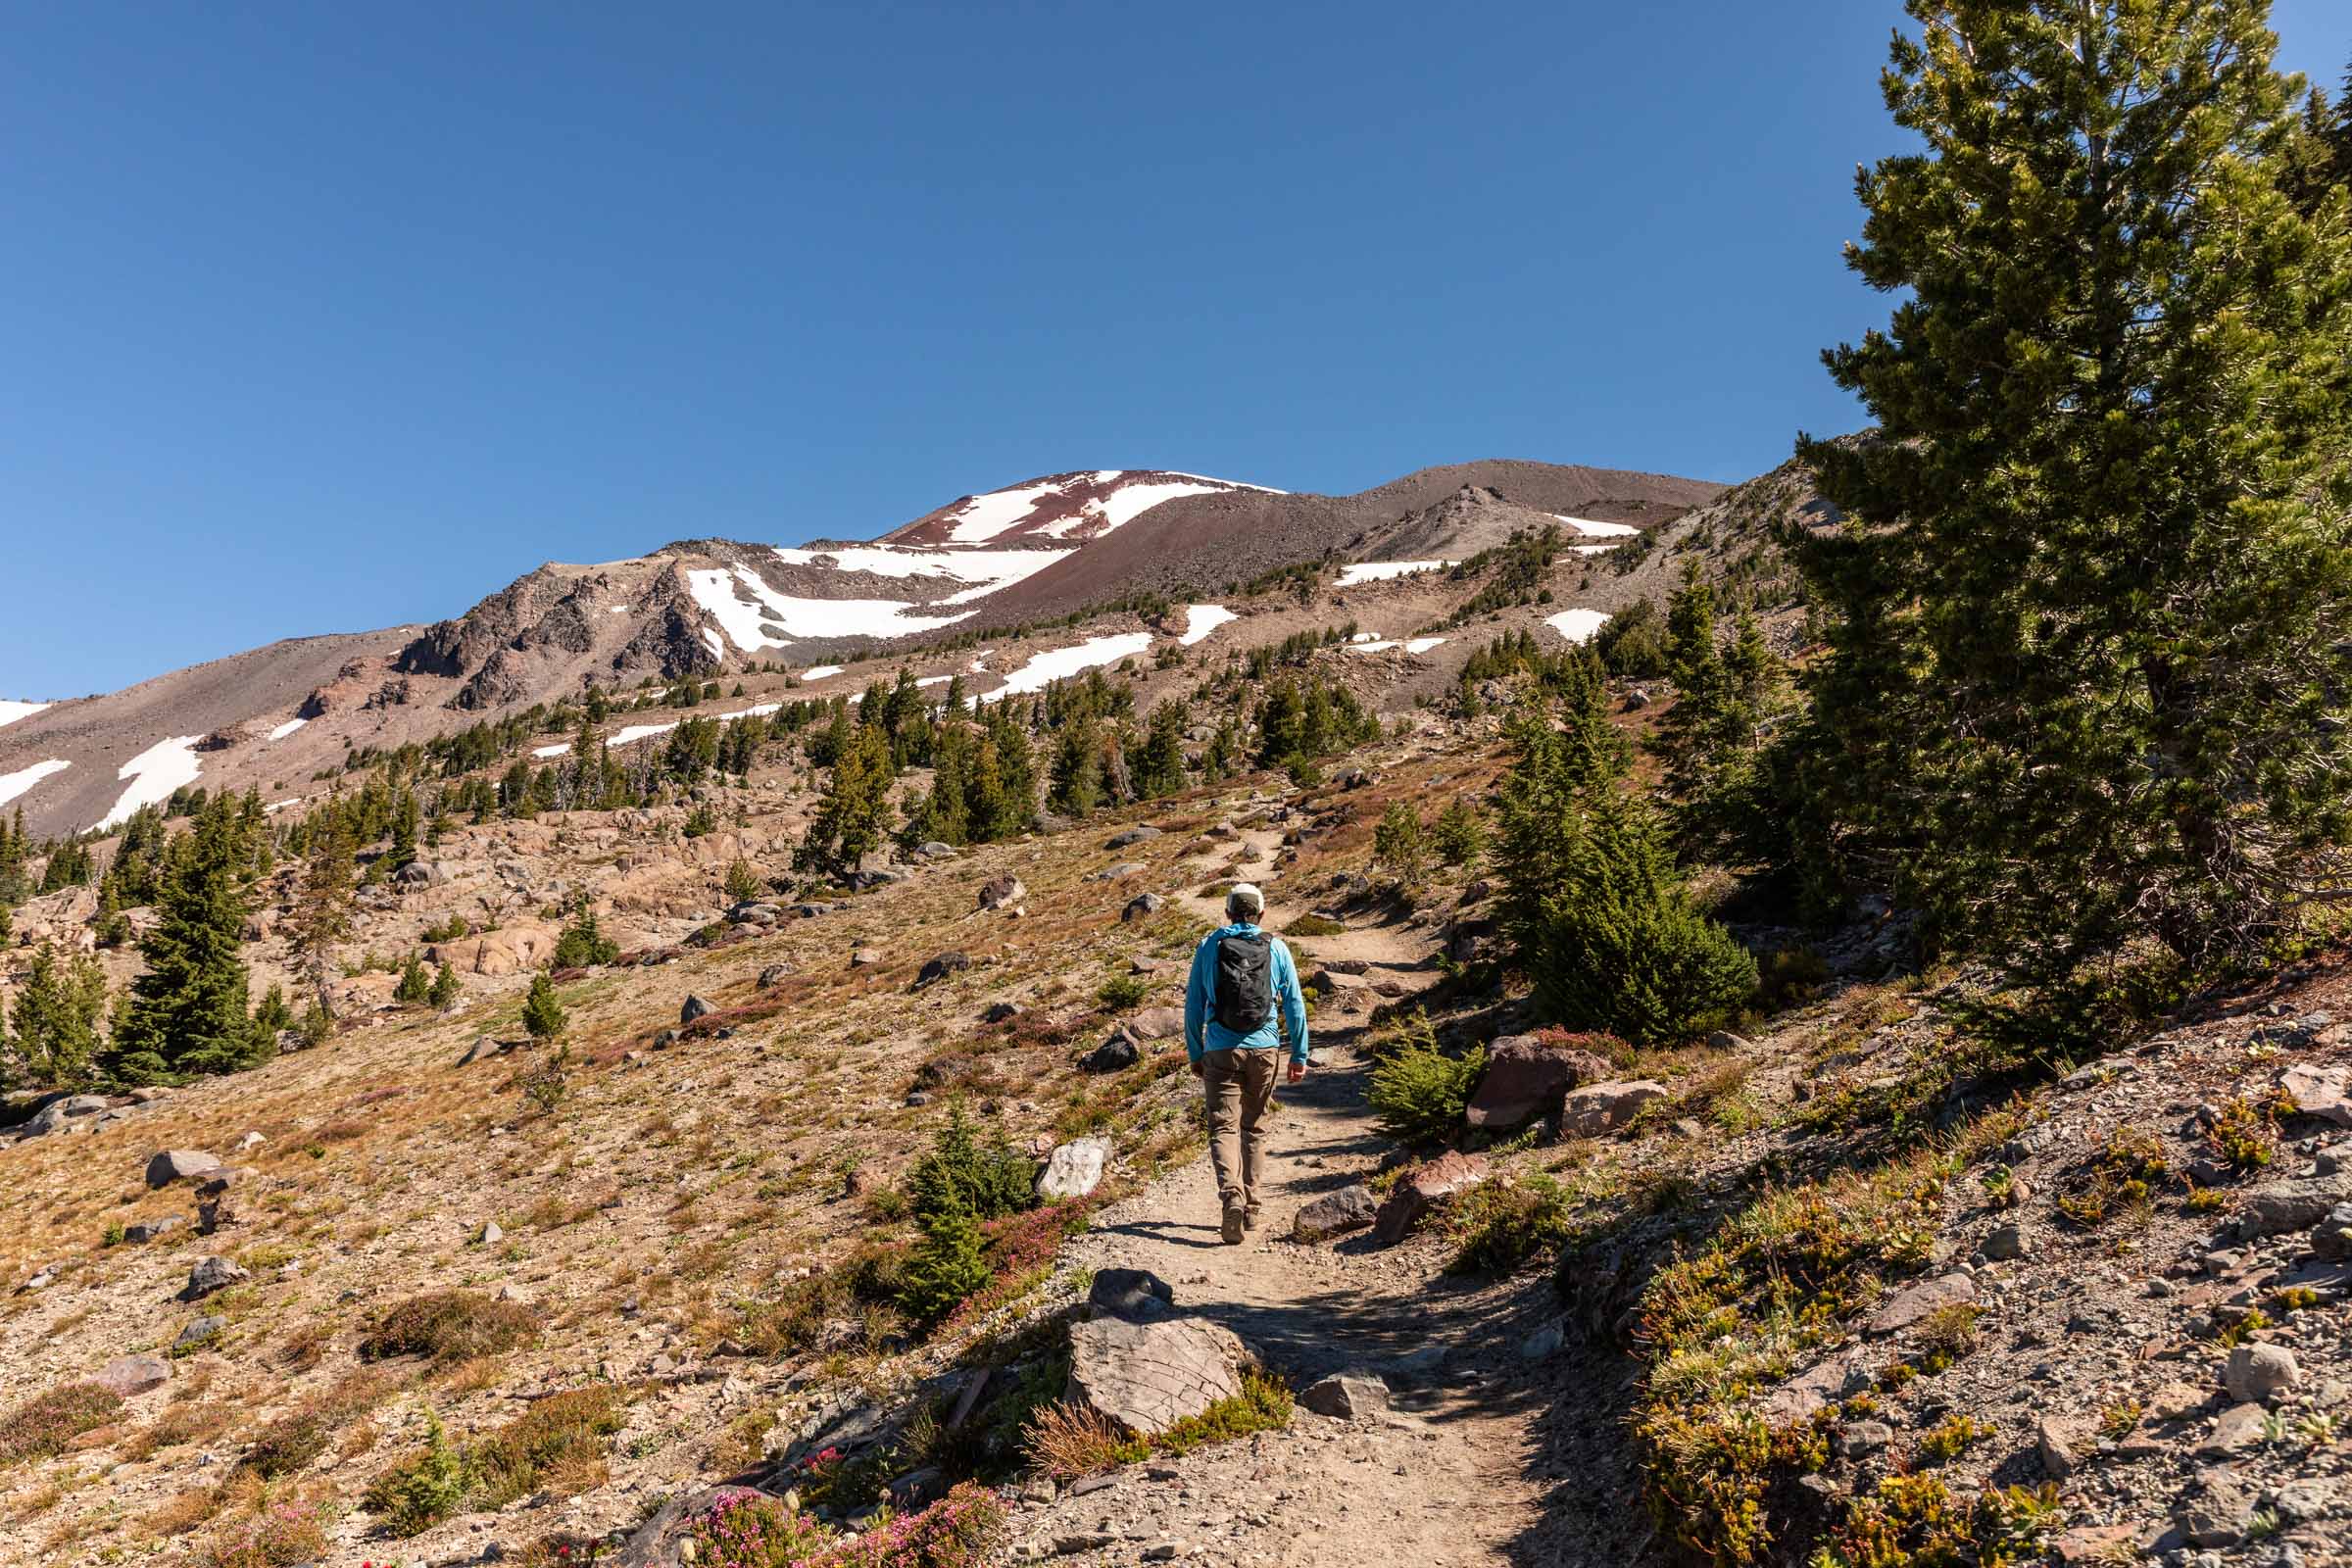
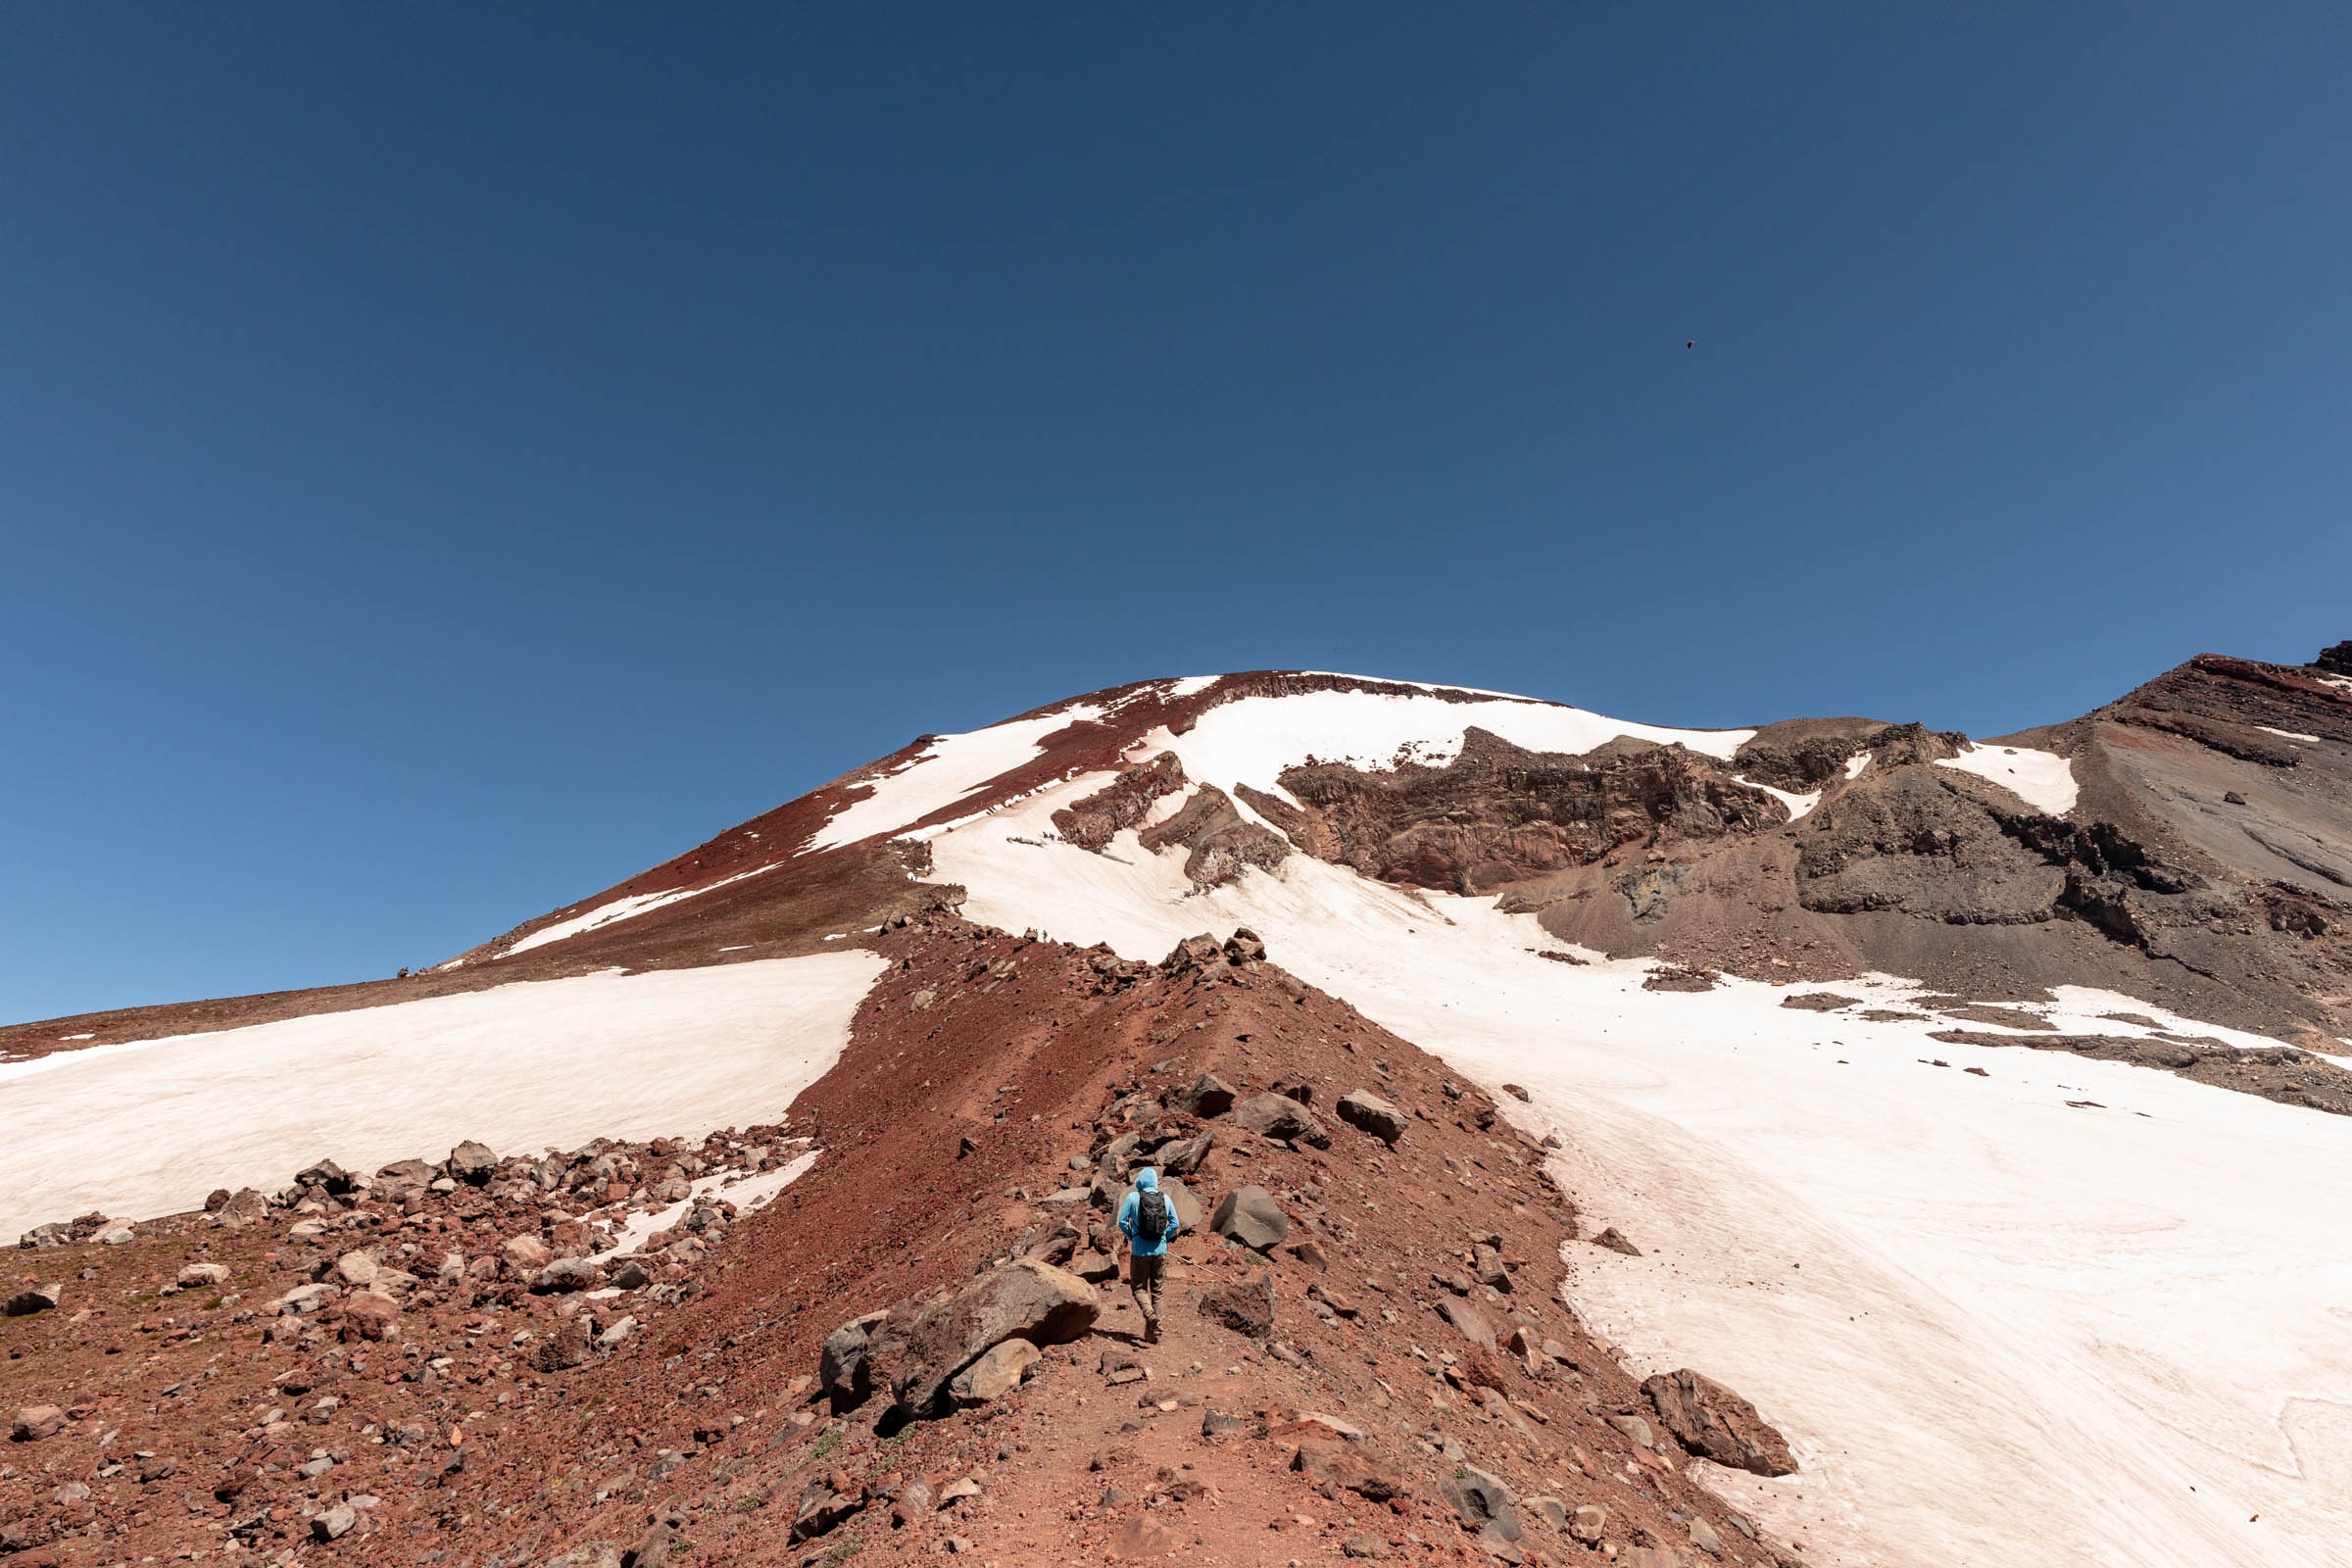
The next 2 miles gains 2000 ft and you’ll definitely feel and see the uphill. The trail is largely solid (no loose rocks) if you follow the trail correctly. Over the years it seems like people have put up a couple extra social trails that deviate from the main path. And perhaps those trails that exist due to the snow covering the true trail. Don’t deviate too far even if you’re on rocks and not disturbing vegetation because you can quickly get off-trail if you don’t pay attention. We saw 2 hikers descend down a wrong gully that got quite a bit trickier for them because they weren’t on trail. But overall, if you head north and pay attention to the trail, you really wouldn’t get lost here in the summer. We saw a few glissade paths that didn’t seem worth it this time of year since you’d have to get off trail to even take advantage of it. A short respite from the steepness around 8200 ft high and then a rather steep section to get to the saddle.
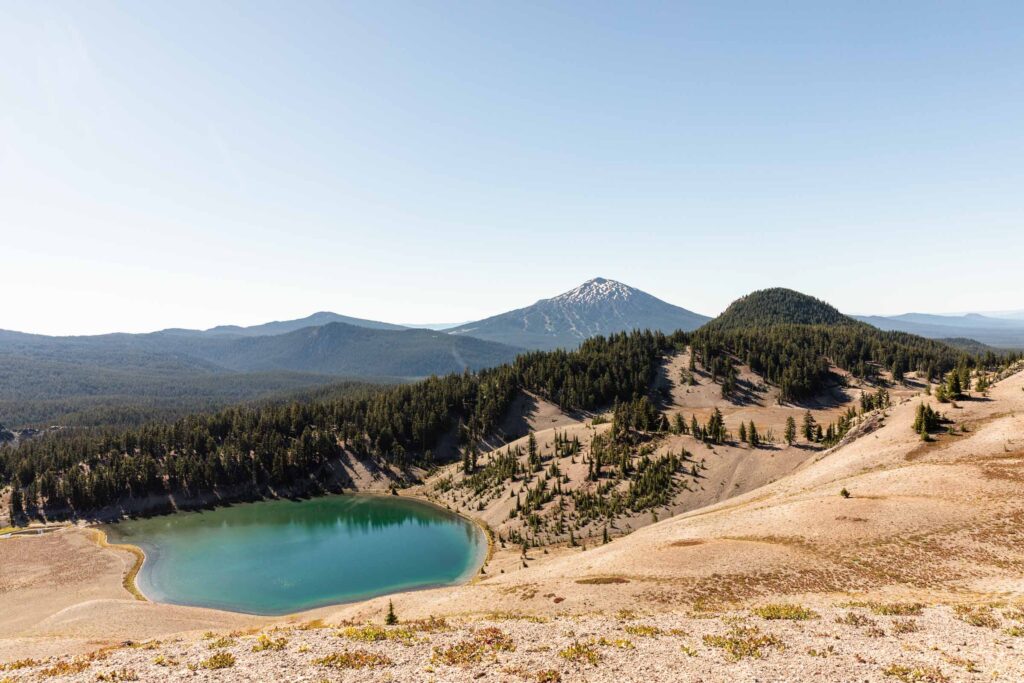
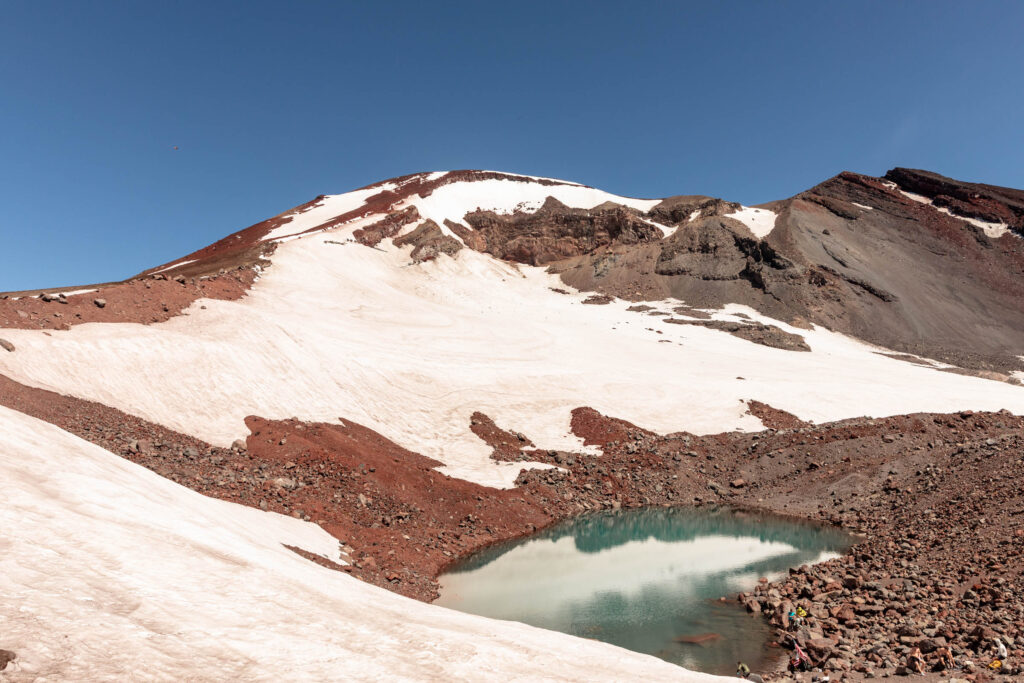
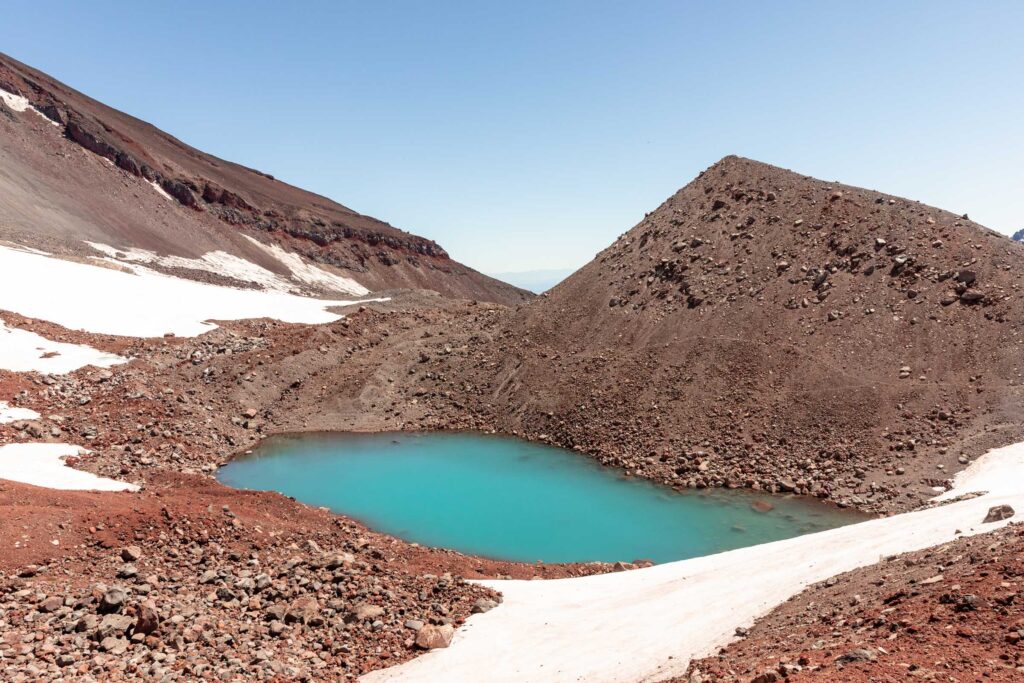
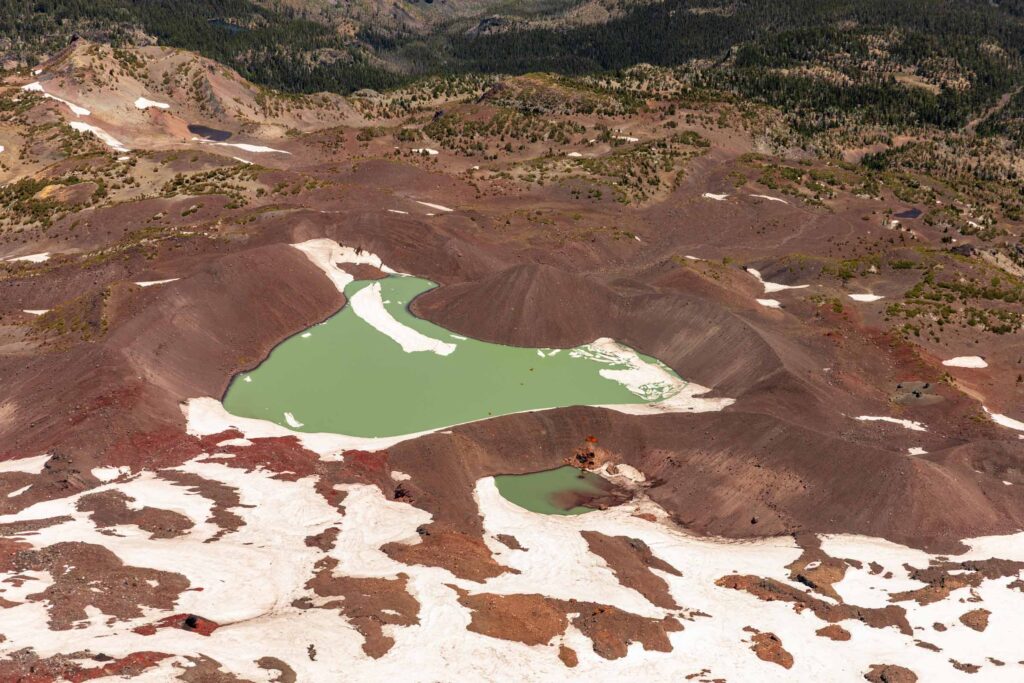
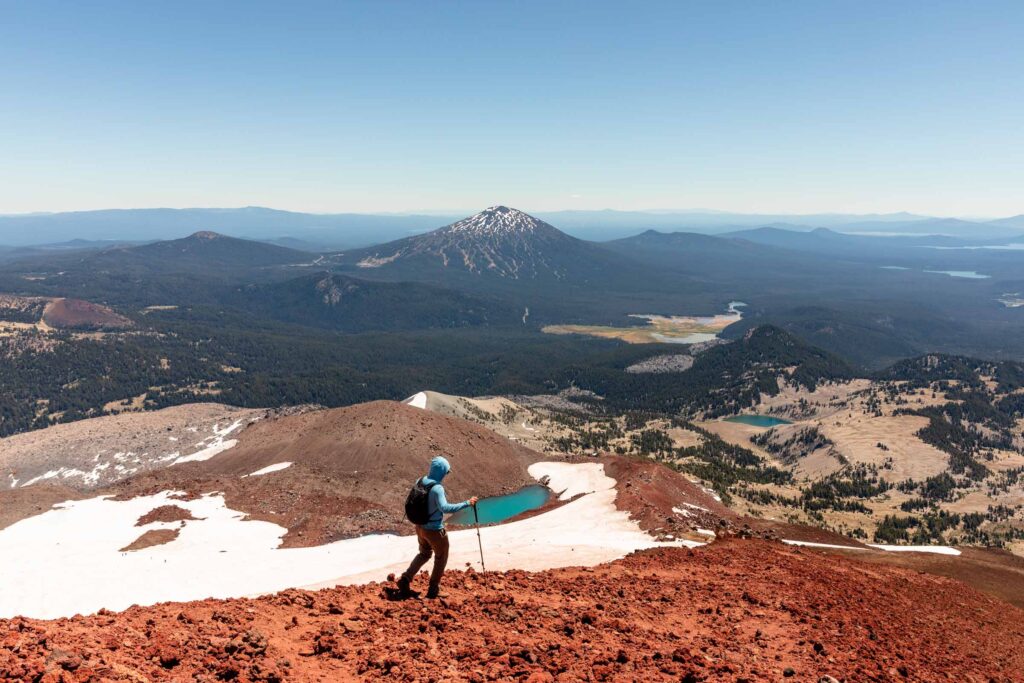
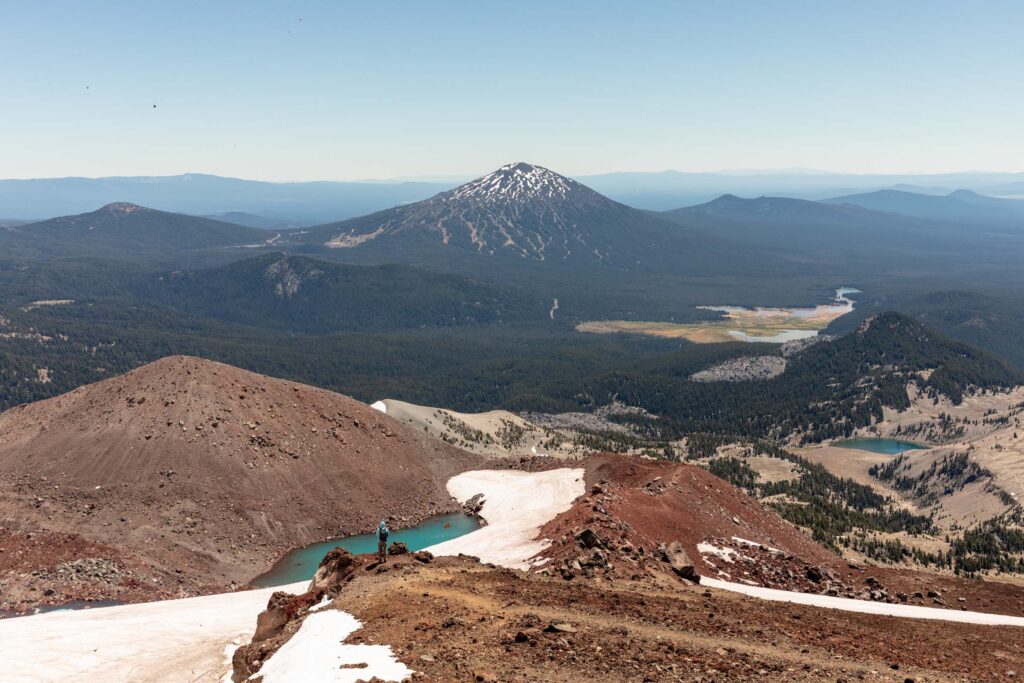
This is where the unmaintained trail to Green Lakes meets the South Sister climber’s trail. It’s also where the gorgeous tarn at the base of Lewis Glacier sits. I honestly had no idea what color of water would be up here and totally made up for not detouring to Moraine Lake. This is the end of the more developed trail and the start of what people consider the loose part of the hike, or climb. You can filter water here before the last major uphill.
Key Aspects: Spotty shade in the beginning as the trees get sparser and shorter, feels like a stair stepper
Stats: almost 2 miles, 2000 ft gain through the middle of the climb to the base of the Lewis Glacier (or saddle)
Part 4: Lewis Glacier Rib
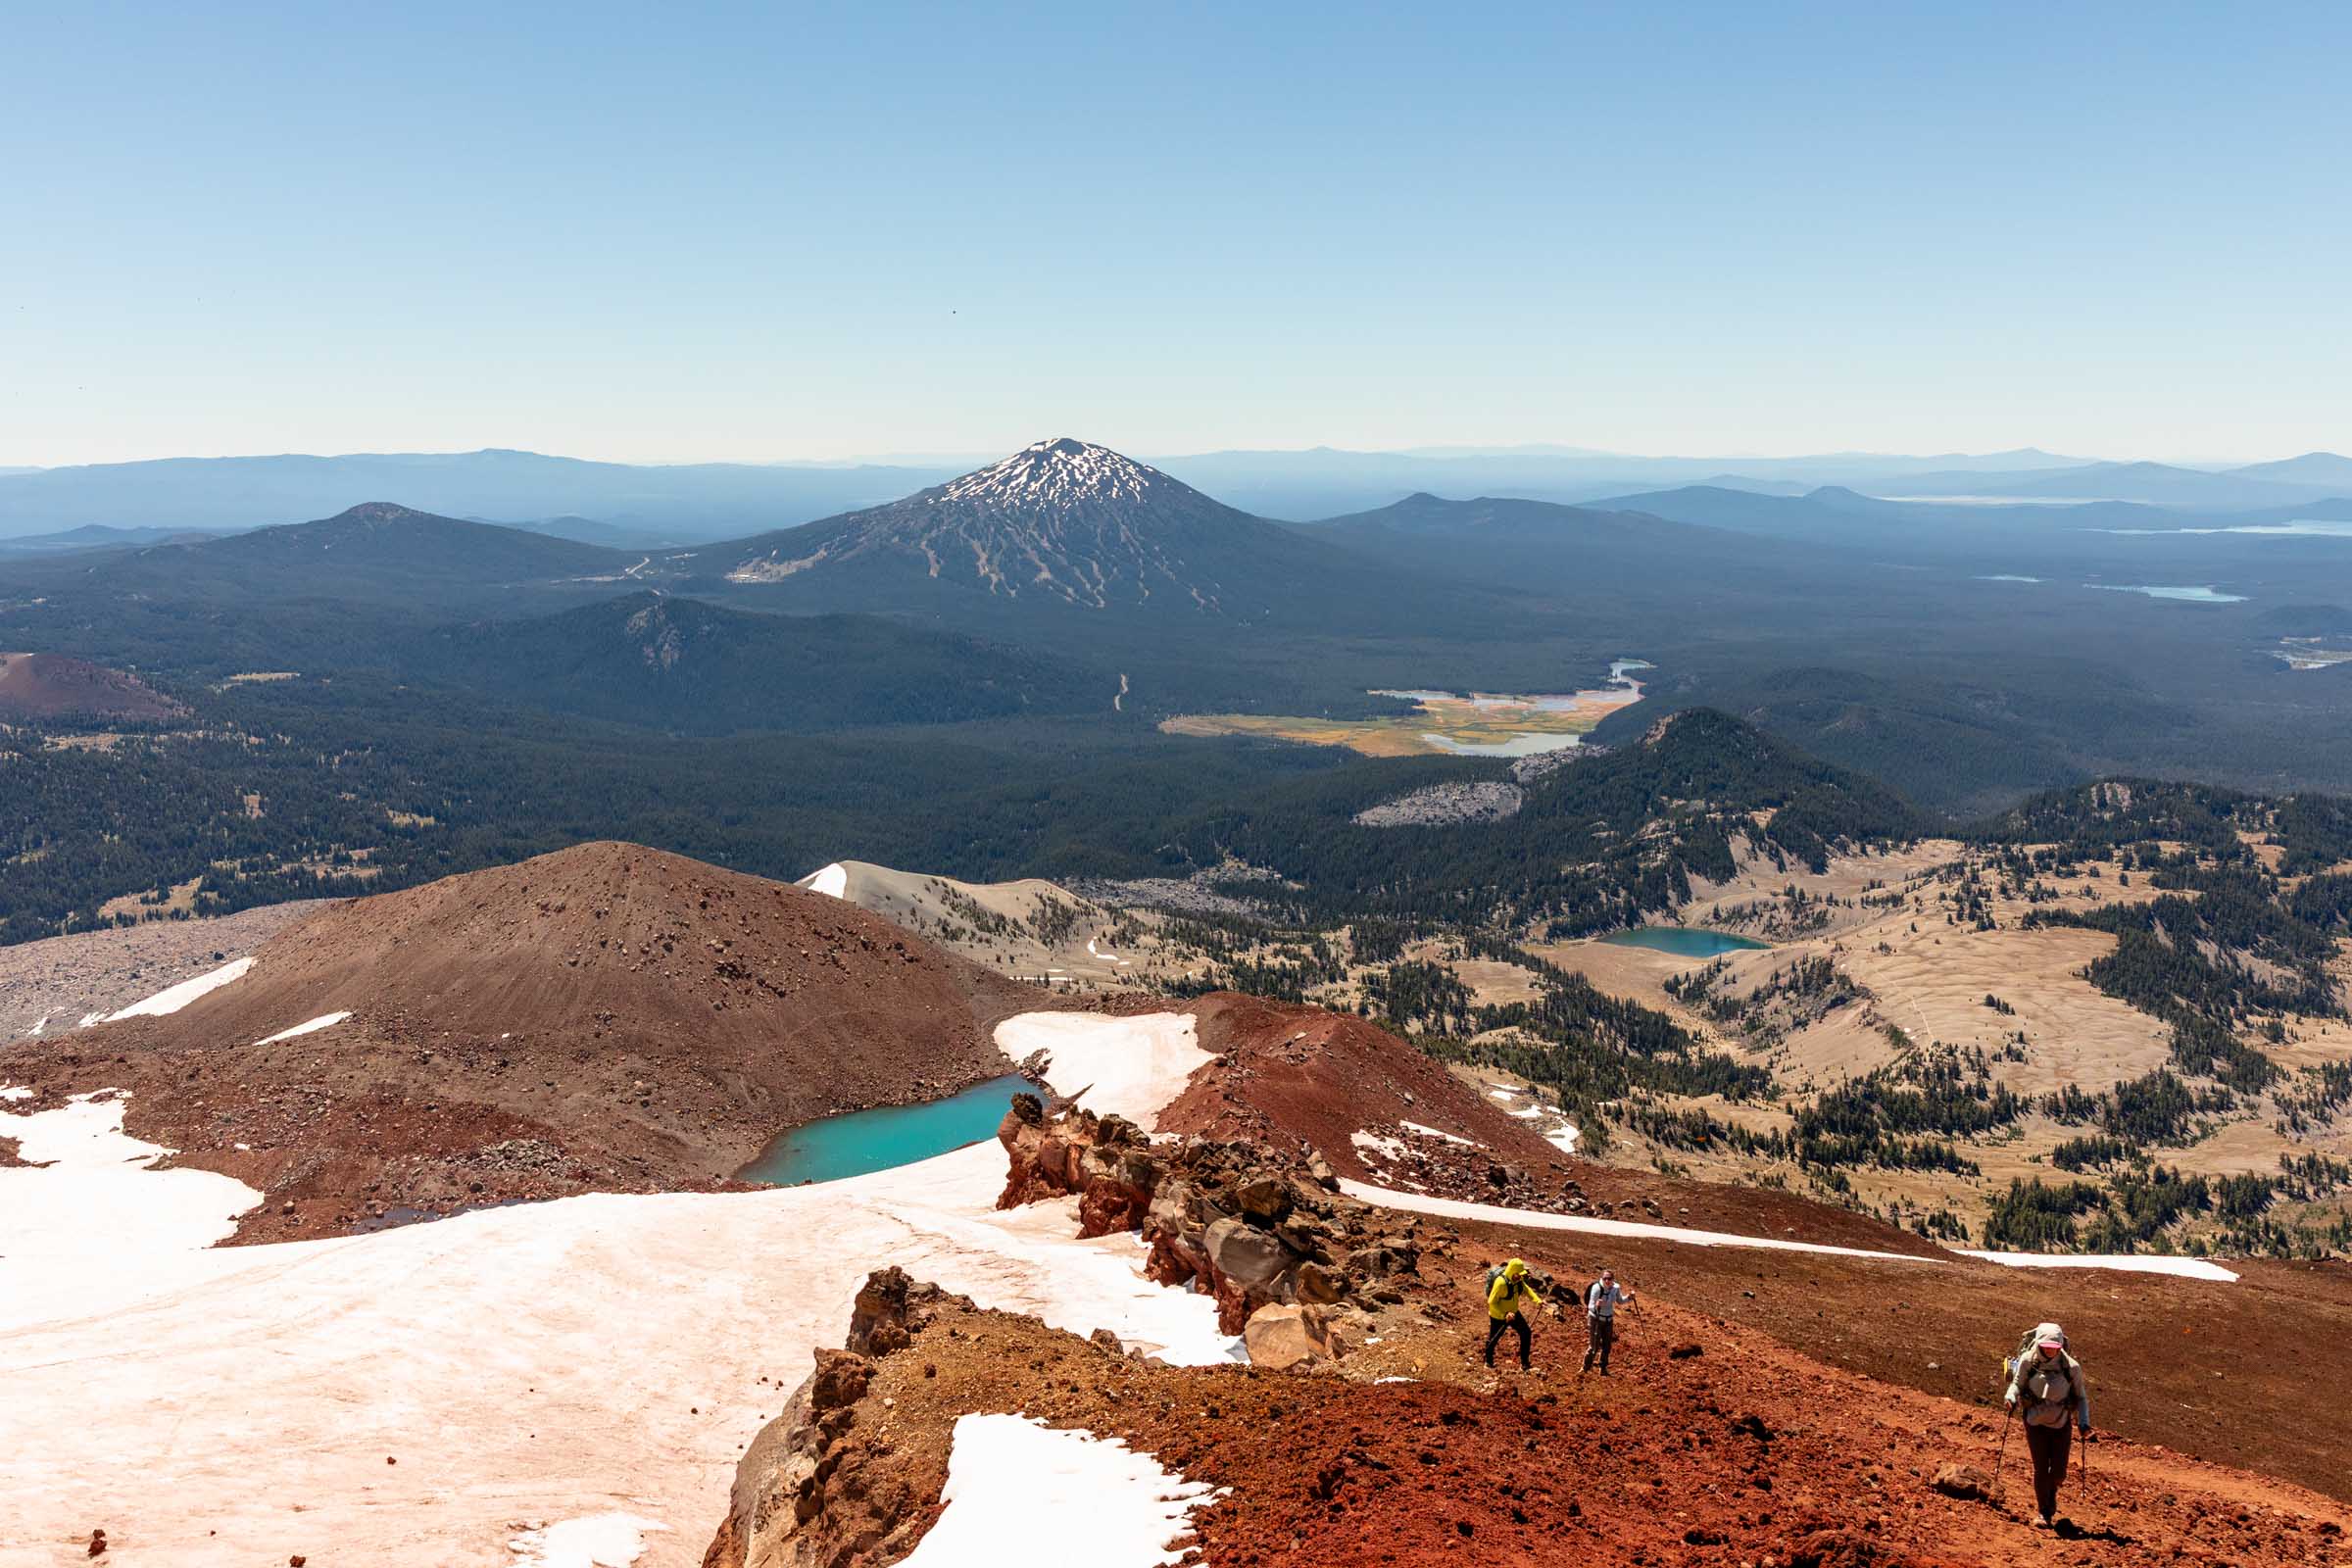
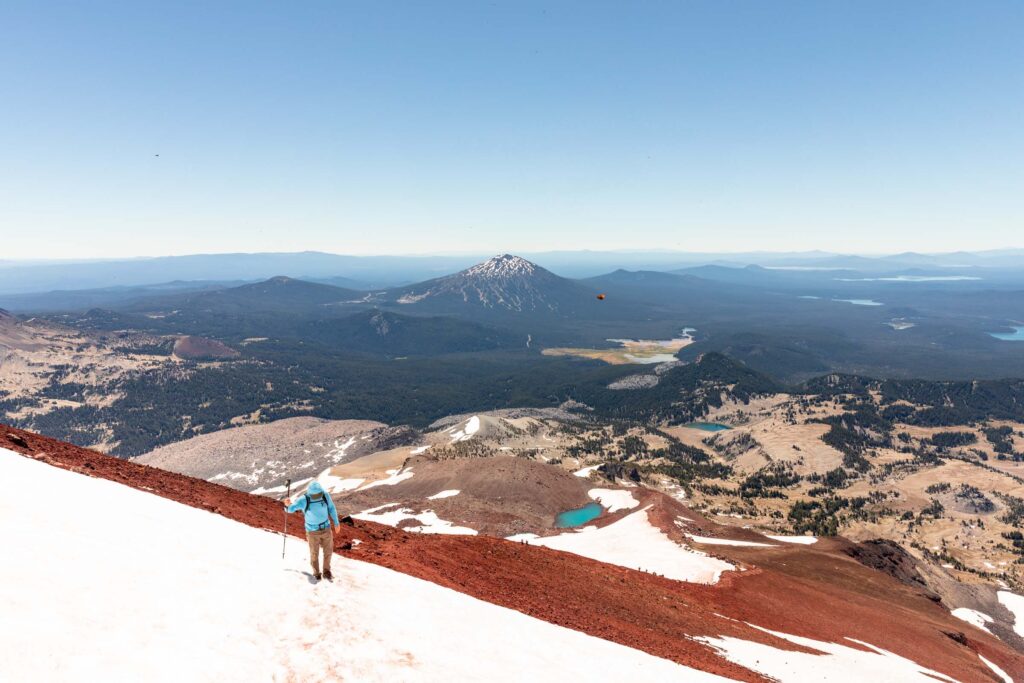
We barely found shade to sit under next to a rock at the little tarn. So we quickly snacked before the last uphill. The summit looked so close, but distance was hard to judge without the people ahead. This is by far the steepest section, gaining 1300 ft in under one mile. The trail gets noticeably looser but if you do stay on the main trail instead of the woven cuts, it feels more solid. Plus I found that some of the minor switchbacks built into the trail make it feel more gradual instead of one step up and two steps back feeling. Obviously more experience on this terrain will make it easier over time and the downhill is definitely harder than the uphill mentally.
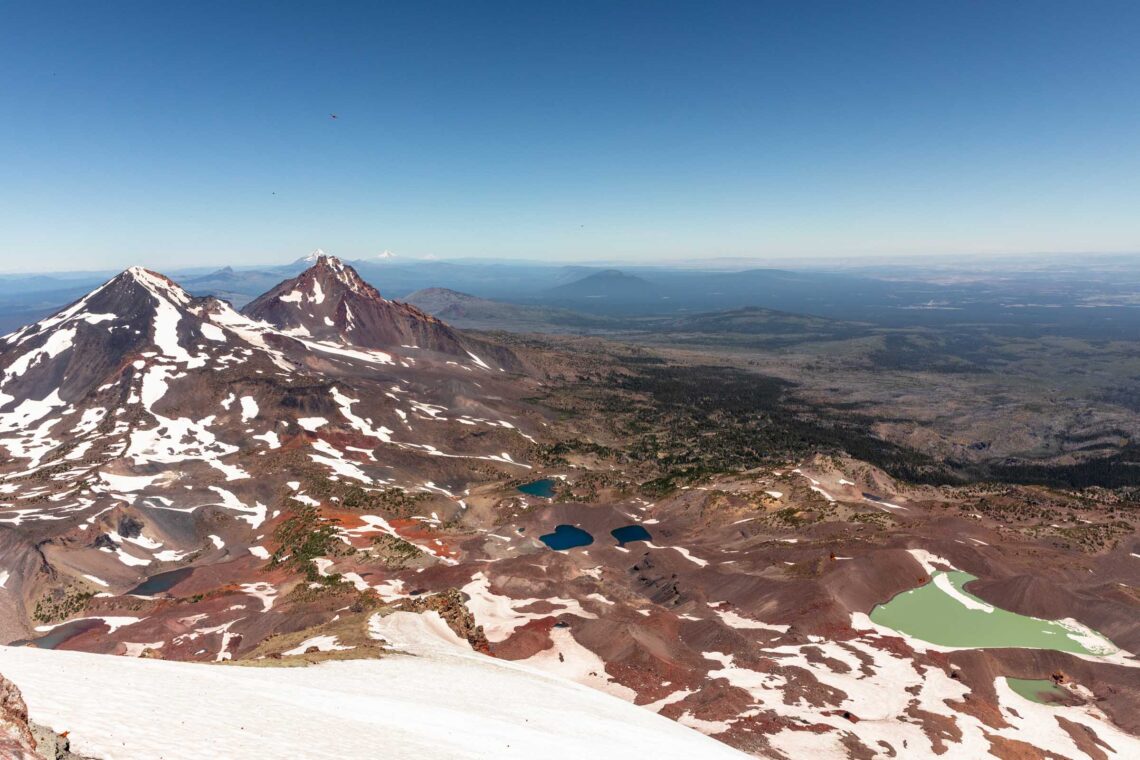
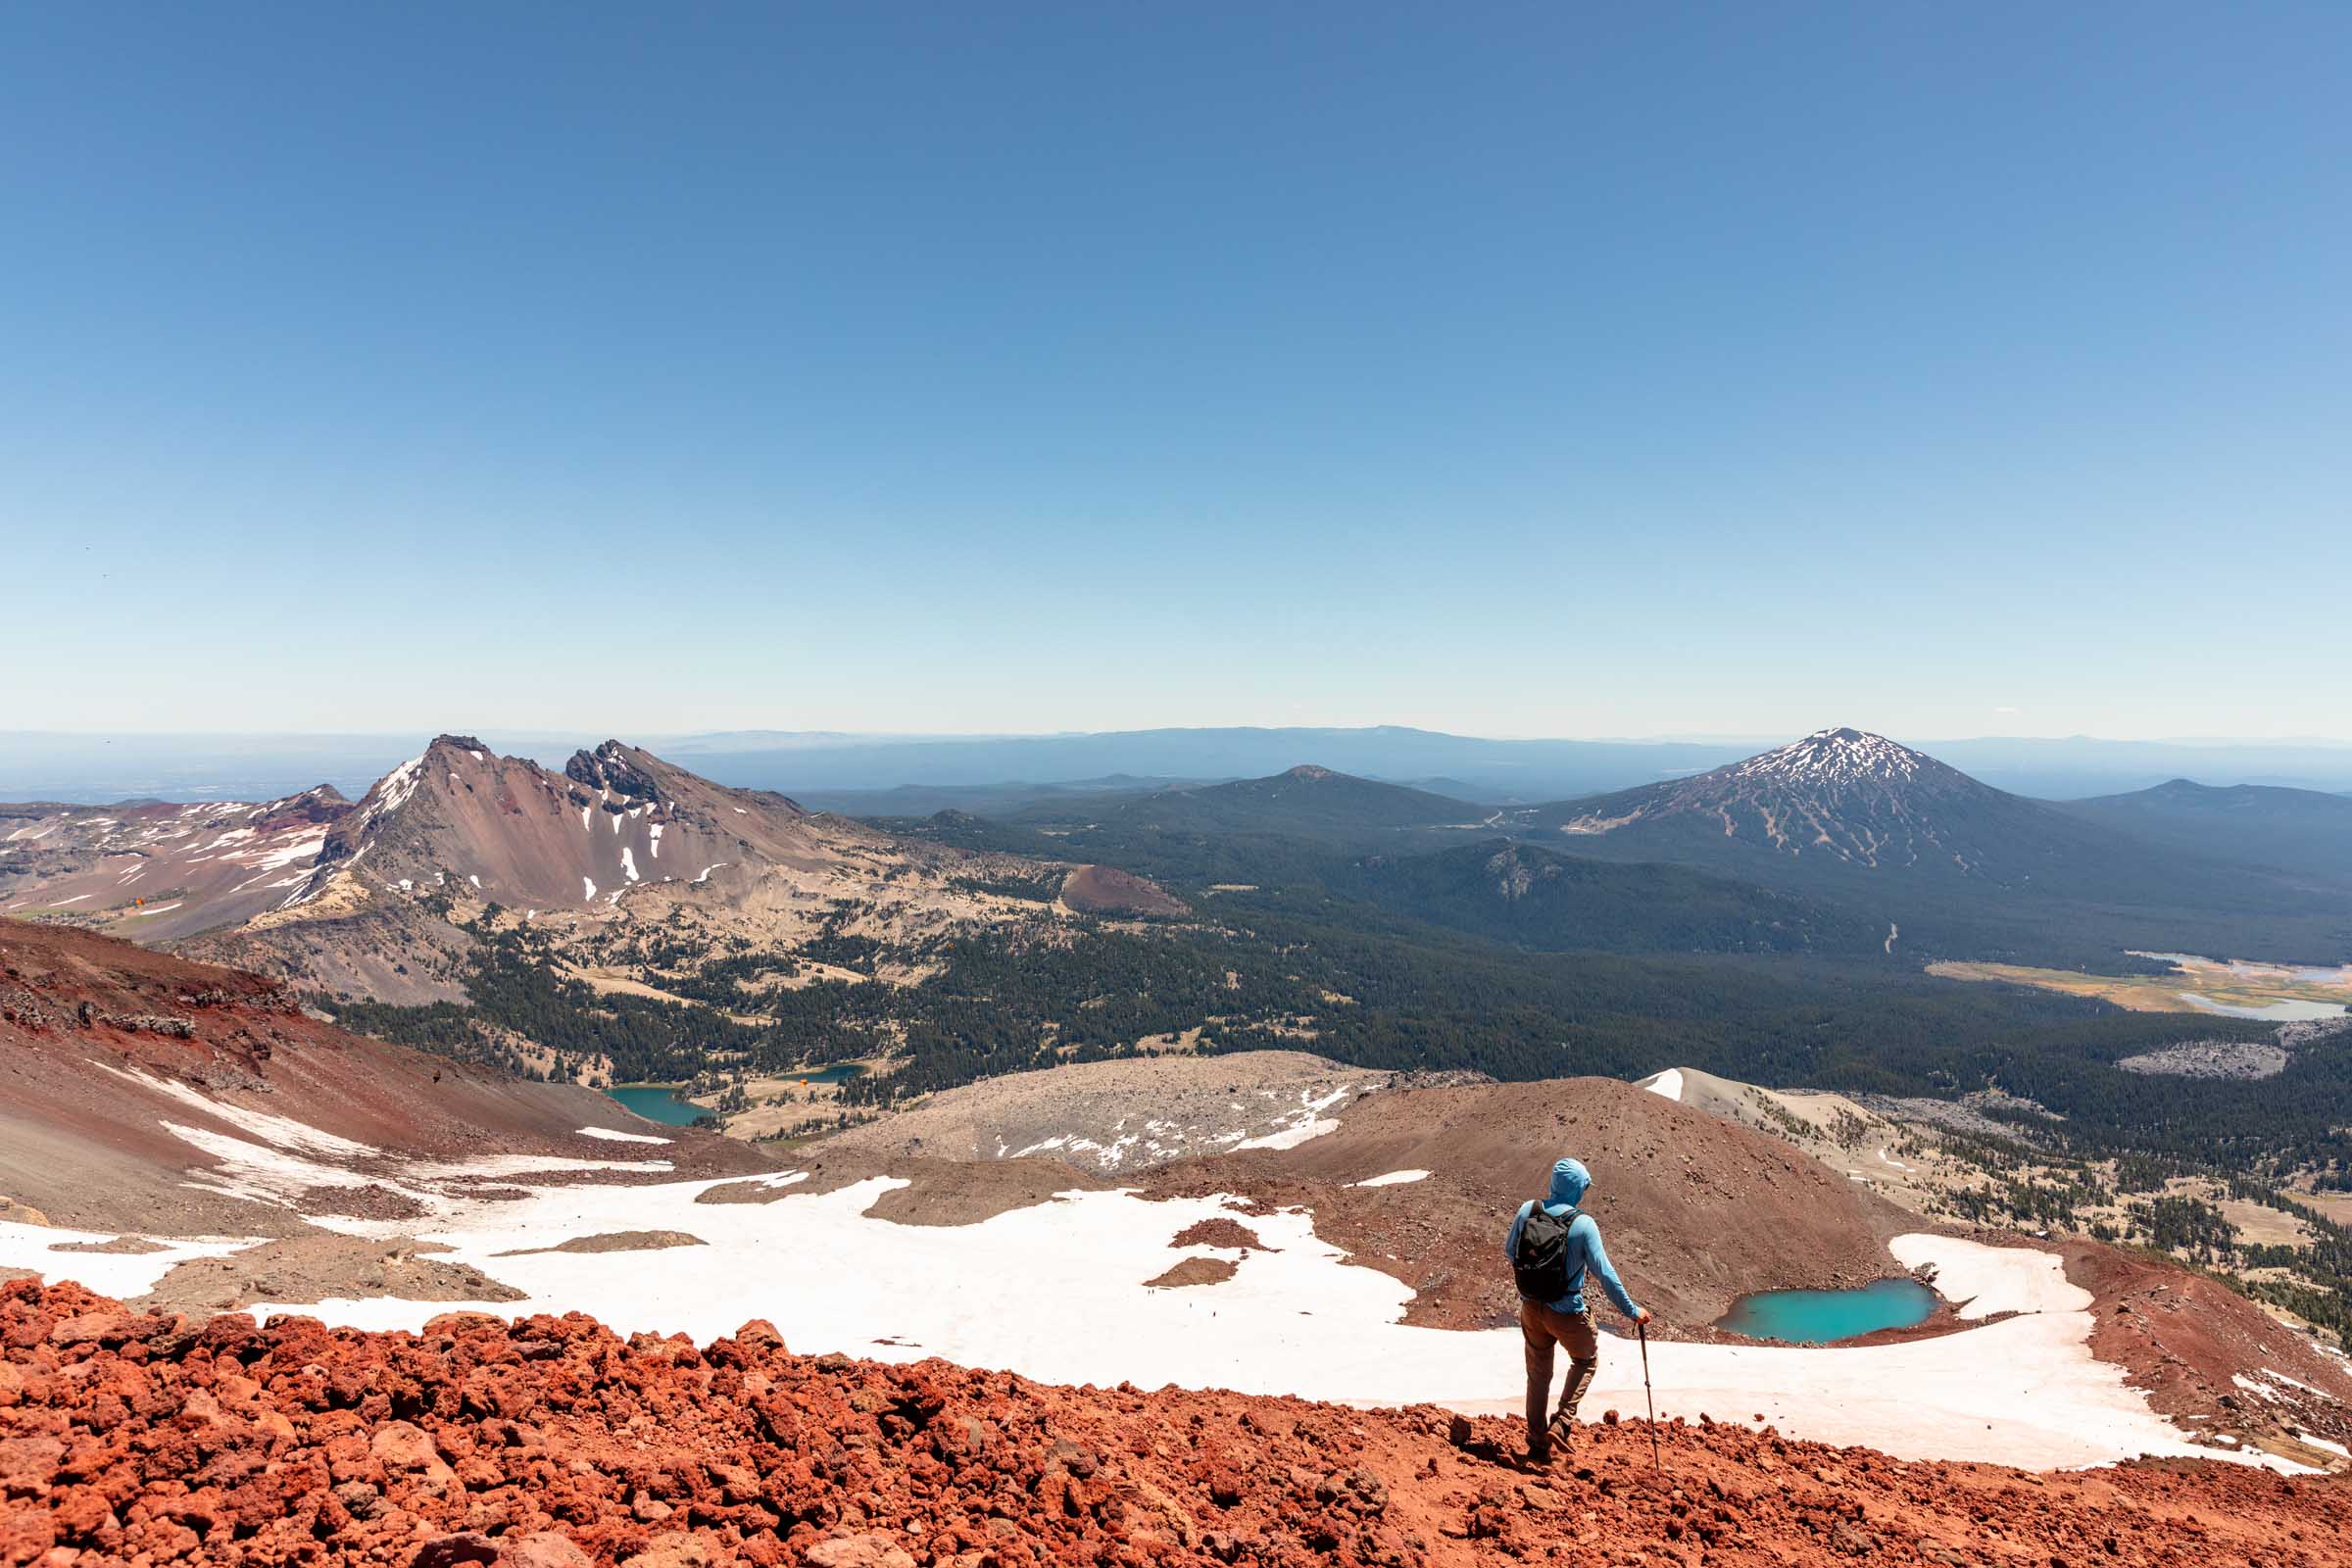
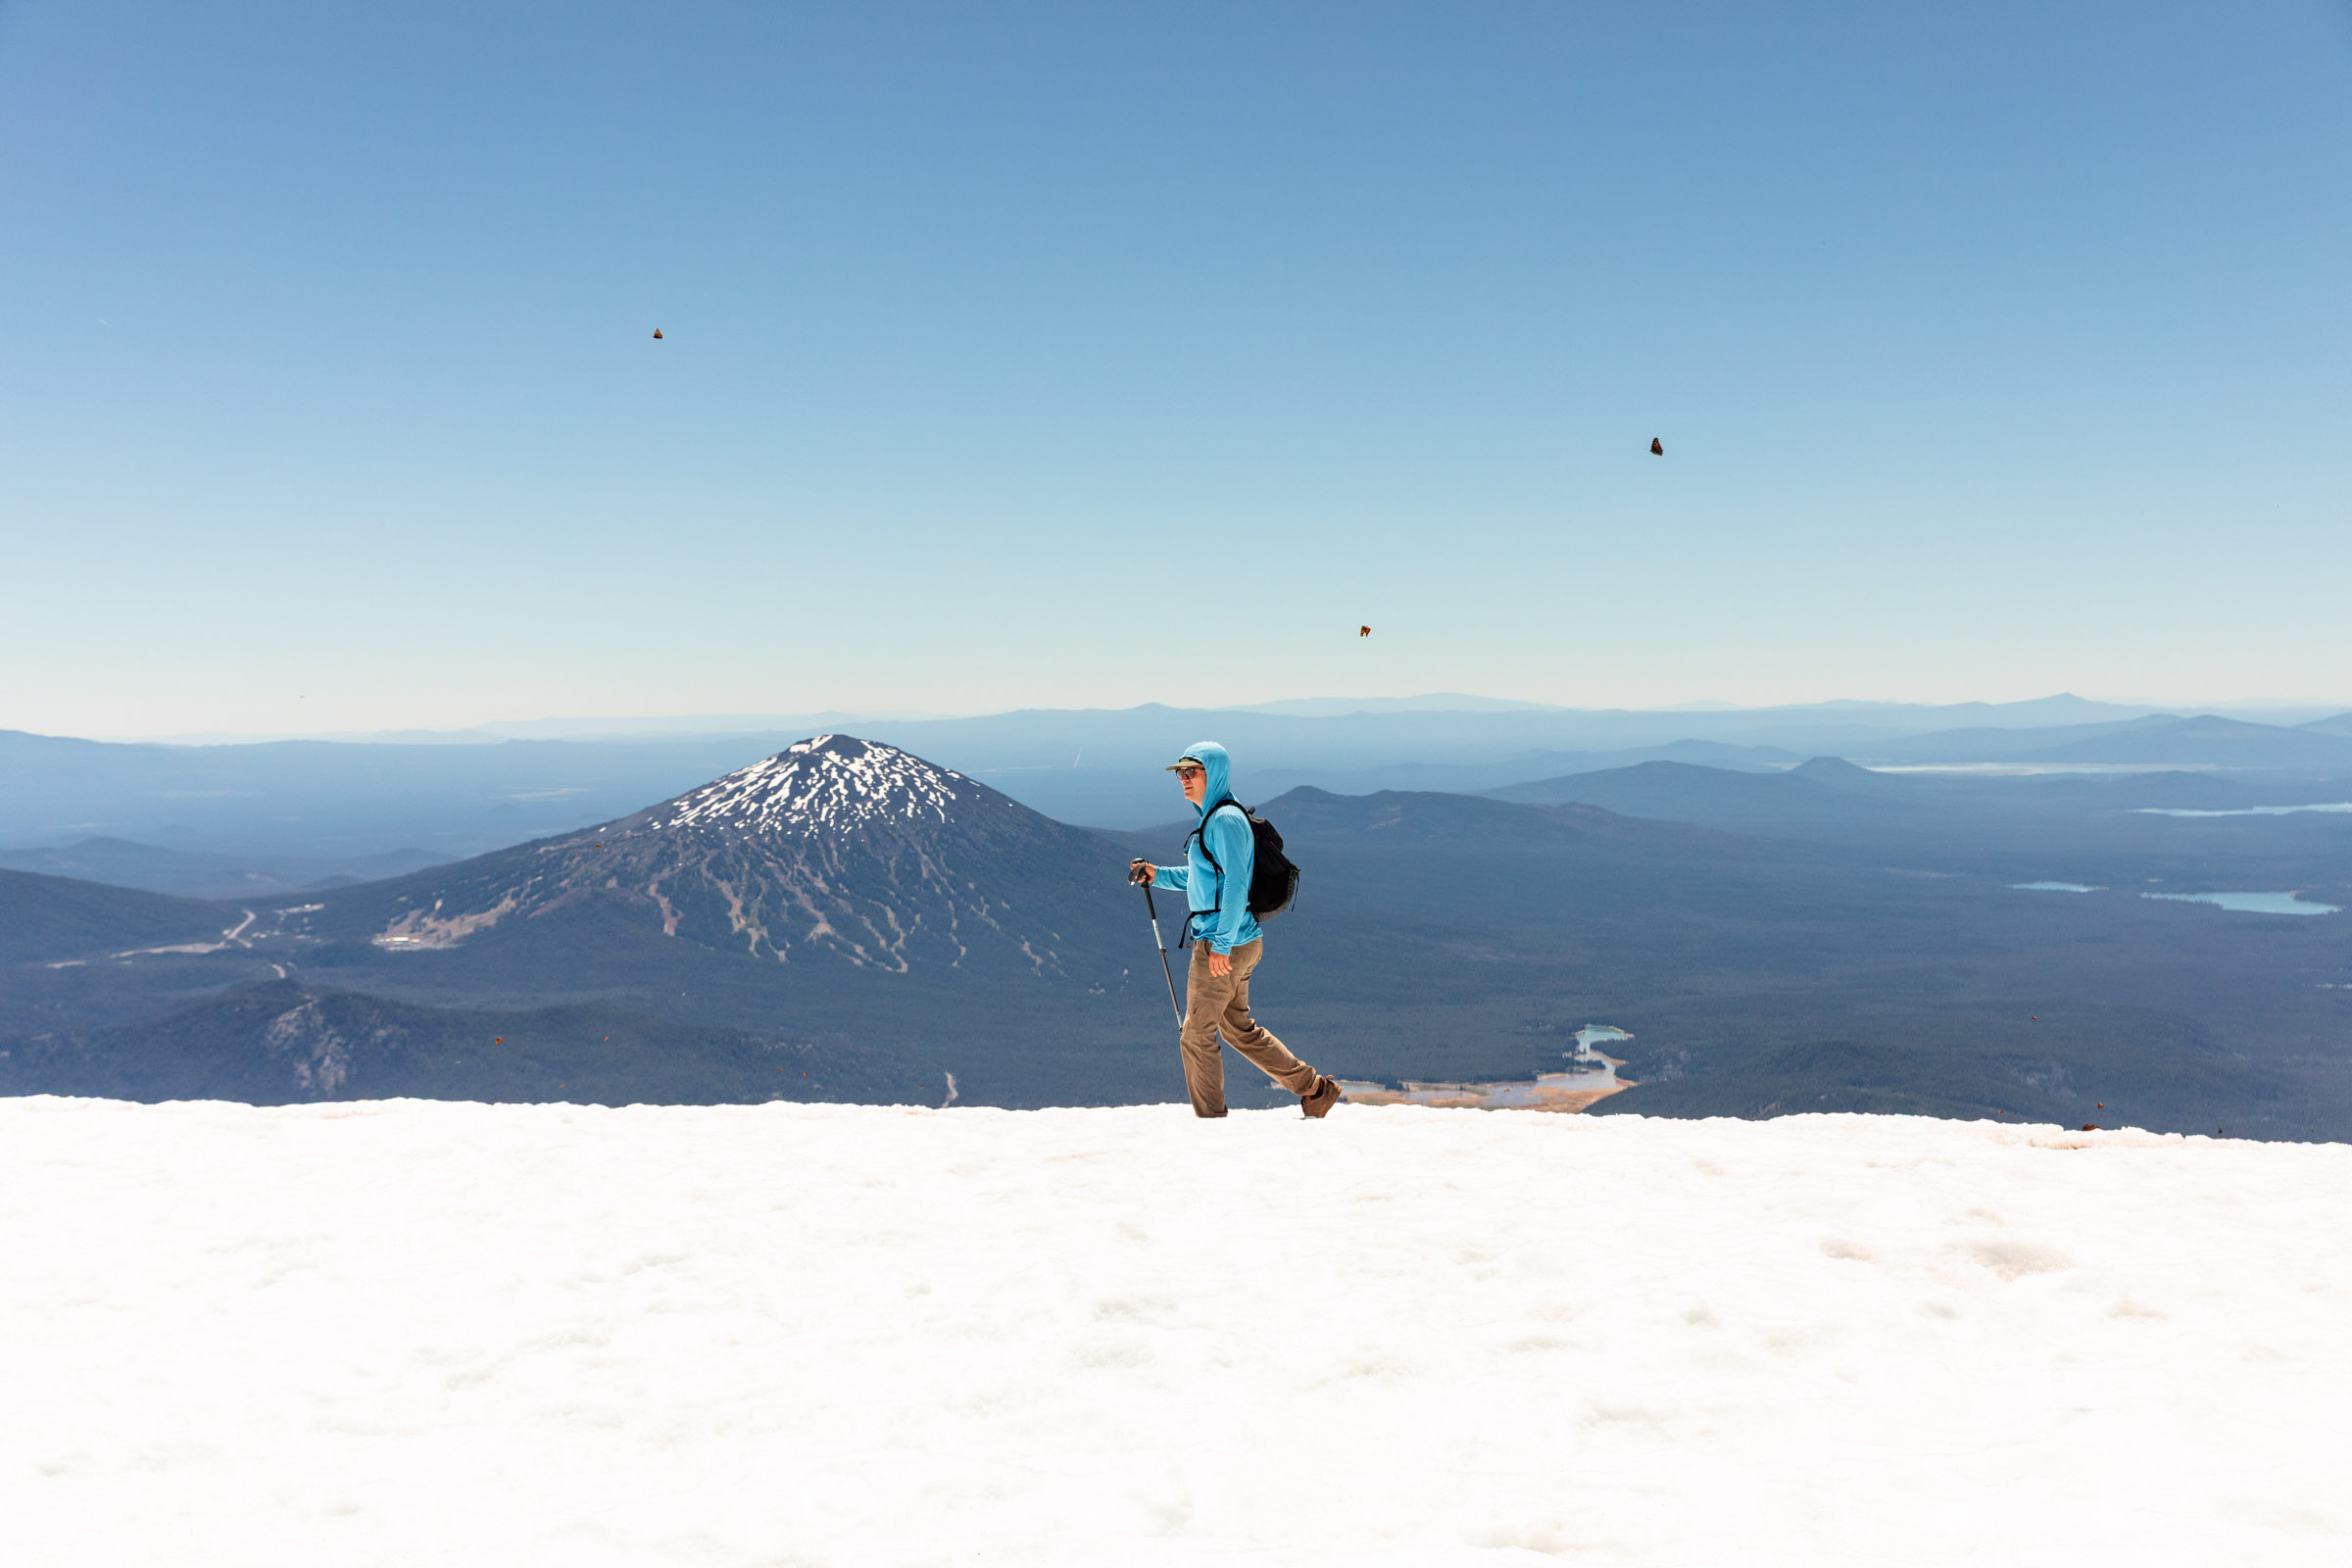
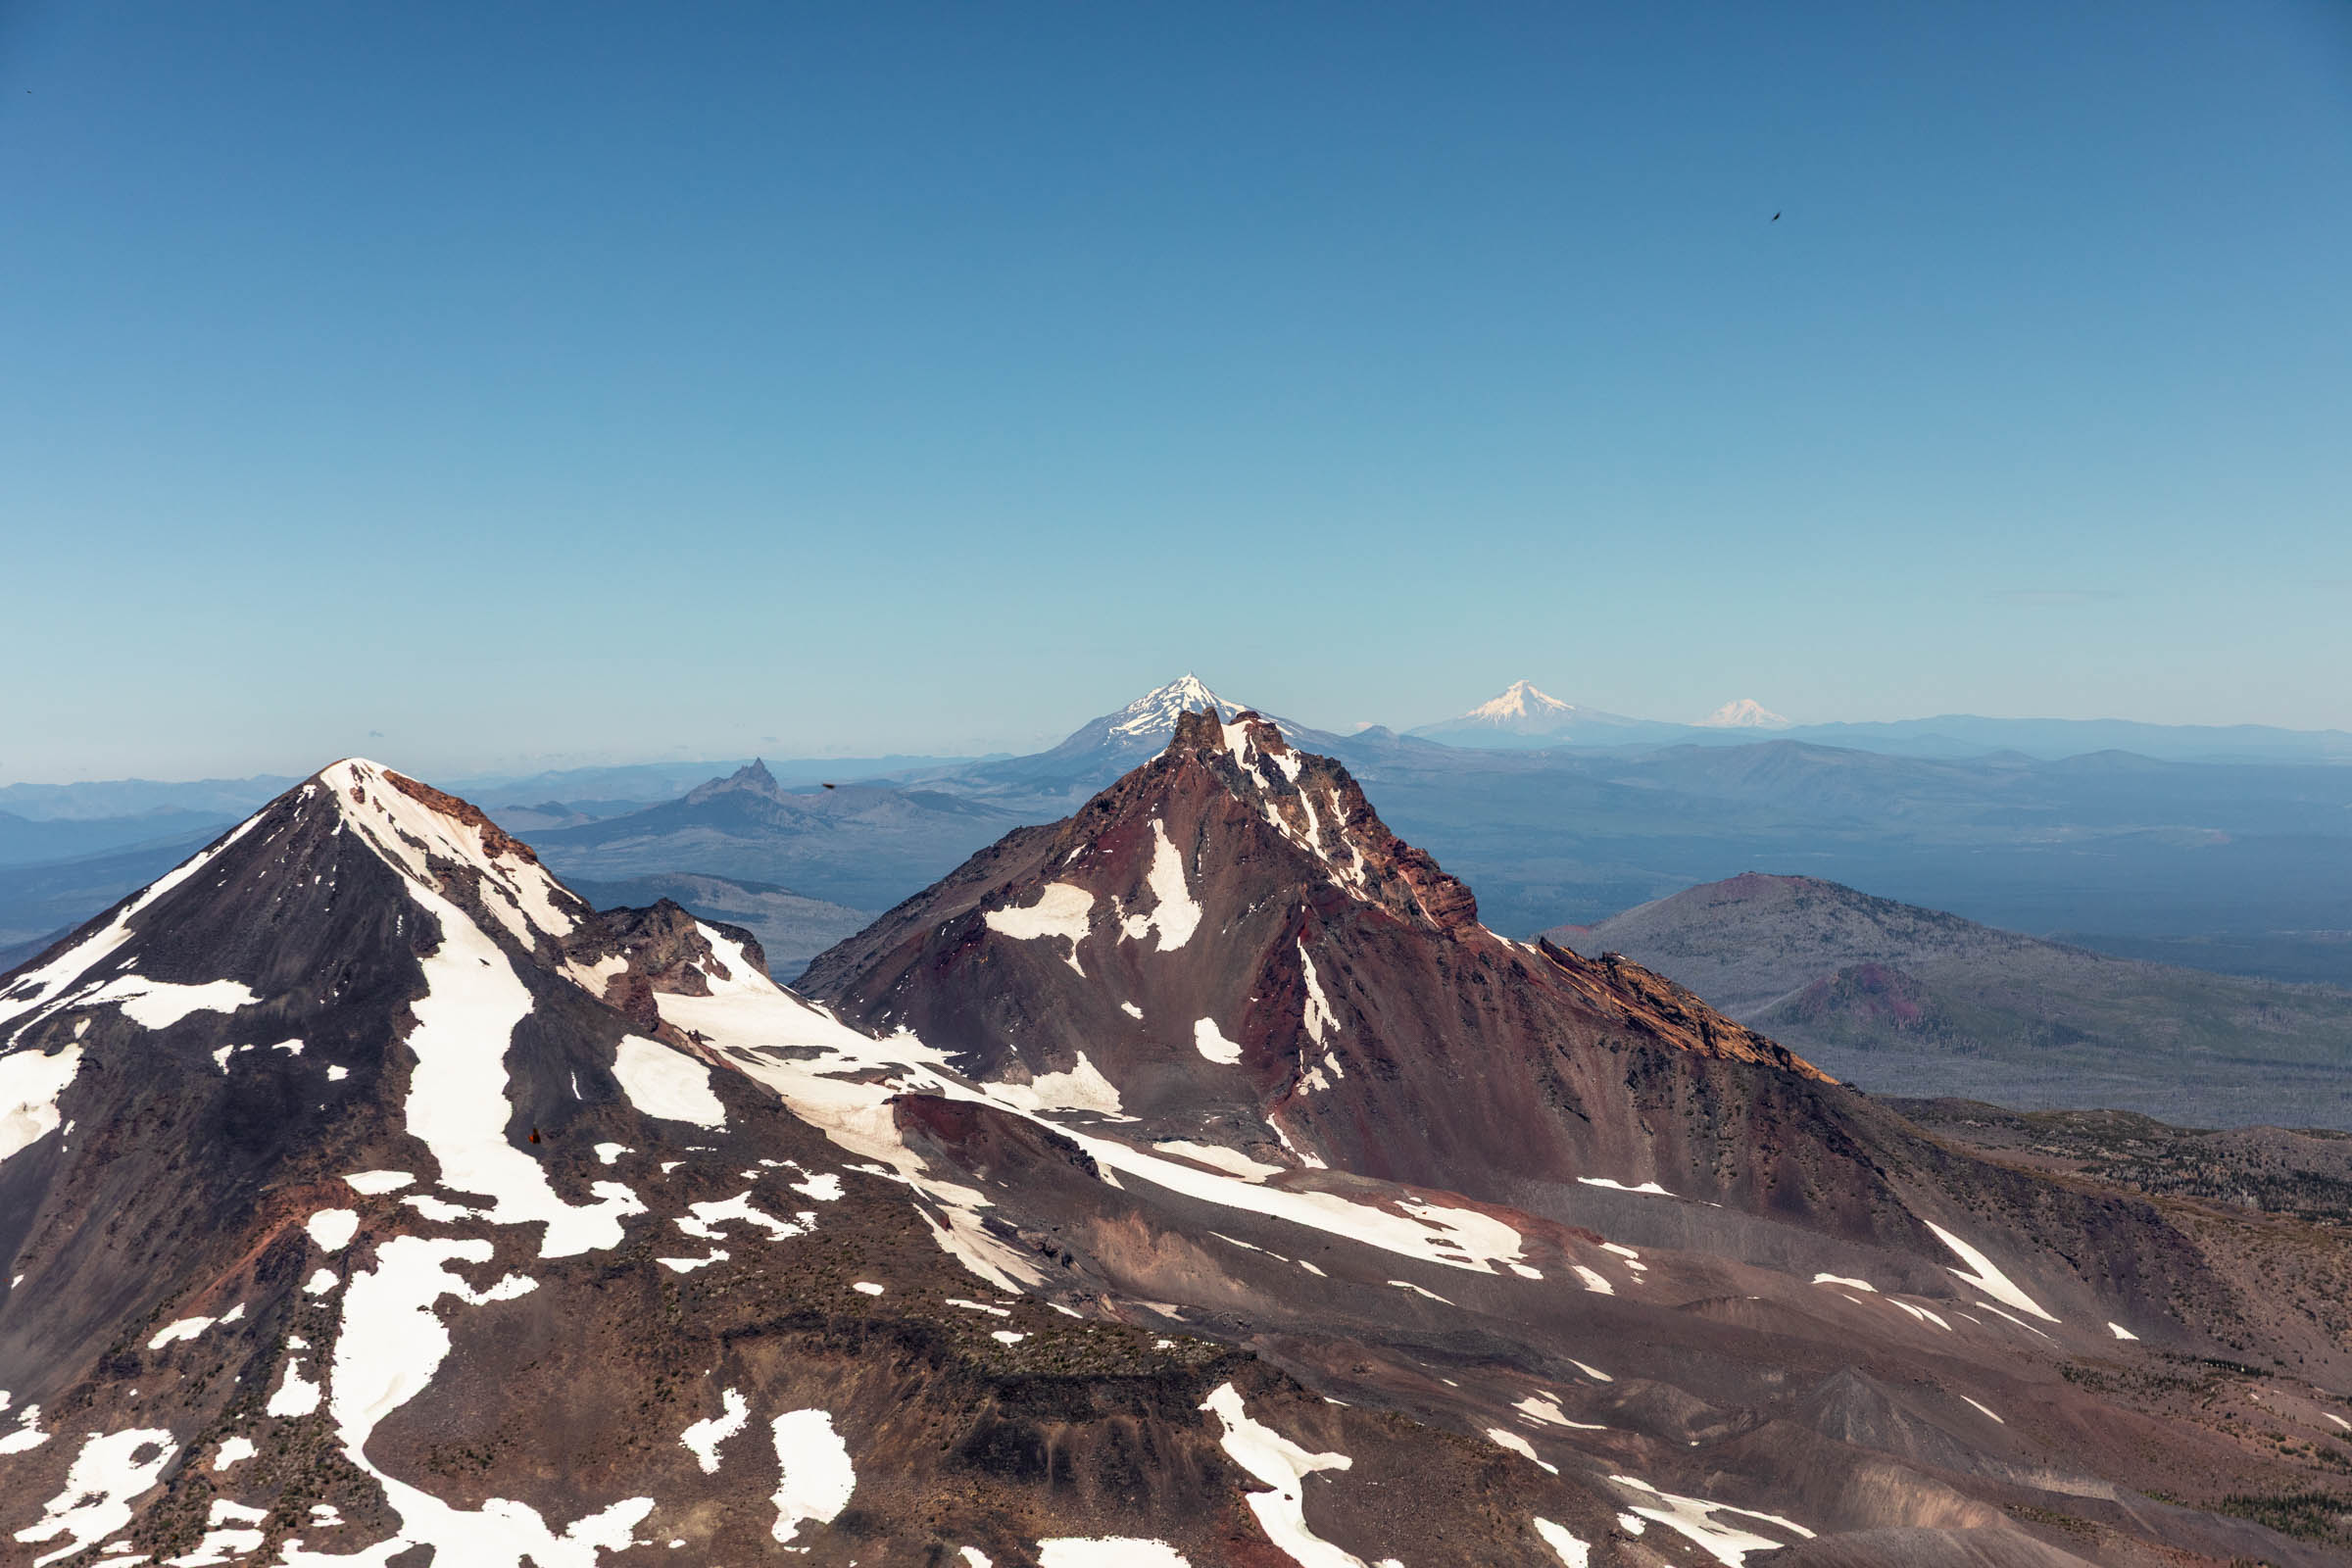
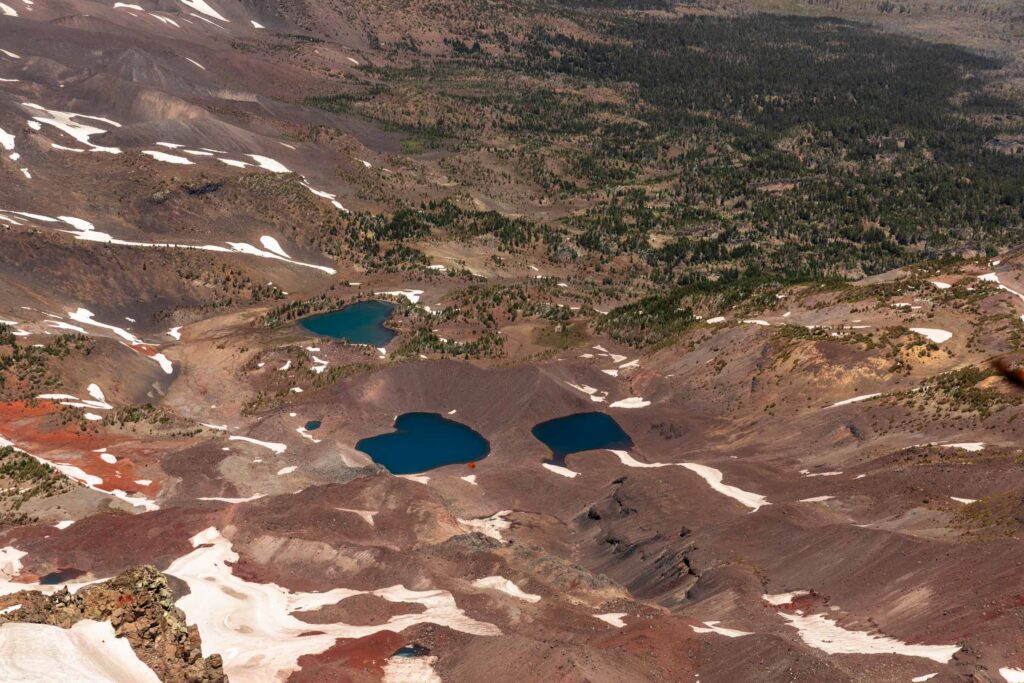
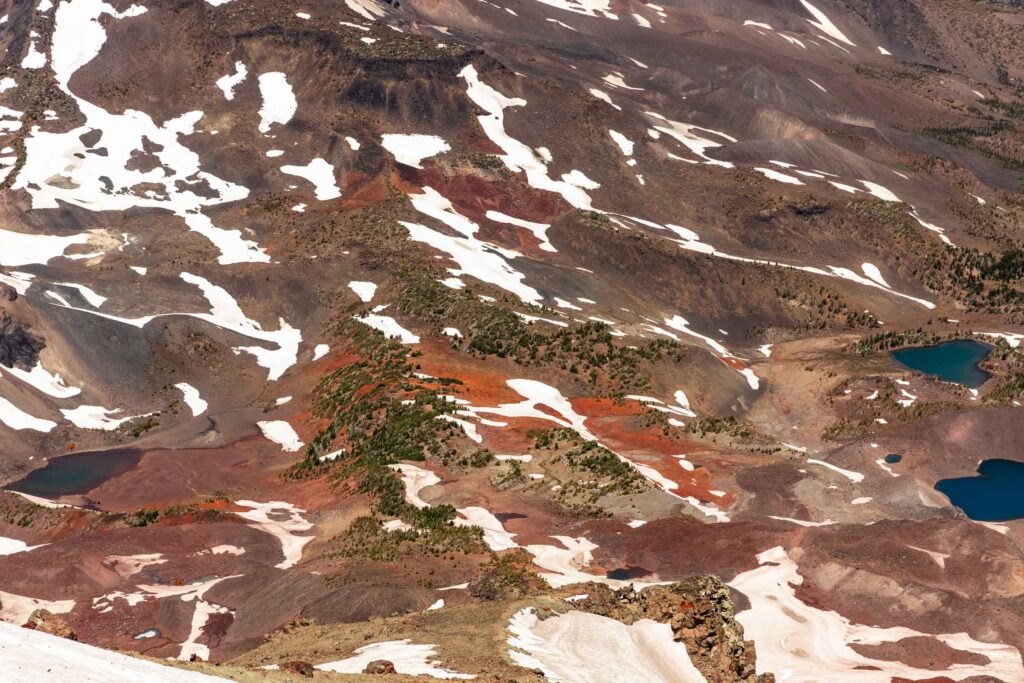
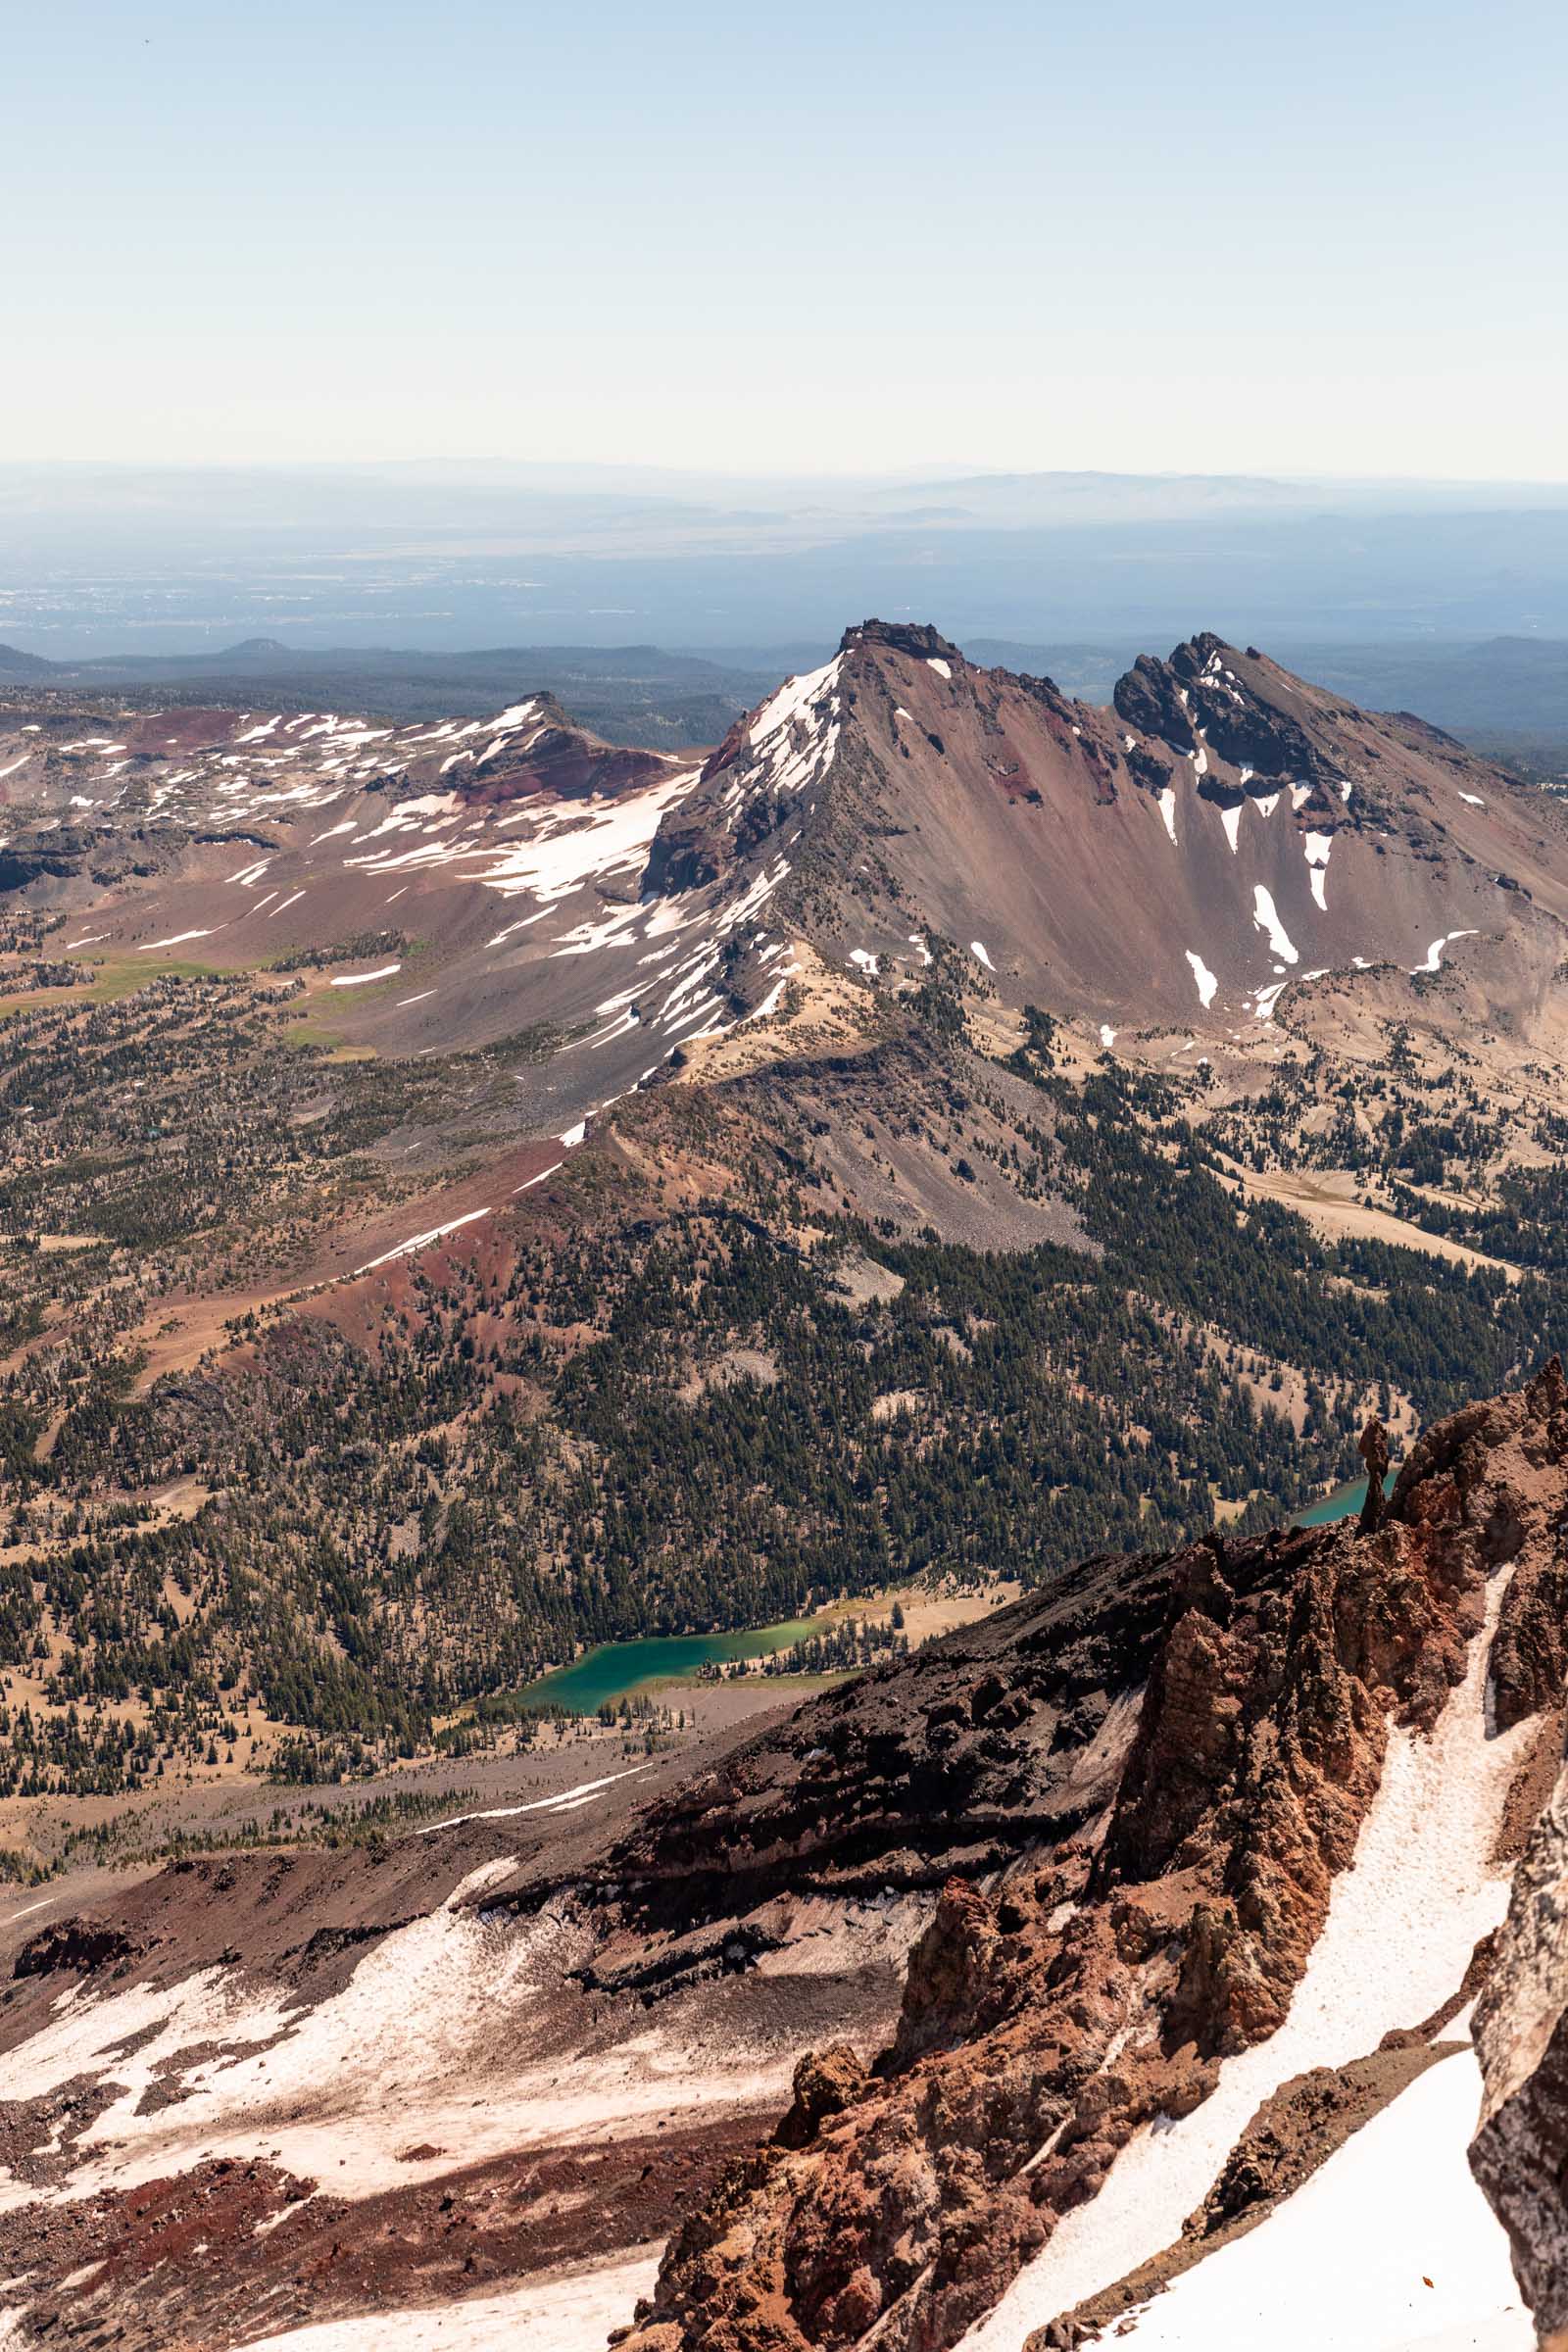
This was my favorite section because you start to see everything. From the Moraine Lake below to Mt Bachelor and Broken Top to the other lakes that surround and even further away.
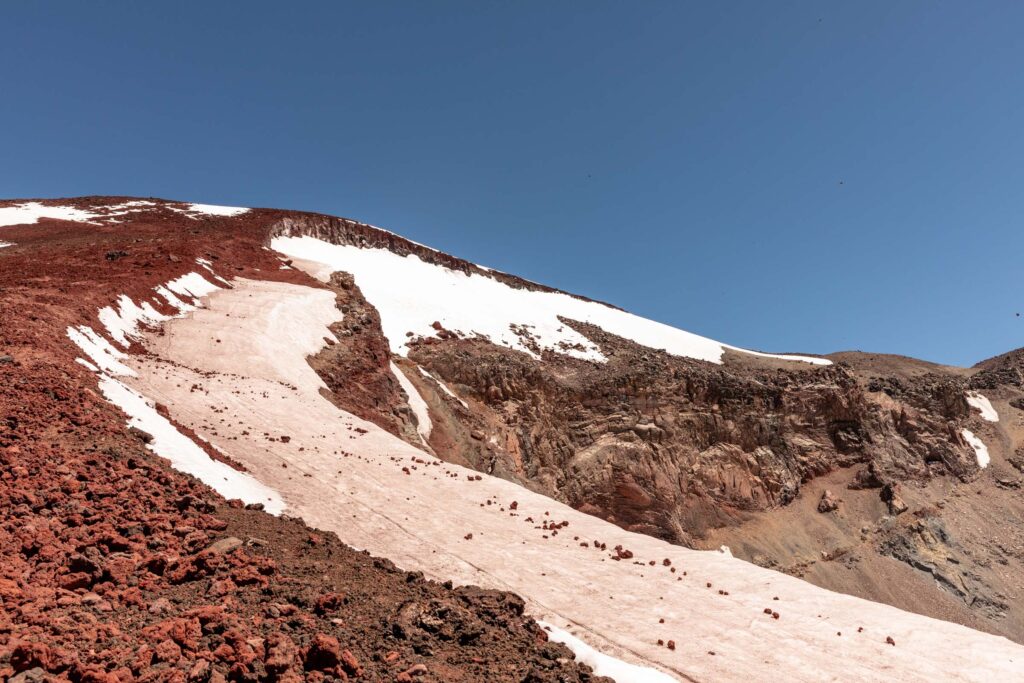
Sadly the Clark Glacier is no more and is but a patchy bit of snow, if even. We did find plenty of butterflies here. I didn’t realize it was such a thing! I last saw this many skiing on Mt Hood while photographing an elopement. A brief internet search tells me that the butterflies prefer the warmer, sunnier climate in Oregon than most peaks in Washington that are a bit cooler. I don’t know if I love or hate that the butterflies are in every photos now haha.
Maybe unsurprisingly, the views and the unique footing of the red rocks made the last climb go by quickly for me.
Key Aspects: No sun, looser rocks, steep climb to summit crater
Stats: less than 1 mile, 1300 ft gain from the Lewis Glacier tarn to the summit crater
Part 5: Summit Crater
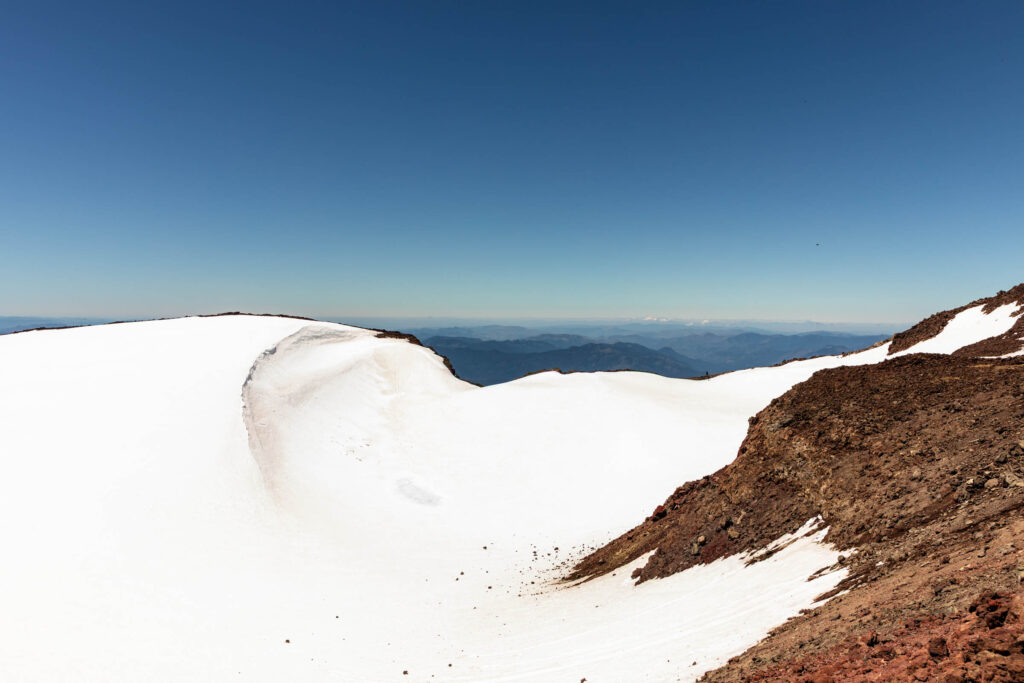
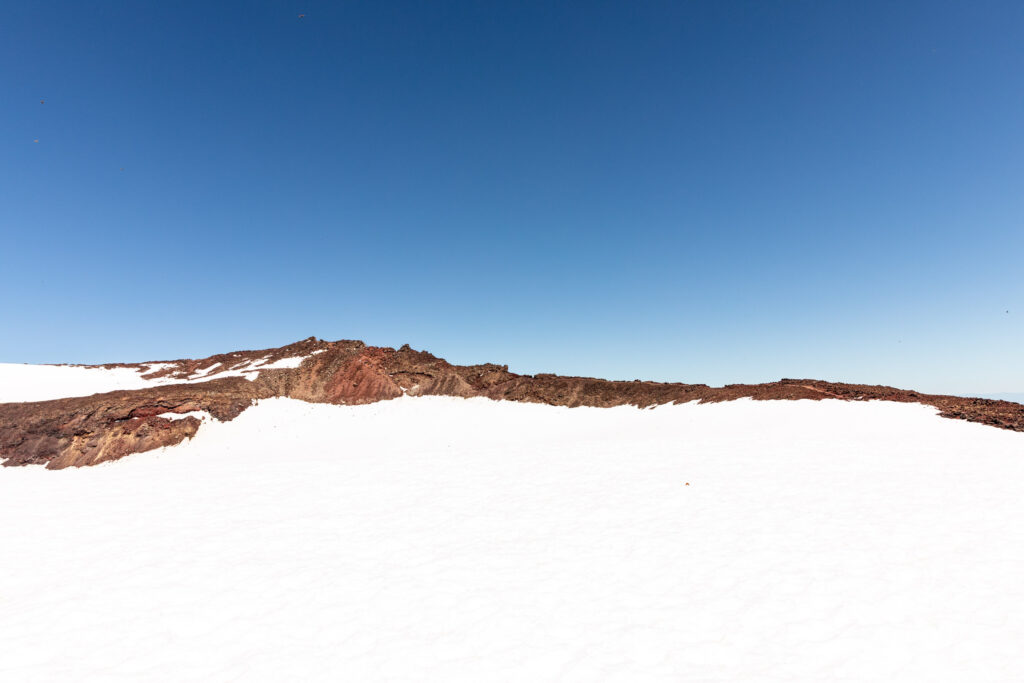
Upon not researching this hike with due diligence, I was surprised to realize that the summit crater wasn’t the summit. I got excited that after my tired legs gave me a good second (and perhaps third) wind through the steep section. But was immediately disheartened when I double checked my map and it showed the summit as directly across the crater. Why is it always this way for every volcano climb? The easiest approach for many volcanoes still requires a long walk to “tag the summit”. You could say that the summit crater rim is a false summit.
Alas, continue mostly on flat around the crater (to not lose too much elevation) to the summit. I believe that the trail for the rim does melt out but in early July, we found snow that was easy to cross without any additional traction device. We would’ve preferred it for one spot on part 4 near the summit for the short snow traverse, but we made do without it.
We opted not to make the full rim loop since we were tired and the west half of the loop seemed a bit more taxing than we preferred on this day. So we returned the same way we came (which was also shorter distance-wise).
Key Aspects: Full sun, potential flat snow crossings
Stats: half a mile, 200 ft gain
Descending South Sister
It was rather uneventful descending, but it was beautiful getting all the views surrounding us. As you descend, it is still important to know where the main trail is and not get too far off. Particularly coming down through the main slope in Part 3 from the Lewis Glacier Lake. It’s easy to get a little distracted by the microterrain because you can’t see beyond where you need to go in the first part. It does traverse a bit east before cutting west again to avoid a cliff. Once you’re back around 8200 ft, you can then see the whole trail and generally where you need to trend. Option to head down to Moraine Lake or just stay on trail and head back to your car. Option also to take a dip in Devil’s Lake.
Photos taken on Canon 5D Mark IV

puget sound low tide photo journal

You May Also Like
dry, smoky, exposed | shriner peak overnight
spring bound | silver star mountain via silver creek ski tour